redgumbrand.com.au
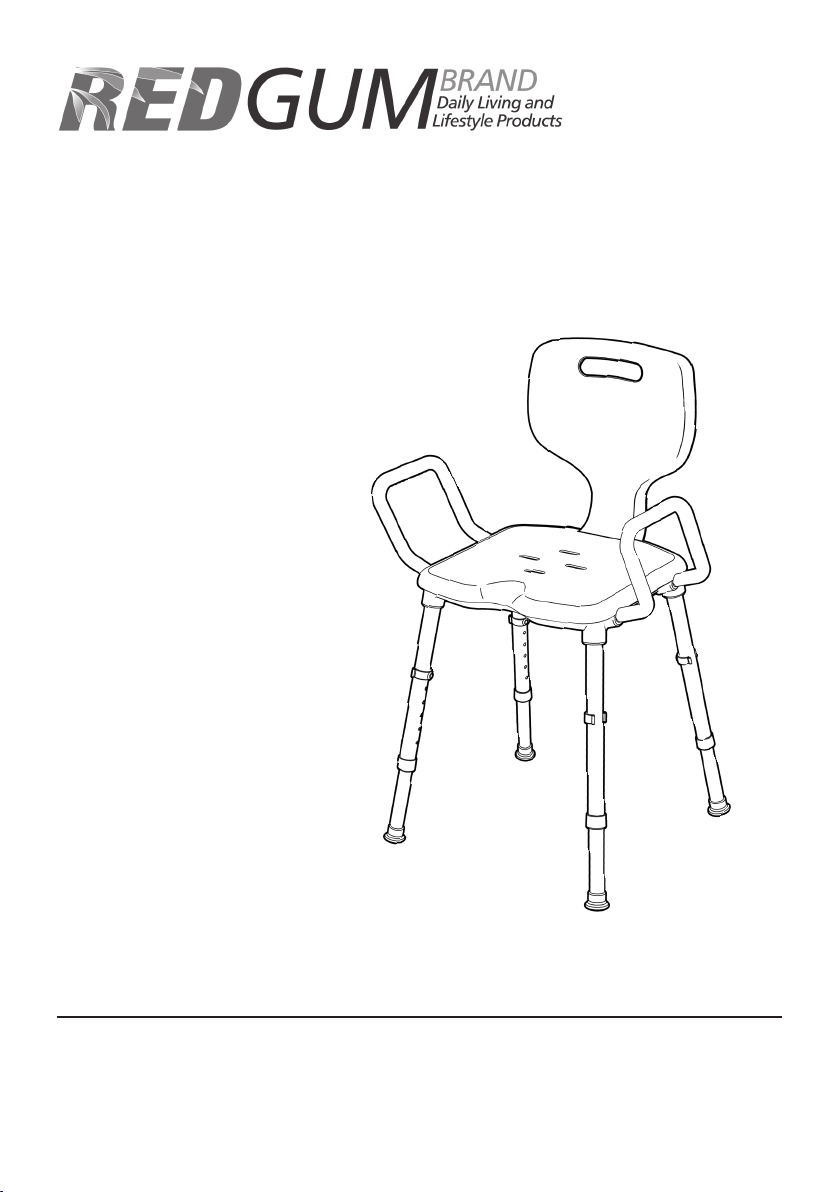
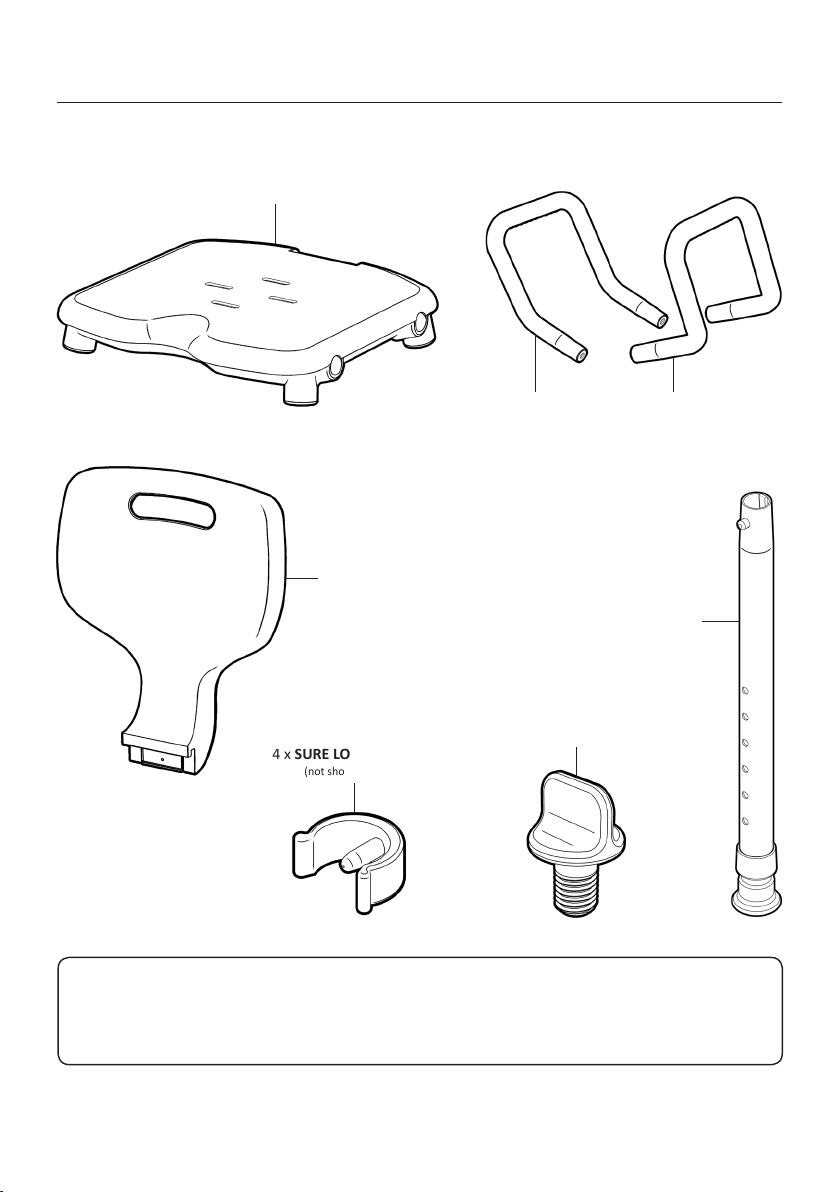
PRODUCT OVERVIEW
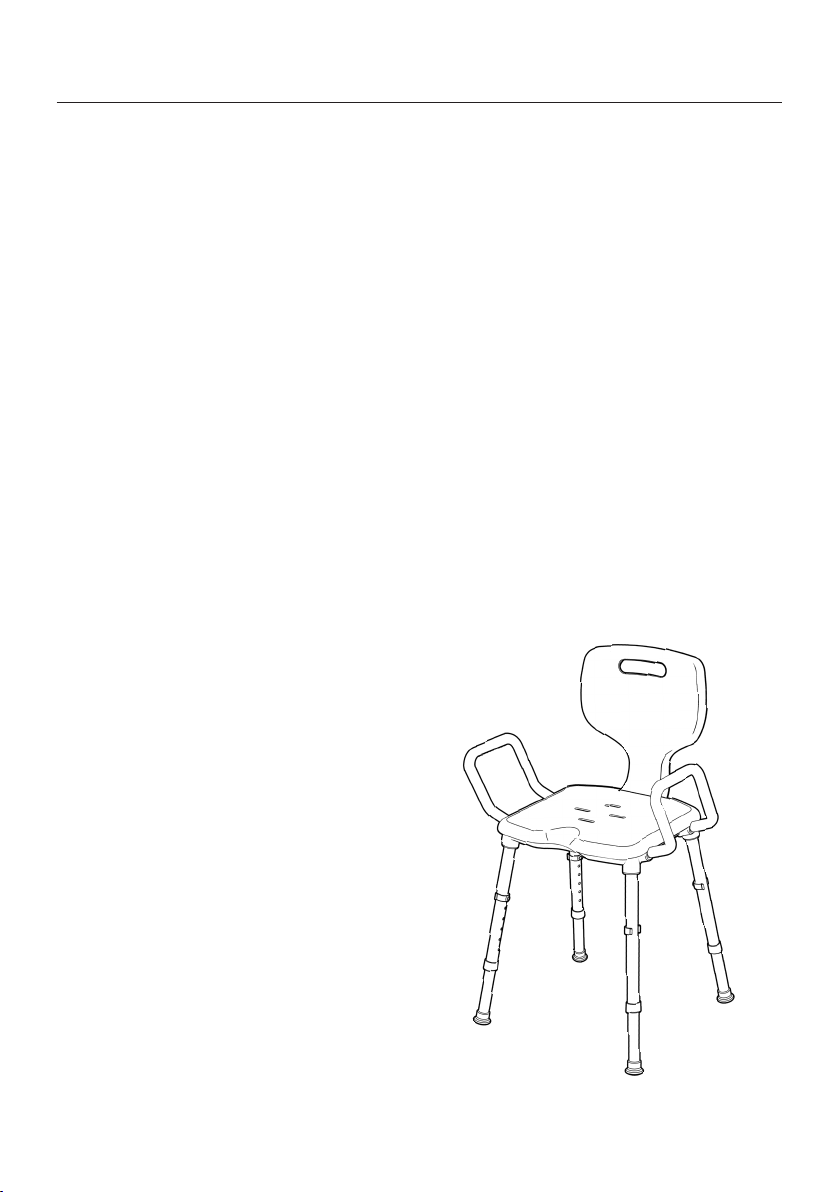
FEATURES
Modern / Funconal / Compact design
Ideal for use in conned spaces
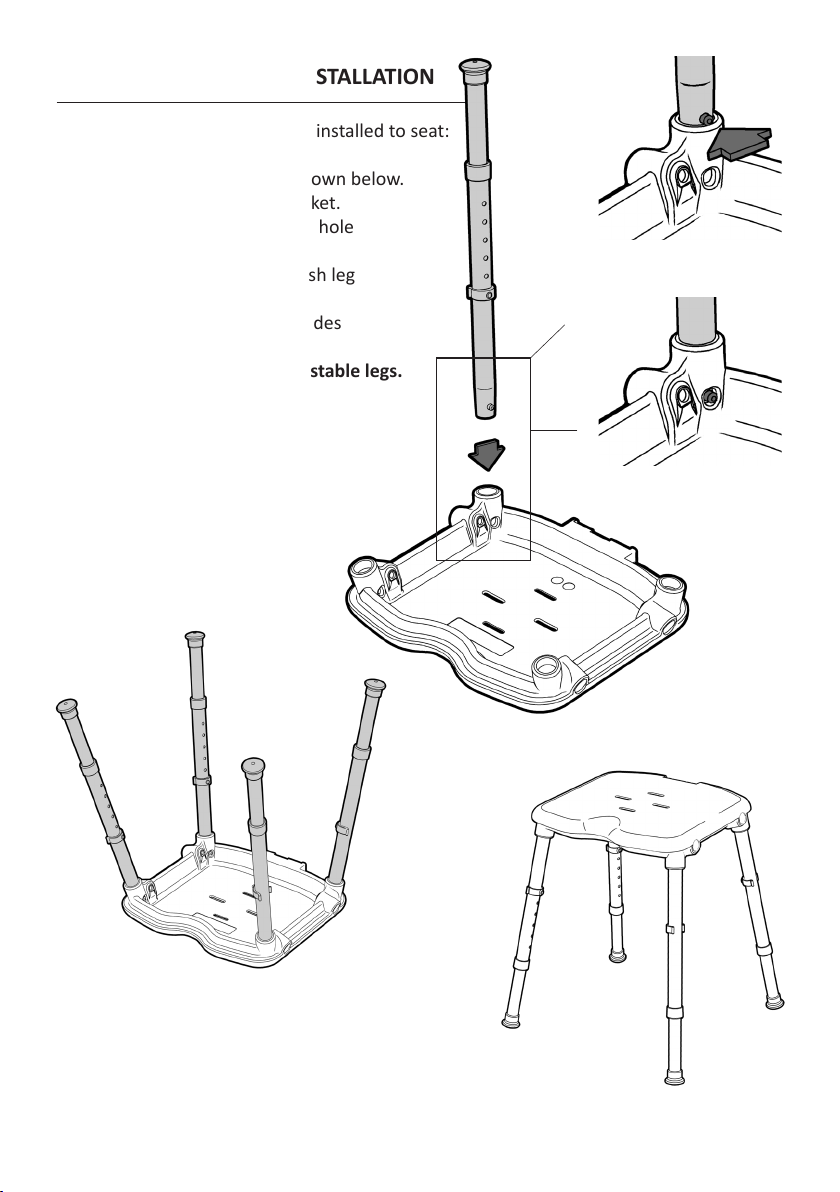
Easy to assemble - No tools required
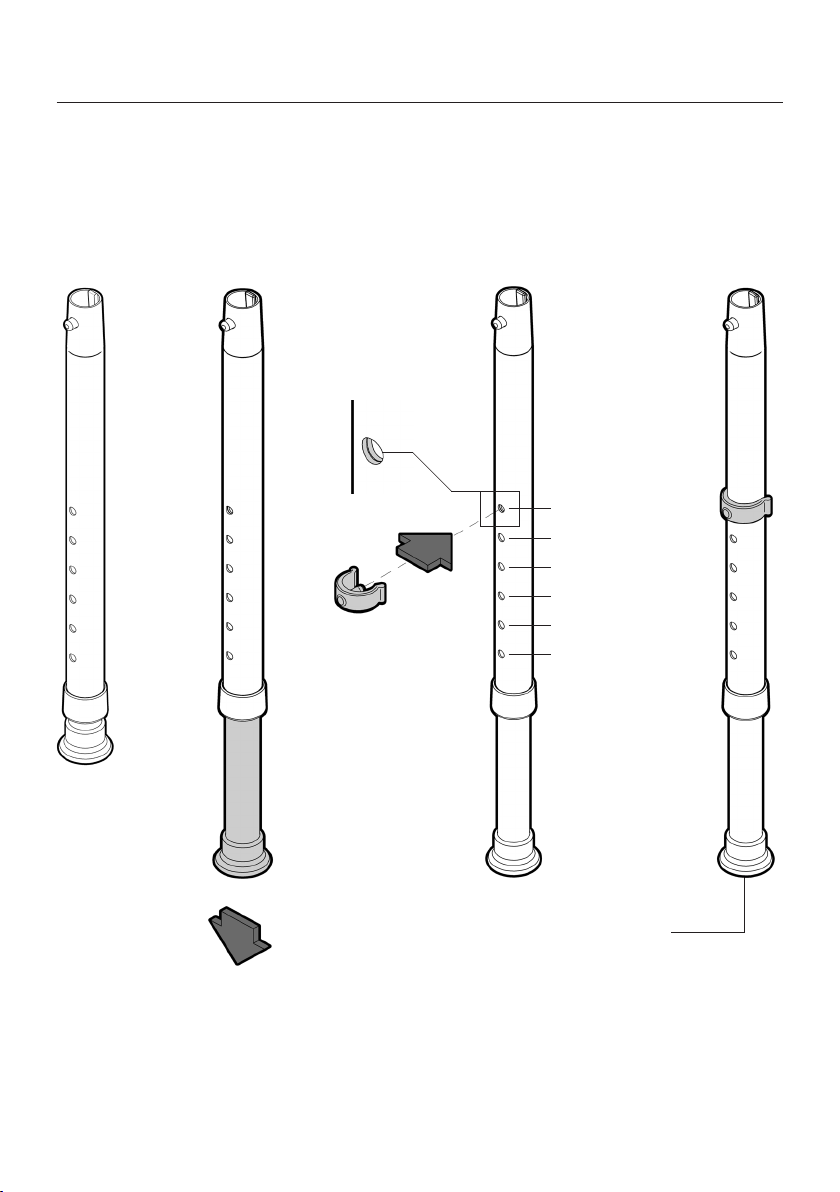
Adjustable seat height and angle with sure lock push pins
Contoured seat with drainage holes
Contoured backrest with carry handle
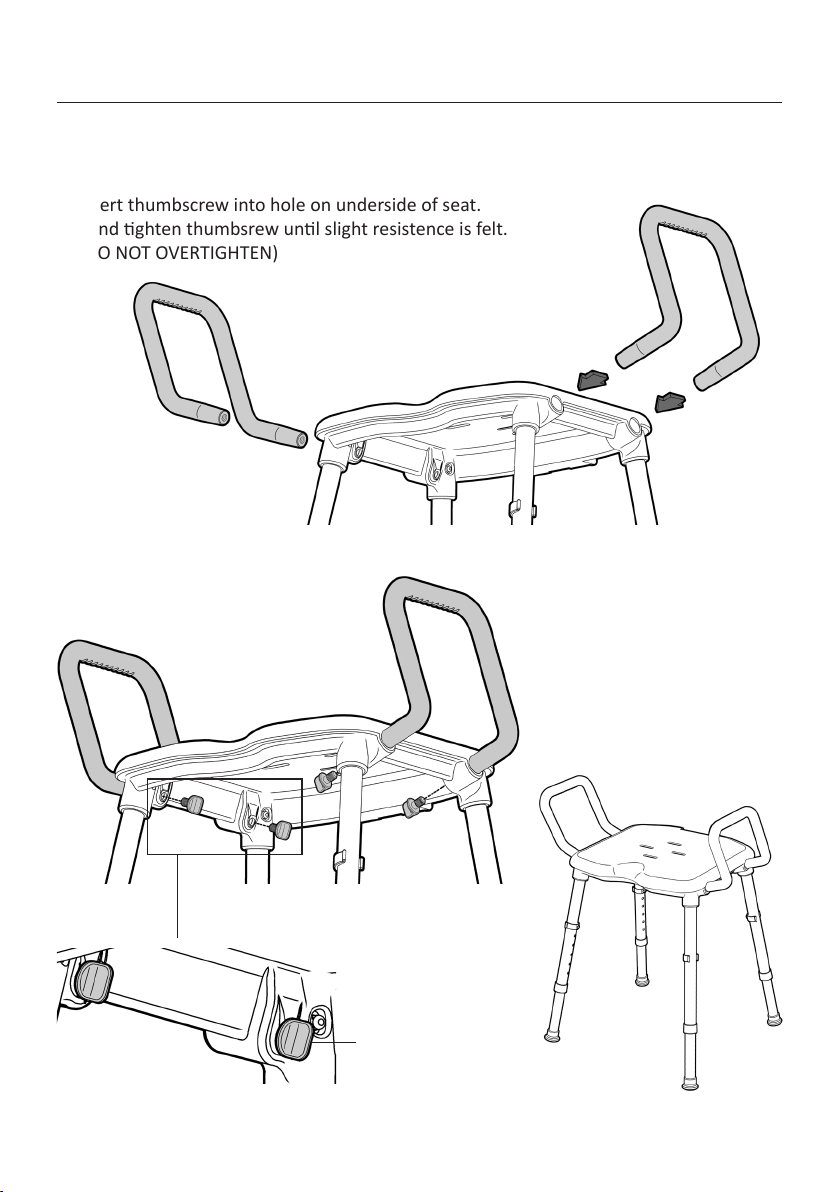
Raised handles with ribbed nger grips
Flexible PVC leg ps
Strong lightweight construcon
Corrosion free materials
Life me guarantee on corrosion
Designed for easy cleaning
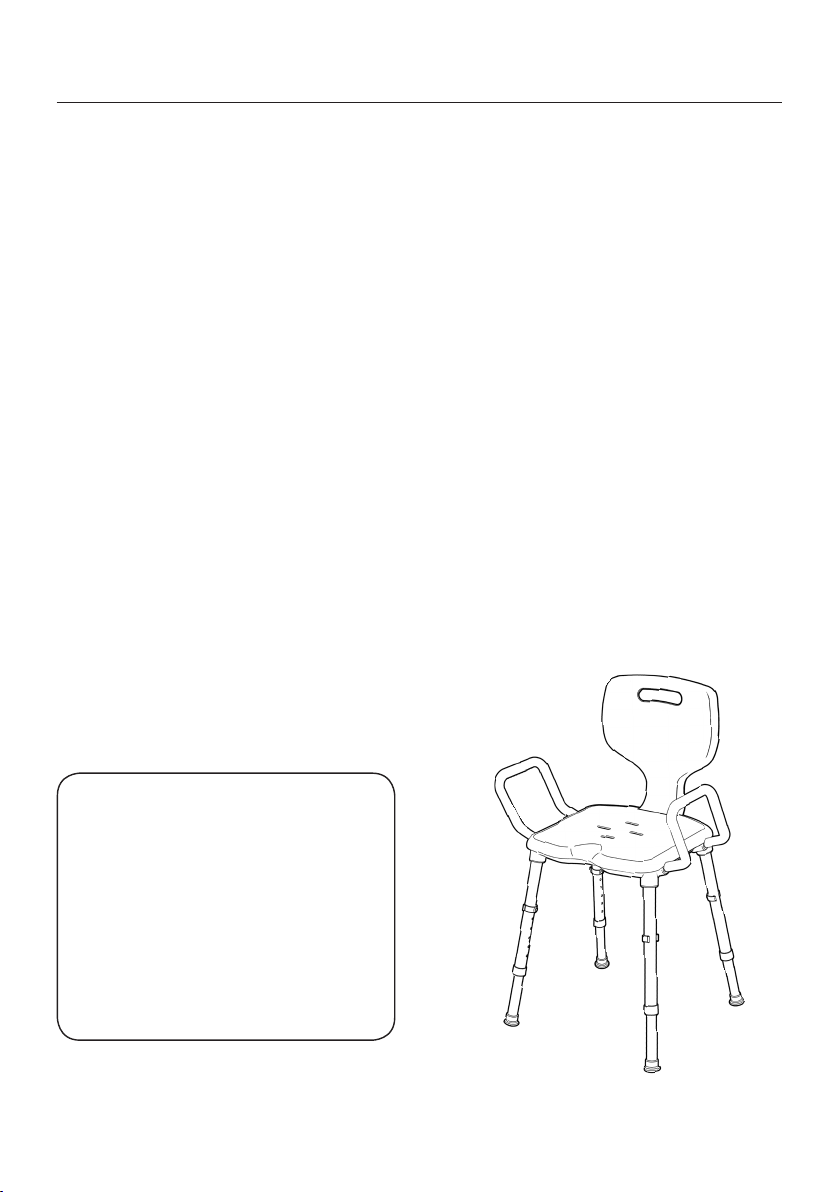
SPECIFICATIONS
(All dimensions shown are nominal)
Overall Width: 515mm (at lowest seng)
Overall Depth: 450mm (at lowest seng)
Overall Height: 825mm (at lowest seng)
Seat Width: 470mm (between armrests)
Seat Depth: 355mm
Seat Height: 485 - 610mm: 6 sengs (oor to top of seat)
Hole 1: 485mm
Hole 2: 510mm
Hole 3: 535mm
Hole 4: 560mm
Hole 5: 585mm
Hole 6: 610mm
Handle Height: 155mm (seat to top of armrest)
Product Weight: 3.1kg
Maximum User Weight: 130kg
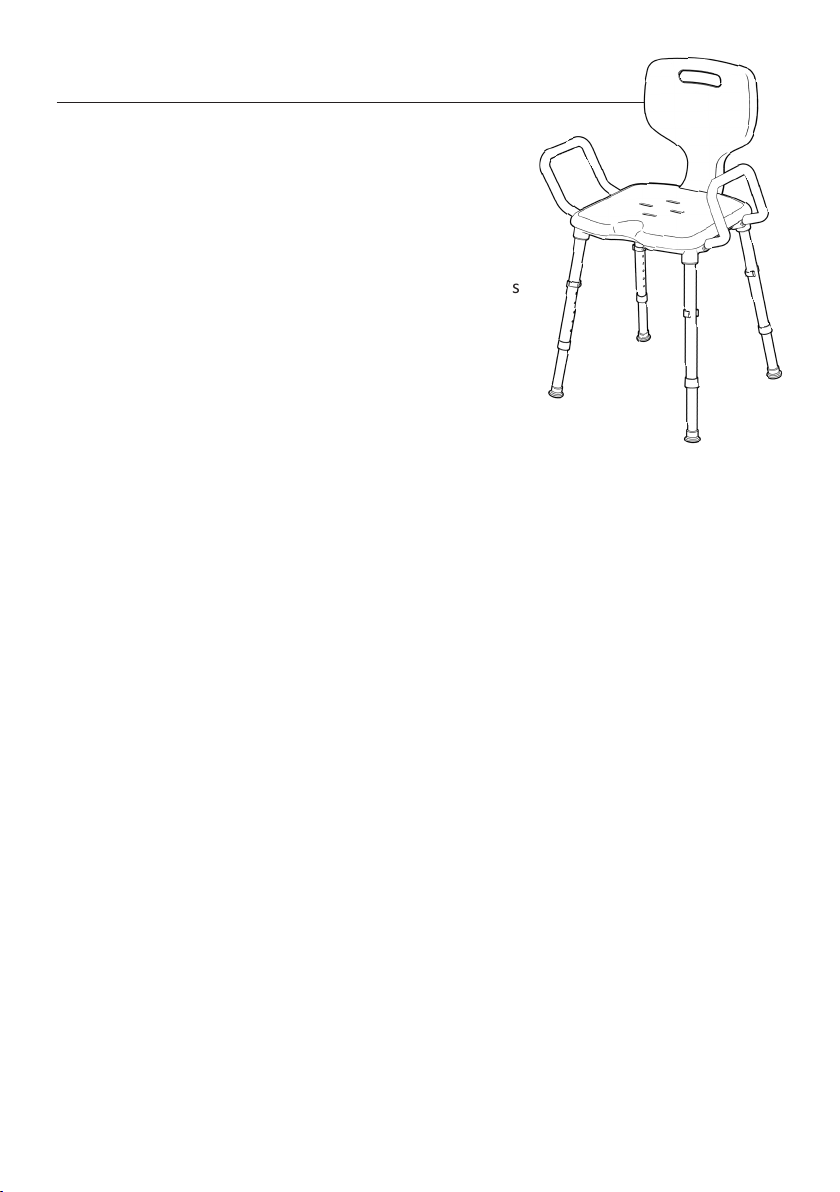
Please contact REDGUM Brand if you would like any further informaon
on your Space Saver Shower Chair.
2.