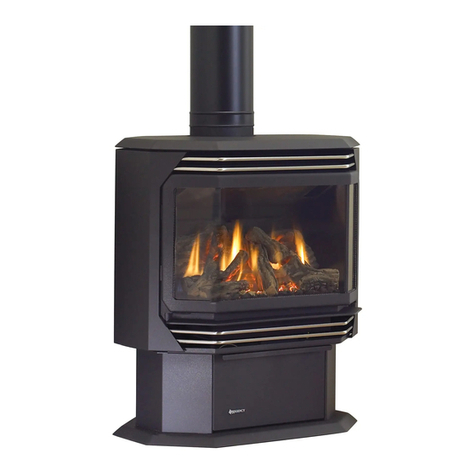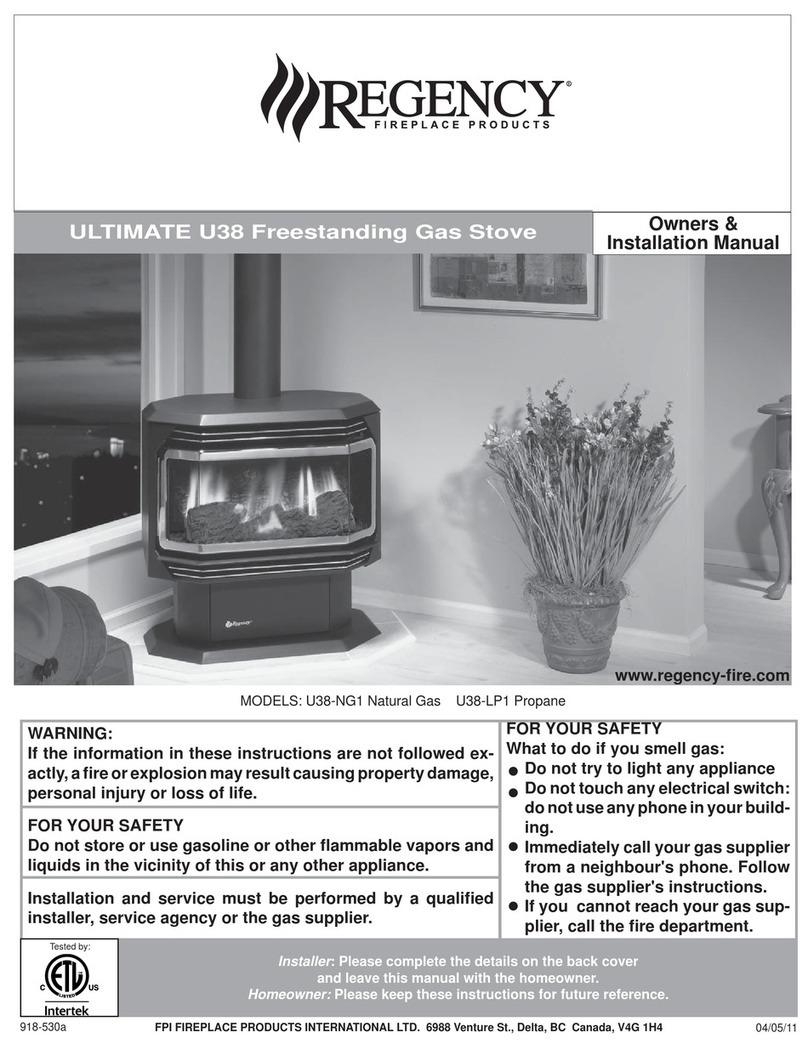
8U37-1 Regency®ULTIMATE Rear Vent Direct Vent Freestanding Gas Stove
INSTALLATION
IMPORTANT MESSAGE
SAVE THESE
INSTRUCTIONS
TheULTIMATERearVentDirectVentFreestanding
GasStovemustbeinstalledinaccordancewiththese
instructions.Carefullyreadalltheinstructionsinthis
manual first. Consult the building authority having
jurisdiction to determine the need for a permit prior
to starting the installation.
Note: Failure to follow the instructions could
cause a malfunction of the heater which
could result in death, serious bodily in-
jury,and/orproperty damage. Failure to
follow these instructions may also void
your fire insurance and/or warranty.
SPECIFICATIONS
Fuels: U37-NG1isapprovedforusewithnatural
gas.
U37-LP1isapprovedforusewithliquefied
petroleum gases (propane).
Electrical: 120 V A.C. system.
Circulation Fan: Variable speed, 125/75.
Log Sets: Ceramic fibre, 7 per set.
Vent System:
Axial (6-5/8" outer / 4" inner liner) rigid
flue and Riser Vent Terminal.
GENERAL SAFETY
INFORMATION
1) The appliance installation must conform with
local Canadian Electrical Code.
2) The appliance when installed, must be electri-
callygroundedinaccordance with local codes,
orintheabsenceoflocalcodeswiththecurrent
NationalElectricalCode,ANSI/NFPA70orCSA
C22.1 Canadian Electrical Code.
3) The applianceshouldbeinspectedforshipping
damagebefore use andserviced annually by
aprofessionalserviceperson.Morefrequent
cleaning may be required due to excessive
lint from carpeting, bedding material, etc. It
is imperative that control compartments, and
circulating air passageways of the appliance
be kept clean and free from excessive lint from
carpeting.
4) See general construction and assembly in-
structions. The appliance and vent should be
enclosedwheninstalledinorpassingthrougha
livingarea,wherechildrenmaycomeincontact
with it.
5) Thisappliancemustbeconnectedtothespeci-
fied vent and termination cap to the outside of
the building envelope. Never vent to another
room or inside a building. Make sure that the
vent is fitted as per the instructions starting in
the "Venting" section.
6) Inspecttheventingsystemannuallyforblockage
and any signs of deterioration.
7) Venting terminals shall not be recessed into a
wall or siding.
8) Any safety glass removed for servicing must
be replaced prior to operating the appliance.
9) To prevent injury, do not allow anyone who is
unfamiliarwiththeoperationtousethefireplace.
1) Provide adequate clearances for servicing,
properoperationandaroundtheairopenings
into the combustion chamber.
2) The appliance must be installed on a flat,
solid, continuous surface (e.g. wood, metal,
concrete). This may be the floor, or it can be
raised up on a platform to enhance its visual
impact. The appliance may be installed on
carpeting,tile,woodflooringorothercombus-
tible material, because the appliance's metal
pedestalbaseextendsthefullwidthanddepth
of the appliance. The ULTIMATE Rear Vent
Direct Vent Freestanding Gas Stove can be
installed in a wide variety of ways and will fit
nearly any room layout. It may be installed in
arecessedposition,framedoutintotheroom,
or across a corner.
3) The ULTIMATE Rear Vent Direct Vent Free-
standingGasStoveisapprovedformanufac-
tured home installations, see "Clearances to
Combustible"to "Rigid PipeVenting- Vertical
Terminations"sectionfortherequiredventar-
rangements. If installed into a manufactured
home the unit must be bolted down to the
floor.
4) We recommend that you plan your installa-
tion on paper using exact measurements for
clearancesandfloorprotectionbeforeactually
installing this appliance. Have a qualified
building inspector review your plans before
installation.
Emissions from burning wood or gas could
contain chemicals known to the State of Cali-
fornia to cause cancer, birth defects or other
reproductive harm.
