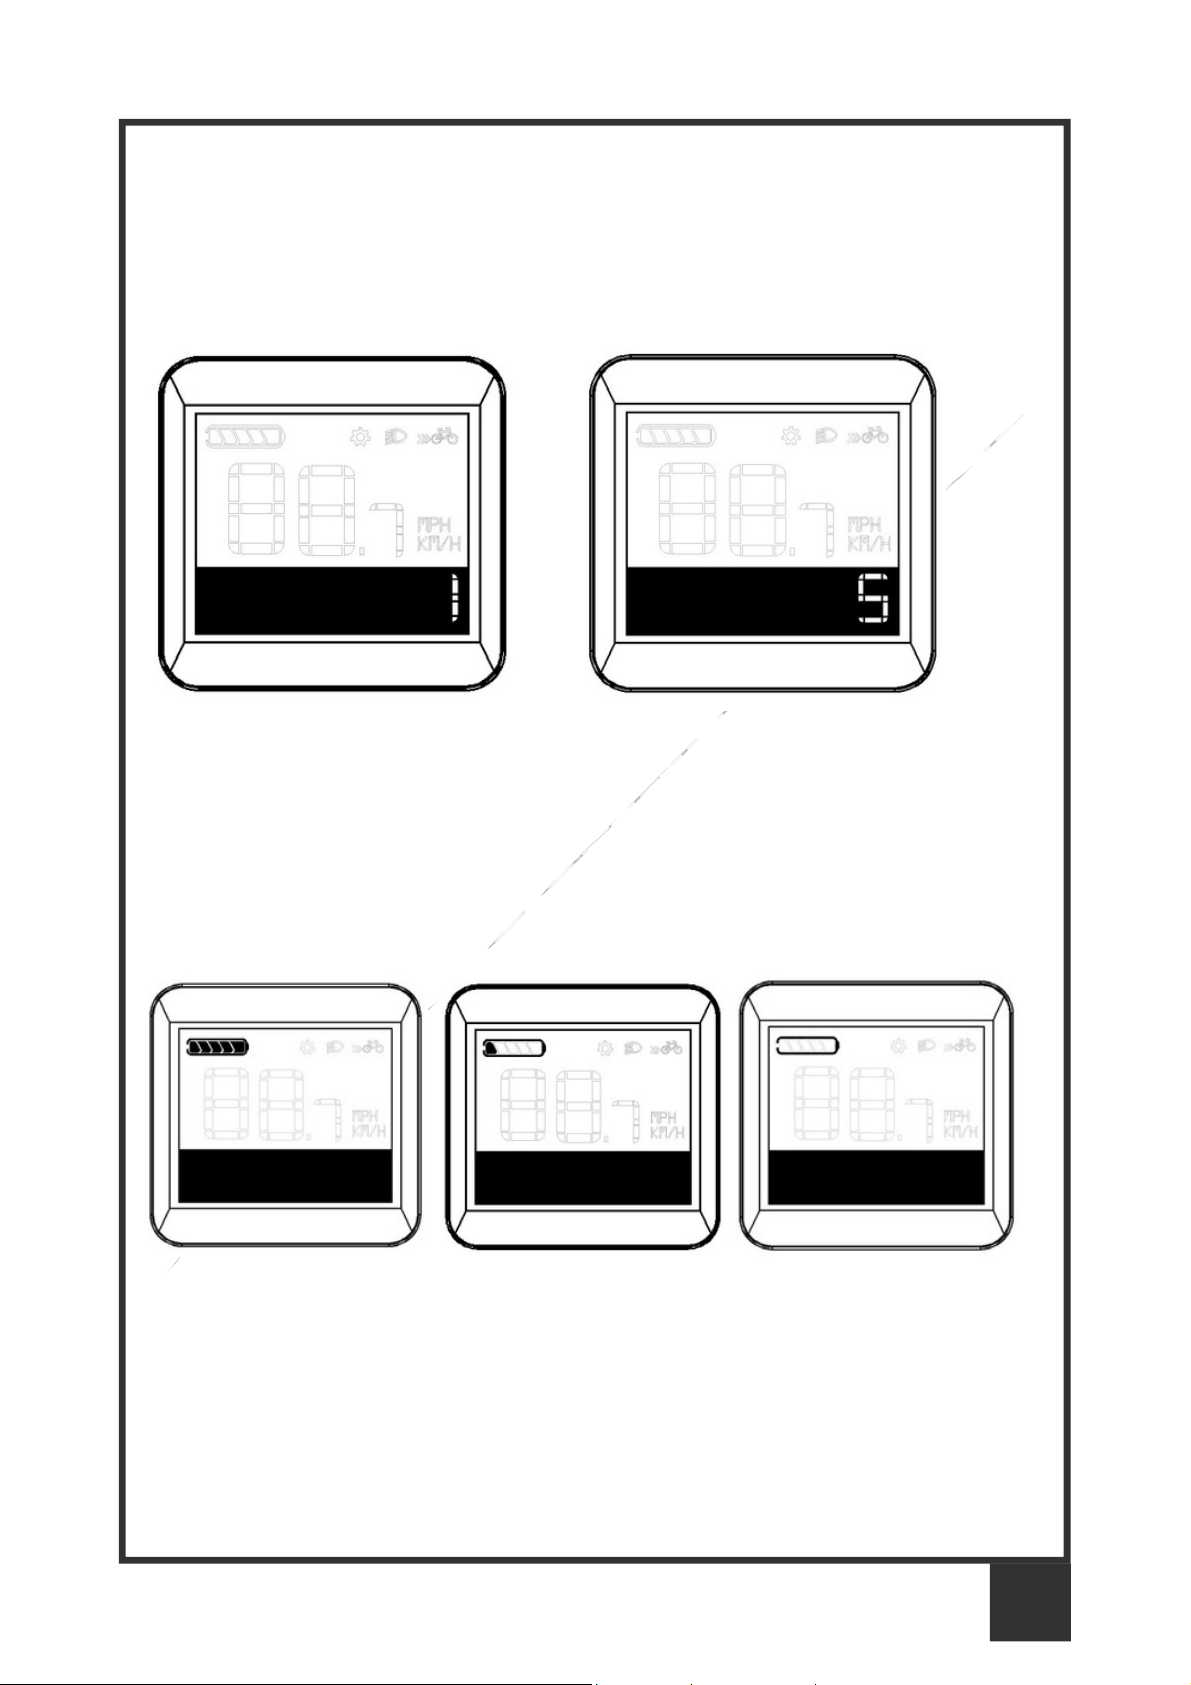
When speed is 0, long press “adding” and “minus” together will enter setting mode 1,
press “power” button can adjust “backlight brightness”, “wheel size”, “metric-inch
conversion”. Long press “adding” and “minus” again immediately after entering setting
mode 1 will enter into setting mode 2, can adjust “pas level”, “default pas”, “light sensor”.
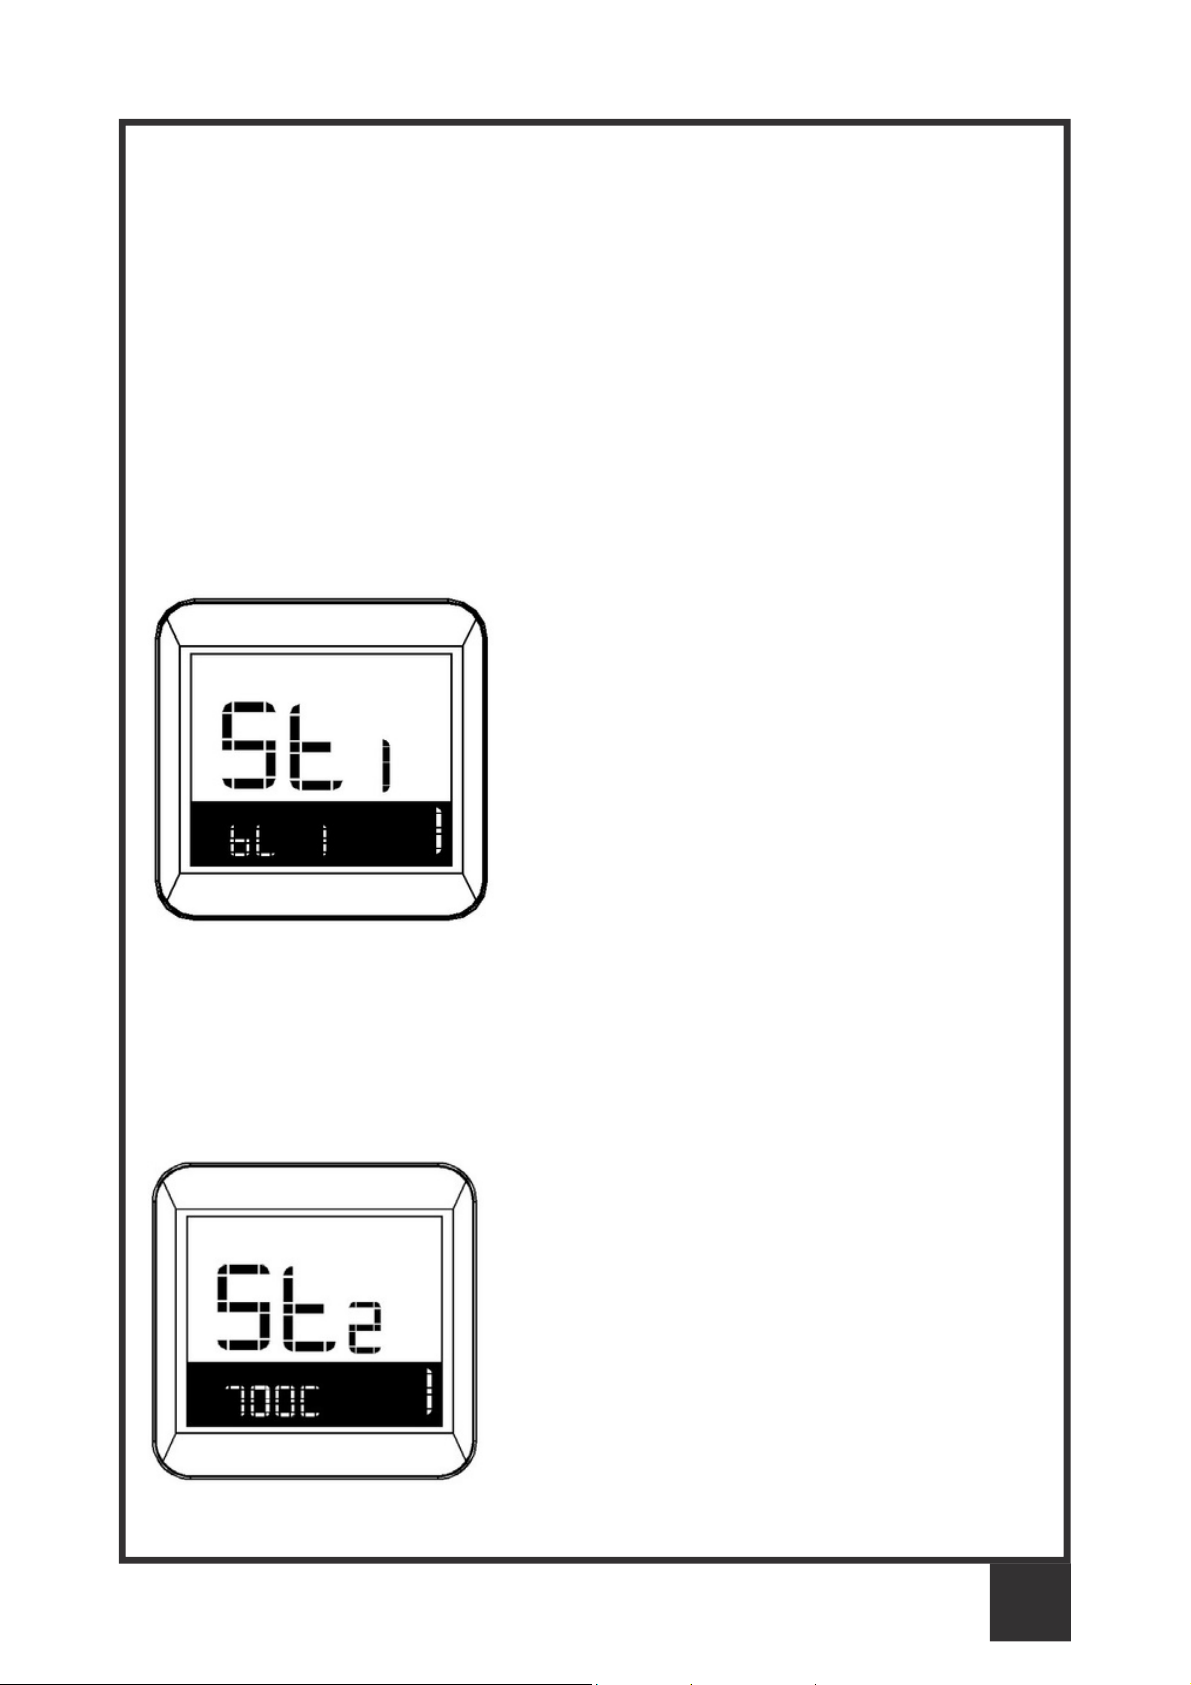
Wheel Size
setting
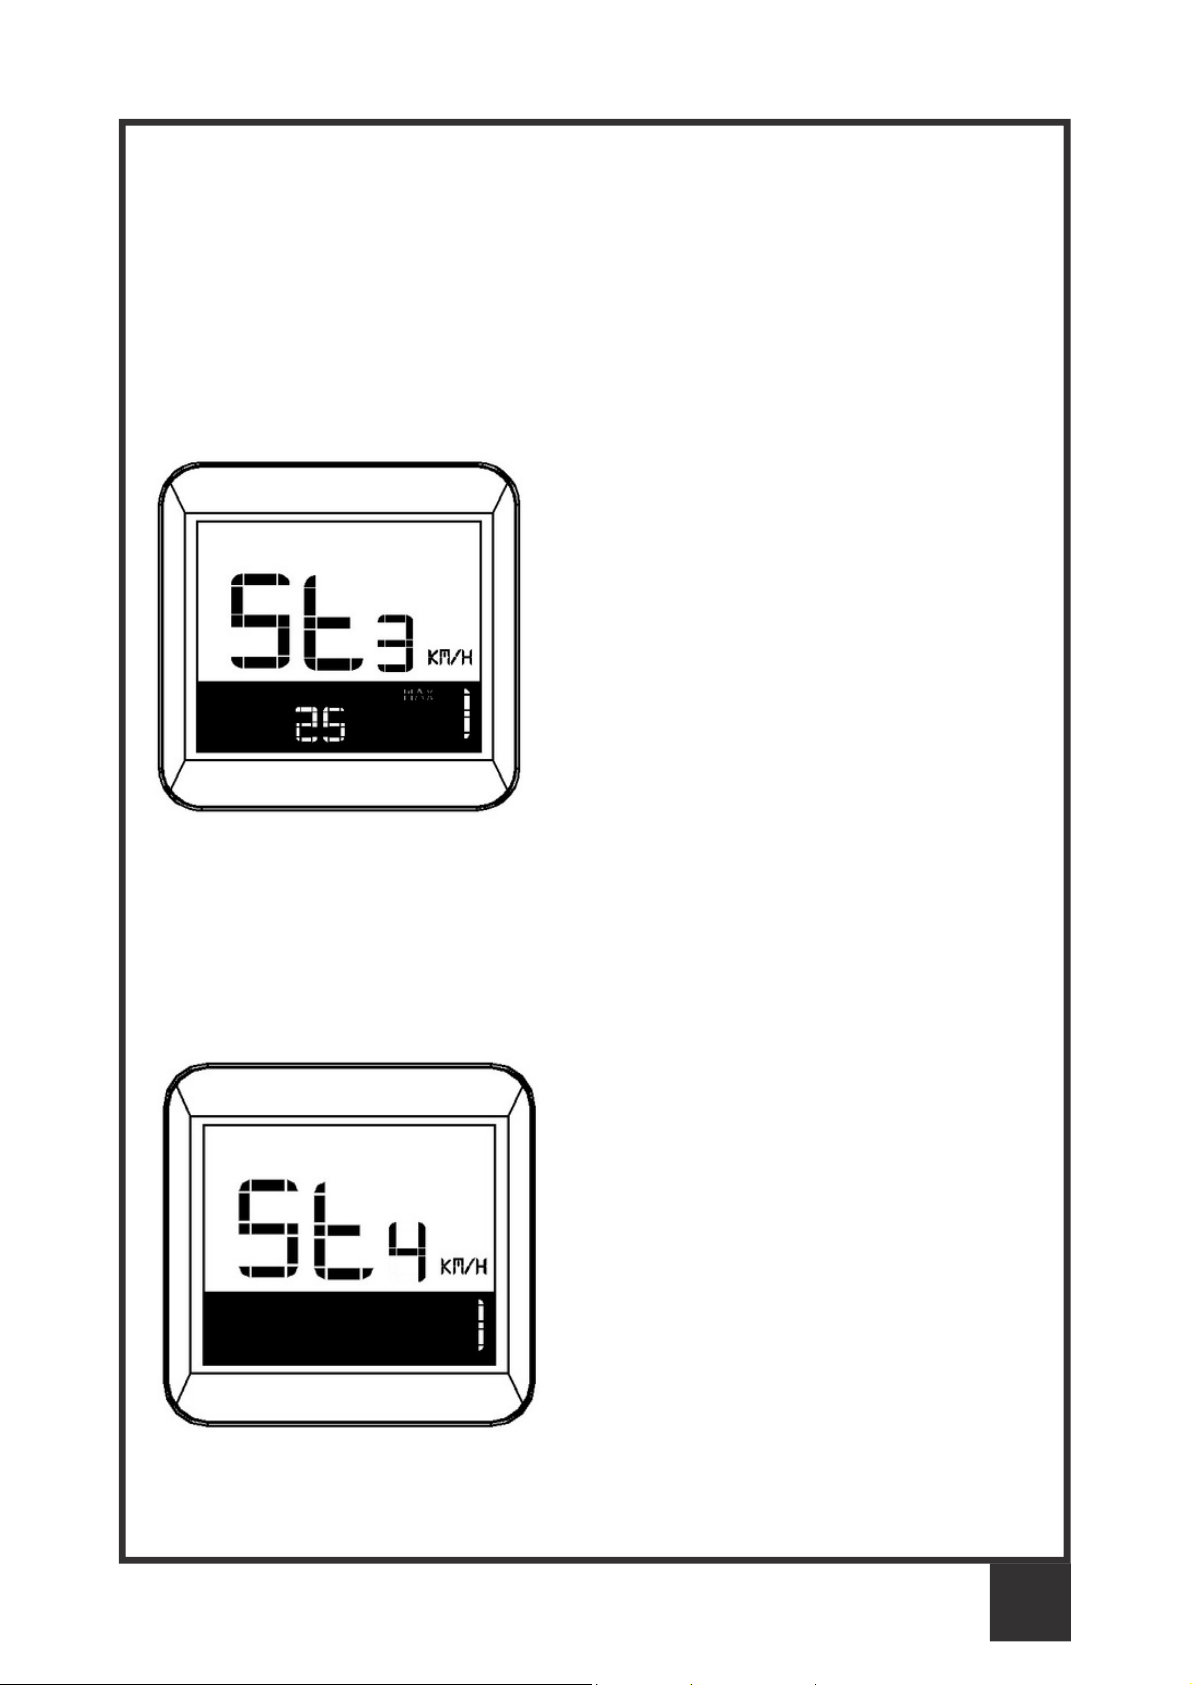
Backlight
setting
Press “adding” or “minus” can change wheel size like 16inch, 18 inch,
20inch, 22inch, 24inch, 26inch, 700C, 28inch, and 29inch, press “power”
button can save the change and enter next setting.
BL means backlight, can adjust “1~3” level, “1” is low, “2” is middle and “3” is high, default is
“1”, press “adding” and “minus” can adjust and “power” button can save the change and
enter next setting.
6.2 Wheel Size
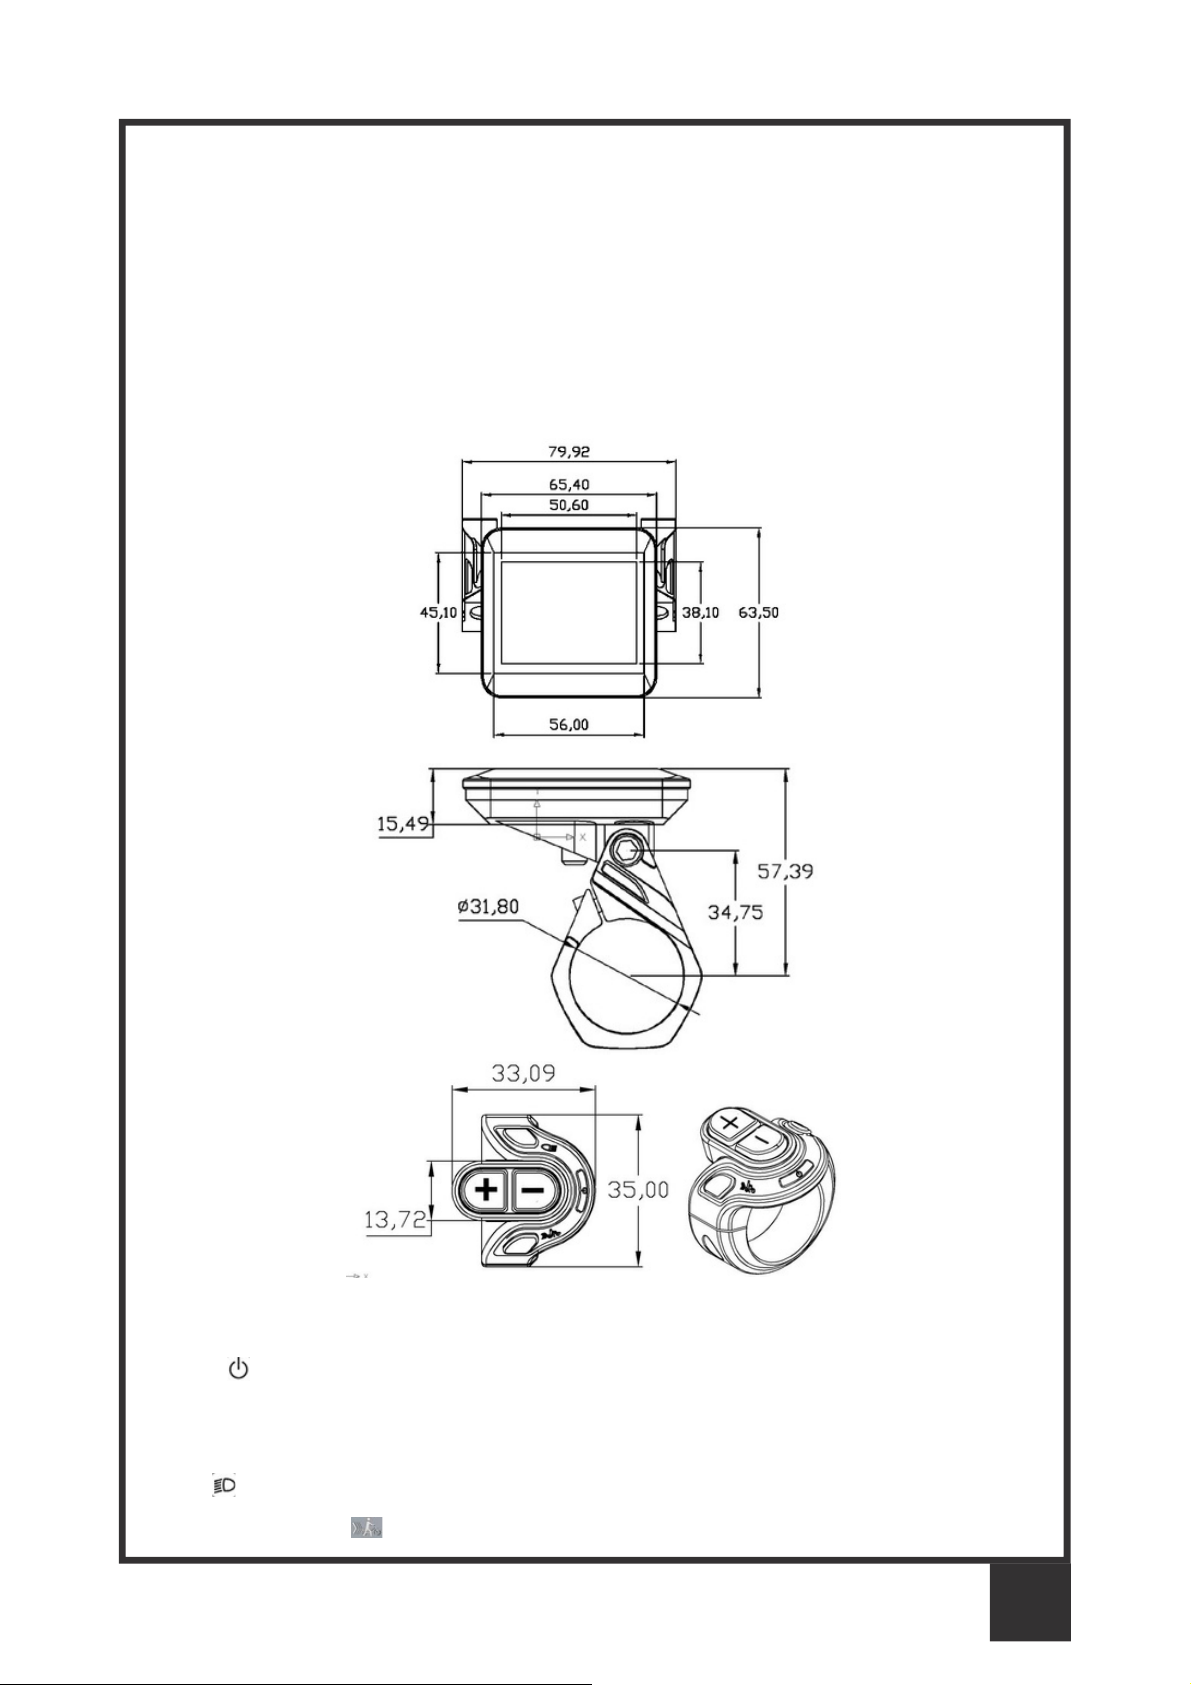
6.1 Turn On/ Off
6 Settings
PG 8