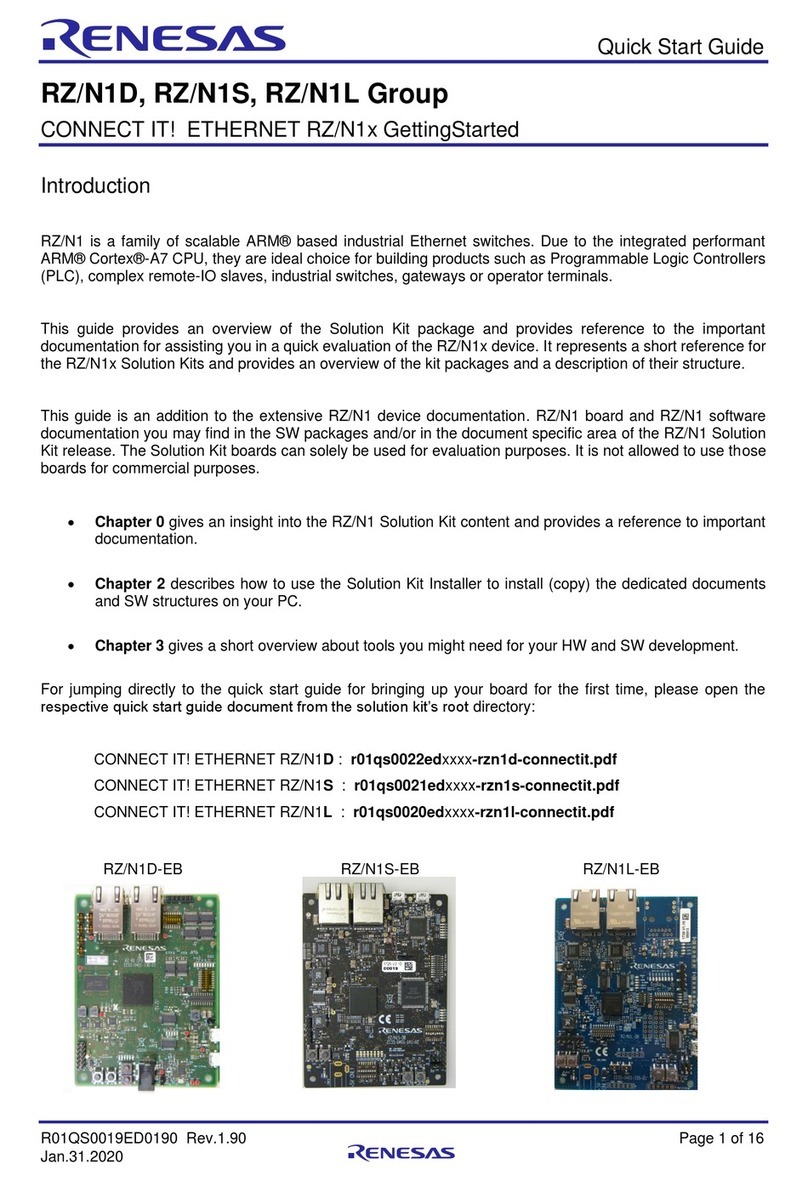
V850ES/JJ3 ターゲット・ボード
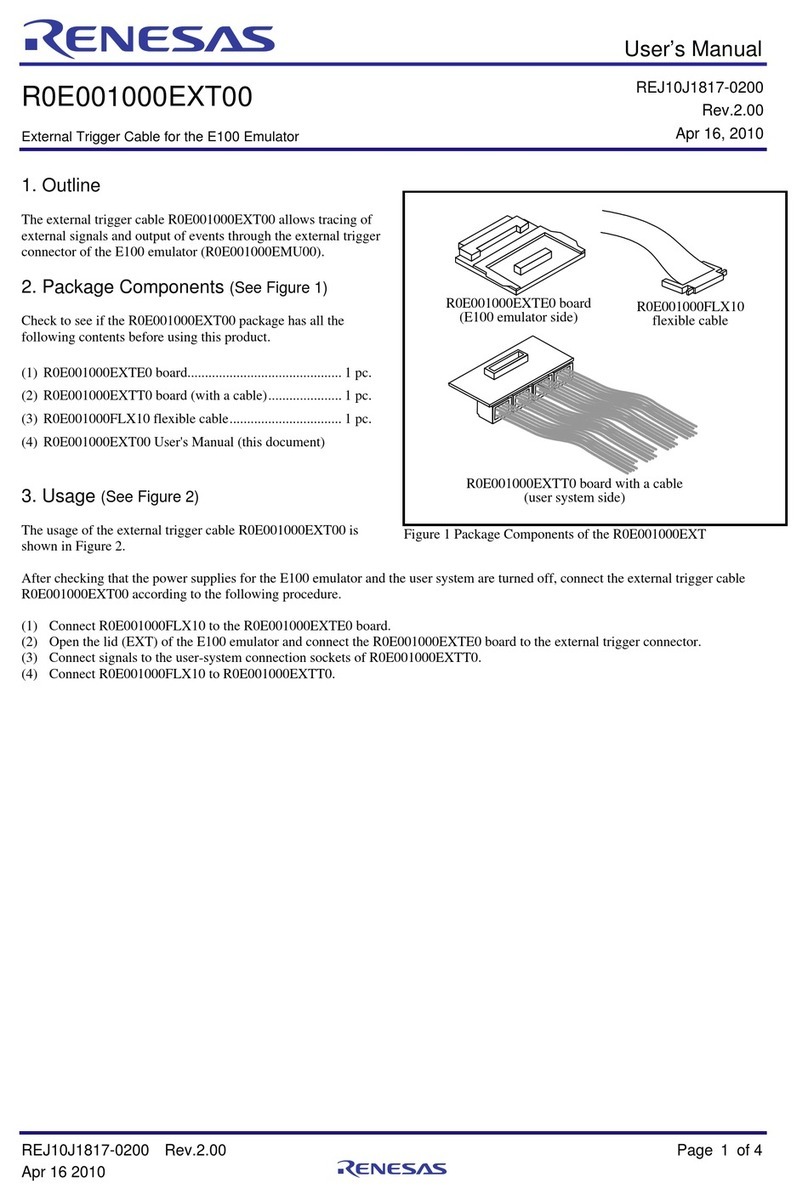
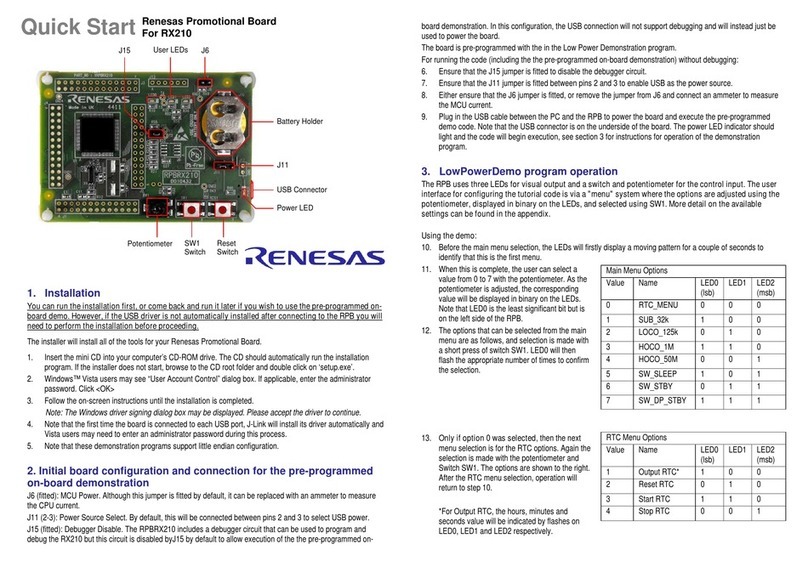
QB-V850ESJJ3-TB ユーザーズ・マニュアル
ユーザーズ・マニュアル
R20UT2270XJ0300
Rev 3.00 2015.07.27
本製品は、ルネサス エレクトロニクス製のプログラミング機能付きオンチップ・デバッグ・エミュレータ QB-MINI2 を使用して、マイコンの動
作を試すためのターゲット・ボードです。
①V850ES/JJ3 ターゲット・ボード(QB-V850ESJJ3-TB)の特徴
●V850ES/JJ3 (μPD70F3746GJ)搭載
●4MHz の発振子を搭載
●ユニバーサル・エリア(2.54mm ピッチ)を搭載
●フラッシュ・メモリ・プログラミング、オンチップ・デバッグ(SIB0,SOB0,SCKB0,PCM0 端子使用)に両対応
●マイコンの端子を周辺ボード・コネクタに配置した高拡張性
●鉛(Pb)フリー対応品
CPU
μPD70F3746GJ
メイン・クロック動作周波数 最大 32MHz(ボード上の発振子 4MHz 搭載)
サブクロック動作周波数 32.768KHz(ボード上に搭載)
搭載部品
CN1,CN2: 周辺ボードコネクタ(2.54mm ピッチ) 80pin ソケット x2(パッドのみ)
FP1:16pin コネクタ(QB-MINI2接続用)
Power LED: 赤x1(LED3)
評価用 LED: 黄x2(LED1 はPCM3,LED2 はPCM2 へ接続)
SW: SW1(INTP0 へ接続)
メイン・クロック(Y1): 4MHz 発振子(X1,X2 へ接続)
サブ・クロック(Y2): 32.768KHz 発振子(XT1,XT2 へ接続)
動作電圧 3.0V~3.6V
:パターンをカットすることで、その回路はオープンとなります。
再度接続させたい場合は半田ショートしてください。
PCM2,PCM3 を使用する場合は LED の左のショートパッドをパターンカットしてください。
回路図のパッドの表示 オープン:ショート:
※1 オンチップデバッグ接続方式を変更できます。デバッグ設定用ショートパッドを下表のように設定してください。
接続方法
ショート
オープン
デフォルト
SOB3, SIB3, SCKB3, TXDA0, RXDA0
SOB0, SIB0, SCKB0, TXDA0, RXDA0
SOB0, SIB0, SCKB0, HS,SOB3,SIB3,SCKB3
・本製品に関してのサポートはお受けしておりません。初期不良の場合に限り、交換いたします。
・本製品を QB-MINI2 へ接続する場合は QB-MINI2 の電源選択スイッチを「3」または「T」でご使用ください。
R20UT2270XJ0300 Rev.3.00 Page 1 of 2
V850ES/JJ3 Target board
QB-V850ESJJ3-TB User’s Manual
User’s Manual
R20UT2270XJ0300
The QB-V850ESJJ3-TB is a target board used for evaluating microcontroller operations, using the QB-MINI2, the Renesas
Electronics on-chip debug emulator with programming function.
(1) V850/ESJJ3 target board (QB-V850ESJJ3-TB) features
●Incorporates V850ES/JJ3 (μPD70F3746GJ).
●A 4MHz resonator mounted
●Equipped with universal area (2.54 mm pitch)
●Supports both flash memory programming and on-chip debugging (using SIB0, SOB0,SCKB0 and PCM0 pin)
●Highly extendable; peripheral board connectors are equipped with microcontroller pins
●Lead-free (Pb-free) product
(2) hardware specifications
μPD70F3746GJ
Main clock operating frequency
32 MHz max.(4MHz resonator mounted on board)
Sub clock operating frequency
32.768KHz (mounted on board)
CN1, CN2: Peripheral board connectors (2.54 mm pitch), 80-pin socket ×2 (pad only)
FP1: 16-pin connector (for QB-MINI2 connection)
Test LED: Yellow ×2 (LED1 connected to PCM3, LED2 connected to PCM2)
SW: SW1 (connected to INTP0)
Main clock (Y1): 4 MHz resonator (connected to X1 and X2)
Sub clock (Y2): 32.768 KHz resonator (connected to XT1 and XT2)
(3) Dimensions and parts layout
Pattern on the board:
Splitting this wiring leaves open the relevant circuit ( ).
To reconnect the circuit, short the circuit by soldering ( ).
When using PCM2 and PCM3, cut off the short pad on the right side of LED.
Showing of the pad on circuit diagram. open: short:
Note: Connected method when on
chip debugging it by setting a short pad can be changed.
SOB3, SIB3, SCKB3, TXDA0, RXDA0
SOB0, SIB0, SCKB0, TXDA0, RXDA0
SOB0, SIB0, SCKB0, HS,SOB3,SIB3,SCKB3
(4) Notes on use
●Renesas Electronics will not provide any support for this board, but the board can be exchanged with a new product only when
it has an initial failure.
●Please set the power supply selection switch of QB-MINI2 to [3] or [T] when you connect this board with QB-MINI2.
R20UT2270XJ0300 Rev.3.00 Page 1 of 2
