iBLIK DAB+ has a number of additional functions that are accessed through the DAB Mode
menu, as follows:
The following table describes the options
available under the ‘Station Order’ menu:
Station Order
Press the MENU key in DAB Mode then
press select Station order.
To specify the order in which stations
are displayed
Select the Station order option.
Use the and cursor keys to scroll
through the options, and press SELECT or
the key to make your selection.
Alphanumeric Lists stations in alphabetical
order.
Ensemble Lists stations by multiplex.
Valid Lists only active stations.
Station order Description
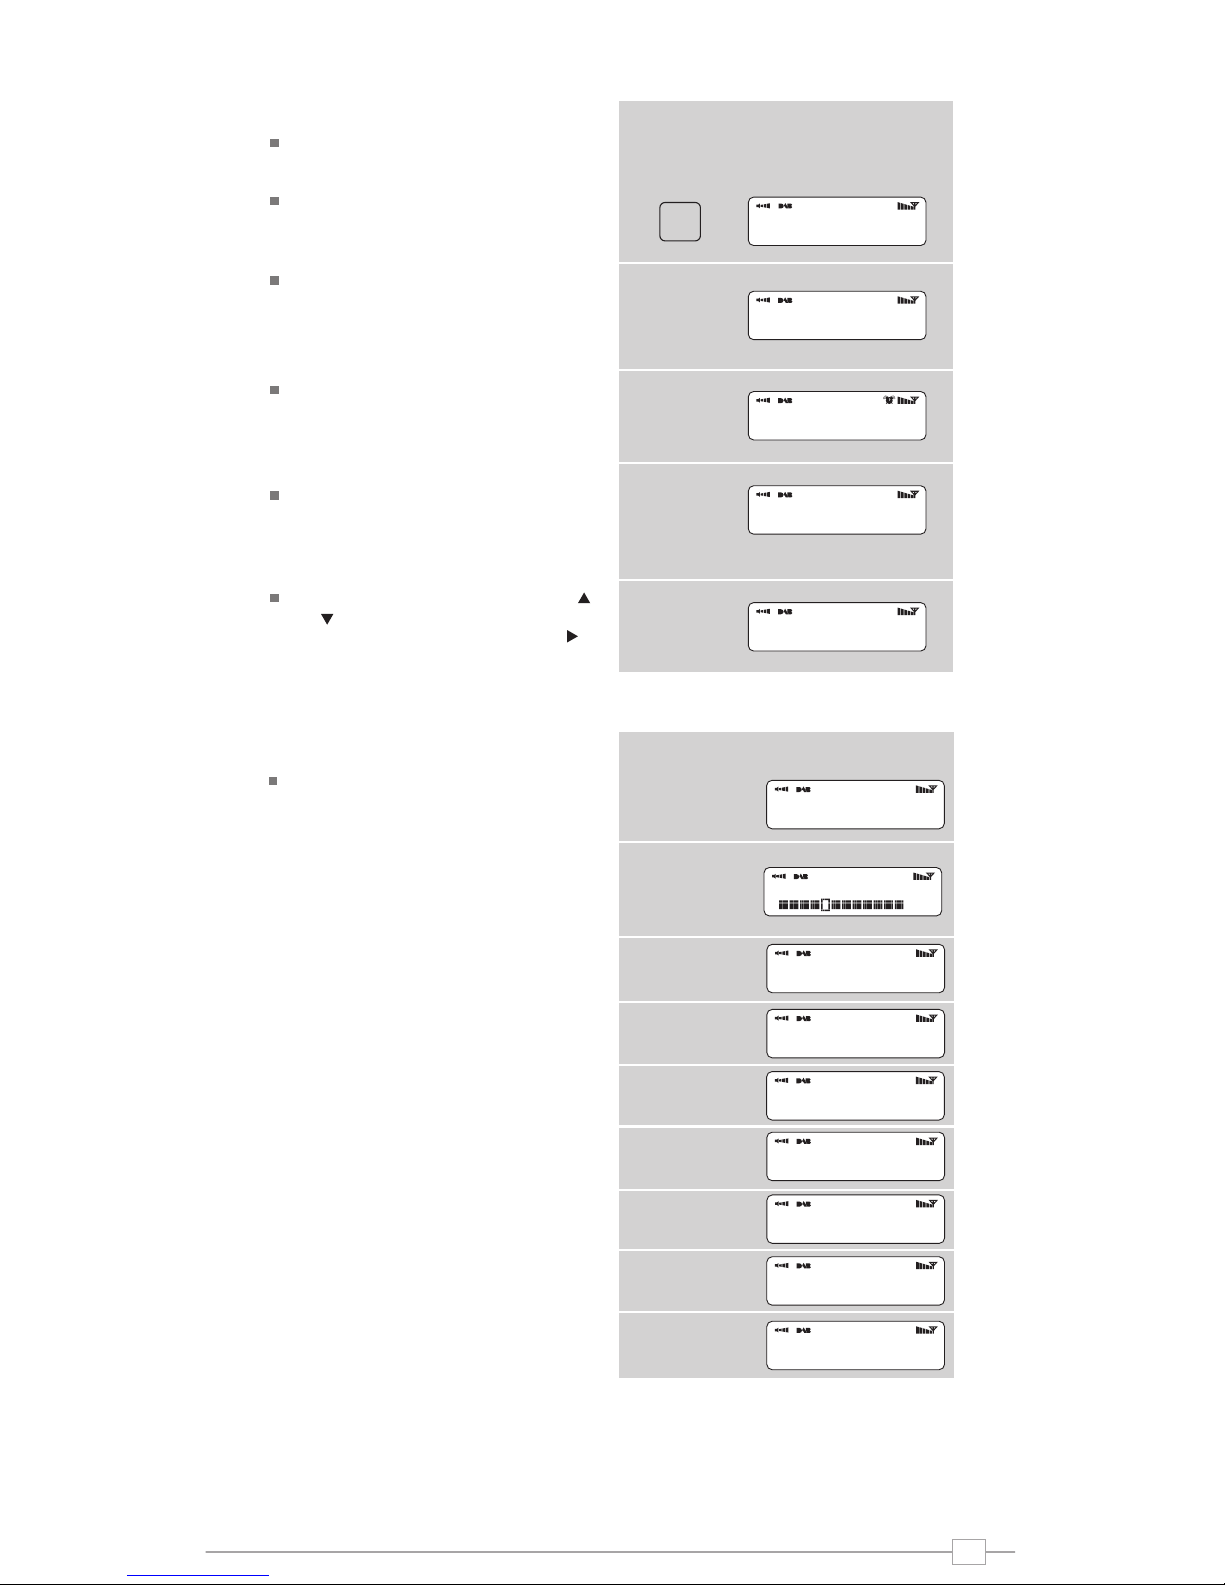
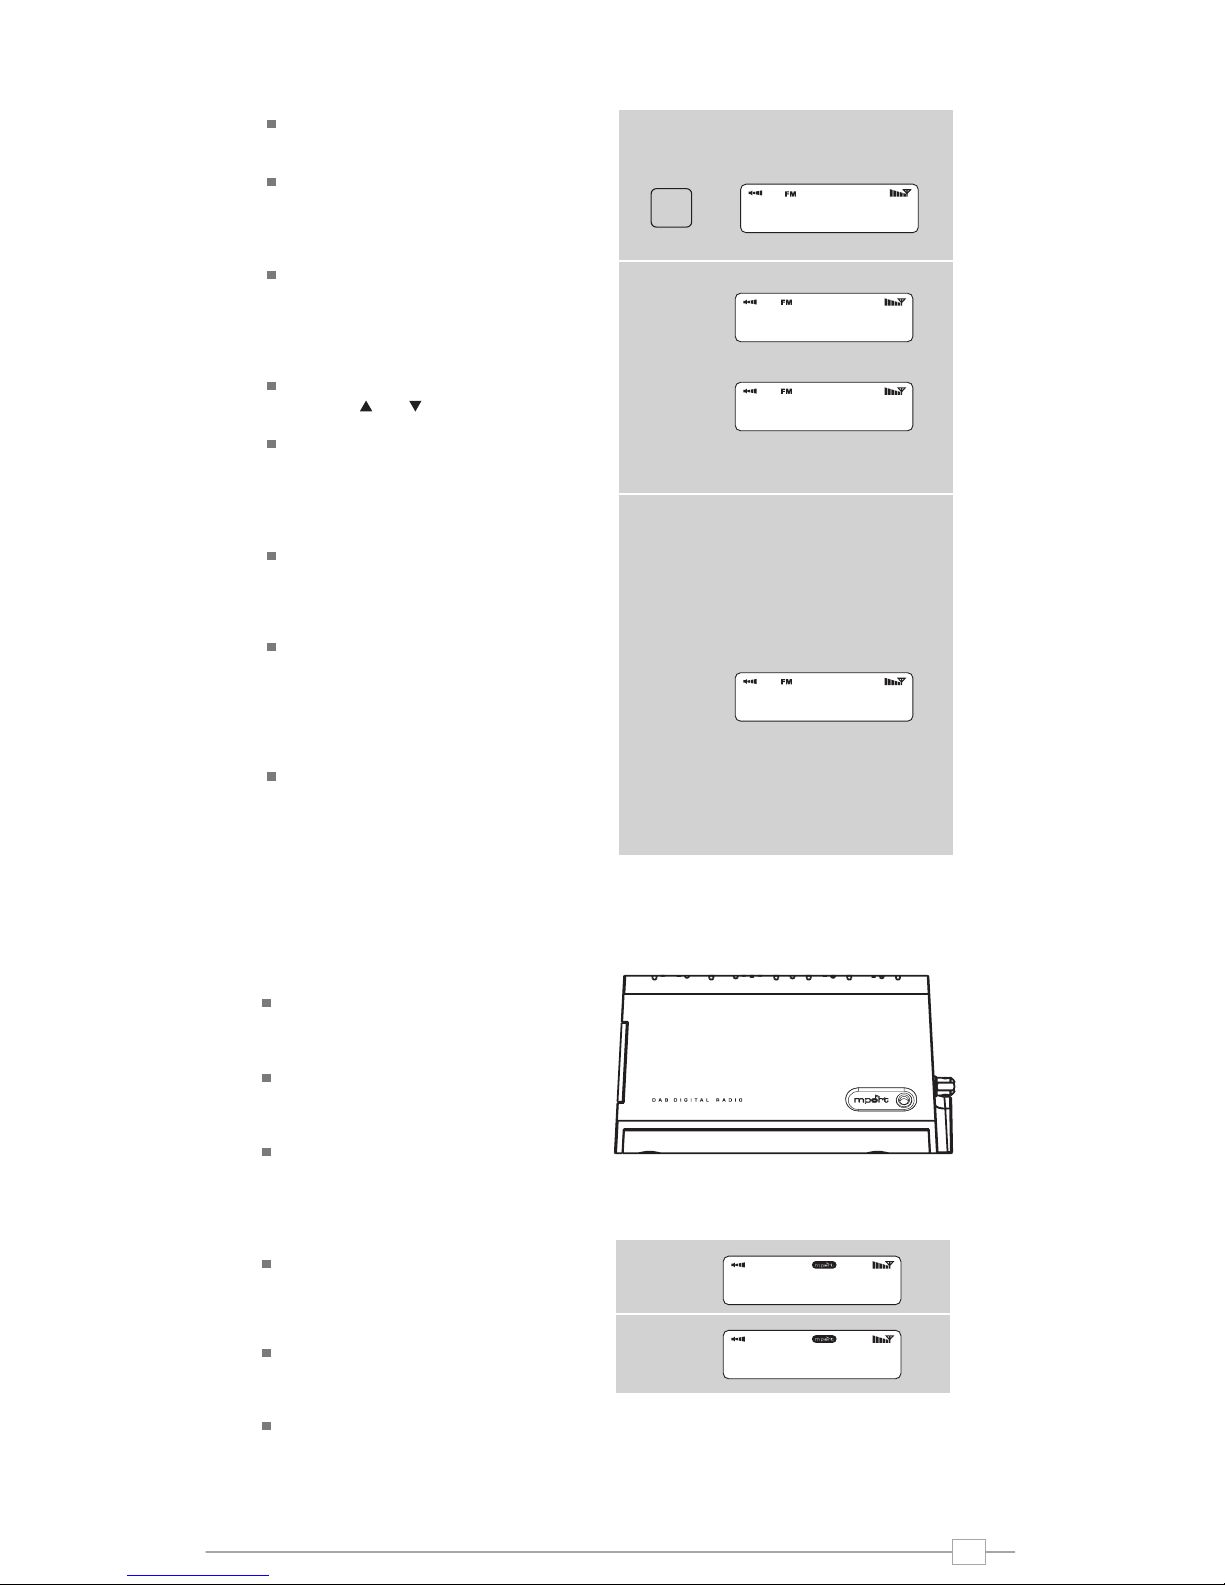
Manual Tune
Choose the Manual Tune option from the
DAB Mode menu.
The Manual Tune selection screen allows
you to select a particular frequency to
tune to. The list of frequencies displayed is
dependant on the currently-set frequency
band and contains all of the frequencies
within that band. It starts with the short
name of the frequency, for example 12B,
and is followed by the actual frequency in
MHz.
If there is a station corresponding to this
station number and frequency, the display
will show the name, frequency, and a
tuning meter will show the signal strength.
DRC - Dynamic Range Control
iBLIK DAB+ includes a dynamic range
control that automatically boosts the
volume of quieter sounds for listening in
noisy environments.
The DRC control is found in the DAB
Mode menu under ‘DRC’. There are three
pre-defined settings as follows:
Local and Full Scan
As time passes, new stations will become
available in your area. To find them and
add them to your station list it is
necessary to perform either a ‘Local’ or
‘Full’ scan. Both operations can be
accessed via the DAB Mode menu.
A Local Scan performs a shorter scan of
only the ‘local’ ensemble range.
A Full Scan will take longer, but will cover
the complete DAB ensemble range.
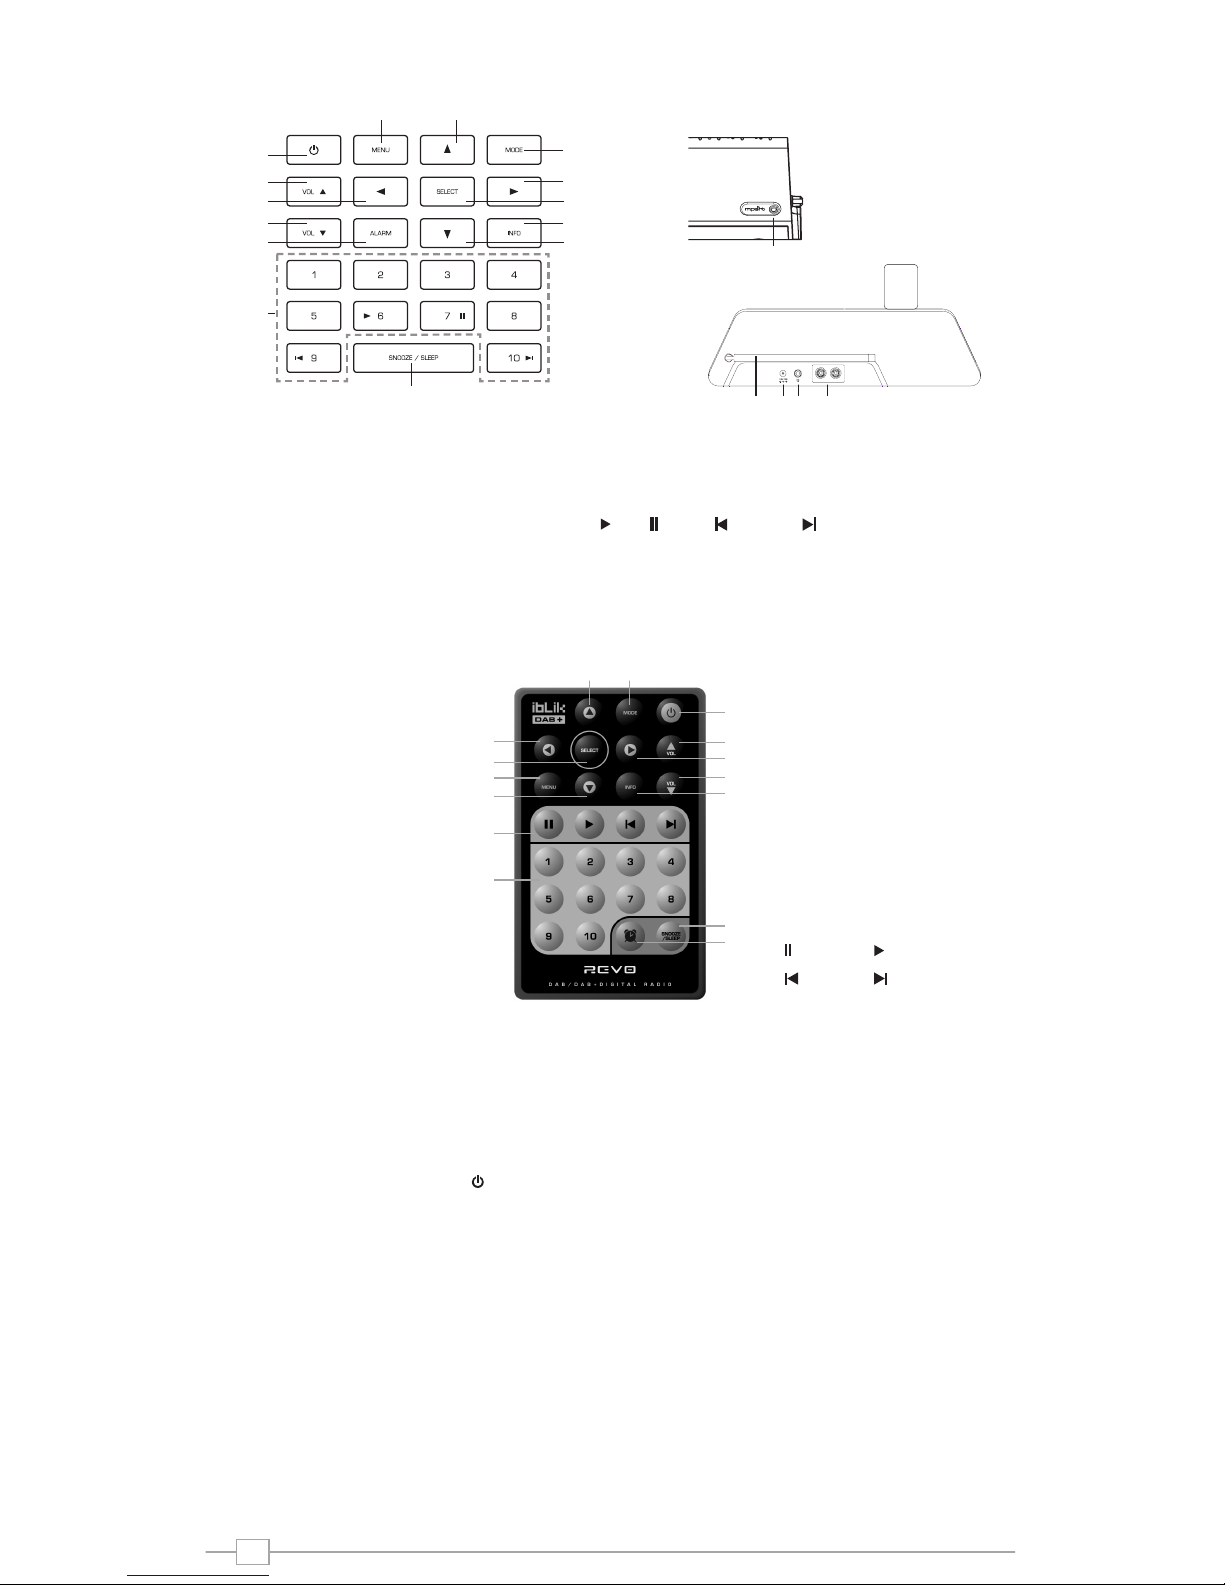
Favourite Station Presets
iBLIK DAB+ allows you to store 10
favourite station presets, either via the 10
preset keys on iBLIK itself, or on the iBLIK
remote control.
To save the station you are currently
listening to as a preset, simply press and
hold a preset key (from 1 - 10) for 2
seconds. iBLIK will confirm that the key
has been programmed by displaying
‘Preset Stored’ on iBLIK’s LCD screen.
Please note, if you store a preset on a key
that was already holding a favourite
station, the previous station will
automatically be erased.
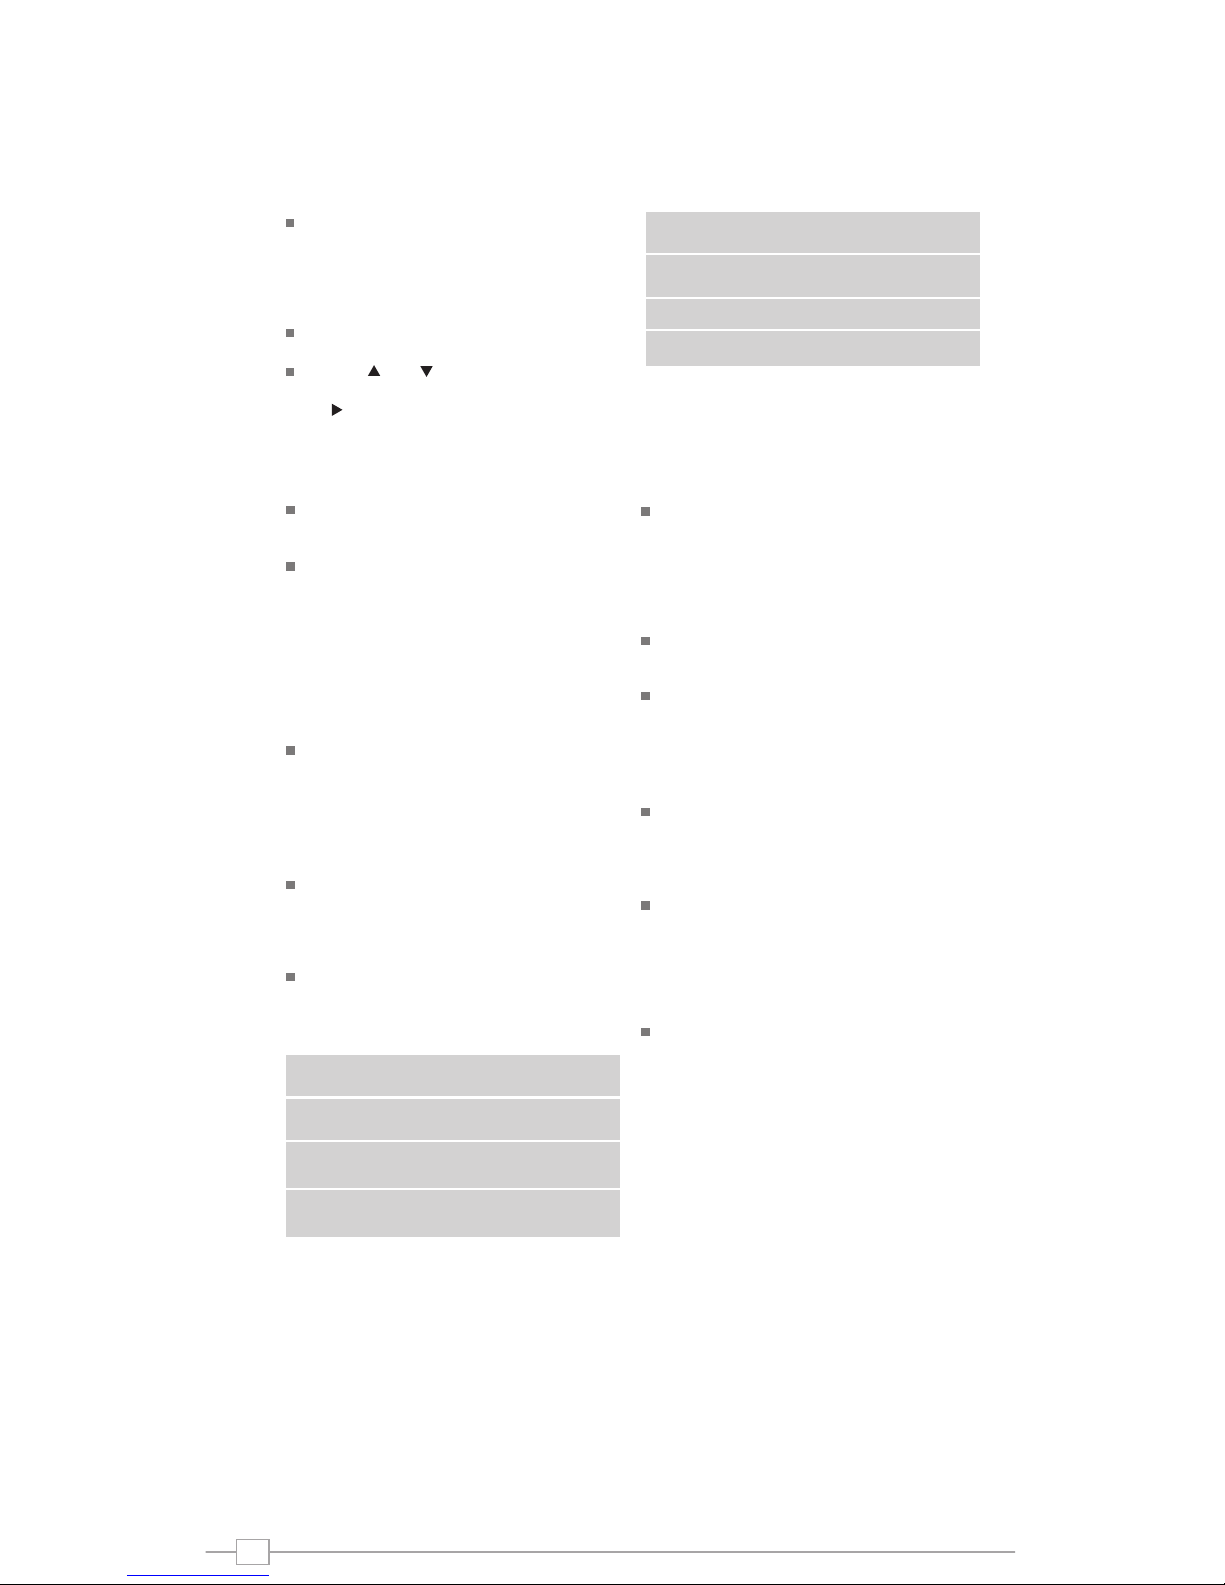
DAB Mode Menu Options
DRC Low Dynamic Range Control is
set to half
DRC High The recommended setting
for noisy environments
DRC Off Dynamic Range Control is
switched off
DRC Description
8
English