2. Via Web Interface:
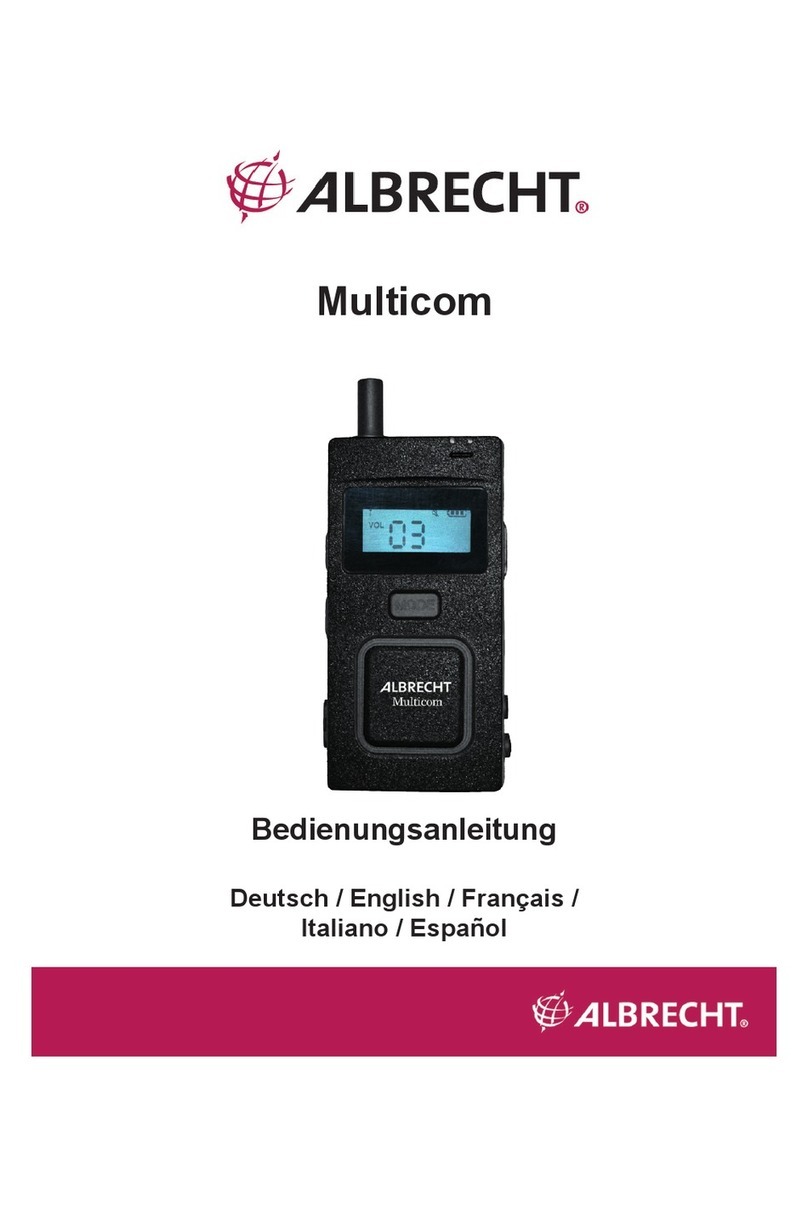
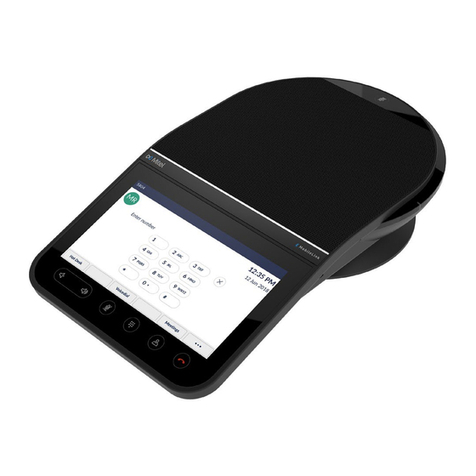
a. Press the Menu Button on the Dialer
b. Navigate to and Select the Info Option
c. Note the IP Address for the UC 1500
d. Using a computer, open an internet browser and type in the IP address
e. For initial login, the password is 7386.
f. Navigate to VoIP Settings
g. Configure the items in this menu per your call manager configuration.
h. Click the Save button. No reboot of the system is required. On successful configuration, the
display will show the phone number associated with the line.
3. Via Provisioning Server, using Option 66
a. Configure the TFTP server name into the DHCP server option 66 string.
b. Upload the configuration file with the UC 1500 firmware bundle onto the TFTP server identified by
the DHCP server option 66 string. The device configuration file must be named with the phone
mac address.
c. When provisioning through HTTP, the option 66 string configured on the DHCP server
should be: http://<server address> Configuration files and firmware files should be placed under
http server document root directory.
d. When provisioning through FTP, the option 66 string specified on the DHCP server should be:
ftp://<server address>/user=”<username>”&pass=”<password>”, where <username> and
password> should be replaced by the FTP server username and password respectively.
Configuration file and firmware files should be loaded to the FTP shared folder where the
<username> login will be prompted to. No reboot of the system is required. On successful
configuration, the phone screen will display the phone number associated with the line.
