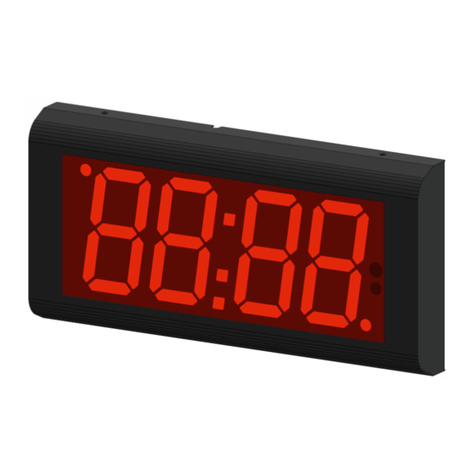
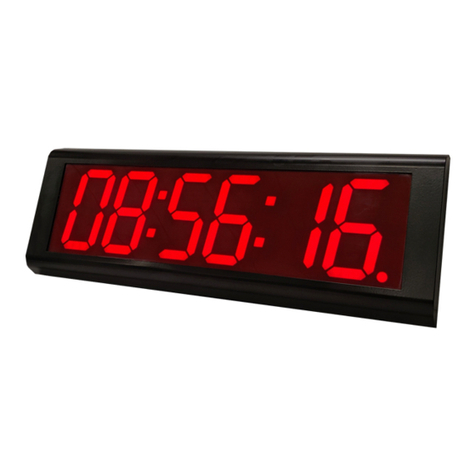
RGB Technology ZB20 Guide

TECHNICAL DOCUMENTATION
ZB20 CLOCKS in the Prestige line casing
Catalogue index no:
301-09-XX
* Explanatory figure

2 16.02.2016r.
Table of contents
1 Specifications......................................................................................................................................................................3
2 Transport and storage ........................................................................................................................................................3
3 Device construction ............................................................................................................................................................3
3.1 Construction of the ZB20 clocks ................................................................................................................................4
3.1.1 List of display cables..........................................................................................................................................4
3.2 Dimensions of the ZB20 device.................................................................................................................................. 4
3.2.1 Mounting the ZB20 device ................................................................................................................................4
4 Installation of the device ....................................................................................................................................................5
4.1 ZB20 devices .............................................................................................................................................................. 5
4.2 ZB20 configuration..................................................................................................................................................... 5
4.2.1 Configuration of the device through the embedded website - Web panel ......................................................5
5 Compact-clock extender module........................................................................................................................................6
5.1 Description of the compact-clock extender connectors............................................................................................6
6 Automatic brightness control of the device .......................................................................................................................6
7 Executive relay module ......................................................................................................................................................6
7.1 Executive relay parameters .......................................................................................................................................6
8 Additional options .............................................................................................................................................................. 7
8.1 IR remote control unit ...............................................................................................................................................7
8.2 PoE power supply ...................................................................................................................................................... 7
8.3 GPS module................................................................................................................................................................7
8.4 Temperature sensor .................................................................................................................................................. 7
8.5 Audible signalling device............................................................................................................................................ 7
9 Initial start-up ..................................................................................................................................................................... 7
10 Most common installation errors.......................................................................................................................................7

16.02.2016r. 3
1Specifications
ZB20 clock
Display format: HH:MM:SS
Power supply: 230VAC*
Control method: IR remote control unit**/ Web Panel
Digit height: 200mm
Dimensions of the device: 900 x 288 x 45mm
Weight of the device: 4kg
Casing tightness rating: IP66
Average power consumption of the device: 20W
Device operation temperature: -20 +60°C
Available LED colours with their catalogue index number:
Catalogue index number
Colour
301-09-01
Red
301-09-02
Green
301-09-03
Blue
301-09-04
Yellow
301-09-05
Amber
301-09-06
White
Table 1
*- Optionally, 24VDC power supply also available
** - IR control module optionally available
2Transport and storage
Care should be taken to properly protect the devices so as to eliminate any damage during transport. It is
forbidden to transport the devices in a collective package without adequate amortisation - each device must be
packed separately and cannot have freedom of movement during transportation.
The module should be stored in the temperature not lower than -20°C and not higher than +60°C at the
humidity below 99%RH.
3Device construction
ZB20 has a housing made of polycarbonate, which is resistant to UV radiation and has a high mechanical
strength. By using the thermo-moulded housing and a rear sealing layer, the device, when properly assembled,
meets the IP66 tightness requirements. The display can also operate at the temperatures from -20 °C to + 60 °C.

4 16.02.2016r.
3.1 Construction of the ZB20 clocks
Front view Back view
det. A –extender box; det. B –M5x10 screw; det. C –technological hole plug; det. D –mounting bracket; det. E
–power supply unit; det. F –Prestige Line casing; det. G –viewfinder; det. H –M5 cage nuts;
det. I –lighting sensor; det. J –IR sensor.
Fig. 1*
* - Explanatory figure
3.1.1 List of display cables
1. Two-metre power cord (2 x 0.5mm²), terminated with power plug,
3.2 Dimensions of the ZB20 device
All the dimensions shown in the drawings are given in [mm].
Fig. 2
3.2.1 Mounting the ZB20 device
Fig. 3

16.02.2016r. 5
4Installation of the device
Proper installation consists in mounting the device on a flat surface with the leads facing down. Only the correct
installation of the device ensures its proper operation and maintaining the device parameters, e.g. casing
tightness rating to satisfy the IP code.
NOTICE!
Before any installation or maintenance operations refer to the manual supplied by the manufacturer. Improper
connection to the mains power supply, incautious device installation, or improper use may cause the property
damage, loss of health or death from electrical shock! In addition, any failure to follow the manufacturer's
instructions may void your warranty.
NOTICE!
Keep in mind that all the components must be mounted with the leads facing down.
NOTICE!
It is forbidden to make any additional mounting points or any holes in the device assembly components.
4.1 ZB20 devices
The ZA20 devices are designed to display time, date, and optionally temperature. For the proper operation of the
device, it should be correctly configured. As a standard the device is configured using LAN.
4.2 ZB20 configuration
The configuration process consists in personalising the device through the embedded Web panel. The user, after
connecting the clock through the LAN inteface, can edit the display parameters of the clock.
4.2.1 Configuration of the device through the embedded website - Web panel
To connect with the clock, first you should configure the network card of the computer to which it is connected.
The proper configuration of the network card can be downloaded from http://rgbtechnology.pl/soft/. Having
configured the network connection correctly, you can, through a Web browser, connect with the embedded
website (Web panel), where you can personalise the device. On the embedded clock website, you may use the
following tabs:
TIME -> tab allowing you to configure the parameters connected with time;
DISPLAY -> tab allowing you to configure the parameters connected with the device display;
ALARMS -> tab allowing you to configure the parameters connected with alarms (option available in the
version with an audible signalling device);
ADVANCED -> tab allowing you to configure the advanced parameters of the device;
STATUS -> tab allowing you to read the device status.
The detailed description of the tabs is available in the device operation manual instr_hardware_037.

6 16.02.2016r.
5Compact-clock extender module
The extender module (Fig. 4) enables the operation of peripheral devices and, thanks to a battery, ensures correct
time counting when there is no external power supply.
det. A signal LEDS; det. B –relay; det. C –relay connector; det. D –PoE output ; det. E –LAN connector; det. F –GPS
connector; det. G –temperature probe connector; det. H –battery.
Fig. 4
5.1 Description of the compact-clock extender connectors
Symbol
Function
Remarks
RA, RB
Relay (alarm signalling device)
Closing contact, normally open; permissible load:
- resistive: 5 A 250 VAC, 5A 30 VDC
- inductive: 2 A 250 VAC, 2A 30 VDC
TX+
Ethernet
Pin no. 1 plugs RJ–45
TX-
Pin no. 2 plugs RJ–45
RX+
Pin no. 3 plugs RJ–45
RX-
Pin no. 6 plugs RJ–45
POE1, POE2
Linie PoE (Power over Ethernet) lines
According to the IEEE 802.3at standard (PoE+ active power
supply)
GPS
GPS module signal
Cooperates with GPS GM-2
TEM
Thermometer
–
5V
Power supply for external modules
Power supply for GPS and thermometer
GND
Mass of the system
–
Table 2
6Automatic brightness control of the device
In the standard version, a lighting sensor is included. The device, in response to the intensity of daylight, adjusts
the brightness of the clock display.
7Executive relay module
The device is equipped with an embedded executive relay, which enables signalling up to 30 alarms. The duration
of each alarm can be set in a time interval between 1 and 59 seconds. Sample applications:
1) Activating an acoustic signalling device for industrial applications*, signalling, for example, a break or a shift
rotation in an industrial plant;
2) Activating a school bell;
3) Giving a time signal to separate systems or devices.
* - optionally, an audible signalling device is available
7.1 Executive relay parameters
Embedded executive relay parameters
Types of contacts
NO (normal open)
Maximum load
5A
Maximum applied voltage
230V
Maximum applied power
1000W
Table 3
There is a possibility to connect a different signalling device (e.g. visual or visual-acoustic) to the relay connector. In
such case, be careful not to exceed the relay electric parameters.

16.02.2016r. 7
8Additional options
8.1 IR remote control unit
IR remote control unit (Fig. 5), catalogue index number 300-03-09, enables entering the embedded user menu.
You can do it by pressing the „MENU”button (Fig.5, det. C)
Fig. 5
det. A –arrows for changing the parameters (UP/DOWN); det. B –proceeding to the next position (BACK/NEXT)
det. C –„MENU” button.
The detailed description of the user menu functions is available in the DTR manual of this device.
8.2 PoE power supply
Optionally, the clock can be powered-up through the LAN connector (PoE). Choosing this power supply option
requires using a power supply device meeting the IEEE 802.3at standard.
8.3 GPS module
Optionally, the device may be equipped with an external GPS module. The properly configured clock equipped
with the GPS module can synchronise the displayed data with a satellite. The detailed description of the module
is available in the DTR documentation of the GPS module.
8.4 Temperature sensor
The temperature sensor (Fig. 6) is available with two versions of a signal cable length 0.5m and 2m..
The probe enables measuring and displaying temperature only in °C (Celsius). The detailed description of the
temperature probe is available in the DTR documentation according to the catalogue index number.
Fig. 6
8.5 Audible signalling device
Optionally, the device is equipped with an audible signalling device. The user may choose one of two signalling
device versions:
1) volume of the audio signal at the level of 88dB;
2) volume of the audio signal at the level of 108dB.
The detailed description of the signalling device is available in the DTR documentation according to the
catalogue index number.
9Initial start-up
Step 1: Connect the device to 230V power supply,
Step 2: Properly connected system should display pre-set (current) time and date.
10 Most common installation errors
1. Device installed contrary to the instructions,
2. Drilling additional holes in the casing.
3. No plugs in unused holes of the extender box.
Table of contents
Other RGB Technology Clock manuals
Popular Clock manuals by other brands

La Crosse Technology
La Crosse Technology WS-8007CTWC instruction manual

Karlsson
Karlsson KA5601BK instruction manual

Frederique Constant
Frederique Constant FC-270 operating instructions

Nixie Clock
Nixie Clock DA-2000 operating instructions

Oregon Scientific
Oregon Scientific RRM320P user manual

Sapling
Sapling SBT Series installation manual