Rifton R130 User manual

Tricycle
R120, R130 & R140 Product Manual
®
R120, R130 & R140

2© 2010 by Community Products, LLC
Contents
Check your order 3
Warnings and important information 4
Recommended use 5
User and item dimensions 5
Frame 6
Trunk support system 6
Backrest pad 7
Seat 7
Parking brake 7
Handlebar and handbrake 8
Accessories 9
Headrest 9
Rear steering bar 10
Front guide bar 11
Abductor 12
Communication tray 12
Stationary stand 13
Maintenance 14
Cleaning 14
Materials 15
User modifications 15

3
Key for EU users
Use this key to determine which sections of this product manual
apply to you.
Technical users For professionals who order and set up
Rifton products.
Home users For care-givers who use Rifton products on
a regular basis.
Maintenance personnel For anyone who is responsible
for service or re-ordering of Rifton products and parts.
Check your order
Tricycle main frame, handlebar assembly, backrest assembly,
front guide bar (if ordered), accessories for the tricycle, and this
product manual ship together.
Rear steering bar (if ordered) and stationary stand (if ordered) ship in
separate cartons.
You may not have ordered all of the available accessories, but use the
diagrams that follow to confirm that your order is complete.
If your shipment is incomplete or in any way damaged
on arrival, please call Customer Service, 800.571.8198.

4
WARNINGS
• Thoroughly read and understand the information in this manual before
attempting to use this product. If the procedures and instructions in
this manual are not followed, serious injury could occur.
• A qualified professional must assess the appropriateness and safety of
all equipment for each user.
• Correct use of this product requires the prior approval and ongoing
guidance of a qualified therapist or physician.
• This product is intended for use by children of immature judgment.
Adult supervision is required at all times.
• Do not use this product on rough and uneven terrain, around
swimming pools, or near stairways.
• Straps and supports are provided for the safety of the user and must
be carefully adjusted for comfort and security. The use of straps and
supports must be supervised at all times.
• Restraints – Using straps, trays or supports to restrict a child’s
movement is considered behavioral restraint, which may raise ethical
and legal issues for your facility. Rifton Equipment is not intended for
this use.
• Tricycles are inherently unstable. All tricycle use must be carefully
supervised.
• Rider should always wear shoes and a protective helmet and fasten all
safety belts.
• The tricycle may not be appropriate for children with strong involuntary
movements, poor body balance, or limited head control.
IMPORTANT
• Please save this product manual. Additional copies are available
at www.rifton.com
• Please refer to the Rifton product catalog for our full warranty, or
visit www.rifton.com

5
Recommended use
The tricycle can be used for recreation and play for children and adolescents with
disabilities. Chain drive from pedals to rear wheel offers the following advantages:
• Pedaling is slightly forward of the seat instead of at front wheel as with many
other tricycles. This provides a more efficient, comfortable and natural posture.
• Steering is separate from pedaling, reducing the coordination needed to pedal
and steer the tricycle.
User and item dimensions
User dimensions – inches (cm) R120 small R130 medium R140 large
Inside leg length 17–22 (43–56) 22–28 (56–71) 25–35 (64–89)
Key user dimension: inside leg length
The extended leg should reach from seat to pedal comfortably when both feet and torso are
strapped into place.
Important: User’s weight must not exceed the maximum working load. Rifton Tricycles are not
intended for children with strong reflexes or poorly developed trunk balance and head control.
Consult your child’s therapist before ordering.
Item dimensions – inches (cm) R120 small R130 medium R140 large
Overall height 37 (94) 40 (102) 53 (135)
Overall length 45 (114) 52 (132) 65 (165)
Overall width 27 (69) 27 (69) 31 (79)
Wheel diameter 13 (33) 15 (38) 19 (48)
Seat center to extended pedal 17–22 (43– 56) 22–28 (56–71) 25–35 (64– 89)
Gear ratio (approximate) 1:1 1:1 1:1
Item weight – lbs (kg) 47 (21) 56 (25) 65 (29)
Max. working load – lbs (kg) 150 (68) 160 (73) 200 (91)
Tray dimensions – Inches (cm) small large
Inside dimensions 8½ x 12½ (22 x 32) 11½ x 13½ (29 x 34)
Max. working load – lbs (kg) 10 (5) 15 (7)

6
Frame
Trunk support system
Recommended use
The trunk support system aids users who
have difficulty remaining upright while
sitting. It can be used to correct excessive
leaning toward one side.
Attaching
1. Remove knob (A) and clamp channel (B)
from trunk support.
2. Place assembly on backrest tubes in
the position shown, with the bolt facing
the rear (see Figure 6a).
3. Place clamp channel (B) and knob (A) on
the bolt and tighten securely.
4. Repeat procedure for lower ring
attachment bar (H).
WARNINGS
1. ALWAYS check that the butterfly
harness is positioned correctly.
Adjust straps for comfort and
safety to avoid strangulation
hazard
2. ALWAYS use the seatbelt with the
butterfly harness. The absence
of a seatbelt may result in falls or
strangulation.
3. ALWAYS use lateral supports with
the butterfly harness. Absence of
lateral supports may put pressure
on the user's neck and pose a
strangulation hazard.
Transfers and adjustments
1. Push oval release button (D) to remove
lateral supports (C).
2. Remove one or both lateral supports and
reinstall them facing the rear.
3. Seat the user on the tricycle, and
re-position the lateral supports using
the oval release buttons (D) to make any
necessary adjustments to the
lateral supports.
4. If desired, clip on butterfly harness (G)
using the ring attachment points
(E and F) and adjust strap lengths
with strap adjusters (I).
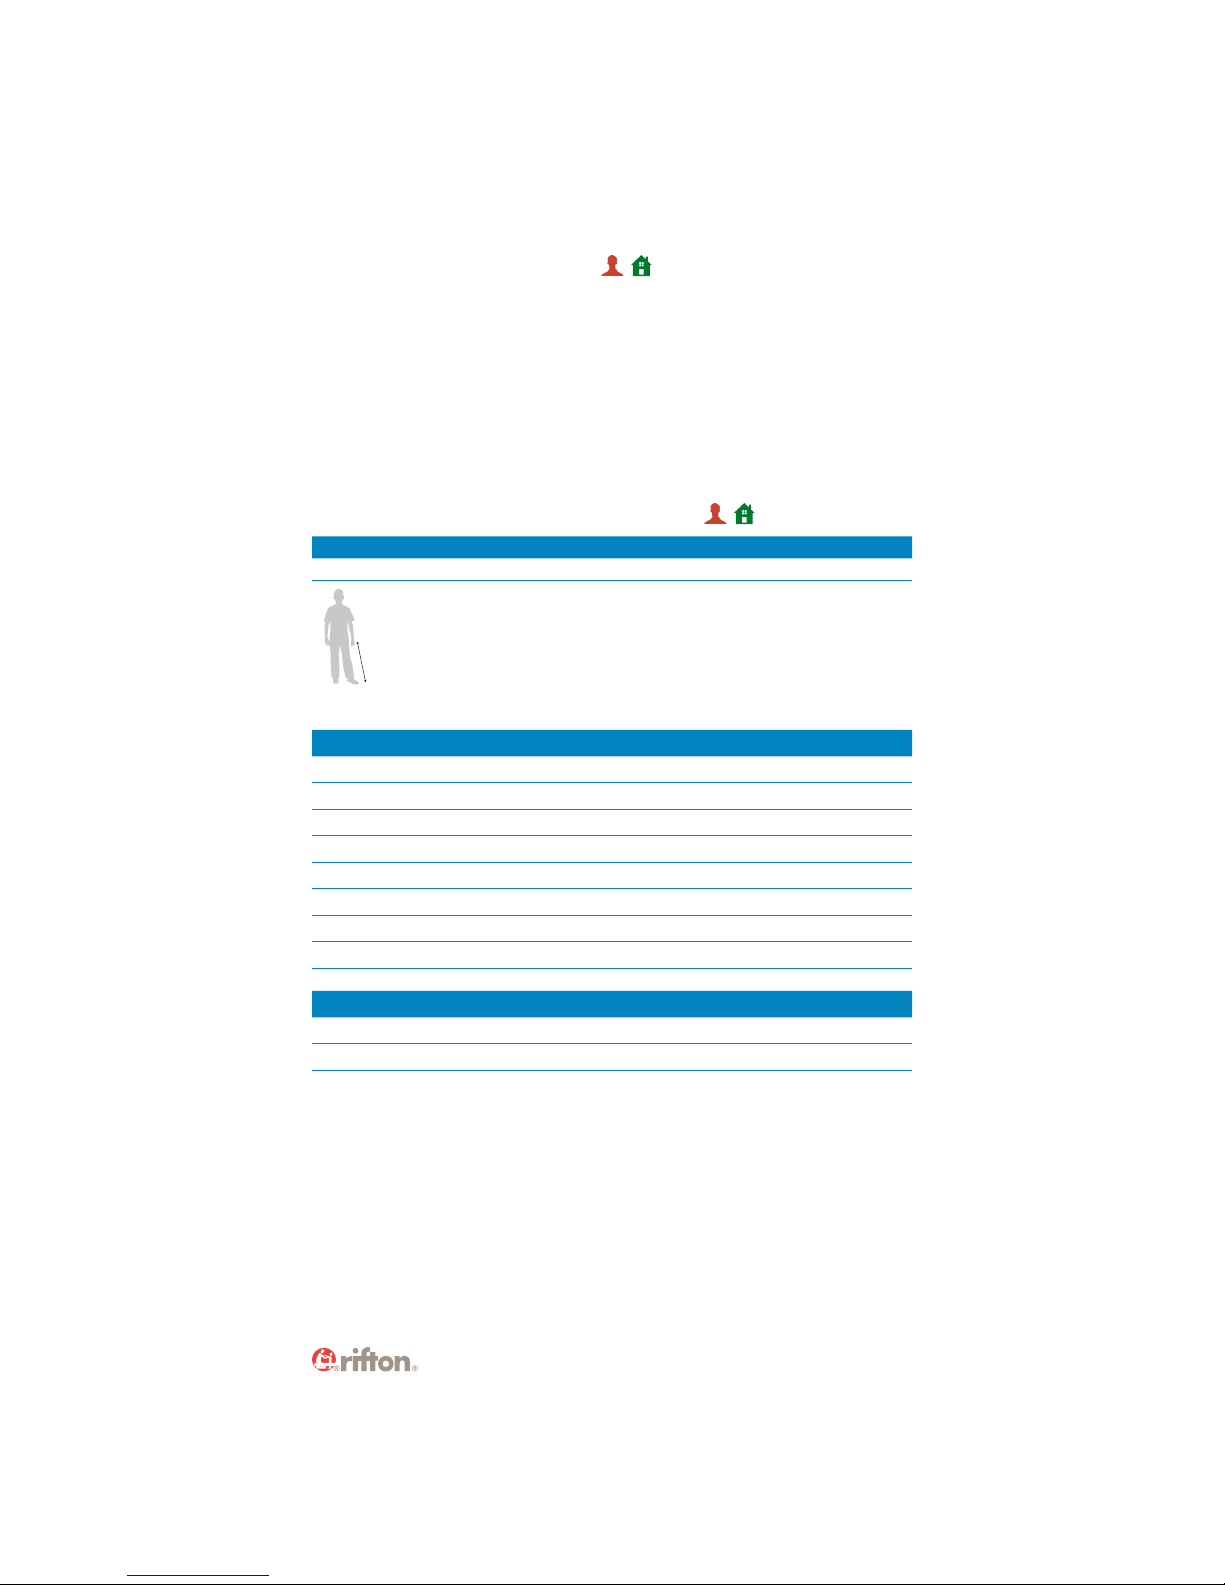
Figure 6a
F
F
C
C
G
G
E
E
A
A
B
B
D
D
WARNING
• This accessory is intended for use
on Rifton tricycles only.
H
H
I
I
I
I

7
Backrest pad
Attaching
1. Remove knob and clamp channel (A)
below seat.
2. Slide backrest tubes out.
3. Turn backrest upright (see Figure 7a) and
attach with clamp channel and knob (A)
below seat.
4. Attach additional backrest pad
if needed.
Adjusting
Backrest pad adjusts vertically 12" (30.5
cm) above seat with knob (C), and 3½" (9
cm) horizontally with knob (A).
Seat
Adjusting
Seat position adjusts vertically using knob
(D). To adjust seat height, loosen knob
(D) move seat to desired position, then
partially tighten knob (D). Move the seat up
and down slightly to engage the pin in the
nearest seat post hole. Tighten knob (D)
securely (see Figure 7b).
Parking brake
The parking brake (E) stabilizes the tricycle
stable while the rider is getting on or off.
It is for use on flat surfaces only. Brake can
be operated by hand or foot
(see Figure 7c).
Note: Always adjust seat height
before the rider is seated.
A
C
Figure 7a
Figure 7b
D
B
E
E
Figure 7c
WARNING
Do not adjust front of backrest tube
beyond the forward edge of clamp (F)
(see Figure 7b).
F
F

8
Handlebar and handbrake*
* Hand brake not available on
small tricycle.
Recommended use
A conventional handlebar or loop
handlebar can be used with your Rifton
tricycle. Hand brake (C) allows the user to
slow and stop the tricycle.
Adjusting the loop handlebar
Rotate handlebar toward or away from
rider by loosening the two oval knobs (B).
Secure in required position by tightening
both knobs.
Handlebar adjusts vertically 3⅝"
(9.2 cm) with knob (A).
Adjusting the conventional
handlebar
Handlebar adjusts 3⅝" (9.2 cm) in height
with knob (A).
Operating the hand brake
The hand brake (C) allows the user to slow
and stop the tricycle.
For the loop handlebar ONLY: The hand
brake can be positioned anywhere on the
loop handlebar using the hook and loop
strap provided. WARNING
• This accessory is intended for use
on Rifton tricycles only.
Conventional handlebar
Loop handlebar
C
B
A
C
A

9
Accessories
Headrest
Two headrests are available for use with
the trunk support system only. One is flat
the other contoured.
Attaching
Press white oval button (A) and insert
metal headrest bar into slot (see Figure 9a).
Release button to engage headrest and
click into place.
Adjusting
Press white oval button (A) and raise or
lower headrest. Release button to engage
and click into place.
To adjust depth and angle of headrest,
loosen both black knobs (B). Move
headrest
to desired position and tighten both
knobs securely.
A
A
Headrest bar
Figure 9a
B
B

10
Rear steering bar
Recommended use
The rear steering bar allows the caregiver
to guide the tricycle from behind (see
Figure 10a).
Attaching
1. Attach the support bar (A) to the
backrest tubes. The clamp channel and
oval adjustment knob (B) should face
the rear.
2. Snap the push rod (C) into the guide
loop (D).
3. Use the clamp knob (E) to open the
clamp (F), and then place it over
the handle bar U-tube and tighten it.
Adjusting
To raise or lower the support bar (A) loosen
knob (B) place in desired position and
tighten knob (B) again.
Note: Before attaching check the size
numbers on the short tube of the rear
steering bar to make sure the size of
the rear steering adapter and tricycle
number are the same.
(R120 Rustler, R130 Ranger, R140
Wrangler)
Note: The handle bar must be above
the lowest position when attaching the
clamp (F). With the clamp in place the
handlebar can be fully lowered again.
CAUTION: A very low handlebar
position and high support tube
position may result in interference
between the push-tube and
handlebar during left turns.
Check for adequate clearance
before use and adjust if necessary
(see Figure 10b).
Figure 10a
A
B
B
C
C
D
E
F
Figure 10b
WARNING
• This accessory is intended for use
on Rifton tricycles only.

11
Front guide bar
Recommended Use
The front guide bar allows the
care-giver to guide and move the tricycle at
the front (see Figure 11a).
Attaching
1. Loosen knob (A) to open clamp.
2. Attach front guide bar to handlebar
as shown.
3. Tighten knob (A). WARNING
• This accessory is intended for use
on Rifton tricycles only.
Note: The clamp cannot be attached
with the handlebar in the lowest
position. Once the clamp is in place the
handlebar can be fully lowered.
A
Figure 11a

12
Abductor
Recommended use
The abductor is for children who require
knee separation or abduction.
Attaching
Place abductor onto tubes with large end
of bracket facing down. Bracket fits snugly
onto slanted frame tubes (see Figure 12a).
WARNING
• This accessory is intended for use
on Rifton tricycles only.
Figure 12a
Communication tray
Recommended use
The communication tray provides a surface
for personal communication devices and
other activities. Communication sheets
can be placed under the false bottom and
electronic devices can be secured to the
tray. The tray is easily removed when not in
use (see Figure 12b).
Attaching and adjusting
1. Attach tray to the handlebar by
loosening the tray knob (E)
and placing it over the handlebar in
location shown.
2. Tighten knob (E) while holding the tray
at desired angle.
3. To attach a communication sheet,
push through holes in bottom of tray
to remove cover. Insert sheet and
replace cover.
WARNING
• This accessory is intended for use
on Rifton tricycles only.
CAUTION
• The tray is not designed to be used
as a restraint or for body support.
E
Figure 12b

13
Stationary stand
Recommended use
The stationary stand converts your tricycle
into a stationary trainer, for learning the
basic motions of pedaling (see Figure
13a-13c).
Attaching
1. Place the stand on the floor in the
desired location.
2. Lift the tricycle’s rear axle into the
correct notch on the stand (see Figure
13b). Use the lowest position for the
R120 (Rustler), the middle for the R130
(Ranger), and the highest for the R140
(Wrangler) Rifton tricycle.
Note: The stand should be centered
laterally on length of the rear axle (see
Figure 13c).
Figure 13a
Figure 13b
Figure 13c
WARNING
• This accessory is intended for use
on Rifton tricycles only.

14
Maintenance
Periodically inspect for cracks, breaks, loose or missing parts, and/or
malfunctions. Remove the product from service when any condition develops that
might make operation unsafe.
Chain is oiled in factory. If maintenance to chain is required, remove pan by
pulling upward on the back of the pan, then remove screw from the side of the
chain guard. Retain the screw. Remove chain guard by pulling upward to release
from axle. After servicing the chain, the chain guard and screw must be replaced.
Snap pan back into place.
Chain tension is factory set. Should
it need tightening, do the following:
1. Slightly loosen the two cap screws
(A) on top of crank case using a hex
head wrench.
2. Use the same size wrench to tighten the
cap screw (B) at the front of the plate
until slack is removed from chain. Do
NOT overtighten.
3. Re-tighten the two cap screws on top of
crank case.
Cleaning
Clean upholstery with soap and water or cleaner designed for imitation leather.
Web straps can be laundered, but beware of lint sticking to hook and loop.
Tray may be washed with mild soap and water. Wash handgrips with soap
and water.
A
B

15
Materials
• Steel hardware items (nuts, bolts, screws, etc) are typically zinc or nickel plated,
or stainless steel.
• Upholstery items (pads, support blocks, padded prompts, etc) are typically
fire-retardant polyurethane foam with a fire-retardant cover made from
expanded vinyl.
• Frames are typically steel or aluminum tubing, welded together, and
coated with a baked-on paint finish. Some frame components may also be
stainless steel.
• Tires are tubeless, filled with polyurethane foam, and do not require inflation.
• Straps are typically made of polypropylene or nylon webbing.
• Wooden components are typically birch plywood, solid maple, or laminated
hardwood veneers, finished with a clear polyurethane lacquer.
• Tabletops are typically high-pressure laminate (Formica).
• Plastic components are typically injection molded from a variety of
industrial resins.
All materials are latex, lead and phthalates free.
User modifications
We recognize that some clients may benefit from modifications made in the field.
However, we cannot be responsible for customer modifications made to our
products without our explicit supervision, testing or evaluation.

YN52 ECO 3188 Revision R
Rifton Contact Info
Mail
Rifton Equipment
PO Box 260
Rifton NY 12471– 0260
Fax
800.865.4674
Phone
800.571.8198
9–5 EST
Online
www.Rifton.com
To order replacement parts
1. Locate the serial number of the product on the small white label.
2. Have this number available when you call 800.571.8198 for your
customer service representative.
Use only replacement parts supplied by Rifton Equipment.
This manual suits for next models
2
Table of contents
Other Rifton Bicycle manuals