4
Recommended Use
The Wrangler Tricycle can be used for recreation and play for children and
adolescents with disabilities. Chain drive from pedals to rear wheel offers the
following special advantages:
Pedaling is slightly forward of the seat, instead of at front wheel as with many
other tricycles. This provides a more efficient, comfortable, and normal posture.
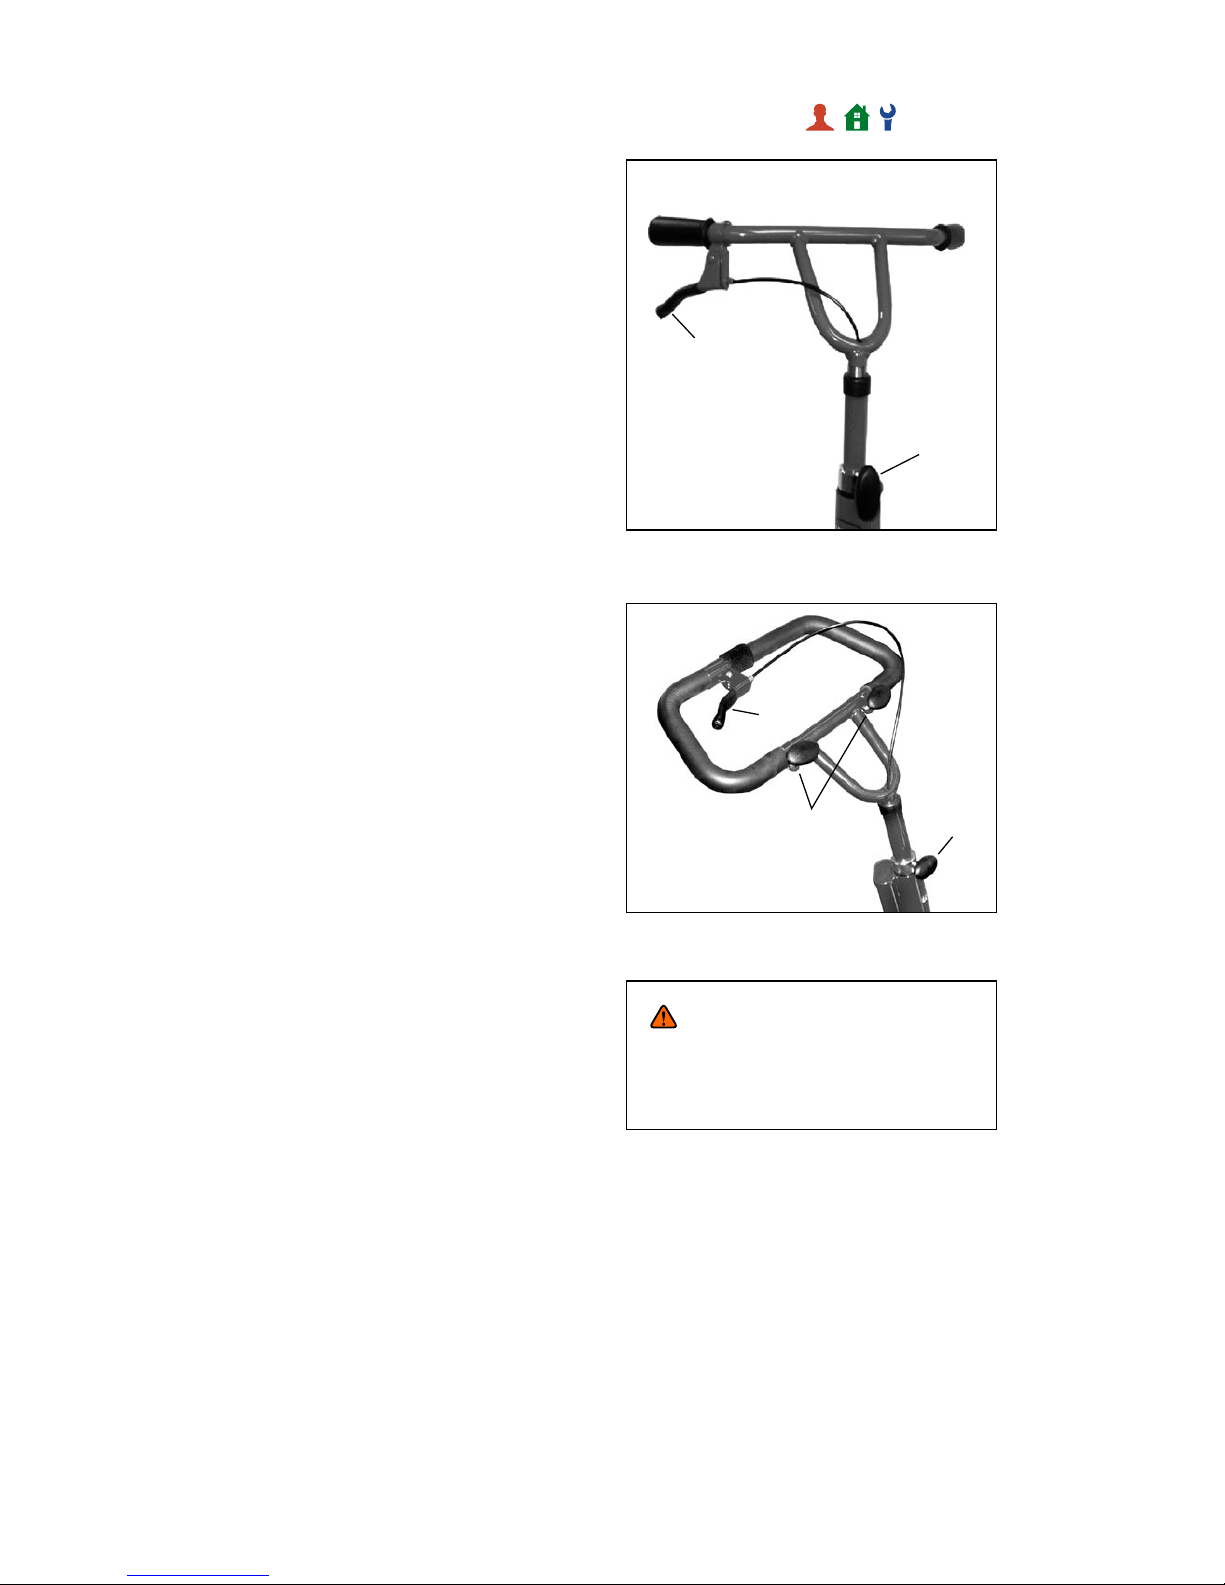
Steering is separate from pedaling, reducing the coordination needed to pedal
and steer the tricycle.
•
•
User and Item Dimensions
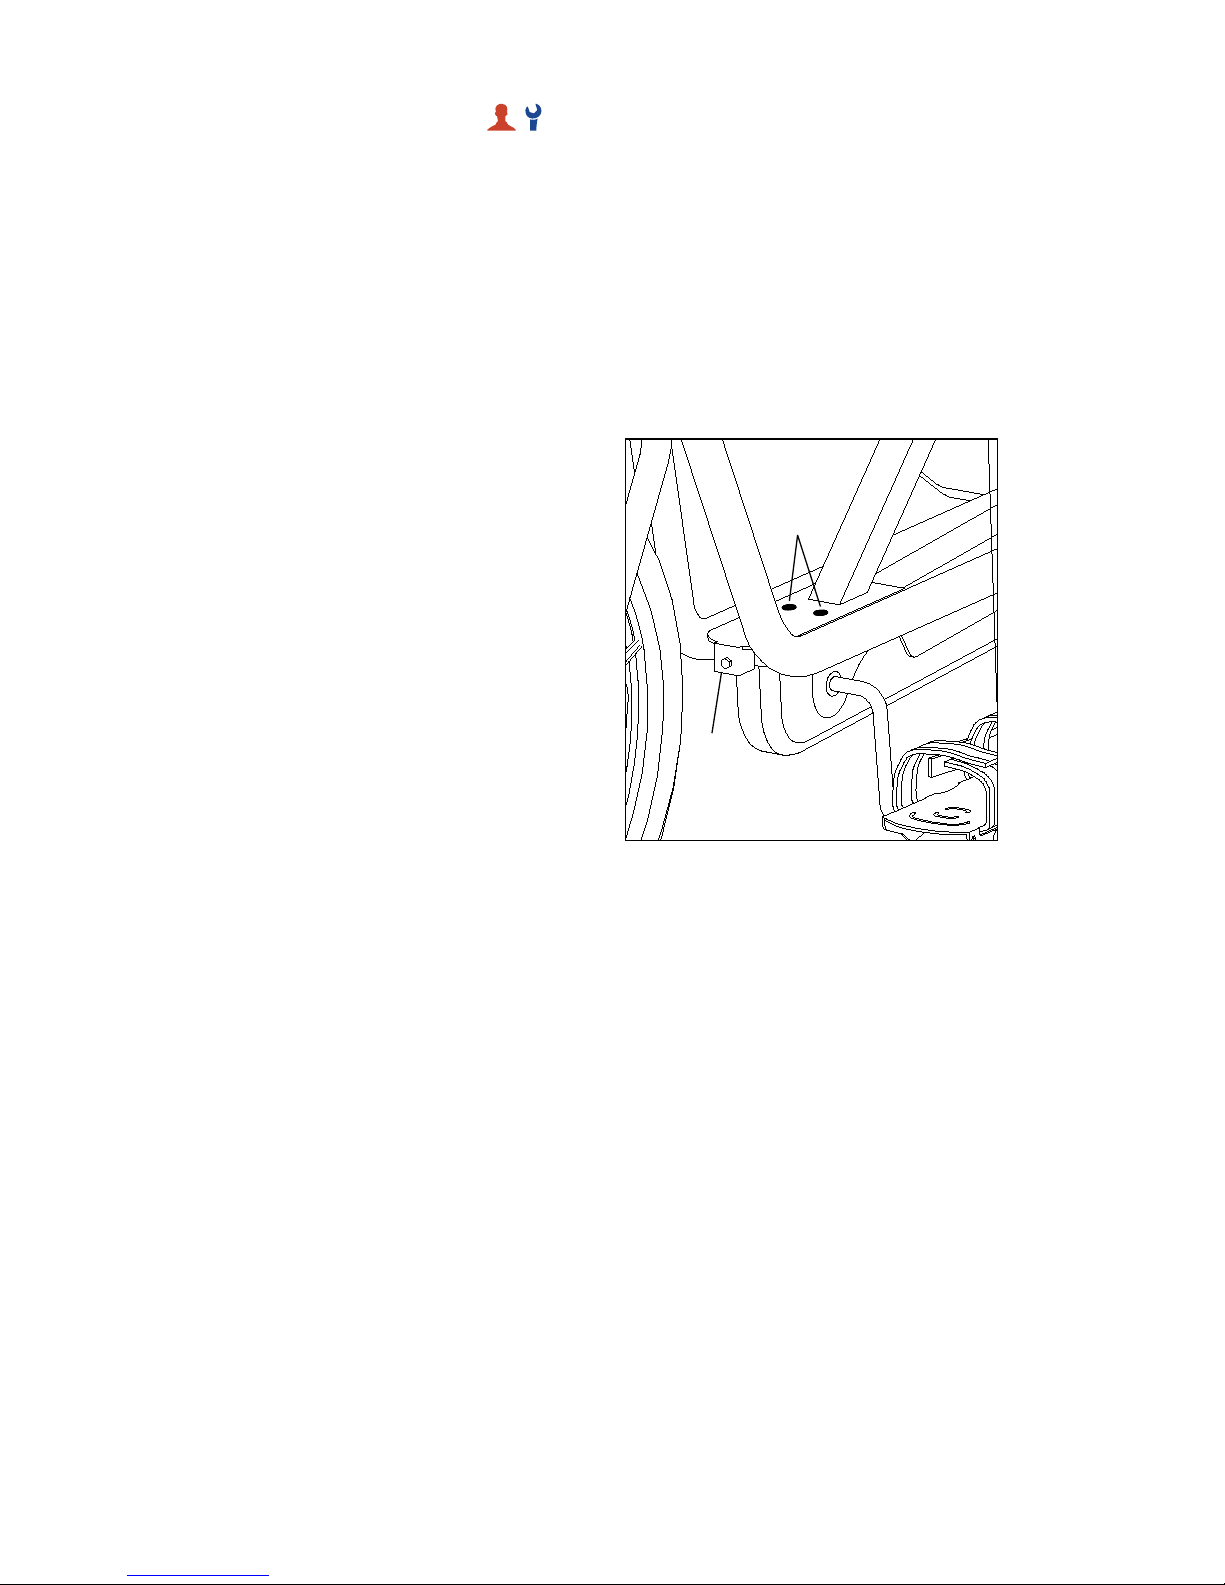
Checking Your Order
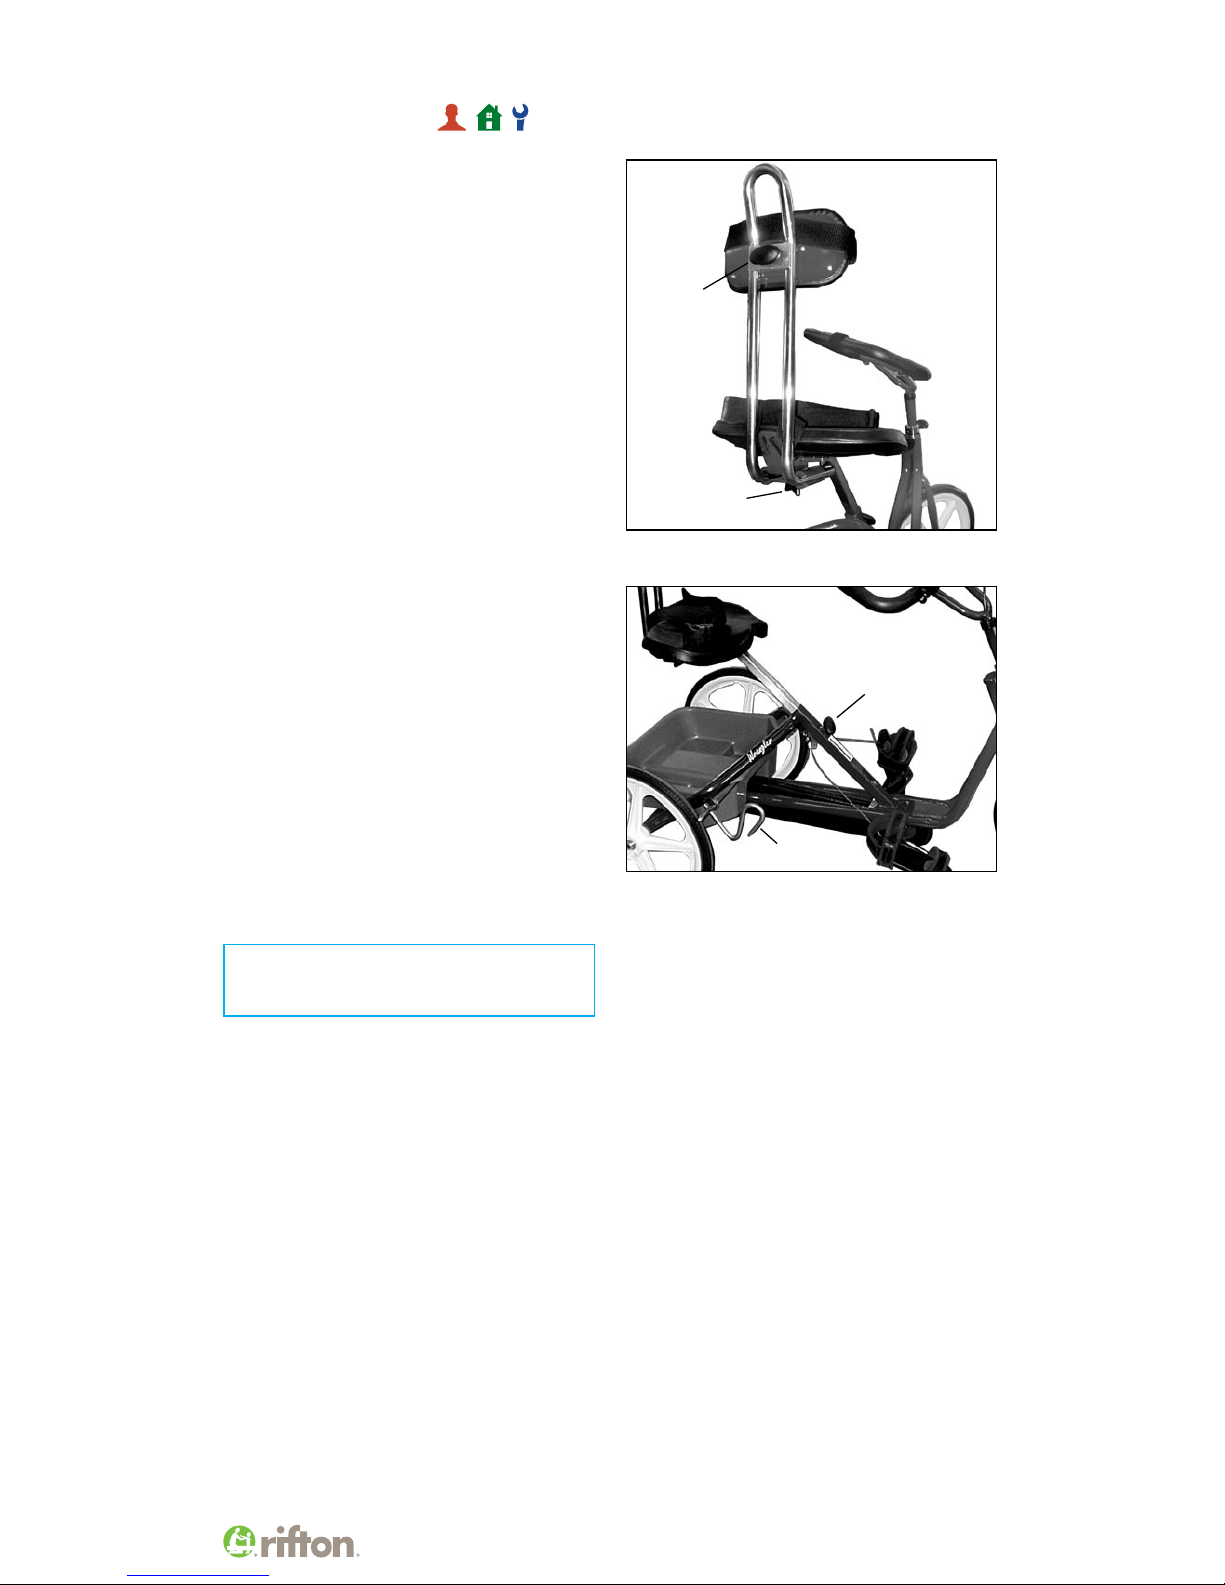
This product comes in a single carton containing handlebar assembly, backrest as-
sembly, tricycle main frame, accessories for the tricycle, and this product manual.
You may not have ordered all of the available accessories, but use the diagrams
that follow to make sure your order is complete.
If your shipment is incomplete, please call Customer Service.
User Dimensions – Inches (cm) Rustler Ranger Wrangler
Inside leg length 17–22 (43–56) 22–28 (56–71) 25–35 (64–89)
Key User Dimension: Inside Leg Length
The extended leg should reach from seat to pedal comfortably when both feet and torso are
strapped into place.
Important: User’s weight must not exceed the maximum working load. Rifton Tricycles are not
intended for children with strong reflexes or poorly developed trunk balance and head control. Consult
your child’s therapist before ordering.
Item Dimensions – Inches (cm) Rustler Ranger Wrangler
Overall height 37 (94) 40 (102) 53 (135)
Overall length 45 (114) 52 (132) 65 (165)
Overall width 27 (69) 27 (69) 31 (79)
Wheel diameter 13 (33) 15 (38) 19 (48)
Seat center to extended pedal 17–22 (43–56) 22–28 (56–71) 25–35 (64– 89)
Gear ratio (approximate) 1:1 1:1 1:1
Item weight – lbs (kg) 47 (21) 56 (25) 65 (29)
Max. working load – lbs (kg) 150 (68) 160 (73) 200 (91)
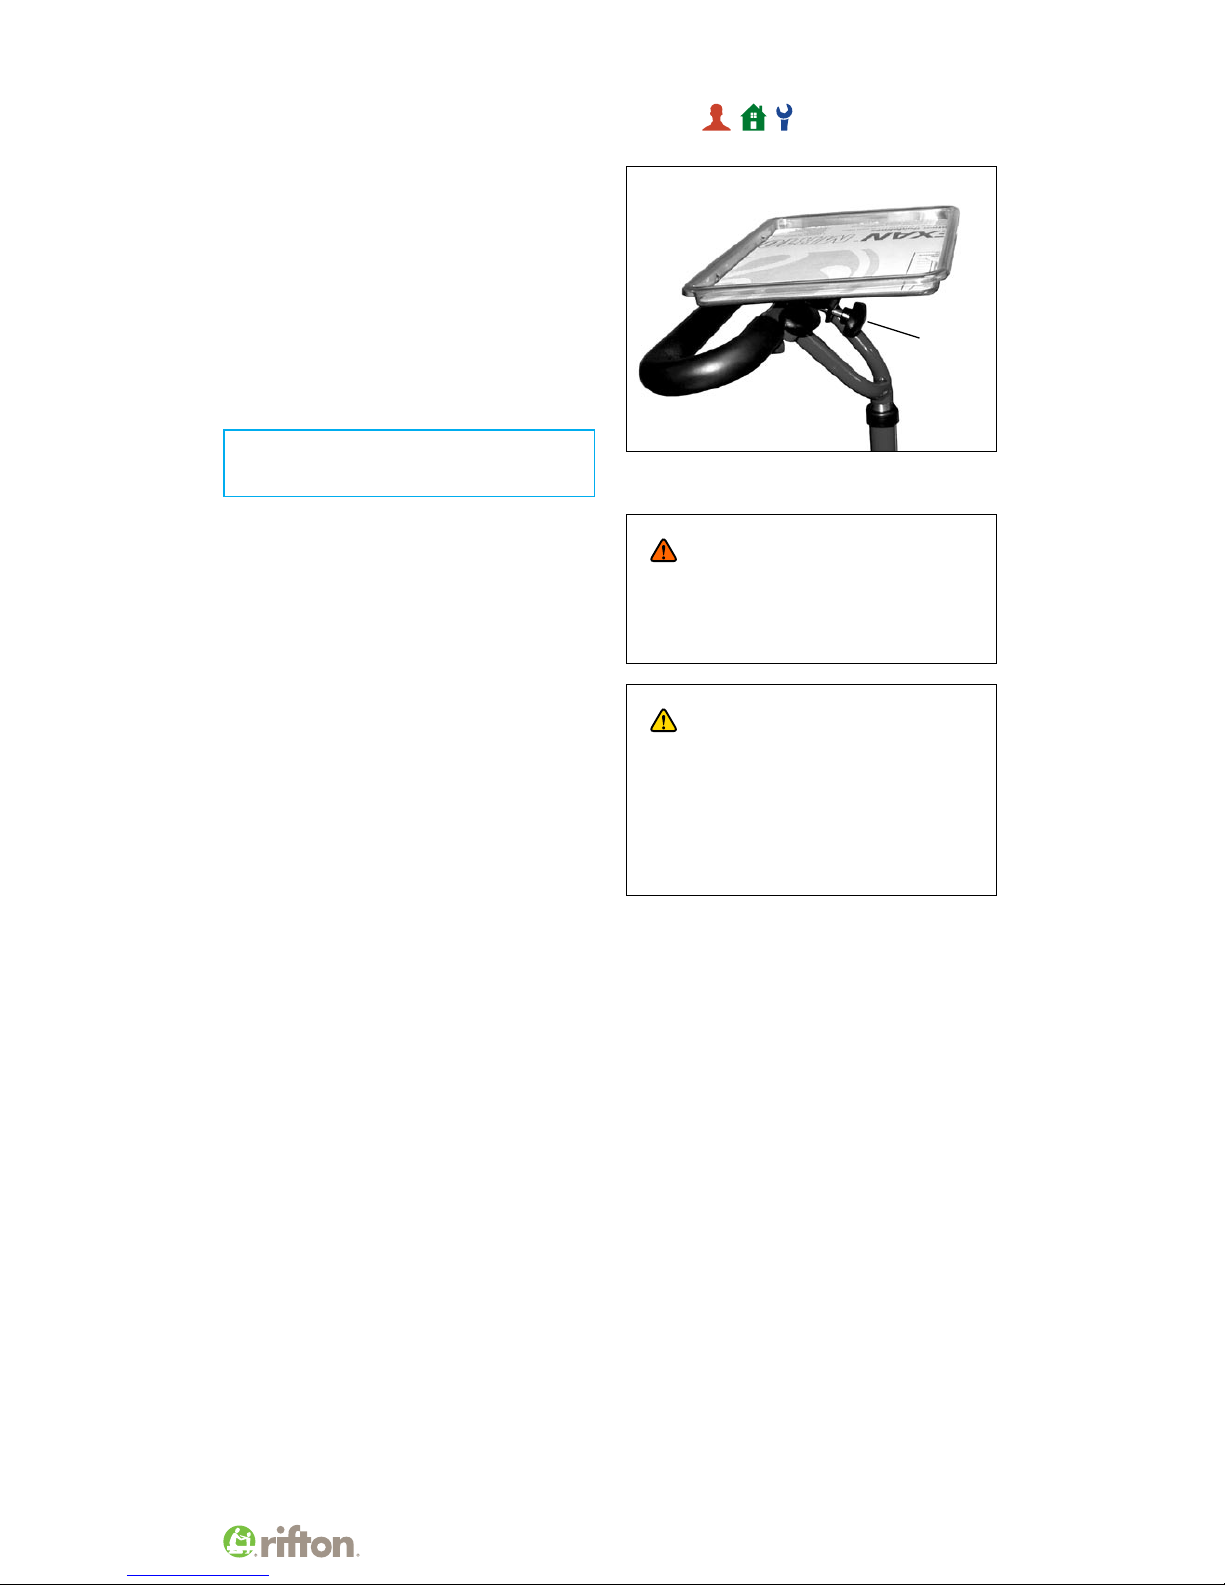
Tray Dimensions – Inches (cm) Small Large
Inside dimensions 8½ x 12½ (22 x 32) 11½ x 13½ (29 x 34)
Max. working load – lbs (kg) 10 (5) 15 (7)