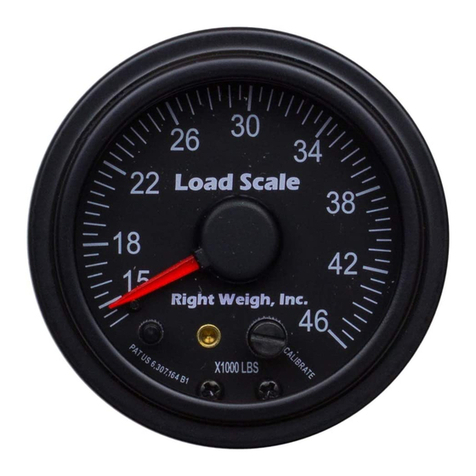
Installation Instructions
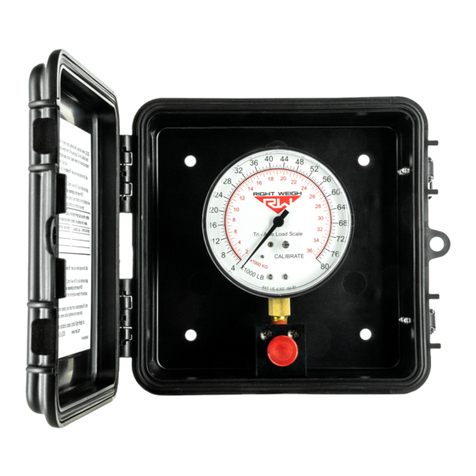
When installing a Right Weigh interior load scale there are two basic installation options.
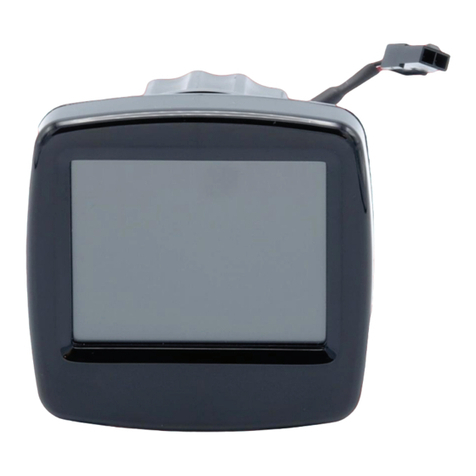
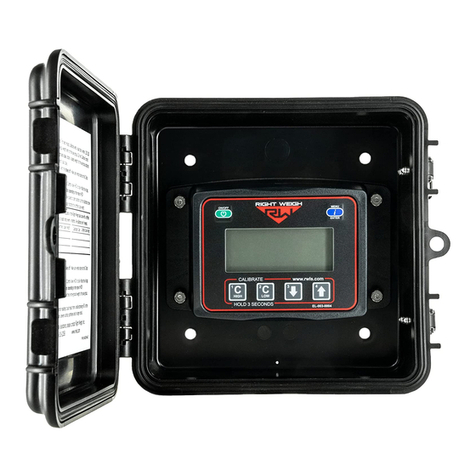
Option #1: Replace the current air suspension PSI gauge. Use this option if you already have an air suspension PSI gauge in your dash and
you want to replace it with the Right Weigh interior load scale.
Option #2) New Installation. Use this option if you do not have an air suspension PSI gauge, or you can not mount the Right Weigh interior
load scale in the same location as your air suspension PSI gauge.
Option #1: Replace Existing Air Suspension PSI Gauge
Step 1: Dump the air from the suspension system. Locate and remove the air suspension PSI gauge
from the dash panel. If needed, refer to the vehicle owner’s manual, or a qualified technician, for
detailed instructions on dash panel assembly and gauge replacement.
Warning: Some vehicles have multiple PSI gauges. Make sure to replace the AIR SUSPENSION
PSI gauge.
Note: If the vehicle has a twist-in or pop-in gauge console, it may restrict the ability to install the
Right Weigh load scale in the same location as the air suspension PSI gauge. If so, select an alternate
mounting location.
Step 2: Mount the Right Weigh interior load scale into the dash panel using the U-bracket provided
with the gauge.
Step 3: Attach the existing airline from the suspension PSI gauge into the back of the Right Weigh load
scale. Air up the suspension and double check for leaks.
Note: Fittings and thread sizes may vary depending on the make and model of the vehicle. You may
need to purchase additional fittings in order to connect the existing airline to the back of the Right
Weigh load scale.
Step 4: Locate an electrical power and ground source for the gauge LED lighting. Attach the positive
(RED) wire to the power source and the negative (BLACK) wire to a ground source.
Please Note: The LED lights will not work if the wires are not attached correctly. If needed, refer to
the vehicle owner’s manual or a qualified technician for assistance.
Step 5: Reassemble the dash panel.
Option #2: New Gauge and Airline Installation
Step 1: Locate an available factory gauge hole in the dash panel, or create a new hole. A new
hole must be 2 1/16 inch in diameter for the 2 inch load scale gauge, or 3 1/16 inch in diameter
for the 3 inch load scale gauge.
Warning: To avoid damage to internal dash components, DO NOT drill or punch a new
hole without first making sure there is ample space behind the dash panel for a new gauge.
If needed, refer to the vehicle owner’s manual, or a qualified technician, for detailed
instructions on dash panel assembly and gauge installation and/or replacement.
Step 2: Mount the Right Weigh interior load scale into the dash panel using the U-bracket
provided.
Step 3: Dump the air from the suspension system. Locate and remove the suspension airline
from the most accessible air bag on the drive axle tandems.
Step 4: Insert a Street Tee fitting into the top of the air bag, then reattach the suspension airline
into the top of the Street Tee. (Fig 1 & Fig 2).
o
Step 5: Using a 90 Elbow fitting and a Straight fitting, run a new airline from the Street Tee to
the load scale mounted in the dash as shown in the diagram on the next page. (Fig 3)
Attention: ALWAYS use a thread sealant to ensure leak-free operation.
Instruction Manual:
510-46 & 710-46 Series
Interior Dash Mounted Load Scale
Fittings:
You will need the following parts to install a
new air suspension airline:
Airline:
Straight Airline Fitting (Male)
Size to match the Street Tee
1/8” NPT Female Airline
Fitting ( )Straight or Elbow
We recommend using standard nylon
tubbing. Make sure to match the tubing
size with the fittings listed above.
Street Tee
Size to match vehicle fittings
(1/4” or 3/8”)
3:30
C H
Temp
3:30
C H
Temp
Suspension
PSI
0
25
50
75
100
Before
After
!
!
!
!
Right Weigh
Load Scales
Please read carefully before installation
