Align a Recorder Rimage 2000i
2000557_C © 2009, Rimage Corporation 4
Align the Recorder
Note: Perform these steps only if the recorder is out of alignment.
1. Turn the leadscrew clockwise to move the lift arm up an away from the recorder tray.
2. Move the recorder forward or backward until the disc is centered in the recorder tray.
-Important! Slide the recorder, not the recorder tray.
3. Turn the leadscrew counterclockwise to lower the disc toward the recorder tray.
4. Check the alignment again. Refer to steps 8 and 9of the Check the Recorder Alignment section.
Prepare the System for Use
1. Exit diagnostic test mode.
a. Turn the leadscrew clockwise to move the lift arm away from the recorder tray.
b. Press the recorder button. The recorder tray closes.
c. Press and hold the operator button until [EXIT REQUESTED RELEASE BUTTON] displays on the
operator panel.
d. Release the operator button. The system exits diagnostic test 4.
e. Press the operator button eight times and hold it in on the eighth press.
f. When [RELEASE BUTTON] displays on the operator panel, release the operator button. The system
exits diagnostic mode.
2. Power off the system.
a. Turn the power switch to the ‘off’ position at the back of the autoloader.
b. Disconnect the power cord from the power outlet.
c. Disconnect the power cord from the back of the system.
3. Remove the panels.
,Warning: To avoid the danger of electrical
shock, do not proceed unless you have
powered off the system.
a. Remove the left and right side panels.
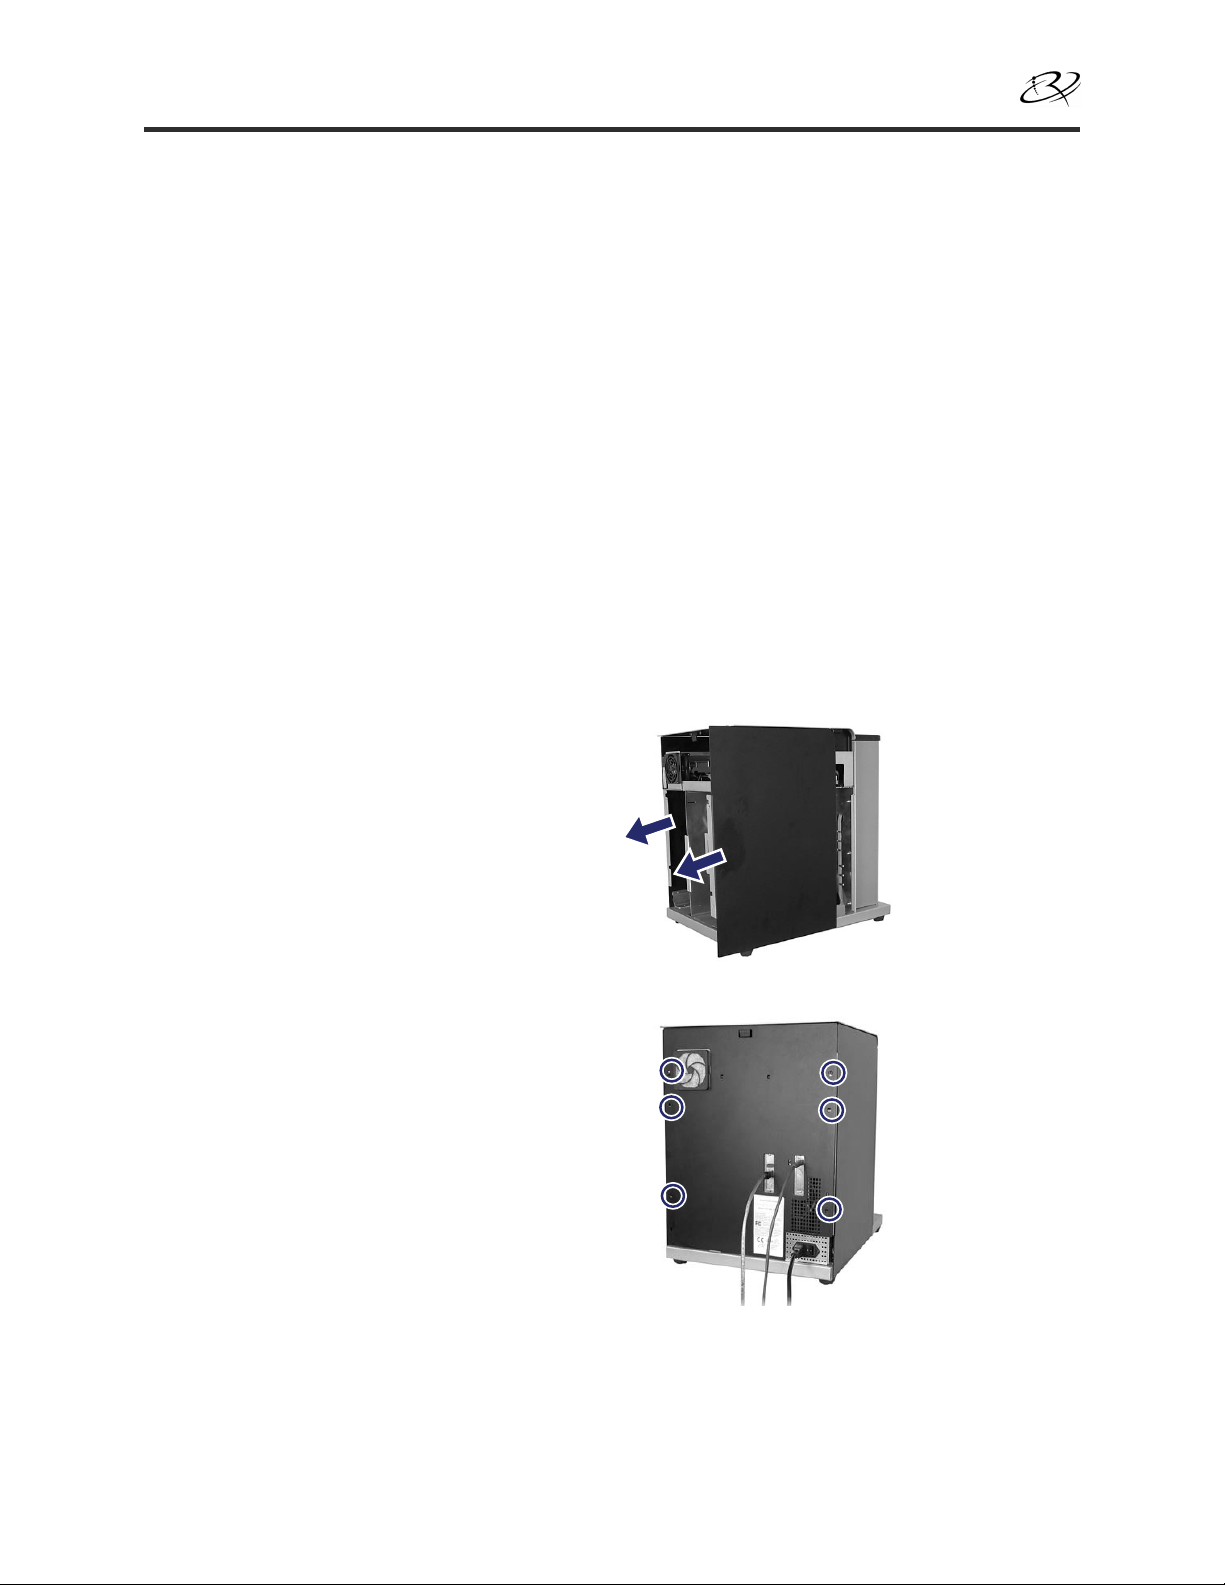
b. Remove the back panel.
i. Remove the Torx T10 screws (Qty. 6)
that secure the back panel.
ii. While firmly grasping the top of the back
panel, lift and pull back to remove it.