manuals.online logo
Brands
  1. Home
  2. •
  3. Brands
  4. •
  5. Rinnai
  6. •
  7. Hob
  8. •
  9. Rinnai RB-7303S-GBSM Specification sheet

Rinnai RB-7303S-GBSM Specification sheet

RVN-RB7303SGBSM-31A-01
(Singapore)
CONTENTS
RB-7303S-GBSM
Components and part names
Safety mark on glass top plate
............................................................................1
.........................................................................1
Benchtop cut-out dimension .............................................................................2
Specifications ......................................................................................................2
Installation
Pan support, burner head
Instruction for use
.......................................................................................................2,3
.................................................................................3
.............................................................................................4
Maintenance and trouble shooting manual for Rinnai
How to handle safety device and change batterry .........................................5
.................................6
1.5 V D.C (”C” size battery)
Gas inlet
Battery box
COMPONENTS AND PART NAMES
For the best results from yourRinnai gas cooker, please read the instruction
give below carefully prior to operate the unit.
- 1 - - 6 -
Fig. 1
Pan support H
Burner head S
Burner head H
Burner body H
Top plate
Casing
Knob
Drip pan H
Pan support M
Drip pan M
Burner body M
Burnerhead M
SAFETY MARK ON GLASS TOP PLATE
•Never use oversized cooking
utensils or overload the cooking
appliances.
•Do not place the cooker pan
over the pan support side as
it can cause turnbling. Never
use oversized cooking utensils
or overload the cooking appliances.
•Do not remove the pan support
and enclose the burner with a wok
stand as this will concentrate and
deflect the heat onto the gas hob.
•Do not place anything,e.g., flame tamer, asbestos mat between pan and pan
support as serious damage to appliace may result.
•Place the supporting trivets of
the gas hob orcooker pan in the
correct position.
MAINTENANCE
* Wipe the top plate witha soft, dampcloth, and mild detergentregularly, should not
keepglass top plate too dirty because stains will affectthe quality of glass surface.
* Washthe pansupports and drip pan, in warm waterand detergent.
* In order to avoid dangerous situation arising from
breakage of glass, do not apply heavy weight or
strong impact on glass top plate (Fig.9)
Fig.9
Fault
1. No ignition
2. Flame cannot be
held
3. No main flame
4.Yellow flame
5. Unstable flame
Cause Remady
Spark electrode is wet especially in high
humidity season
Incorrect turning of gas control knob.
3.1 Gas meter cock and/or appliance
isolating cock have been turned off.
3.2 Burner head is blocked by
aluminium foil.
Accumulated grease and dirt on burner
head.
Incorrect location of burner head.
Dry the electrode with clean tissue
or dry cloth.
Open gas meter cock and/or
appliance isolating cock completely.
Remove aluminium foil.
Wash burnerhead warm water with
detergent. Leave it on dry and place
back in correct position.
Refit burner head into burner body.
TROUBLE SHOOTING MANUAL FOR RINNAI
Push and turn gas control knob
anti-clockwise until a “click”
sound is heard. Hold for a few
second until flame is ignited
8. Don’t clean the top of the sensor with a hard brush, as
it may damage the sensor. (Fig 7)
9. Turn the ignition control the knob backwards to the
“OFF” position to extinguish the burner.
HOW TO HANDLE SAFETY DEVICE AND CHANGE BATTERY
1. If the flame is extinguished during operation, the automatic flame failure
safety device will shut the gas off aftera short delay.
If you notice thatthe flame has been extinguished, please turn the knob to
“OFF” position.
- 5 - - 2 -
10. Turn off valve of gas cylinder after cooking .(Fig 6)
Fig.6
11. Not very anxious signals:
- Difficult ignition: At the first use, there is full air in the gas hose. So, it
is difficult to ignite. Please make ignitions a few times, the ignition is
successful.
- The sound “pop” when gas cooker is switched off, is very normal sound;
please do not pay much attention.
SPECIFICATIONS
Power supply
Gas Input
Gas Inlet connection
1.5VD.C ( “C” size battery)
Pressure
LPG 300mmH2O 3.0 kpa 11.8 IN.W.G.
NG 250mmH2O 2.5 kpa 9.8 IN.W.G.
TG 80mmH2O 0.8 kpa 3.1 IN.W.G.
INSTALLATION
* This built-in gas cooker is to be used for cooking only. Do not dry towels,
clothes, etc, overit.
* Install the built-in gas cookerin a well ventilated room and keep it away
from any combustible orflammable objects such as paperor oil.
BENCHTOP CUT-OUT DIMENSIONS:
Fig.2
LP 9,5
TG 1/2 In thread (male)
Net weight
Overall dimensions
Height
Length
Width 420 mm
750 mm
150 mm (Include pan support)
2. The safety sensor is delicate, it should always be kept
clean and dry system and please do not use
stiff brushes or rough cleaning pads for
cleaning.(Fig 7).
Fig.7
Flame sensor
Hard brush
All (LPG) 9.0 kW (657g/h)
Right 3.7 kW Left 3.7 kW Middle 1.6 kW
All (NG) 7.8 kW
Right 3.2 kW Left 3.2 kW Middle 1.4 kW
All (TG) 7.8 kW
Right 3.2 kW Left 3.2 kW Middle 1.4 kW
Cut out size 642mm ~ 680mm x 342mm ~ 360mm x R0 ~ R50
12.4 kg (Enamel pan suport)
13.5 kg (Cast Iron pan suport)
* Set battery correctly with care.
3. Aeration is preset at Factory, Please do
not attempt to adjust it.
* Battery Box is located at bottom of casing
(Size C, 1.5V DC) (Fig.8)
Open the doorof cabinet, and change battery
Fig.8
Diameters of pan which may be used on the hobs
Burners Min Max
Wok Burner 280mm120mm
* Use only flat bottom pan except forwok burner
Semi-rapid 160mm90mm
* Pan support, Burner head
Fig.3
INSTRUCTION FOR USE
1. Pushing the control knob and turn it to the left (toward the “ON” position slowly until
you hear a “click” sound. Electronic spark will ignite to burner. Keep pushing the
control knob fora ten seconds, the safety device will operate. If you release your
hand halfway, electronic spark might not ignite to burners.
2. If the flame goes out when you release yourhand, repeat the ignition
procedure again, keep pushing the knob fora longer time and release
yourhand more slowly than last time.
- 3 -
3. Turn control Knob to adjust flame to desirable setting.
4. Flame can be adjusted between “ON” and OFF”. Please adjust flame
slowly, should adjust the fire is underthe direction opposite clockwise.
(Fig.5)
- 4 -
5. Ajust simmer flame between “ON” and “ ”.
Pan support H
Burnerhead S
Burnerhead H
Burnerbody H
Top plate
Casing
Knob
Drip pan H
Burner head S
Burner head H
Burner body H
Drip pan
Spark electrode Safety sensor Fig.4
Gap
Gap
Position opening
OFF
On
Extinguish
ON
OFF
On
Ignition
Press ON
Flame adjustment range
Fig.5
6. If the flame is extinguished while using, the safety device will shut the gas
off aftera short delay.
When the flame was extinguished, please turn the knob to “OFF” position.
Ok
Pan support M
Burnerbody M
Drip pan M
Burnerhead M
Location pin of pan support
Slot for electrode
Slot for pan support
Electrode
Thermo couple
1. Put burnerbody right on the burnersupport plate. The slot for to match the
electrode overflow.
electrode
Even if the combustible material is protected by stainless steel sheet, a
clearance of 15cm must be maintained too. If the surrounding material is
fireproof, surrounding material is fireproof, 15cm clearance is not required.
The clearance between the appliance and above combustible shelves or the
ceiling must be at least 100cm.
* Make sure that the following parts are fitted properly before use.
* The connection must be executed by a qualified person/technician according to the
relevant standard (For LPG Gas). For TG/NG it must be executed by a qualified license
person/technician.
* No conversions from one gas type to another shall be carried out except by authorised
personnel. Certain models may be gas type specific and not capable of conversion.
Refer to Rinnai Singapore regarding conversion procedures.
7. In the event of the burnerflames being accidentally extinguished, turn off the burner
control and do not attempt to re-ignnite the burner forat least 1 min.
The device shall not be operated for more than 15 sec. If after 15 sec. The burner has
not lit, stop operating the built-in-hob and open the compartment doorand/or wait at
least 1 min before attempting a further ignition of the burner.
2. Put pan support right on the top plate. The location pin of pan support to match the slot
for pan support overflow.
3. Please, ensure that burnerhead-S, burner head-H and burner body must be balanced and
straight on burner support plate before ignition.
15cm from the side walls.
(such as wooden walls, wooden shelves), it should be installed at least
* If the built-in gas cookeris to be installed close to combustible objects
* Place the built-in gas cooker on a stable and level surface.
Other Rinnai Hob manuals

Rinnai RB3CG User manual

Rinnai

Rinnai RB3CG User manual

Rinnai RB7913G-CSSM Guide

Rinnai

Rinnai RB7913G-CSSM Guide

Rinnai RB-2MYG User manual

Rinnai

Rinnai RB-2MYG User manual

Rinnai RB-3311S-GBS User manual

Rinnai

Rinnai RB-3311S-GBS User manual

Rinnai JZY-11N User manual

Rinnai

Rinnai JZY-11N User manual

Rinnai RB-12S-C User manual

Rinnai

Rinnai RB-12S-C User manual

Rinnai RB-63SSV-DL User manual

Rinnai

Rinnai RB-63SSV-DL User manual

Rinnai JZ-11G User manual

Rinnai

Rinnai JZ-11G User manual

Rinnai RB-2CGN Guide

Rinnai

Rinnai RB-2CGN Guide

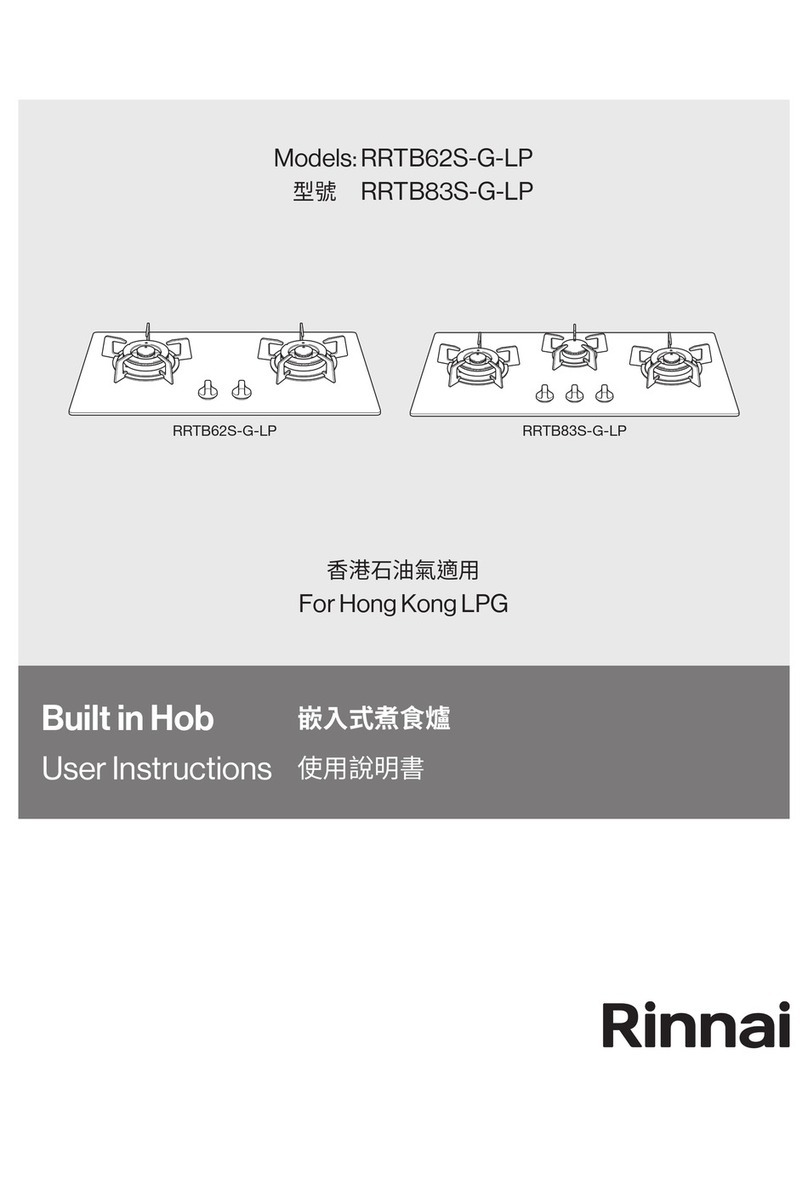
Rinnai RRTB62S-G-LP User manual

Rinnai

Rinnai RRTB62S-G-LP User manual

Rinnai RB-3002H-CB User manual

Rinnai

Rinnai RB-3002H-CB User manual

Rinnai RB-27f User manual

Rinnai

Rinnai RB-27f User manual

Rinnai RB-3011H-CB User manual

Rinnai

Rinnai RB-3011H-CB User manual

Rinnai RB-7502D-SSS User manual

Rinnai

Rinnai RB-7502D-SSS User manual

Rinnai RB-3011E-CB User manual

Rinnai

Rinnai RB-3011E-CB User manual

Rinnai RB-7022HE-CB User manual

Rinnai

Rinnai RB-7022HE-CB User manual

Rinnai RB-2CGS-RM User manual

Rinnai

Rinnai RB-2CGS-RM User manual

Rinnai JZY-11S User manual

Rinnai

Rinnai JZY-11S User manual

Rinnai RB-27f User manual

Rinnai

Rinnai RB-27f User manual

Rinnai RB-3002E-CB User manual

Rinnai

Rinnai RB-3002E-CB User manual

Popular Hob manuals by other brands

Robam JZ(Y/T)-G413 user manual

Robam

Robam JZ(Y/T)-G413 user manual

NEFF T5 L6E Series instruction manual

NEFF

NEFF T5 L6E Series instruction manual

Garwoods EC-2989 Installation & operating instructions

Garwoods

Garwoods EC-2989 Installation & operating instructions

KitchenAid KHSP5 77510 Instructions for use

KitchenAid

KitchenAid KHSP5 77510 Instructions for use

AEG IKB64301FB user manual

AEG

AEG IKB64301FB user manual

AEG 64130 K-MN user manual

AEG

AEG 64130 K-MN user manual

American Range LEGEND Series use and care manual

American Range

American Range LEGEND Series use and care manual

Caple C897i instruction manual

Caple

Caple C897i instruction manual

AEG 88101K Installation and operating instructions

AEG

AEG 88101K Installation and operating instructions

Panasonic KY-B627GB Operating & installation instructions

Panasonic

Panasonic KY-B627GB Operating & installation instructions

NEFF T4 D5 Series instruction manual

NEFF

NEFF T4 D5 Series instruction manual

Creda S911E Instructions for installation and use

Creda

Creda S911E Instructions for installation and use

Electrolux EHI6540FW1 user manual

Electrolux

Electrolux EHI6540FW1 user manual

Junker JR36FT52 instruction manual

Junker

Junker JR36FT52 instruction manual

TriStar IK-6173 manual

TriStar

TriStar IK-6173 manual

Universal Blue UBE2413-21 user manual

Universal Blue

Universal Blue UBE2413-21 user manual

DERKOCH Eltz Installation and use manual

DERKOCH

DERKOCH Eltz Installation and use manual

V-ZUG CombiCookTop V2000 I804 operating instructions

V-ZUG

V-ZUG CombiCookTop V2000 I804 operating instructions

manuals.online logo
manuals.online logoBrands
  • About & Mission
  • Contact us
  • Privacy Policy
  • Terms and Conditions

Copyright 2025 Manuals.Online. All Rights Reserved.