manuals.online logo
Brands
  1. Home
  2. •
  3. Brands
  4. •
  5. RinnoVision
  6. •
  7. Analytical Instrument
  8. •
  9. RinnoVision RV-PRO 360 Instruction Manual

RinnoVision RV-PRO 360 Instruction Manual

A VISION WITHOUT LIMITS
RINNOVISION.COM
USER
GUIDELINE
RV-PRO 360
BY RINNOVISION
BEFORE YOU USE THE RV-PRO 360 BY RINNOVISION,
CHECK THE FOLLOWING POINTS:
See our video on rinnovision.com
Telescopic pole
• Check that it is not crushed, broken, bent, or dented.
• Check that all the sections of the telescopic pole are easily extendable.
• Check that the section locks maintain each section steadily in place.
• Check that the section locks are not damaged, broken, or cracked.
• Check that the threaded end of the telescopic pole is not damaged and that the RV-Pro 360 easily screws
on. Do not use excessive force when screwing the RV-Pro 360 on as this could damage the threads.
RV-Pro 360
• Check that the RV-Pro 360 turns on and o properly; press
the power button once to turn it on and a second time to turn it o.
• Make sure every LED of the RV-Pro 360 properly functions during
the on-and-o procedure.
• Check that the RV-Pro 360 is not damaged, broken, cracked,
or dented and that there are no loose pieces.
• Check that the camera protection guide is fixed steadily in place.
GoPro Max
• Check that the GoPro MAX is turned on.
• Check that the GoPro MAX is not damaged, broken, or cracked.
• Make sure you remove the protective lens before recording.
• Make sure that the lens of the GoPro Max are not scratched.
• Check the charge left in the battery.
• Check the current condition of the recording device.
• Verify that GPS activation is turned on before the recording.
• The tablet supplied in the RV-Pro 360 case allows you to see,
in real time, the images from the GoPro Max camera. However, due
to some camera updates, viewing on the tablet may not work while
the camera is in recording mode.
2 USER GUIDELINE RV-PRO 360 BY RINNOVISION

This product contains a High-capacity lithium-ion battery.
• It is forbidden to ship this product with the battery
charged at more than 30%. To ensure security,
drain the battery before shipping.
• If this product is not used for more than three (3)
months, drain the battery completely and recharge
for one (1) hour.
• When shipping, a sticker with the label UN3481 must
be on the package with the number 1-833-230-4040.
• Working temperature: -20°C to +40°C
• Charging temperature: 0°C to +40°C
• Storage temperature: -20°C to +50°C
Charging
connector
Power
button
BATTERY
BEFORE YOU USE THE RV-PRO 360 BY RINNOVISION,
CHECK THE FOLLOWING POINTS: RECOMMENDED METHOD OF INSPECTION BY RINNOVISION
See our video on rinnovision.com
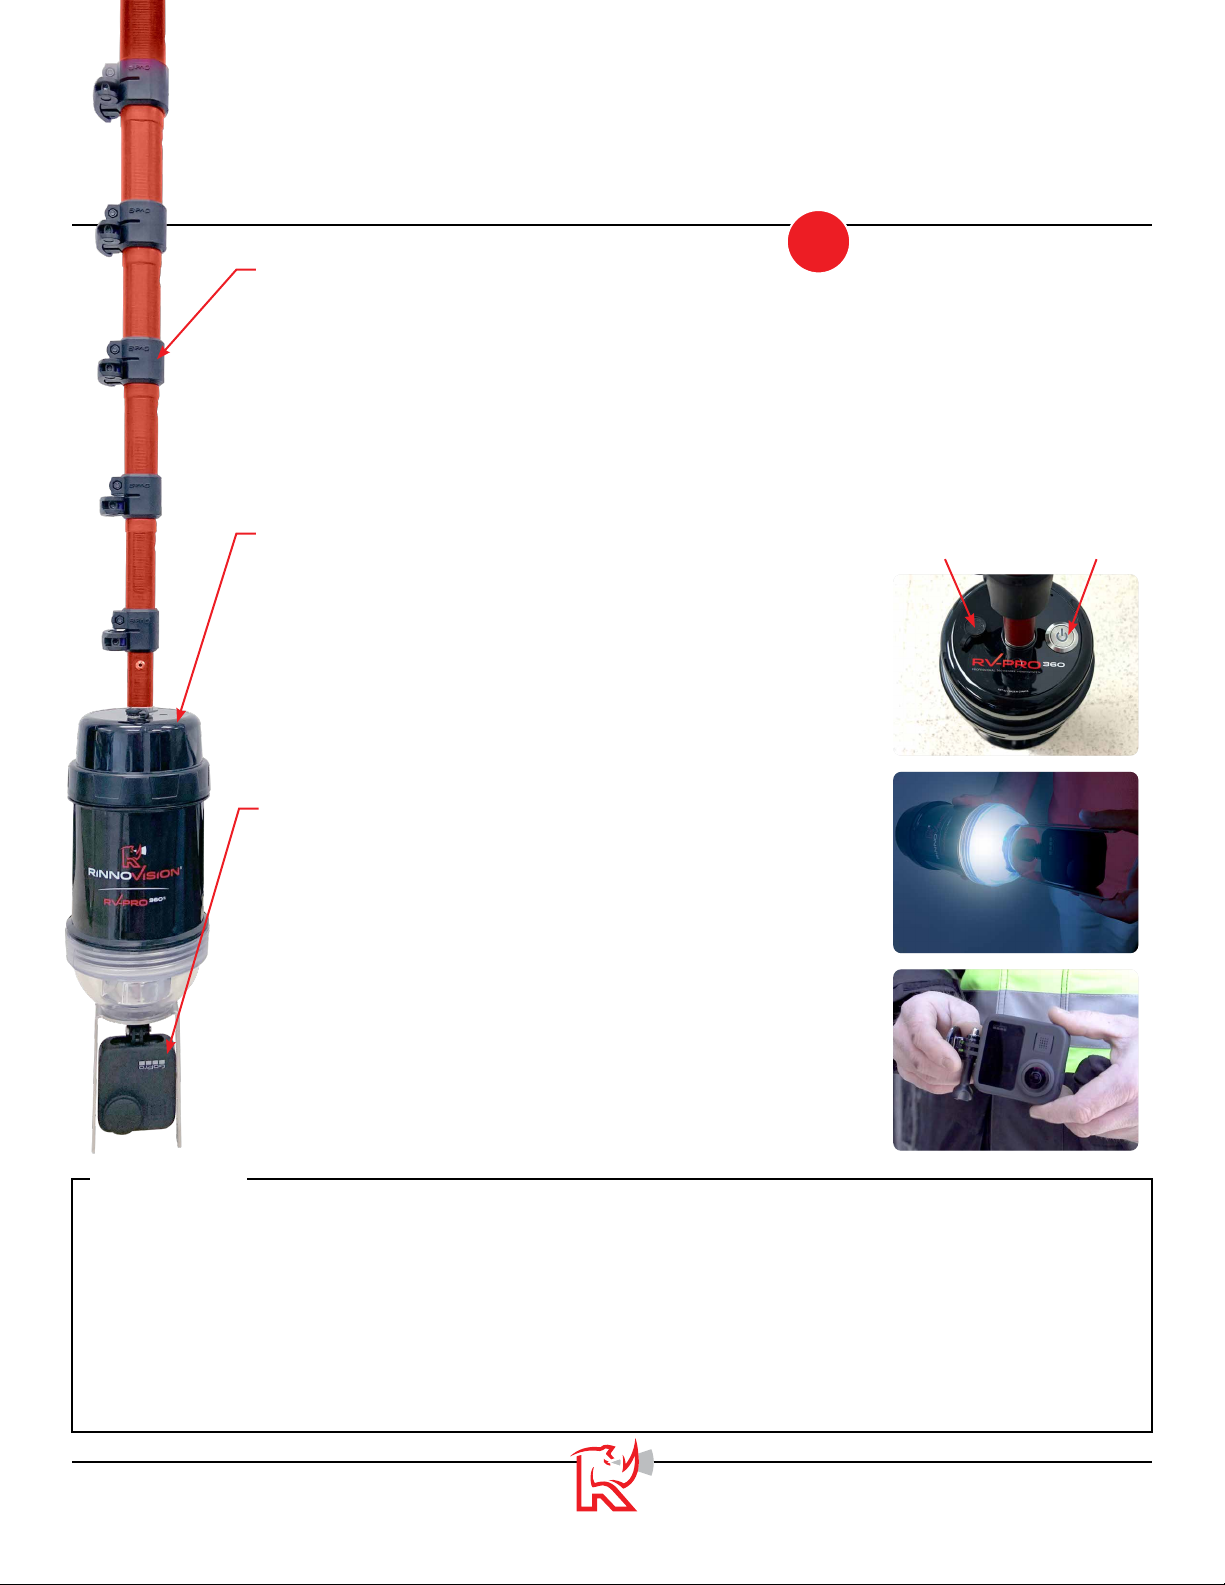
Assembly of the RV-Pro 360:
• Screw on the telescopic pole in the superior connector on the RV-Pro 360.
• Make sure the telescopic pole is not over-tightened. Stop screwing when the pole
touches the RV-Pro 360. Do not use excessive force.
• When extending the telescopic pole, note that there is a black marker 20 cm before
the end of each section to warn the operator to slow the descent. This is to make sure
that the section lock can be engaged properly and that the section does not separate
from the rest of the mechanism.
• When using for the first time, make sure the GoPro Max is properly fixed in place
on the tripod.
• When using afterward, make sure the GoPro Max is not loosely screwed onto
the tripod.
Inspection with the RV-Pro 360
• When arriving on site, install all the
mandatory security measures.
• Open the accessing point using all
the mandatory security steps.
• Find the exiting pipe of the accessing point.
This will be used as a reference point;
the reference point will be placed at the
six-o’clock position.
• Place the RV-Pro 360 camera pointing
down, roughly one (1) meter above the
access point. Try to center the camera
for a better result.
• Start recording.
• Start the descent while keeping the
camera center in the access point.
RinnoVision suggests lowering the camera
at a speed of three (3) meters per minute.
• When the camera reaches the bottom of
the access point, stop lowering the camera
before it touches the bottom.
• Pause for three (3) seconds.
• Make a quarter turn clockwise from the
access point.
• Pause for three (3) seconds.
• Start pulling back the RV-Pro 360 while
keeping it centered in the access point.
RinnoVision suggests a speed of three (3)
meters per minute.
• When the camera is back in its starting
position, stop recording.
• Close the access point.
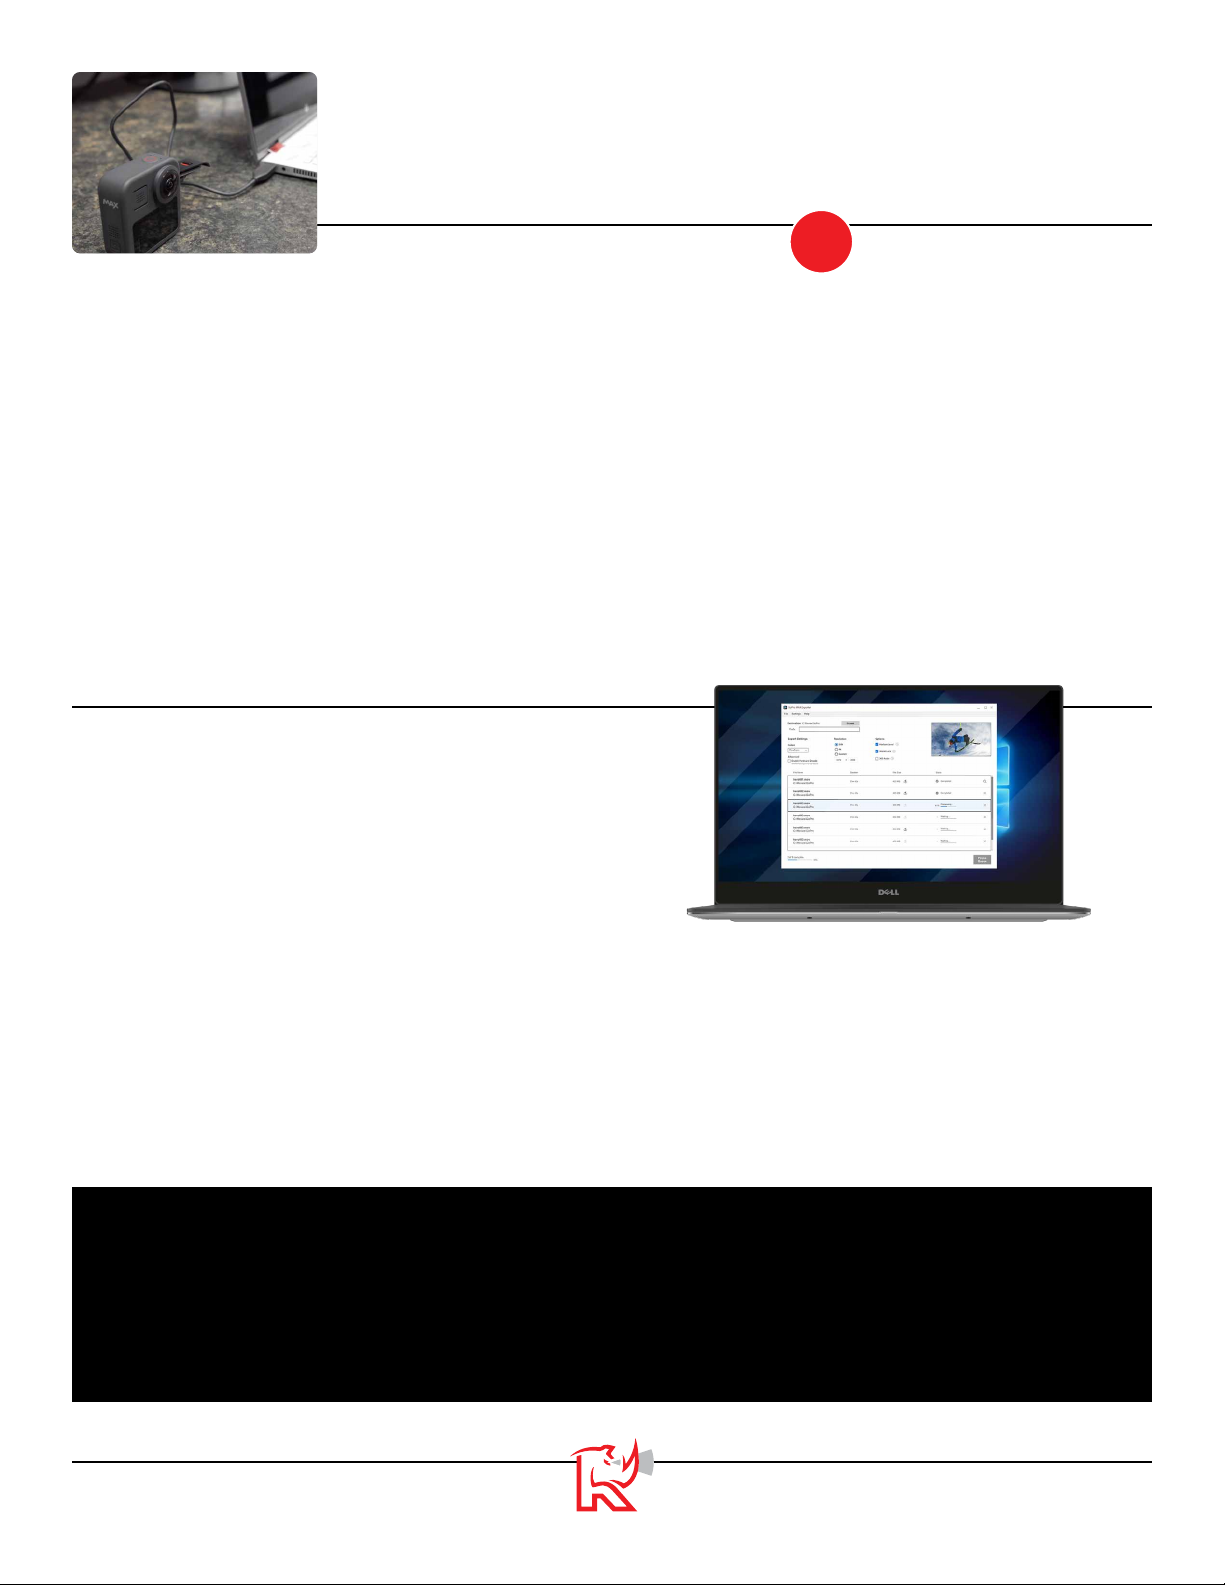
• Clean the RV-Pro 360 and the GoPro Max
with a wet cloth. Do not use cleaning
products containing ammonia.
• Before recharging, make sure that there
is no water in the charging port.
• Make sure you close the charging port
before using the RV-Pro 360 to prevent
water build-up in the connector.

3USER GUIDELINE RV-PRO 360 BY RINNOVISION
VIDEO EXTRACTION FROM THE GOPRO MAX
VIDEO CONVERSION INTO .MP4
WARRANTY
See our video on rinnovision.com
Camera in USB mode:
• Open the access port on the GoPro Max.
• Connect the USB C connector to the port on
the GoPro Max.
• Connect the USB A connector to the computer.
• Wait a few seconds; a command window should
appear on the computer.
• Select “Open files”.
• Take the .360 files and copy them onto the computer.
Micro SD
• Open the access port on the GoPro Max.
• Extract the micro SD card with caution.
• Put the micro SD card in the adapter.
• Insert the adapter into the computer.
• Wait a few seconds; a command window should
appear on the computer.
• Select “Open files”.
• Take the .360 files and copy them onto the computer.
RinnoVision highly recommends using
the GoPro MAX Exporter. This program is free of charge.
• Open the GoPro Max exporter program.
• In the top left corner, click on “BROWSE”.
• A window will open for you to select the
emplacement you want to save your stitch videos in.
• Select the .360 files you wish to stitch into .MP4.
• Make sure all the files you wish to stitch are in the list.
• Select the following options:
• h.264
• 4k
• Horizon Level
• World Lock
• Start the stitching process by clicking “START” in the
bottom right corner.
• Wait for the program to process the video. Make sure
the computer does not turn o or enter standby mode
during the process.
• Make sure each stitch video functions properly by
opening the files.
RinnoVision oers a one (1) year warranty, starting on the date of delivery of the product, and undertakes to replace any
product that was normally used by the customer if it has a manufacturing defect or abnormal wear and tear of parts.
RinnoVision reserves the right to refuse any claim if it finds that the customer’s use of the product has been improper and
abusive. All warranties related to the GoPro Max camera are those of the camera manufacturer, and RinnoVision is, in no way,
responsible for any damage that may be caused to the camera.

4 USER GUIDELINE RV-PRO 360 BY RINNOVISION

Popular Analytical Instrument manuals by other brands

Bosch UniversalInspect WEU Original instructions

Bosch

Bosch UniversalInspect WEU Original instructions

Agilent Technologies E5070BU Upgrade manual

Agilent Technologies

Agilent Technologies E5070BU Upgrade manual

U-Line H-9384 manual

U-Line

U-Line H-9384 manual

RIDGID SeeSnake microDrain manual

RIDGID

RIDGID SeeSnake microDrain manual

Sealey VS8223.V2 instructions

Sealey

Sealey VS8223.V2 instructions

Teledyne 311XL Series instruction manual

Teledyne

Teledyne 311XL Series instruction manual

Artistic License Commissioner dali user guide

Artistic License

Artistic License Commissioner dali user guide

Portascope SV Series manual

Portascope

Portascope SV Series manual

ADA INSTRUMENTS Cosmo 100 operating manual

ADA INSTRUMENTS

ADA INSTRUMENTS Cosmo 100 operating manual

PerkinElmer STA 8000 Installation and hardware guide

PerkinElmer

PerkinElmer STA 8000 Installation and hardware guide

Digi-Sense 20250-27 user manual

Digi-Sense

Digi-Sense 20250-27 user manual

Ntron Microx Online User instruction manual

Ntron

Ntron Microx Online User instruction manual

PerkinElmer STA 6000 Installation and hardware guide

PerkinElmer

PerkinElmer STA 6000 Installation and hardware guide

Prostat PGA-710 Getting Started Operations Guide

Prostat

Prostat PGA-710 Getting Started Operations Guide

Amazing Machinery 3188 Series user manual

Amazing Machinery

Amazing Machinery 3188 Series user manual

GE moisture.IQ user guide

GE

GE moisture.IQ user guide

Trotec VSP3041 manual

Trotec

Trotec VSP3041 manual

Fieldmann FDLM 1030 manual

Fieldmann

Fieldmann FDLM 1030 manual

manuals.online logo
manuals.online logoBrands
  • About & Mission
  • Contact us
  • Privacy Policy
  • Terms and Conditions

Copyright 2025 Manuals.Online. All Rights Reserved.