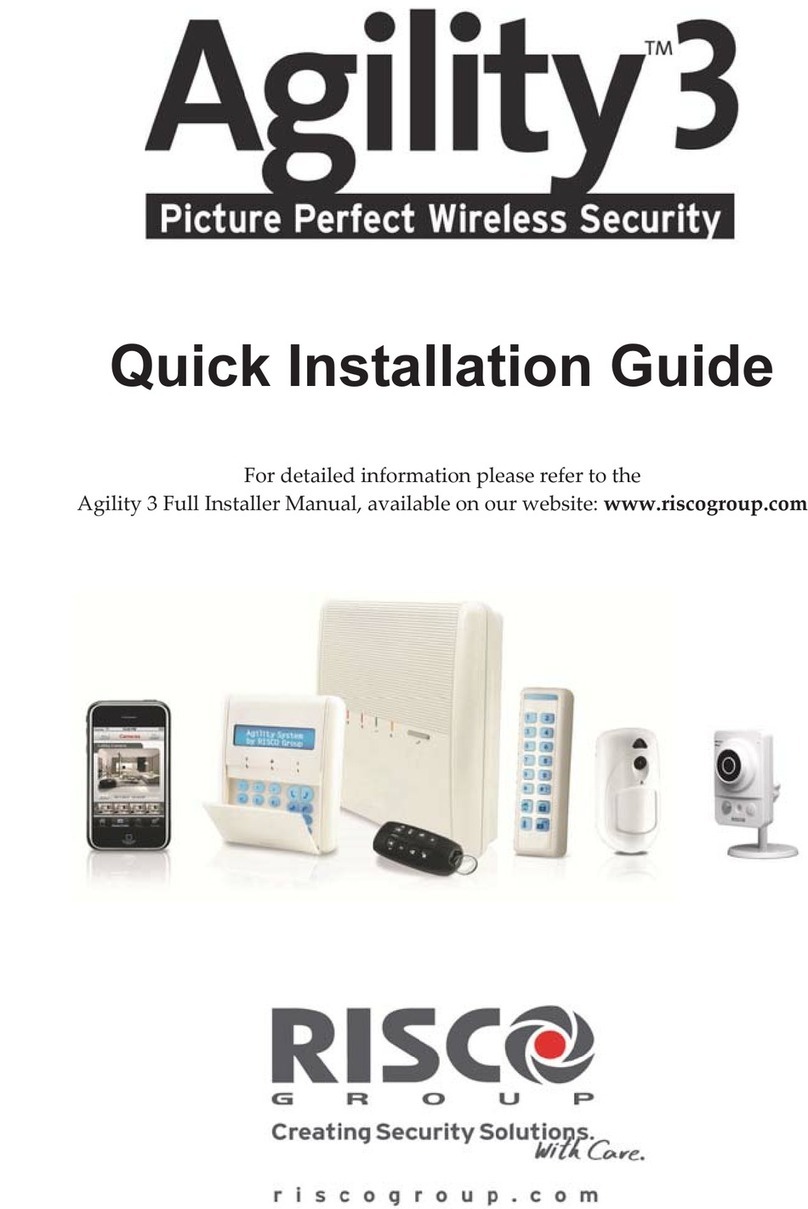
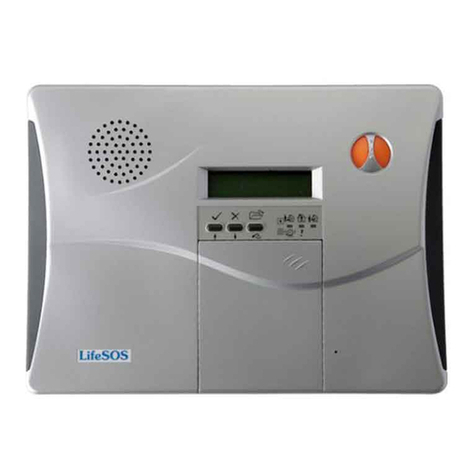
RISCO Agility 4 IP Cheat Sheet
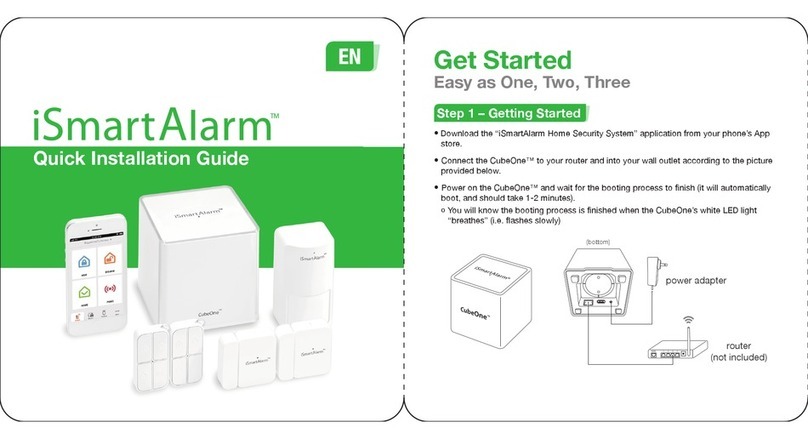
Quick Installation Guide
1. Locate your control Agility Control Panel for best WL coverage (Higher is Better).
2. Plug the Ethernet Cable into the IP Module and the Customers Router
3. Plug Control Panel into the Power and plug the Battery in.
4. Remove the plastic on all batteries in each device
5. Push and hold the big button on the control panel for 5 seconds until the beep is heard,
to enter enroll mode.
6. Push the two padlock buttons for the keypad and select English(au) (#)
7. Close the Tamper switch on each PIR in the order you want enroll zones. (Zone1 is
Delay1, Zone2 is Follower, Zone3 + so-on are Instant)
8. To enroll the siren, add one battery to Radio section, then within ten second press and
hold the tamper for ten seconds, after confirmation remove the battery, until the unit is
mounted.
9. Push and hold the Arm button on the remote to enroll the remotes.
10. Push the big button on the control panel for 1 second to exit enroll mode
11. Enter Programming. Push *0132. This enters you into Installer Menu. Select 1) or # to
enter into programming. In programming # is enter/save and * is go back/revert.
12. Set the Australian defaults 1) 5) 5) and change to 0AU #, then Exit programming *** 0
#, and wait for settings to save.
13. Go back into programming.
14. Disable Phone line if not connecting to PSTN, 4)1)1)1)1, and set to 00 #
15. *** back to programming.
16. Set the Cloud Channel 4) 5) 4) Set Channel to IP only
17. Press **** 0 # to exit programming and save your data
18. Confirm the Panel is now “Cloud Connected”. Check Installer menu 6) Event Log to
confirm. Cloud sets system time.
19. You now need to register the end user on a browser the panel to the RISCO cloud by
visiting the Self Registration page at www.riscocloud.com, and click on “register”
20. Fill out the page. The Panel ID is the 15 digits on the side of the Control Panel.
21. Once registered, your customers credential will be verified by email.
22. Go back to www.riscocloud.com Enter your customers Username (email address), web
Password and code (1234 default).
23. You are now on the end user WebUI. Navigate your way around and learn what is
where. Take an image, activate the alarm etc., make sure it is working properly.
24. Install the iRISCO Smartphone app by downloading from iTunes or Play Store.
25. Login with the same User, Password and PIN code used to login to the webUI
26. Test all alarms to the smartphone app
