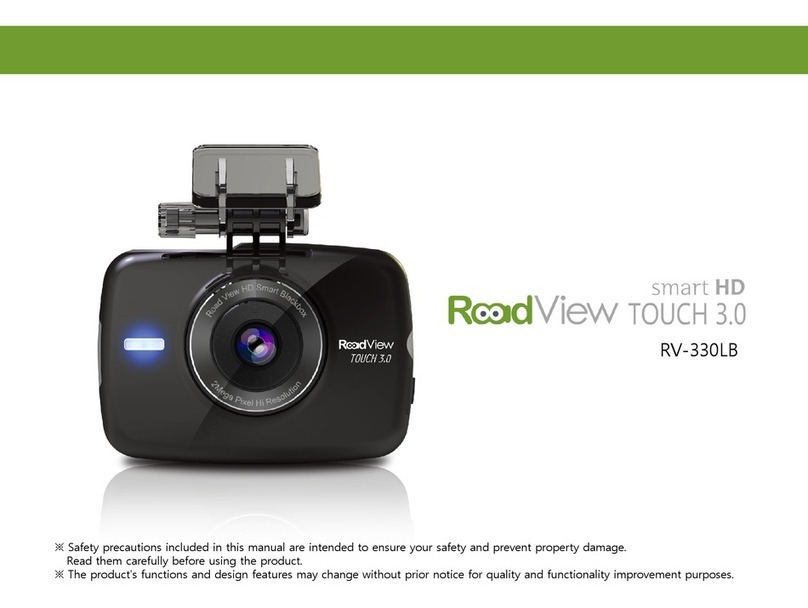
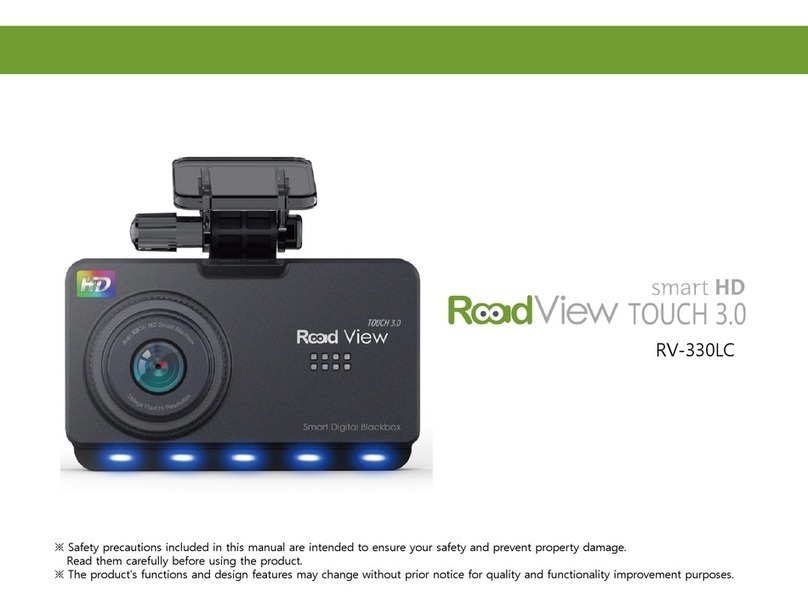
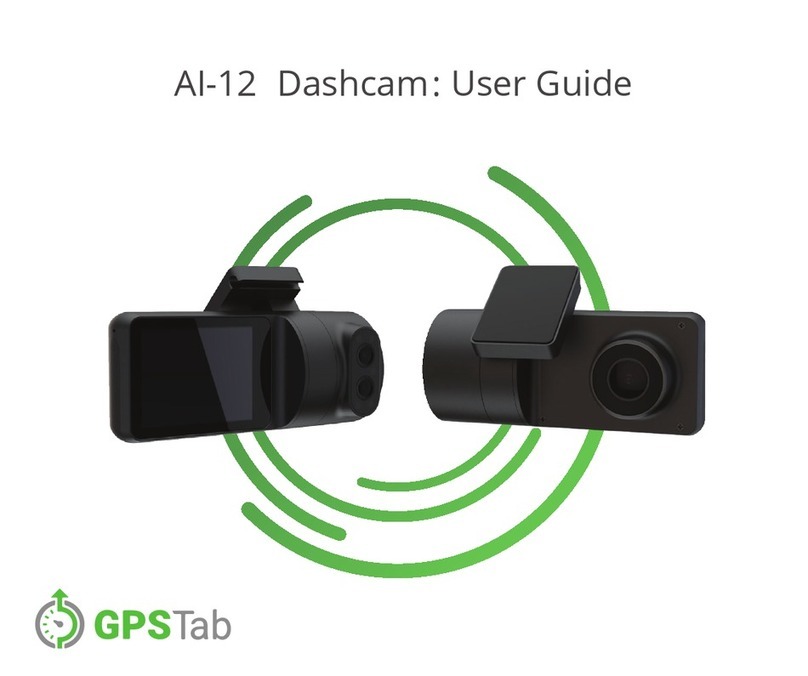
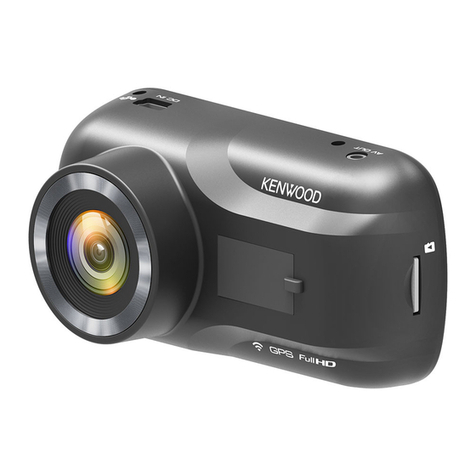
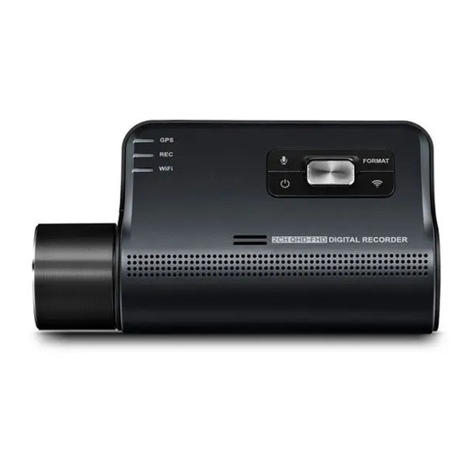
Roadview RV-350L User manual

Quick Installation Guide
This User’s Manual contains detailed information and instructions of how-to-use Road View Car Event Recorder system.
Please read this user’s manual thoroughly before using Road View Car Event Recorder system.
SD System Co., Ltd
Customer Service Center +82-70-8299-5989
613, Hyundai I Valley, 31, 244 Beon-Gil, Galmachi-Ro,
Jungwon-Gu, Seongnam-Si, Gyeonggi-Do, Korea
www.sdsystem.com

2
3
Safety Warnings and Cautions
The following contains important information for ensuring safety of the user and preventing potential
damage or inconvenience due to improper use. Please read the following warnings and cautions
thoroughly before using the product.
Failure to follow safety warnings may lead to serious injury or death.
Warnings
Cautions
Failure to follow cautions may lead to injury or property damages.
※ The safety warnings and cautions are categorized as below, depending on the level of
potential risks and damages that may result from improper use.
Safety Warnings and Cautions
Do not disassemble, or modify the product on your own or
install the product in a way other than intended.
Do not disassemble, or modify the product on your own or
install the product in a way other than intended.
Before installing the product, make sure that the vehicle’s
ignition is turned off.
Installing the product while the ignition is on may result in
electric shock or accident.
Do not operate the product while driving.
Operating the product while you driving may cause an
accident. If you need to operate the product, do so after
coming to a full stop in a safe location.
Do not install the product on where it may obstruct the
driver’s view or cause any kind of disturbance to driver.
Installing the product in such positions may lead to an
accident.
Do not operate the product if it malfunctions.
If any foreign matters or water has entered the product
or if the product releases smoke, stop using the product
immediately and contact Customer Support.
Do not use this product when it is not functioning properly.
Continuing use of the product may lead to an accident.
Before connecting/disconnecting external camera, make
sure that the power is turned off.
Connecting/disconnecting external cameras to the product
while power is on may cause a malfunction.
Do not drop the product in water or store it in a humid
environment for an extended period of time.
If the product is damaged by water or humidity, contact your
retailer or Customer Support.
Warnings

4
5
Maintain the appropriate temperature (0°C to 50°C) during use.
Operating the product beyond this temperature range
may lower the product’s performance and/or damage the
hardware.
Do not place water, beverages, chemicals, or other
potentially harmful items near the product.
It may damage the product or cause malfunctions.
Do not apply heat to the product using a furnace, microwave,
or hair drier.
It may cause explosions, deformations, or defects.
When installing the product, make sure it does not interfere
with the operation of other onboard devices, such as airbags.
Failure to do so may interrupt proper operation of such
devices and cause injuries.
Do not expose the product to direct sunlight for an extended
period of time during summer.
It may lead to a product malfunction or a fire.
Use the product only with recommended voltage.
It may lead to a product malfunction or a fire.
Always use genuine parts and accessories from the
manufacturer.
Using non-genuine parts or accessories may lead to
malfunctions or defects.
Firmly install the product on a proper position.
If it is not attached firmly, the product may fall while driving,
and may cause traffic accidents.
Warnings
Avoid strong impact to the product.
It may damage the product or cause malfunctions.
Keep the camera lens clean at all times.
Failure to keep the camera lens clean may lower quality of
recordings.
Be careful when you touch this product while in use. The heat
generated from the product may cause burn injuries.
Prolonged continuous use of this product may generate heat
and cause burn injuries.
Using the product in a vehicle with a tinted windshield may
alter the video recording.
Dramatic changes in the surroundings such as brightness or
backlight may degrade video recording quality.
Video recording quality may be affected in situations where
brightness changes quickly, such as entering and exiting
tunnels, or when facing strong backlight.
Event Recording may not be initiated if external impact is not
strong enough.
In such case, you can use the Manual Recording button to
record the event.
Do not touch this product with greasy or wet hands.
It may damage the product or cause malfunctions.
Do not operate the product with sharp objects such as nails
or awls.
It may damage the product or cause malfunctions.
Cautions

6
7
Do not place the product near a magnet or areas with strong
magnetic fields.
It may damage the product or cause malfunctions.
Check the condition of the product and recording quality on
regular basis.
Make sure that the Micro SD card inserted in the product is
working properly. If any problems are found, stop using the
product and contact Customer Support.
This product supports Micro SDHC cards (4 to 32 GB, class
6 or higher).
To install a product to a constant power source of your
vehicle, always seek help of a trained professional.
Always backup the important data to an external storage
medium.
Always backup the important data to an external storage
medium.
Your vehicle’s battery may be fully discharged if your car is
parked for an extended period of time.
Please use only genuine Micro SD card provided by the
manufacturer.
Use of third-party Micro SD cards may cause data loss or
damage the product.
Always check the correct side of the Micro SD card when
inserting, and insert it all the way.
If the Micro SD card is not inserted correctly, it may cause the
product to malfunction.
When removing the Micro SD card from the product, turn off
the power and make sure that Power LED is turned off.
Removing the Micro SD card while power is on may cause
data loss, data corruption or product malfunction.
Do not disassemble or modify Micro SD card.
Such actions may cause data loss or damage the product.
Your Micro SD card is a consumable product with a limited
lifespan. After a certain period of time, the memory card may
be too damaged to recording videos properly.
Frequently check the recordings and format the Micro
SD card at least once a week (File System: FAT32). If the
memory card cannot function properly, please replace it with
new one.
You should always backup important data to another storage
medium.
If the data must be preserved for a long period of time,
always backup the data to an additional storage medium.
When purchasing or using a new Micro SD cards, make sure
that the Micro SD card size is supported by the product.
This product supports Micro SD cards up to 32 GB and Class
6 or higher.
Static in the Micro SD card slot may temporarily suspend
the product’s operation. In such case, the product will
automatically resume operation in 2 to 3 minutes.
The product can also be reset manually by pressing Reset
button.
Micro SD card is an essential part. Please read the following instructions carefully. The manufacturer will not take any liability
concerning loss of data or damage to Micro SD card.
Cautions
Manufacturer is not responsible for product damage and loss of data due to potential product malfunction brought on by
an accident or any other event.
Note

8 9
Features
※ The figures shown in this manual may vary from the actual product.
※ The content of this manual are subject to be change without notice.
3.5" HD, Wide Angle, Full Touch LCD Anti-battery drain circuit
2-Channel High Resolution Smart HD Video
Recording
Simple and Easy-to-Use User Interface
Real-Time Front and Rear Monitoring on a
High-Definition, Wide-Angle LCD
Support for multiple Parking Recording
Modes(Parking Recording, Event, Motion
Detection, etc...)
What’s in the Box
The parts included in your package may not look identical with the following figures. And some parts can be changed without notice.
Main Unit User’s manual Micro SD card Constant power
cable
Rear camera Micro SD card
adapter Cable clips
GPS module Power port cable
Sold separately
The Micro SD card contains User’s
Manual and Viewer program. User’s
Manual and Viewer can also be
downloaded from the manufacturer’s
web site.
Note

10 11
1
Security LED Status Indication and Security LEDs
2
Speaker For audio
3
Microphone Records audio
4
Reset Restart button
Parts
1
REARCAM
connector For connecting REARCAM
2
DC-IN
connector For connecting power cable
3
GPS
connector
For connecting an external GPS
antenna
4
Power Button Power ON/OFF button
5
Micro SD
card slot Slot for inserting Micro SD card
1
2
3
44 5
1 2 3

12
13
Cautions for Installation and Use
Please read the User’s Manual carefully before installing the product. •
Before installing, turn off the ignition of your vehicle and remove the keys. •
Always keep your windshield glass clean to obtain high quality video recordings. •
If the product is equipped with a GPS module, keep it distant from other electronic devices (such as Hi-Pass or satellite navigation systems) to prevent radio interference. •
The quality of video recordings may varies depending on location and brightness. •
Dark tinting or metallic coating on the windshield may lower GPS reception and darken the video recordings. •
If the product falls off while driving, it may lead to accidents or serious injuries. Before installing the product, be sure
to remove all foreign substances or dust from the windshield surface.
Micro SD Card
Before using your Micro SD card, please check the following.
Make sure that the Micro SD card is genuine. Use of non-genuine Micro SD cards may result in data loss. •
Micro SD card can be inserted into or removed from the product regardless of whether the product is turned On or Off. When the Micro SD card is inserted, the device’s •
software will be reset.
When removing the Micro SD card from the product, turn the ignition off and wait until Operation LED is off (may take up to 20 seconds). If the Micro SD card is removed while •
the product is powered on, warning will be sounded. When the Micro SD card is removed, the product cannot complete the video recording. The video recording may be
deleted partially. In some cases, the Micro SD card will no longer be usable.
Please read the followings before you install the product.
Installation
Main Unit Installation
Recommended Installation Method
Install behind the rearview mirror, along the central axis of the vehicle for optimal recording performance. Check the screen
and test the buttons as well.
Recommended Installation Position
• If the product cannot be installed as described left, it can be installed at
left or right from the mirror.
• When installed off center, the recorded videos may not be aimed at the
center of the road.
Cable specifications
Connect red wire (ACC) to •
Accessory Fuse (ACC fuse).
Connect yellow wire (B+) to •
constant power fuse
Connect black wire (GND) to •
vehicle’s body for grounding.
<The Polarity of Constant Power Cable (3 Pins)>
GND
ACC
B+

14
15
Quality of video recordings will may depending on the installed position and angle.
1
Ensure that the device
is securely seated in the
mount and check the
screws.
2
Clean the surface of the
windshield where the
product will be mounted
using a dry fabric.
3
Remove protective film
from the double-sided
tape on the Mount.
4
Attach mount to the
windshield firmly.
Do not install the product on
where it may obstruct the
driver’s view or cause any
kind of disturbance to driver.
12
5
Adjust the lens of the Main
Unit to a proper angle.
Tighten the screws to
fully secure the device in
place.
6
Connect the rear camera.
Connect the rear camera to
R-CAM connector.
7
Connect the GPS module
(sold separately).
Connect GPS module into the
GPS connector. Unplug the
power cable before connecting
optional devices.
8
Connect the power cable,
and check if this device is
working properly.
Connect the power cable to
DC-IN.
Note

16
17
Features and Instructions
Power On/Off
Connect the power cable and press the power button to the on position. Doing so
will activate the security LED and show the startup screen on the LCD. You will then
receive an audio message and be able to see live video on the LCD.
Touch the video screen to display the main menu.
If the device did not shut down normally last time, you will receive the following
message in both audio and text: “Testing Micro SD card. Check the memory card and
format it to ensure safe use.”
Please read the followings before using the product.
Do not operate the product while you are driving. •
Micro SD card must be inserted in the product to record videos. •
A warning will sound if SD card is removed while recording, and the video recording may be partially deleted. •
If this product is connected to constant power source, the power of the device will not be turned off even if the vehicle’s
ignition is turned off. To turn power off, unplug the power cable from the device.
<Power On/Off>
Main Menu
Main Screen
1
Emergency
Recording
Tap on this button to commence
manual recording.
2
Settings Tap on the button to access the
Settings menu.
3
File playback Plays back the video recording file.
4
Live Video Displays the feed currently being
recorded.
5
Date & Time Displays retrieved time and date.
6
Supply
Voltage
Displays the voltage currently being
supplied to the device.
7
Recording
Mode
Indicates the current recording
mode. There are 3 recording modes.
: Infinite Recording in progress
:
Parking Event Recording in progress
: Event Recording in progress
1 2
43
6 7
5
8 9 10 11
Note
Note

18
19
Settings Screen
1Volume Control Adjust speaker volume and microphone
sensitivity settings.
2Recording Mode Configure Infinite Mode and Parking Mode.
3Sensitivity Configure impact sensor sensitivity settings
for Infinite Mode and Parking Mode.
4Display Configure screen settings and the LCD.
5System Configure low-voltage setting for Parking
Mode and the current time.
6Formatting SD card is being formatted.
7Home Return to the main menu.
1Speaker
Adjustment Adjust speaker volume.
2Microphone
Adjustment Adjust microphone sensitivity.
3Home Return to the main menu.
8
GPS Status : GPS ON : GPS OFF
9
Speaker : Speaker ON : Speaker OFF
10
Microphone :
Microphone ON
: Microphone OFF
11
Video
Recording
Channel
: 1CH Video Recording Channel
: 2CH Video Recording
1
4 5 6
2 3
7
Volume Control Screen
Adjust speaker volume and microphone sensitivity settings.
1
2
3
There are 5 levels to choose from. Higher the level,
higher the volume.
Note

20
21
Recording Mode Screen
Configure the video recording method.
Recording may not take place depending on the configured
sensitivity setting.
1Infinite
Recording
Infinite video recording files are saved
under the INFINITE folder.
2Infinite / Event
Recording
Senses impact and saves 10 seconds of
footage prior to and 20 seconds of footage
following an impact under the EVENT folder.
3Motion / Event Records video upon motion or impact
detection while parked.
4Event Records video upon impact detection while
parked.
5Disable Disables Parking Mode.
6Home Return to the main menu.
Sensitivity Screen
Configure impact sensor sensitivity settings for Infinite Mode
and Parking Mode.
1
2
3
1Infinite
Sensitivity
Adjust impact sensor sensitivity for Infinite
Mode.
2Parking
Sensitivity
Adjust impact sensor sensitivity for Parking
Mode.
3Home Return to the main menu.
1Front/Rear
(Default Settings)
Displays both front-view and rear-view
videos.
2Front-View
Video Displays the front-view video only.
3Rear-View Video Displays the rear-view video only.
4LCD Off Configure LCD timeout.
5Next Page Move to the next page.
6Home Return to the main menu.
1On Always displays live video on the LCD.
2Off Disables live video display on the LCD.
3Start Commences touch calibration.
4Previous Page Move to the previous page.
5Home Return to the main menu.
Display -1 Settings Screen
Configure screen settings and the LCD.
1 2 3
4
6
5
Display -2 Settings Screen
1 2
5
3
4
1 2
3 4 5
6
Note

22 23
System Settings Screen
Configure low-voltage setting for Parking Mode and the
current time.
1
2
3
1Low-Voltage
Setting
Configure the cutoff voltage for Parking
Mode.
2Date and Time Configure the current date and time.
3Home Return to the main menu.
1Format Format the microSD card.
2Cancel Cancels MicroSD card formatting.
3Home Return to the main menu.
Format Menu Screen
1 2
3
Parking Mode is only available when using a constant power source. •
Using an incorrect low-voltage setting can lead to a battery discharge. The ideal setting varies from vehicle to vehicle. It is up to •
the user to determine the optimal setting.
Category Specifications
Model RV-350L
LCD 3.5” TFT with Touch, 320ⅹ480(HVGA)
Camera
Front(Main
Unit) 2.0M Pixel, 1/3.2" CMOS Sensor
Rear 1/3" CMOS Sensor(sold separately)
Viewing
Angle Approx.120
°
(diagonal)
Resolution &
Frame Rate
Front (1CH) Front Camera (Main Unit): 1280ⅹ720(Max.30fps)
Front / Rear
(2CH)
*(Rear
camera sold
separately)
Front Camera: 1280ⅹ720(Max.20fps)
Rear Camera: 680ⅹ480(Max.10fps)
Encoding H.264(video), ACC(audio)
File Format Mp4
Power 12V DC~24V DC
Dimensions & Weight 107 x 70 x 37 (mm)/124g
Operating Temperature -20℃ ~ +60℃
Storage Temperature -30℃ ~ +70℃
Company name /
Certification number
SD System Co., Ltd./
KCC-REM-SDB-RV-350L
Name of the Device
(Model)
Video Recording Device for
Automobiles (RV-350L)
Manufactured date Marked on the device
Manufacturer /
Country of Origin:
SD System Co., Ltd. / Republic
of Korea
Certification No.:KCC-REM-SDB-RV-350L
[KC Certification Symbol and Number]
This device is registered for electronic magnetic field safety
for home application (Class B). It is intended to be used at home,
and it can be used in all regions without restrictions.
Product Specifications
Note

MEMO
39
Warranty Card
Regarding Services
• SD System guarantees the quality of this product as the following
according to Customer Dispute Resolution Standards (declared by
Fair Trade Commission).
• Customers are eligible to receive services from SD System or
affiliated partners.
Warranty
is valid
for 1 year.
Customers are eligible to receive repair services at free of charge within one year period from the date
of purchase if defects are caused under normal use of the product.
(Issues related to marketing mistakes and fully-working functions excluded)
If this product is used for commercial purposes, warranty coverage is reduced to 6 months.
Customer Complaints Warranty
During Warranty Period After Warranty Period
Defects in the performance
of function occurred
during normal use within
warranty period
When a major repair is required within 10 days from
date of purchase Replacement or refund
Not applicable
When a major repair is required within a month from the
date of purchase
Replace or repair at free
of charge
If defects are caused in shipment or installation Replacement
If a major repair is required within 1 month of replacement Refund
If the product can not be replaced
Repairing
possible
If a malfunction from identical cause occurs
less than three times Repaired by warranty Charged repair
If a malfunction from identical cause occurs
for the third time
Replacement or refund
Charged repair
If a malfunction from different cause occurs
for the fifth time Charged repair
If the product was lost after sent in for repair Full price refunded with
additional
10% of the depreciated
amount
If the parts are not available and product cannot be repaired
during mandatory part stocking period
If the parts are available, but product cannot be repaired Depreciated amount
refunded
If defects are caused by
customer's actions
If product cannot be repaired
Replacement will be provided
after repair charges
are paid.
Replacement will be provided
after repair charges are paid
and depreciation is applied.
If product can be repaired Charged repair Charged repair
Refund: Full amount of purchase (Purchase receipt must be submitted)
1)Non-malfunctions
Service requests for non-malfunctions will be charged. Please read User's Manual carefully.
(Additional policies apply if the product is not repairable.)
2) Malfunctions due to consumer negligence
■If the defect is caused by unauthorized disassembly, modification, or improper use (water
penetration, damage, breaking)
■If repair was conducted by non-expert other than SD System or its affiliates' technicians
■If the defect is caused by using non-genuine parts
■If the malfunction was caused by customer's failure to follow "Safety Warnings and
Cautions" in the User's Manual
3) Other circumstances
■Malfunctions caused by a force majeure event
■If consumable part has completed its lifespan (batteries, etc.)
■If the product was used with unstable power source
Product Date of Purchase Serial No.
Model Retailer Amount Paid
Covered by Warranty Charged Service

MEMO
MEMO
Table of contents
Other Roadview Dashcam manuals
