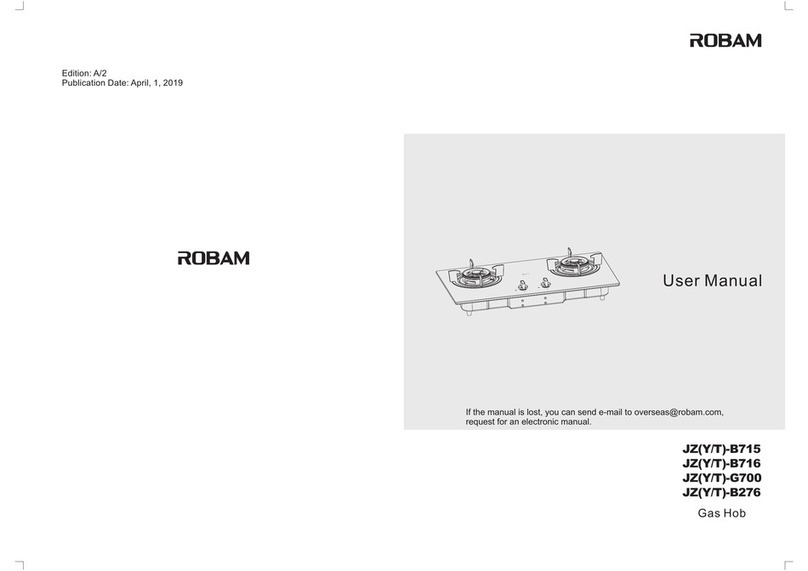
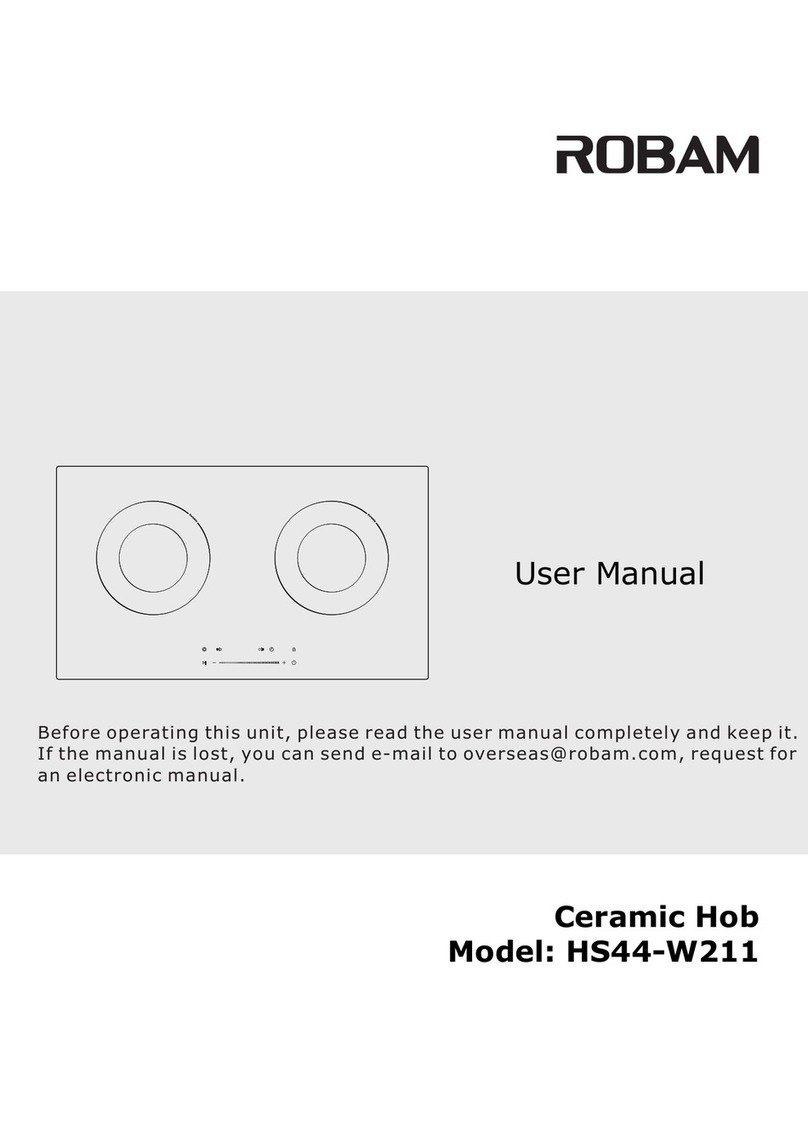
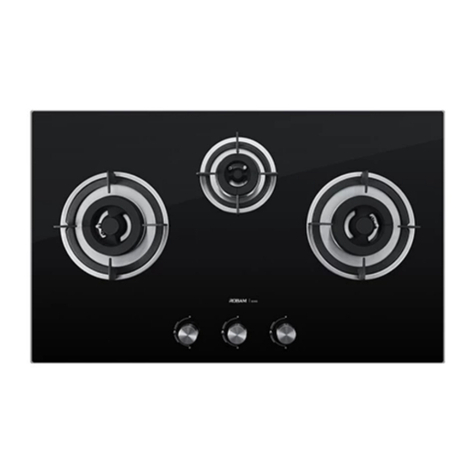
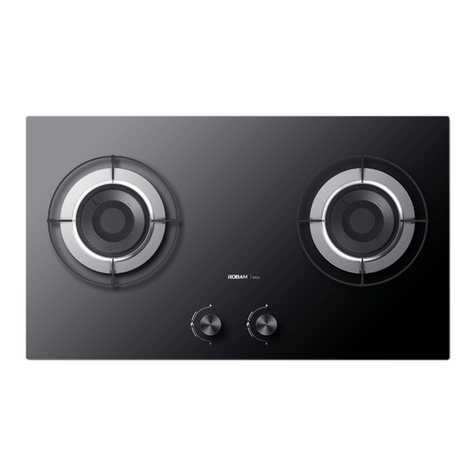
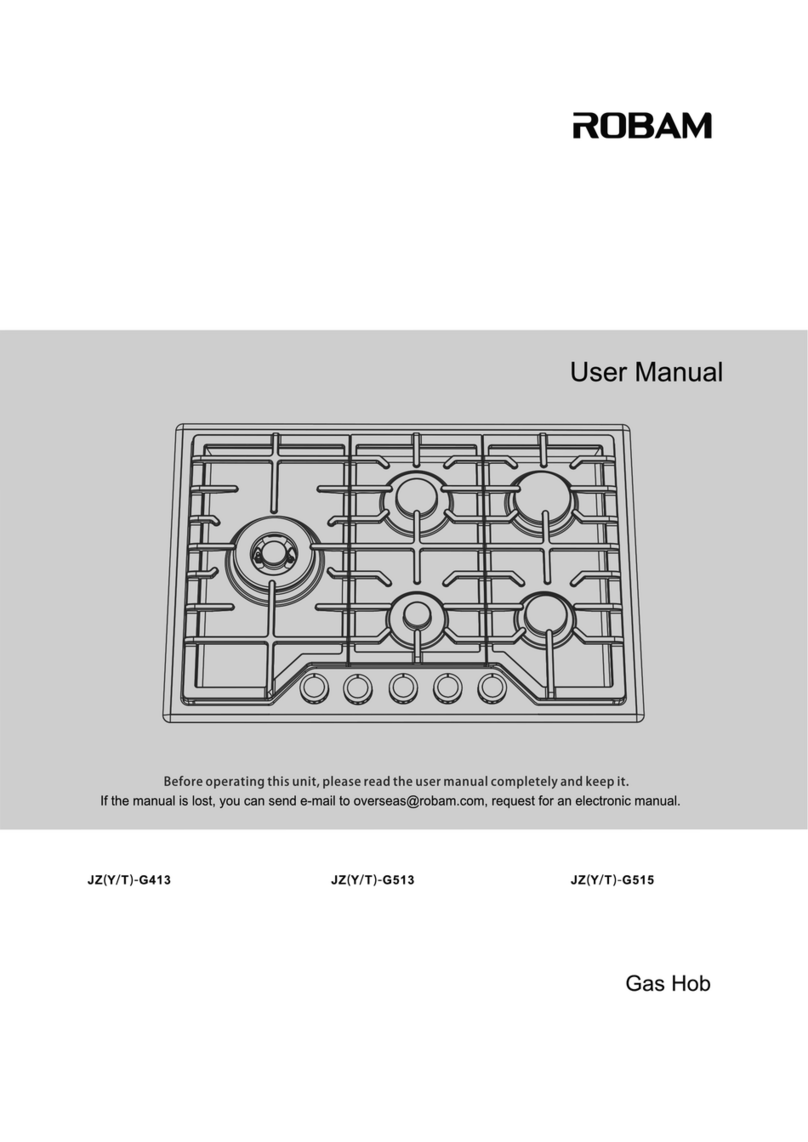
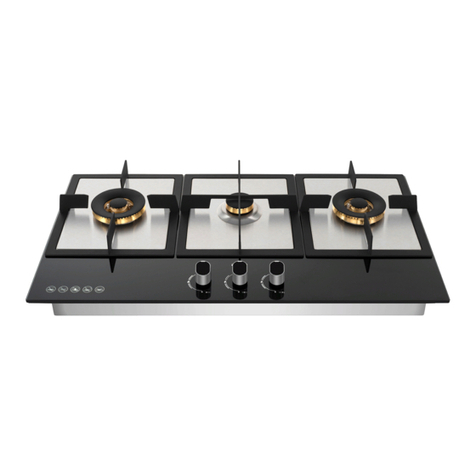
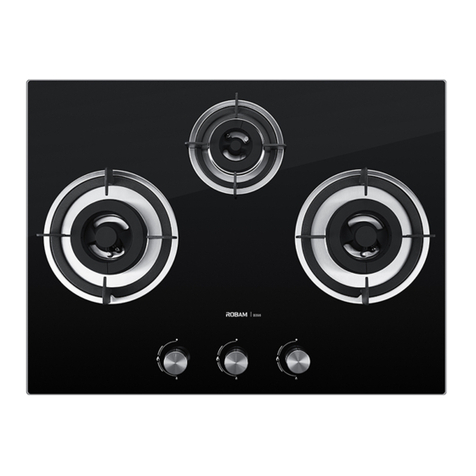
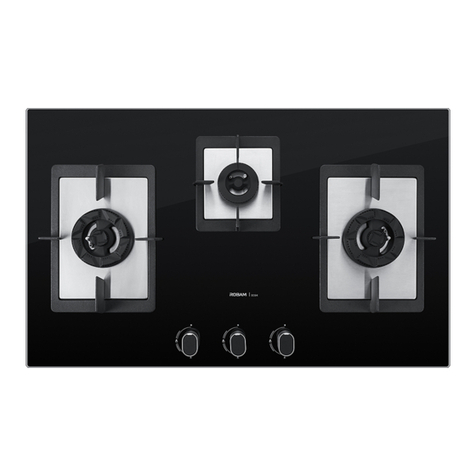
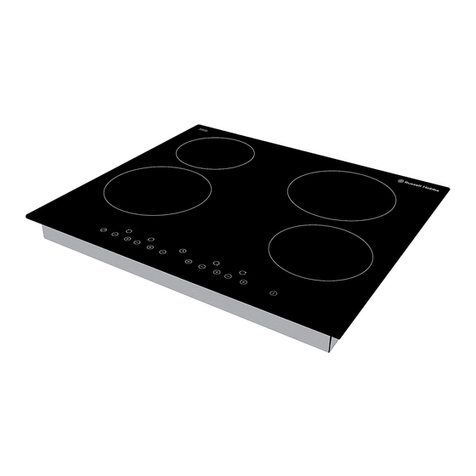
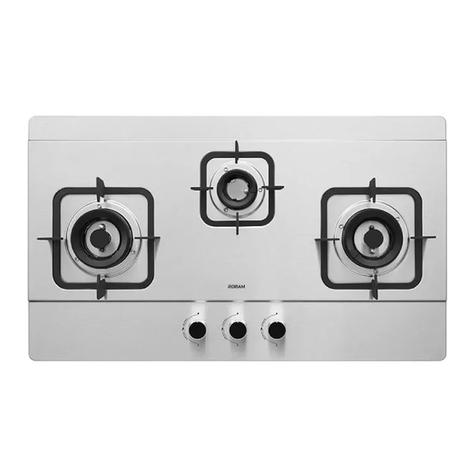
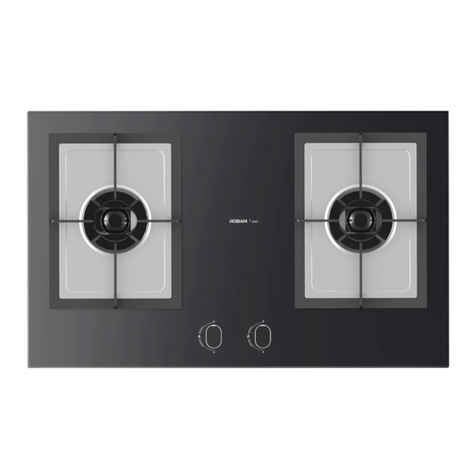
Robam JZY-B928 User manual

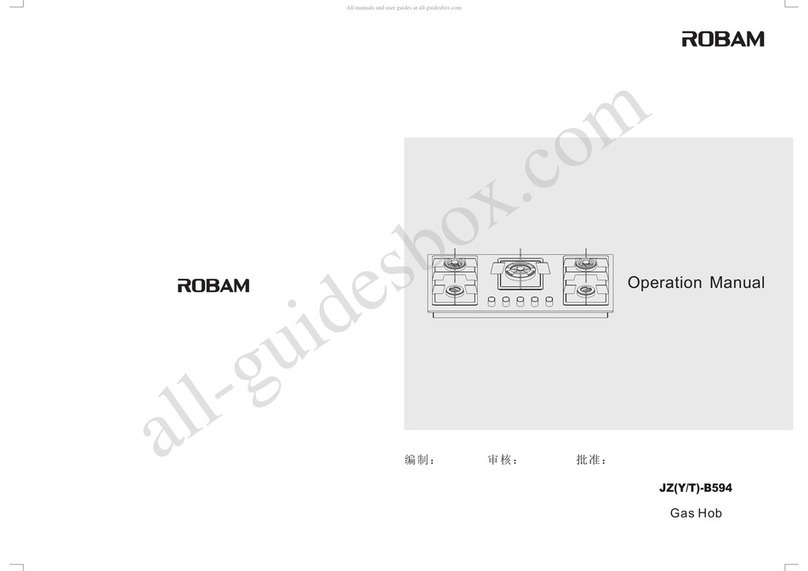
Operation Manual
Gas Hob
JZ(Y/T)-G980
JZ(Y/T)-B928
编制: 审核: 批准:

Contents
1
1
2
2
3
4
5
7
7
8
- - - - - - - - - - - - - - - - - - - - - - - - - - - - - - - -
- - - - - - - - - - - - - - - - - - - - - - - - - - - - - - - - - - - - - - -
-------------------------------------
- - - - - - - - - - - - - - - - - - - - - - - - - - - - - - - - -
- - - - - - - - - - - - - - - - - - - - - - - - - - - - - - - - - - - -
-------------------------------------
----------------------------------
- - - - - - - - - - - - - - - - - - - - - - - - - - - - - - - - - - - -
---------------------------
------------------------------------
Product Overview
Structure
Parameters
Product Feature
Notice Items
Installation
Use Instruction
Maintenance
Accessories
General Troubleshooting

Product Overview
Dear Users:
Thank for your buying our gas hob. Please read this operation manual carefully before
installation or operation of this product. Meanwhile, please keep it properly for future
reference.
ROBAM specializes in kitchen appliances, for example, range hood, gas hob, etc.
ROBAM gas hob adopts advanced technology, fashion design, optimistic structure,
high heat efficiency and safe operation, too.
Structure
(This picture is only for your reference. There are series of models, we don’t list all of
them one by one)
Item Name
Item No.
Gas Style
Rated Pressure
Heating Load(kW)
Gas Connector
Product Size(mm)
Net Weight(kg)
Air in flow
Installation Size(mm)
Panel
lgnition Method
Built-in Gas Hob
JZ(Y/T)-B928 JZ(Y/T)-G980
φ9.5mm special gas rubber gasket(G1/2 inch special metal gasket)
760×440 160×
14 12
2
Full
Tempered Glass Stainless Steel
703×403 R15×
Pulse
See the label
See the label
See the label
760×450 162×
Parameters
Note:
1.Parameters indicate for reference only. The exact datas should be confirmed on the
label on the gas hob;
2.The installation size of built-in gas hob should be confirmed by the specification on
the templet in the carton;
3.We keep right to alter design or specification;
1.Fashionable design: The design of model and structure comply with fashion and
adapt to modern kitchen.
2.Excellent quality: Top quality of accessories with trustable quality, long life
expectancy;
3.Electronic pulse with flame failure safety device on each burner and high thermal
efficiency.
4.Full air in flow: Built-in structure with full air in flow , cooktop supplyment air, air valve
adjust flexibly, burn completely and easy to install;
Product Feature
Pan stand(flat)
Copper core
Copper cover
Copper base
Electrode needle
Thermocouple
Burner
Panel
Underpan
Feet
Switch
Pan stand (round)
Gas Burner
Gas Hob Gas Hob
1 2

1.Please make sure the source of gas is in line with that noted on label before your
installation of the product, otherwise it is strictly prohibited to use.
2.To connect gas source must use special gas tube, and it must be replaced at least once
per year. The length of rubber tube should be 1-1.5 meter as preferred. It is highly required
that the tube should be avoided from pressing, heavy bending or aging. The joint point
should be carefully checked to avoid any possibility of leaking and any potential damage
from the leakage, for example, poisoning or fire.
WARNING: THE GAS HOB SHOULD BE ONLY CONNECTED BY THE QUALIFIED
SPECIAL TUBE(e.g, the tube made of UV-PSA, Buna-N rubber). IT IS HIGHLY
PROHIBITED FROM USING NORMAL RUBBER TUBE. FOR THE POSSIBLE
CHEMICAL REACTION MAY HAPPEN WHEN THE NORMAL RUBBER TUBE MEET
OZONE/LIQUID OIL, WHICH WILL POSSIBLE CAUSE THE DAMAGE OF THE TUBE
AND THE RELATED POTENTIAL ACCIDENTS.
3.Don’t revolve joint of inlet tube arbitrarily. The leaking test must be done after any
abnormal change of the valve. (Put the low-concentrated cleaning solution to the joint
point and then turn on the valve to check whether any air bubble appears. If there were any
air bubble, the valve should be turned off immediately and fix the problem. It can’t be used
until the problem is completely solved).
4.The fixing metal joint should be installed strictly according to the operation manual,
which lays in the “package of the fixing metal joint” or installed by the professional staff, if
the tube is connected by the fixing metal joint. The test of leaking should be done before
use. (The way of leaking test above is for your reference. )
5. The gas hob should be installed on the place of well-ventilated, but should be avoided
from the strong wind.
6. Do not try to cover the flame on the gas hob, or put anything tinder around. Besides
the gas hob can’t be used to for drying towel or clothes, etc.
7. Do not have the immediate touch on the flame-around area, such as work stand, burner
or cooktop after the use of the gas hob.
8. Do not try to beat the cooktop, and the special attention should be paid to keeping the
gas hob in good condition during the transport and installation.
Notice Items 9. Once any leaking tested, the valve should be turned off immediately and the window
should be open to keep ventilated. The electric fan or range hood or any other electric
appliances are prohibited to use, and keep the fire away. Meanwhile, please contact
professional staff.
10.If there were any abnormal sound such as whir heard, or the color of flame turned from
dark to light or turned muddy, the backfire from the burner might be happened. Please turn
off the switch, and check whether the burner and copper core are well-positioned. Turn on
the switch in half a minute after the check.
11. Each time of turn-on the switch should be no more than 20 seconds to avoid from
deflagrating. If the switch cannot be turned on within five times, please contact the
service immediately.
12.The children are prohibited to use the gas hob in the case of safety concern.
13.The installation and any maintenance should be taken only by the professionals.
14. Be sure to keep your head away from the burner while the operation of turn-on gas hob.
Please turn off the valve of gas and switch of gas hob after the use to avoid from any
possible accident.
15. Be sure to keep any heat conductor such as metal knife, fork or cover away from the
heat.
Installation
1.The gas hob should be installed away from the surroundings and the distance should be
no less than 15cm, and the height above the gas hob should be no less than 100cm. If
range hood is needed to be installed, the space should be kept accordingly.
2.The kitchen cabinet for built-in gas hob should be specially designed for the safety
concern. The ventilated borehole should be suitable for the safety requirement and the
size should be no less than 100 cm2.
3.When the special gas tube is used, one side of the tube should be connected with the gas
valve while the other side connected with the inflow side of gas hob. Please take off the
cover on the connection point and put the tube to cover the red-mark point, and tighten it
with the anchor ear. Be sure that the leaking test should be taken before use.
34
Gas Hob Gas Hob

1.Be sure the copper core, copper cover, copper base and pan stand in right
position.Check the switch first before turn on the valve of the gas.(PIC1).
2.IGNITION METHOD: Push the switch and turn to 90 degrees anti-clockwise for the
strong fire(PIC2),meanwhile the poop sound of pulse firing can be heard. The full
push should be taken for 3-5 seconds till the flame comes out. Otherwise, the same
operation above should be retaken. In addition, push the switch and turn to 90
degrees anti-clockwise again is the small flame. (PIC 3)
Use Instruction
REMARKS:
①The first ignition or that of the first reuse of the gas hob may not work immediately,
because of the air inside the tube.Only repeat the operation will work.
②Between copper core and copper base, there is some gap, and it may cause flame.
It’s normal action.
3.SWITCH-OFF:Turn the switch to the position clockwise(PIC 1) and the fire will be
switched off.
4. FIREPOWER CONTROL: Operate according to the instruction mark.
picture1 picture2 picture3
5. AIRFLOW CONTROL: The air valve, which is used to control the airflow to make the fire
in the good condition, can be adjusted through the spot nail of air valve adjustment under
the cooktop. By turning it clockwise or anti-clockwise to control, which leads the flame
changes accordingly and confirmed until the flame in steady and normal blue color
condition. ( PIC below). The way of distinguishing the flame status is as follows:
●Air deficiency: the flame is stretched and takes on yellow or red, the interior and exterior
flame is faintly.
●Air superabundance: the flame is unstable, about to leave the fire cover or flame
becomes short obviously (sometimes will occur backfire when using manufactured
gas), and color of flame appear cyan.
●Combustion well: the flame takes on cyanine, no yellow flame or red fire, the interior
and exterior flame is clear.
In flow
Stop block for air door
Stop block for nature gas
Stop block for liquid propane gas
Stop block for manual gas
Air door
Air door
In flow
Normal
(Full Combustion)
Yellow Flame
(Air deficiency)
Floating Flame
(Air superabundant)
4.The size of the borehole should be taken according to the requirement, and put the
built-in gas hob to match the borehole.
5.If the G1/2 inch connector is used, please make sure to put the rubber gasket
inside the connector and the leaking test should be taken before use.
6.The qualified reduction valve should be used when the LPG is used as the
source of the gas.
7.Assisting pan stand is available for some models, and only can be used for pan of
φ100mm.
56
Gas Hob Gas Hob
Accessories
1.One copy of the Operation Manual
2.Two pieces of anchor ear (except of metal soft pipe)
3.One copy of Installation templet
4.One piece of battery in the packing foam
Specific fire hole on the electrode
needle of copper cover blocks Clean blocks and dredges fire hole
Problem
Ignition
Failure
The burner is
not work
when loosen
the knob
Gas leakage
(gas smell)
Possible Reason
Gas Volve is not open
Air exists in gas pipe
The rubber tube is
twisted or blocked
Electrode needle is dirty
lgnitor malfunction or the electrode
needle in wrong position
Without battery,put battery
oppositely or power insufficiency.
The copper core,copper cover,
burner is in wrong position
The damper adjuster too
big and flame left burner.
Time to press On/Off switch
is too short.
Switch is not closed completely.
The rubber tube is not
connected or cracked.
The damper is not
adjusted correctly.
Burner is blocked
The gas used here is not consonant
with the required in the nameplate.
Gas pressure is unstable,
water in the rubber tube.
Measurement
Turn off the control switch
Then turn on the gas valve
Exhaust the air by igniting repeatedly
Straighten,clean or replaced
the rubber tube
Clean clear
Adjust the electrode needle to burner,
keep the distance4mm
Install the battery collectly
or replace the battery
Install the copper core,copper
cover,burner in right position
Adjust the damper
Keep the switch down 3-5 seconds
then loosen
Turn off the switch
Connect rubber tube or replace it
Adjust damper
Choose the cooktop properly
Get rid of water in the rubber tube
Burning
abnormal
or sounding
noise
Clear away the block
General Troubleshooting
(Picture for reference only.)
Exclusive Fire-hole of Thermocouple
(Fire-holes are easy to be blocked,
users must clean them regularly)
Copper Fire-hole
Fire hole on copper cover
specific fire hole for
electrode needle
1. Maintain gas hob surface: Please clean the surface with wet and neutral detergent
cloth, and then clean with dry cloth; Don’t use steel brush or other rigidity objects.
2.Please clean fire holes(groove)by brush or steel needle regularly, and clean dirty on
gas hob avoiding from back fire. Don’t bath gas hob by water.
3. Please check if the copper cover, copper core and ornamental ring are shift or biasing,
and correct them at the right position in time.
Maintenance
Environmental-protection purpose:
1.Please deal with battery properly avoiding pollution.
2. This product use environmental and recyclable package, please deal with cyclable
materials properly to reduce waste.
3. If maintenance confirms this product can’t be used again, please deal with recyclable
materials properly.
78
Gas Hob Gas Hob
This manual suits for next models
3
Table of contents
Other Robam Hob manuals

Robam
Robam JZY-B920 User manual

Robam
Robam JZY-ZB61H70 User manual

Robam
Robam JZT B110 User manual

Robam
Robam HS44-W211 User manual

Robam
Robam JZY-B394 User manual

Robam
Robam CS46-W270 User manual

Robam
Robam Vigour Series User manual

Robam
Robam JZY-B398 User manual

Robam
Robam JZ-B312 User manual

Robam
Robam JZY-B594 User manual