로보빌더 RQ+120 교재표지_앞_182*257 책등 8mm 로보빌더 RQ+120 교재표지_뒤_182*257 책등 8mm
Publication Date : May. 2017. REV. 01
Copyright by ROBOBUILDER CO., LTD. All rights reserved. Printed in Korea.
No part of this publication may be reproduced or distributed in any form or by any means,
without the prior written permission of the publisher.
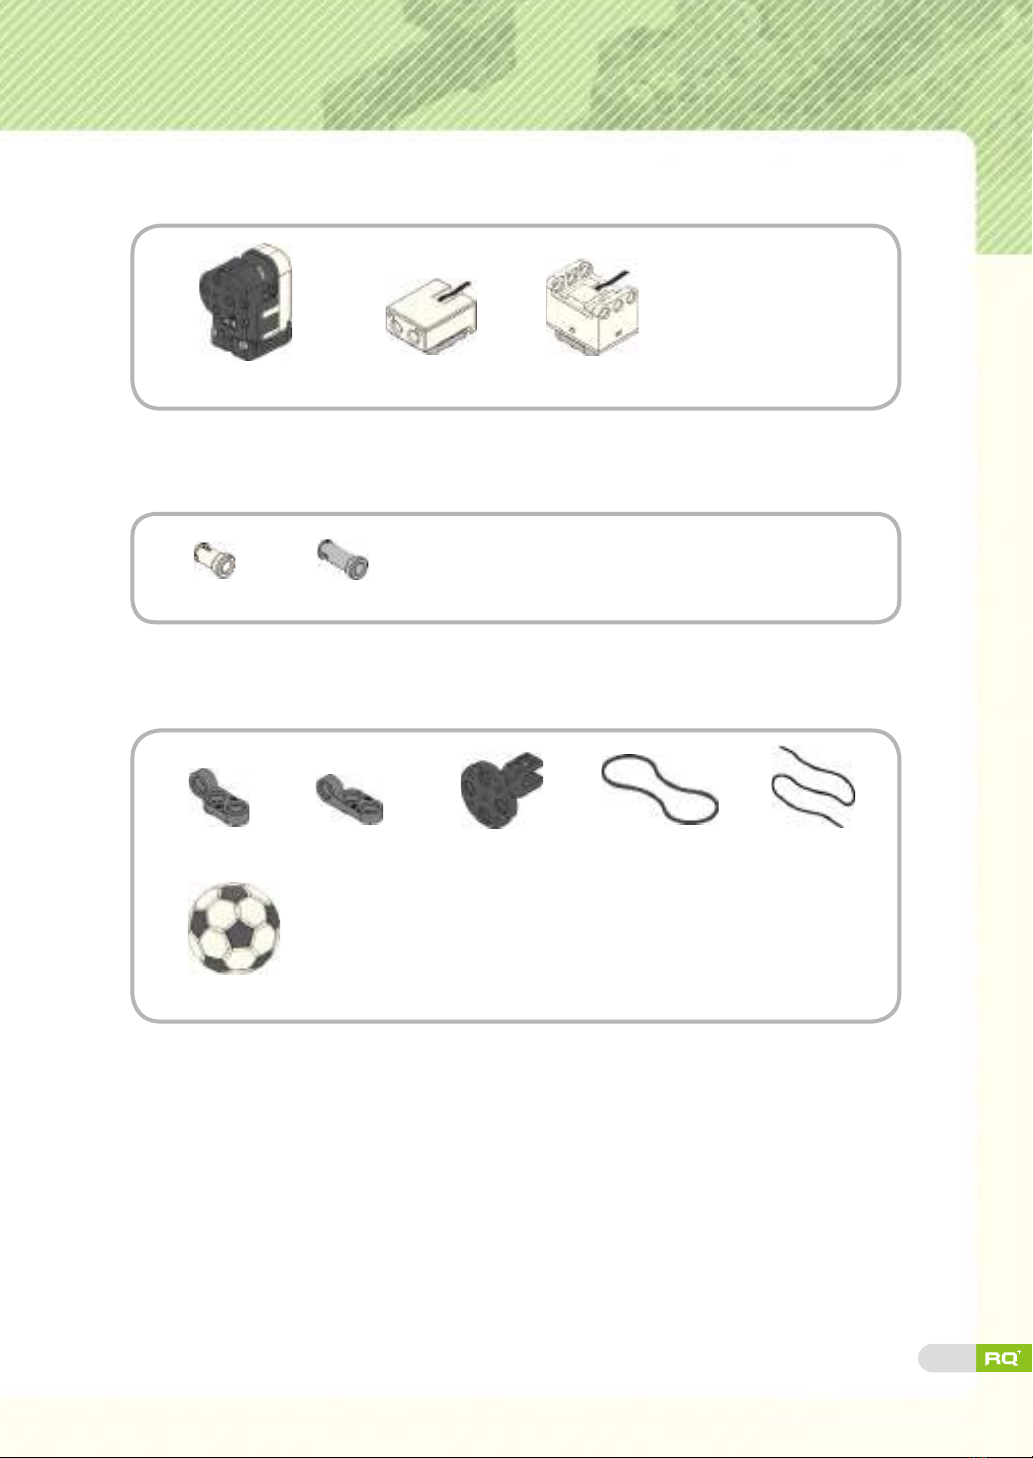
Power S/W is built in the smart controller. Insert power device
(AAA battery)
and connect to power connector of smart controller.
Power off smart controller while your robot is not in use.
Use the given electronic parts in RQ+to connect with smart controller.
Check the cable insert port carefully again not to misconnect.
Do not use in humid environment, near water, wet place, or near other electric goods.
The electronic parts may be damaged.
Do not pull out the cables or throw the assembled robot as the parts (frames,
electronics parts) may break.
Do not take out batteries or cables while robot is operating or moving to prevent damages.
Electric current flows in set-up / standby mode.
Power-off the smart controller when the robot is not in use.
Place the robot parts away from baby or toddler.
In any case of swallowing parts, contact doctor immediately.
Do not operate the robot near you or facing you.
Do not use a peeled off battery or damaged battery as it may lead to fire or burn skin.
Clean up all RQ+parts after you build or play with your robot.
Warnings
Publisher : ROBOBUILDER CO., LTD.
Address : B-808, DMC Hi-tech Industry Center, Seongam-ro 330, Mapo-gu, Seoul,
Korea 03920.
TEL : +82-2-3141-5101
E-mail: sales@robobuilder.net
ROBOT CONSTRUCTION KIT