7
27/11/2020
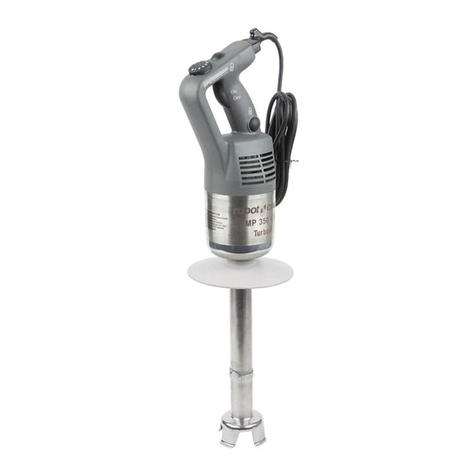
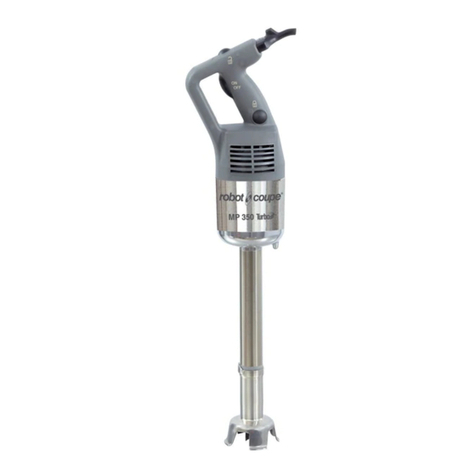
• MASHED POTATOES FUNCTION
(MP 350 Combi Ultra, MP 450 Combi Ultra,
MP 450 FW Ultra)
A self-regulating speed system
has been specially developped
for pureeing tasks using the
whisk (jerky rotation).
To reach this speed, you have
to turn the knob counterclokwise
until you feel a click. Mashed
potatoes must be processed at the lowest speed.
A triangle marked on the speed variation switch
indicates the speed dedicated to mashed potatoes
preparation.
• POWER CORD
After cleaning the machine, wind
the cord around the specially
designed lugs, without stretching
it too much. This will prolong its
lifespan.
WORKING POSITION
8. Release the control button (CB).
9. Release the locking button (LB), and the power
mixer will function continuously.
10. To stop the power mixer, press and release the
control button (CB).
• VARIABLE-SPEED OPERATION
(MP 350 V.V. Ultra, MP 450 V.V. Ultra, MP 350
Combi Ultra, MP 450 Combi Ultra, MP 450 FW
Ultra, MP 450 XL FW Ultra)
Follow steps 1 to 6 above, then:
7. Change the speed of the
motor by turning the variable
speed button (VB) towards
the maximum or minimum as
required.
Whisk function (MP 350 Combi Ultra, MP 450
Combi Ultra, MP 450 FW Ultra): speed between
250 and 1,500 rpm.
Mixer function (MP 350 V.V. Ultra, MP 450 V.V.
Ultra, MP 350 Combi Ultra, MP 450 Combi Ultra):
speed between 1,500 and 9,000 rpm.
Mixing tool function (MP 450 XL FW Ultra,
optional extra with the MP 350 Combi Ultra and
MP 450 Combi Ultra models): speed ranging from
160 to 510 rpm.
It is advisable to start at a low speed when using the
whisk.
Principle of automatic speed regulation: once you
have selected the right speed, leave the mixer to run
on its own. The speed will remain the same, even if
the consistency of the preparation changes.
SB
MV CB
LB
To make our machines more ergonomic, safer to
use and easier to handle, we recommend using the
“removable handle” attachment.
The handle can be used on all mixers in the Large
range including the Combi models (except the MP
800 Turbo).
We recommend holding
the mixer by both the main
handle and the removable
handle. We also recommend
tilting the mixer slightly,
making sure that the bell
does not come into contact
with the bottom of the
recipient.
Installing the handle:
- Unplug the mixer first.
- Slide the removable handle onto the motor base
from underneath the mixer (1), making sure that:
- the word “TOP” is facing upwards (1).
- Turn the stainless steel adjusting screw anti-
clockwise (1) until the handle is slightly above
the aluminium housing as indicated in step (2).
N.B. During assembly, check that the elastomer seal
on the removable handle is always aligned with the
rest of the handle (1).
- Then push the handle downwards until it sits on
top of the aluminium housing (3).
- Lock the handle into its final position by turning
the adjusting screw clockwise (4) until fully
tightened.
WARNING
To ensure maximum safety regardless of your
working position, we strongly recommend
positioning both hands as indicated below
and always as far as possible from any
moving and cutting parts.
