Rodriguez Bicycles Shift-E User manual

Version
2020.4 Operating
Guide
1
Operating Guide
For the Shift-E Four-Speed Transmission
Contents
I TRODUCTIO TO E-BIKE 2
COMPO E T MODULES 3
I STALLI G THE BATTERIES 3
AUTO/MA UAL OPERATIO 4
MAI TE A CE A D A FEW SIMPLE TESTS 8
CHA GI G A TIRE 13
TROUBLESHOOTI G 15
SPECIFICATIO S 17
Rodriguez Bicycles
www.rodbikes.com
telephone 206.527.4822
e-mail: info@rodbikes.com

Version
2020.4 Operating
Guide
2
I TRODUCTIO TO E-BIKE
AUTOMATIC SHIFTI G
Riding a bicycle equipped with the Shift-E automatic
transmission is a truly enjoyable experience.
Until you get used to the way Shift-E works and feels with an
electric assist motor, we recommend that you ride in areas where
there is little or no traffic or other distracting obstacles. The
Rodriquez Shift-E has a wide range four-speed rear transmission.
The difference between one gear and the next is designed to
provide a gear range that works in conjunction with the motor.
With Shift-E, it is not necessary to ease up on the pedaling pressure
to shift gears. For example, Shift-E will downshift while you are
pushing up a hill as hard as you can. However, before you get off the
saddle and stand up to pump the pedals, we highly recommend
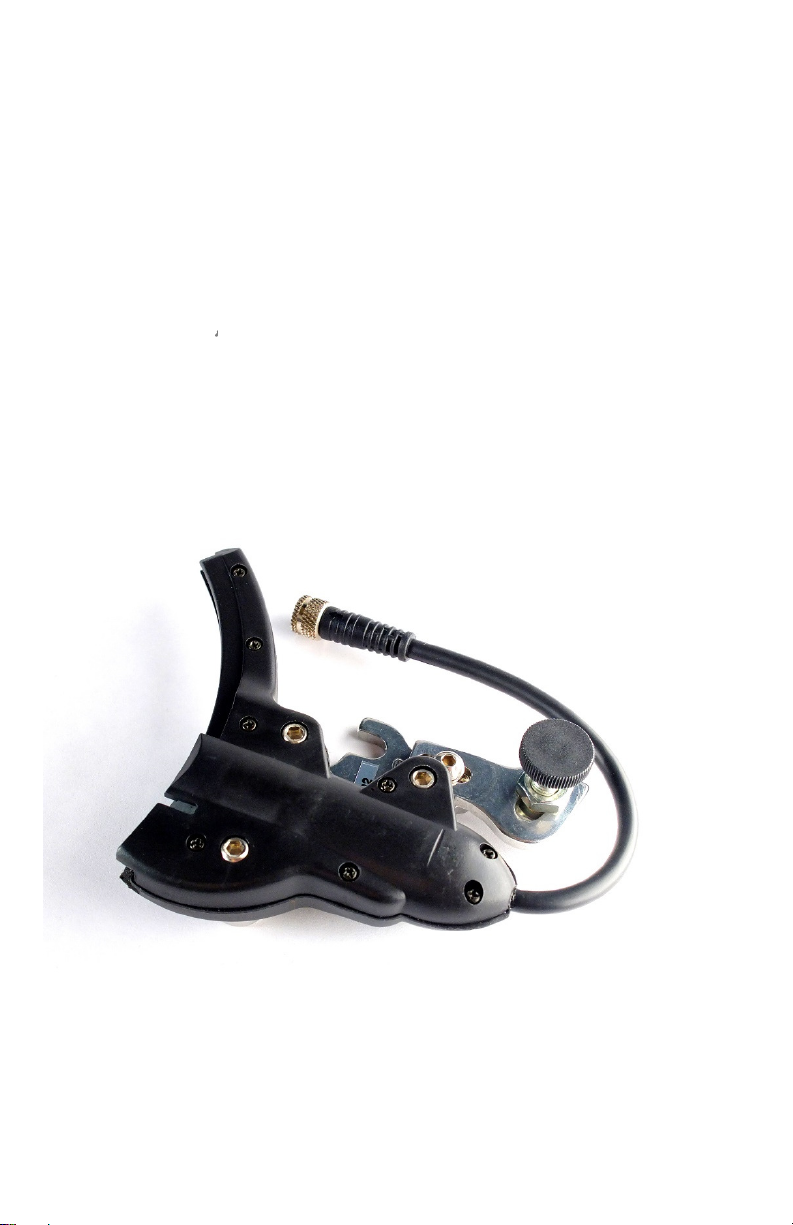
shifting to Manual mode (see Buttons and Auto/Manual Operation,
page 5). because an unexpected automatic shift may cause you to
lose your footing on the pedals.
A WAR I G: Riding out of the saddle with your weight on the pedals
while in Auto mode could cause you to lose control and fall.
The Rodriquez Shift-E Transmission was designed "to get on and ride".
It is not complicated. In manual mode, you control the shifting. In
automatic mode, you can forget about shifting because the Electronic
Control Unit (ECU) does it for you.
This Guide provides comments and tips concerning operation and
maintenance of your Rodriquez Shift-E. It is important that you read
and understand it. If you have any questions about the operation or
maintenance of the Shift-E, please contact us at R+E Cycles.

Version
2020.4 Operating
Guide
3
COMPO E T MODULES
The Rodriquez Shift-E Transmission has individually replaceable
components for ease of repair.
I STALLI G THE BATTERIES
The Rodriquez Transmission operates on four (4) AAA batteries
located in the ECU as shown below.

Version
2020.4 Operating
Guide
4
The ECU is located on the non-drive side of the down tube. There is
no need to remove the ECU from the bike.
There is a compartment door at the bottom of the ECU. To open the
compartment door to access the batteries use the edge of a coin like
a nickel and perform ¼ turn.
Align new batteries (polarity) according to diagram on battery
compartment door and reverse the ¼ turn to close. It is
recommended to use only Lithium batteries in the ECU.
After new batteries are installed, push Up or Down Control Button
and listen for "click" of Selector. If no "click" is heard, verify batteries
are installed correctly.
Changing the batteries every 500 miles or at least once per season is
recommended.
AUTO/MA UAL OPERATIO
Manual Mode
o
Rotate Auto/Manual toggle switch (located on Junction Box
housing) so knurled portion of toggle switch is turned to ‘M’.

Version
2020.4 Operating
Guide
5
o
Push top button once for next higher gear.
o
Push bottom button once for next lower gear.

Version
2020.4 Operating
Guide
6
o
More than one button push in either or both directions does no
harm, however the mechanism responds only to the first button
push after the last shift is completed. All excess button pushes are
forgotten.
Automatic Mode
o
Rotate Auto/Manual toggle switch (located on Junction Box
housing) so knurled portion of toggle switch is turned to ‘A’.
o
In Automatic mode, the transmission shifts up or down one
gear automatically, depending on wheel speed.

Version
2020.4 Operating
Guide
7
Button functions in automatic
•
The wheel speed at which the transmission shifts can be
adjusted in either direction at any time. The shift point is
adjusted while pedaling forward. Repeat the button push
adjustment until your pedal cadence feels comfortable. The
Computer will remember the setting.
•
Pushing
n
up" button once will shift to next higher gear A D
change the automatic operation to maintain a slower cadence.
•
Pushing "down" button once will shift to next lower gear A D
change the automatic operation to maintain a faster cadence.
•
Occasionally, you may notice that the computer does not know
what gear it is in. This can occur after a tire is changed or when
the batteries are low. To correct the computer:
-If batteries are low: ride in Manual mode
-If gear is too low: slow down and let the bike correct itself.
-If gear is too high: switch to Manual; shift 1 past the High
limit; then switch back to Automatic
•
If the system is shifting erratically and you cannot get the shift
points you want, you need to reset the ECU. Locate the small
black button at the front of the ECU, press it firmly and hold for
2 seconds. The shift points will return to the default settings and
can then be adjusted to your liking with the button push
Adjustment described above. You can also reset to the default
shift points by stopping the bike and moving the Auto/Manual
toggle switch back and forth.

Version
2020.4 Operating
Guide
8
MAI TE A CE A D A FEW
SIMPLE TESTS
In normal operation, the Rodriquez Shift-E Transmission should not
require adjustments during its lifetime. However, the transmission
does require some care and maintenance. In addition, you can
perform a few simple tests to determine the health of your
transmission.
Maintenance
A new Shift-E system should have a routine maintenance check
at R&E Cycles or by an authorized Shift-E service shop at the end
of the first season or after the first 1,000 miles, whichever comes
first.
Load the battery compartment with new AAA Lithium batteries,
following the instructions in "Installing the Batteries". Keep the
battery terminals clean. Corrosion on the battery terminals will
stop the operation of the transmission.
•
The Rodriquez Shift-E Transmission will operate in rain and
muddy conditions and does not have to be pampered, it is good
practice to periodically wash the whole bicycle with a garden
hose. Do not use a high-pressure sprayer.
*Every time the ”up” button or the “down” button is pushed,
the Gear Selector responds with a “clicking” sound. This is an
indication the mechanism is working as it should. You can check
the Shifter/Gear Selector/ECU function by pressing the "up" or
"down" button and listening for the click. If no clicking is heard,
check for loose connections in the cables; then check the
batteries.

Version
2020.4 Operating
Guide
9
Periodically check the position and condition of the magnets on
the rear wheel. Loose, missing or out of position magnets will
cause the transmission to malfunction. The magnets should
sweep within 1/8" of the Witness Mark on the Selector. Make
sure the magnets are tight enough on the spokes to prevent
them from moving or turning and hitting Gear Selector.
Gear Selector
The Gear Selector contains the mechanism that activates the
gear changes. There is "Witness Mark" on the Gear Selector that
the (2) wheel magnets engage with during automatic shifting.
Below is the Gear Selector with the noted embossed Witness
Mark line.

Version
2020.4 Operating
Guide
10
Sprocket Cluster and Pawl
Below is the rear Gear Cluster with swing-gate technology, you
can see the Sprocket Cluster Pawl as it extends from the outside
protective plate.
The pawl on the Sprocket Cluster should track through the slot
on the Gear Selector without touching.

Version
2020.4 Operating
Guide
11
If a regular "ticking" noise is heard while pedaling the bicycle,
examine the bicycle immediately. The most likely causes are:
1. The rear wheel may be loose or not properly installed. If
this is the case, this dangerous condition must be corrected
before continuing the ride. (See the section "Changing a Tire,"
page 11, in this manual.)
2. The Sprocket Cluster Lock ut may be loose. This requires a
special tool. Do not ride the bicycle until you have had the Lock
ut correctly tightened by an authorized Shift-E service center.
3. The Selector may be loose. Tighten the two thumbscrews
on the Selector mount.
4. The hinge of the Sprocket Cluster is sticking. Lubricate with
a lighweight lubricant
If the "ticking" is mild, the bike is rideable however, it should be
taken to R+E Cycles or an authorized Shift-E service center as
soon as possible.
The Chain Tensioner

Version
2020.4 Operating
Guide
12
The chain tensioner resides under the rear cogset and provides
light return spring tension that assists with guiding the chain
during the swing-gate shifting action.
The chain tensioner must move freely for proper operation.
Periodically check for ‘return’ spring action by applying light
pressure down on the pulley wheel cage.
Lubrication can be performed with a lightweight lubricant on the
various pivot points of the chain tensioner. If spring action
appears stunted and lubrication does not help, a visit to an
authorized Shift-E service center is in order.

Version
2020.4 Operating
Guide
13
CHA GI G A TIRE
Removing the Rear Wheel
1)
Release the rear brakes.
2)
Shift the chain on to the smallest rear sprocket.
3)
Remove the chain from the front chainring.
4)
Release the quick release lever on the hub.
5)
Pull the chain to the rear, forming a loop. Free the chain from
engagement with the cluster and remove the wheel.
Removing Chain from Front Chainring

Version
2020.4 Operating
Guide
14
Form a Loop With The Chain
I STALLI G THE REAR WHEEL
I) Make a loop of the chain above the upper pulley to receive the
Sprocket Cluster.
2)
Place the wheel axle into the rear facing dropouts until the axle
is all the way in the dropout. Replace the chain on to the smallest
sprocket.
IMPORTA T: The dropout slot must be clean, and the axle must rest firmly
against its bottom on both sides before the quick release is tightened. This
preserves the alignment of the pawl to the cam as well as the alignment of the
wheel to the brakes.
3)
Tighten the quick release appropriately
4)
Reset and test the rear brakes.

Version
2020.4 Operating
Guide
15
TROUBLESHOOTI G
Transmission not shifting at all,
in manual or automatic mode
Verify
Corrective
Procedure
Batteries are good.
If there is doubt concerning condition of the batteries,
replace batteries.
Batteries are
making proper
contact and that
polarity is correct.
Remove batteries from battery compartment. Check
for corrosion or non-conducting interference on
battery terminals. Reinstall batteries, making sure
polarity of batteries is correct according to instructions
"Installing Batteries" on page 4.
Selector mechanism
is free of visible
obstructions.
Brush away visible obstructions from Selector. Rinse
with garden hose at very low pressure. Do not poke
anything into the Selector, as it could cause damage.
Selector makes a
"clicking sound"
when button is
pushed (Up or
Down, Manual or
Automatic Mode)
and Cam is in turned
position after
pushing.
If Selector makes "clicking sound" and Cam is in turned
position (either Up or Down is OK) after pushing:
•
Check proper assembly of Hub and Wheel to frame
(page 11).
•
Check that Pawl on the Sprocket Cluster engages
Cam in Selector.
•
If Selector does not make "clicking sound"
•
Check connectors and condition of electric cable
between Selector, Computer, Junction Box and
Shifter.
•
Replace the Selector.
•
Replace the Computer.
•
Replace the Junction Box.
•
Replace the Shifter.

Version
2020.4 Operating
Guide
16
Selector makes a
"clicking sound" (Up
or Down, Manual or
Automatic Mode)
and Cam is OT in
turned position
after pushing.
Remove Selector from Chain Stay mount but leave
Connected to Computer. Push
button Up or Down and
determine if Cam is being obstructed from turning. If
Cam is unobstructed, replace Selector. Do not open the
Selector, as you will
break the moisture seal and void
the warranty.
Transmission not shifting in manual mode but
shifts in automatic mode
Verify
Corrective Procedure
Position of Mode
Switch
Turn Mode Switch to Manual mode for manual
operation.
Selector does OT
make a "clicking
sound" when button
is pushed (Up or
Down, Manual or
Automatic Mode).
•
Tighten Connector fitting between
Junction Box
and
Computer.
•
Replace batteries
•
Replace electrical cable between Junction Box and
Computer.
•
Replace Shifter assembly.
Transmission not shifting in automatic mode
but shifts in manual mode
Verify
Corrective Procedure
Position of Mode
Switch
Turn Mode Switch to Automatic mode for automatic
operation.
Spoke magnets (2),
attached to spokes of
rear wheel, are in
proper position.
Attach spoke magnets in correct position as shown in
"Maintenance And a Few Simple Tests", page 7,
Transmission shifting is unreliable and must frequently
be corrected with the buttons
Verify
Corrective Procedure

Version
2020.4 Operating
Guide
17
Compensator
has free vertical
movement.
•
Lubricate Compensator Arm pivots.
•
Have adjustment checked by a Certified
Rodriquez Technician.
Spoke magnets (2),
attached to spokes
of rear wheel, are in
proper position
Attach spoke magnets in correct position according to
"Maintenance And a Few Simple Tests", page 7.
Batteries are good.
Install new batteries.
SPECIFICATIO S
BATTERY
Battery Type
(4) AAA
Lithium
Typical Service Life
COMPUTER
500 Miles / 200 days asleep.
Clock Cycle Rate
11.059 MHz
Current Use
16mA/ 30nA on/sleep
PHYSICAL CHARACTERISTICS
Weight of complete system: 1 lb., 14 oz 1 850g
CHAI REQUIREME TS – KMC X8
GEARING (26 inch wheel .6604 meters)
Gear
Teeth
Front
Teeth
Rear
Gear
-
inch
umber
Metric
Gear
1
42
32
34
2.72
2
42
23
47
3.79
3
42
17 64 5.13
4
42
12
91
7.26
Table of contents