manuals.online logo
Brands
  1. Home
  2. •
  3. Brands
  4. •
  5. ROGERSELLER
  6. •
  7. Bathroom Fixture
  8. •
  9. ROGERSELLER Snug Complete Series User manual

ROGERSELLER Snug Complete Series User manual

Chrome electric heated towel rails
measurements and installation instructions
* Height: 1000mm
* Width:500mm Centre to Centre
*Element 100 watt bottom bracket
*Bottom Rung / Hard Wire Attachment
90mm
70mm
200mm spacing
from centres
32mm
mm0001
440mm
70mm
440mm
500mm
90mm
70mm
440mm
70mm
440mm
mm0001
200mm spacing
from centres
32mm
Snug Complete - 700
* Height: 1000mm
* Width:700mm Centre to Centre
*Element 150 watt bottom Bracket.
700mm
Snug Complete - 500
Snug Complete - 700
THE SNUG RANGE OF TOWEL RAILS IS MANUFACTURED EXCLUSIVELY FOR ROGERSELLER BY HYDROTHERM AUSTRALIA PTY. LTD.
HYDROTHERM AUSTRALIA PTY. LTD. 96 COMMERCIAL DRIVE THOMASTOWN,VIC.3074 Ph.(03) 9464 4622 F.(03) 9464 4722 www.hydrotherm.com.au
CERTIFICATE OF SUITABLILITY NO. 89383V. AUSTRALIAN IP 55 ELECTRICAL RATING.HYDROTHERM TOWEL RAILS HAVE A REGISTERED DESIGN.
SNUG COMPLETE - SERIES
CL
CL
CL CL
*Bottom Rung / Hard wire Attachment
Snug Complete - 500
19mm
19mm
INSTALLING BRACKETS
T O W E L R A I L S
Slide the WALL BRACKET
1
into the BRACKET ARM
2
and hold up to the wall in position.
With a pencil, outline the WALL BRACKET
1
in the
desired position and remove from the wall.
Using a pencil and the WALL BRACKET
1
, mark the
centre screw hole and cross it for accuracy.
Drill a hole for the SCREW
4
and insert nylon plug into
tiled wall (if applicable). Installer may choose to use
alternative screws to suit the application.
Position WALL BRACKET
1
so that the GRUB SCREW
hole faces directly down towards the floor and place
SCREW
4
into the wall.
DO NOT OVERTIGHTEN SCREW - LEAVE SLIGHT
ADJUSTMENT OF THE FLANGE (SLACK) TO ENABLE
MOVEMENT WHEN THE TOWEL RAIL IS POSITIONED.
When all of the WALL BRACKETS
1
are in place, slide
the TOWEL RAIL
5
into position towards the wall, until
BRACKET ARM
2
reaches the WALL BRACKET
1
.
Insert GRUB SCREW
3
through BRACKET ARM
2
and
into WALL BRACKET
1
.
With the ALLEN KEY
6
provided, tighten the GRUB
SCREW until tight to ensure that towel rail stays in position.
2
3
2
1
1
3
6
6
4
4
5
5
**INSTALLER MAY CHOOSE NOT TO USE SCREW IF NOT SUITABLE FOR APPLICATION
Wall Bracket Wall Screw**
Hydrotherm Towel Rail
Alen Key & Grub Screw
Bracket Arm
Grub Screw
Hydrotherm will not accept
responsibility for incorrectly
installed brackets.
Please read instructions carefully.
Please ensure that the measurements are taken accurately
and that the screw is in a stud or noggin to provide support.
Do not overtighten screws.
STUD OR
NOGGIN
WALL
STUD OR
NOGGIN
WALL
WALL
ELEMENT
TOWEL RAIL
Side View
* Brackets 1 - 5 to be installed per instructions
above.
* Bracket 6 with element cord connection will
not require screw. Silicon can be used to fit
bracket to wall if necessary.
CHANGING ELEMENTS
HARD WIRING
T O W E L R A I L S
To change an element from one side to the other, or to replace an old element is a very simple process.
There are Four Basic S teps:
1. Remove towel rail from brackets (if already installed)
2. Turn the towel rail upside down and slide HWA o rail. with a spanner loosen the hex nut of the electric element.
When the element is loose, unscrew it by hand. If you are changing the element from left to right (or vice versa)
the iternal plug on the opposite side must also be removed and swapped over with the element.
3. Swap the element and screw in place.
4. Turn the towel rail the right way up and position backi into brackets and ret grub screws to secure
Please note:
Hydrotherm advise that the unit be removed from the wall and turned upside down to ensure that water does not spill.
Ensure element always remains at bottom of towel rail.
Hydrotherm recommends that all hard-wired heated towel rails be connected to a light switch or digital
timer.
Connecting hard-wired heated towel rails to a light switch or a timer will prolong the life of the
Element
on left side
Turn rail
upside down Swap
element over
Element
on right side
tuowercsnu niwerc
s
1. 2. 3. 4.
Towel Rail
Hardwire Attachment
Nut
electric element and reduce energy consumption.

This manual suits for next models

2

Other ROGERSELLER Bathroom Fixture manuals

ROGERSELLER Flow 123004 Installation guide

ROGERSELLER

ROGERSELLER Flow 123004 Installation guide

ROGERSELLER Flow 123002 User manual

ROGERSELLER

ROGERSELLER Flow 123002 User manual

ROGERSELLER Myhill 3435009001 Maintenance manual

ROGERSELLER

ROGERSELLER Myhill 3435009001 Maintenance manual

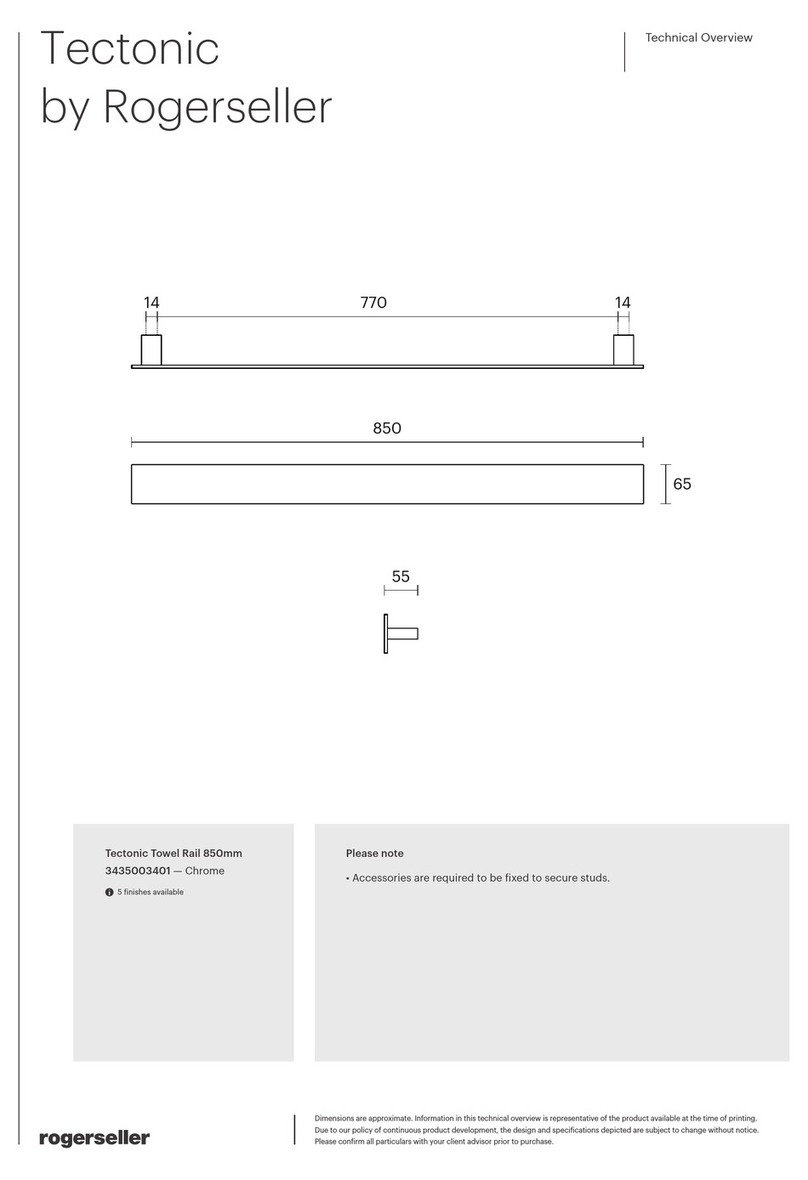
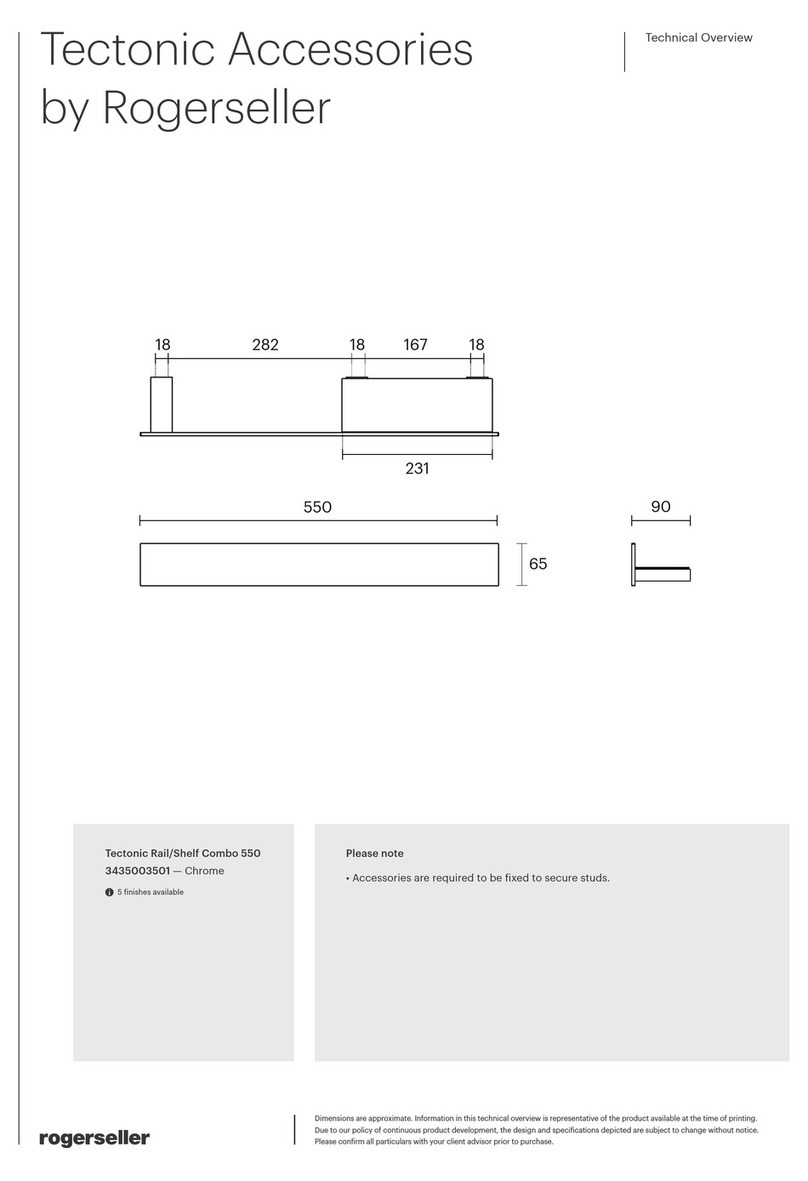
ROGERSELLER Tectonic 3435003501 Maintenance manual

ROGERSELLER

ROGERSELLER Tectonic 3435003501 Maintenance manual

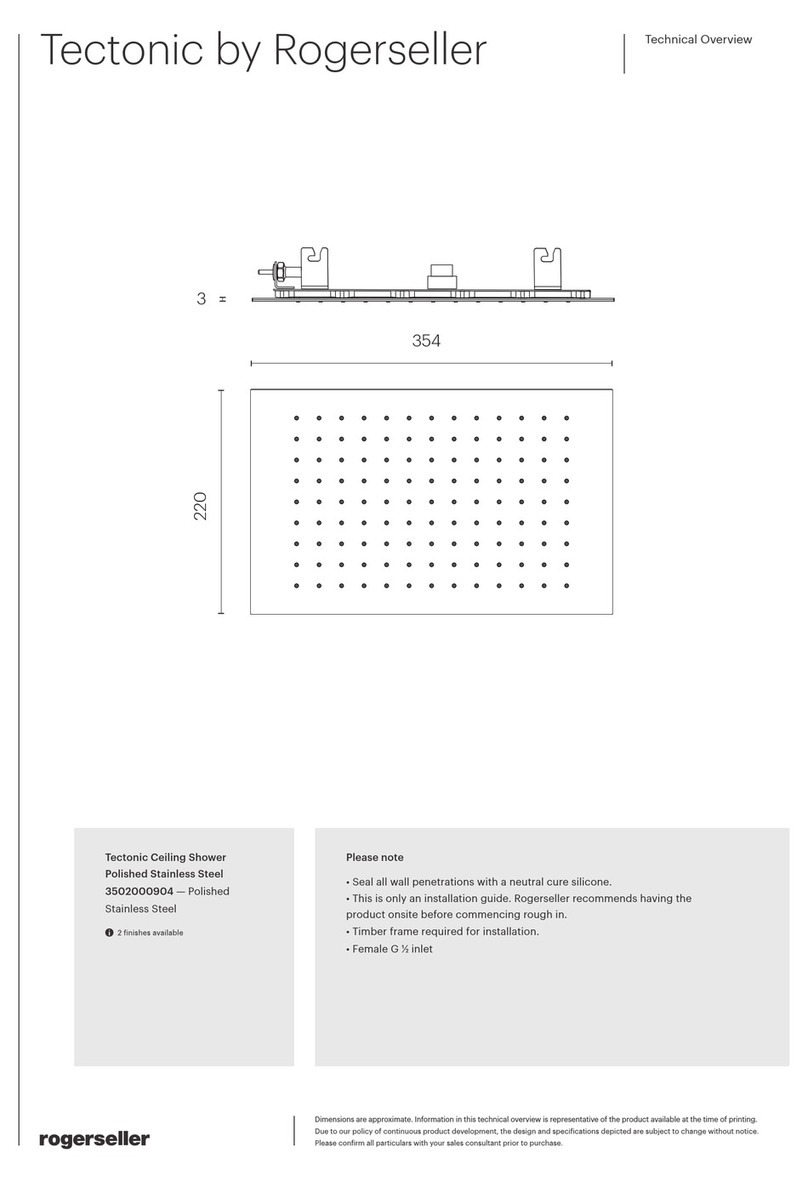
ROGERSELLER Tectonic 3502000904 User manual

ROGERSELLER

ROGERSELLER Tectonic 3502000904 User manual

ROGERSELLER Tectonic 3435003101 Maintenance manual

ROGERSELLER

ROGERSELLER Tectonic 3435003101 Maintenance manual

ROGERSELLER Tectonic 3435002901 Maintenance manual

ROGERSELLER

ROGERSELLER Tectonic 3435002901 Maintenance manual

ROGERSELLER Eccentric Stone 3162000262 User manual

ROGERSELLER

ROGERSELLER Eccentric Stone 3162000262 User manual

ROGERSELLER Tectonic 3435003401 Maintenance manual

ROGERSELLER

ROGERSELLER Tectonic 3435003401 Maintenance manual

ROGERSELLER Tectonic 3435002801 Maintenance manual

ROGERSELLER

ROGERSELLER Tectonic 3435002801 Maintenance manual

ROGERSELLER Tectonic 3435003201 Maintenance manual

ROGERSELLER

ROGERSELLER Tectonic 3435003201 Maintenance manual

ROGERSELLER Eccentric 3435001101 Maintenance manual

ROGERSELLER

ROGERSELLER Eccentric 3435001101 Maintenance manual

ROGERSELLER Catalano Green Lux 60 Washbasin 2130003 Installation guide
ROGERSELLER

ROGERSELLER Catalano Green Lux 60 Washbasin 2130003 Installation guide

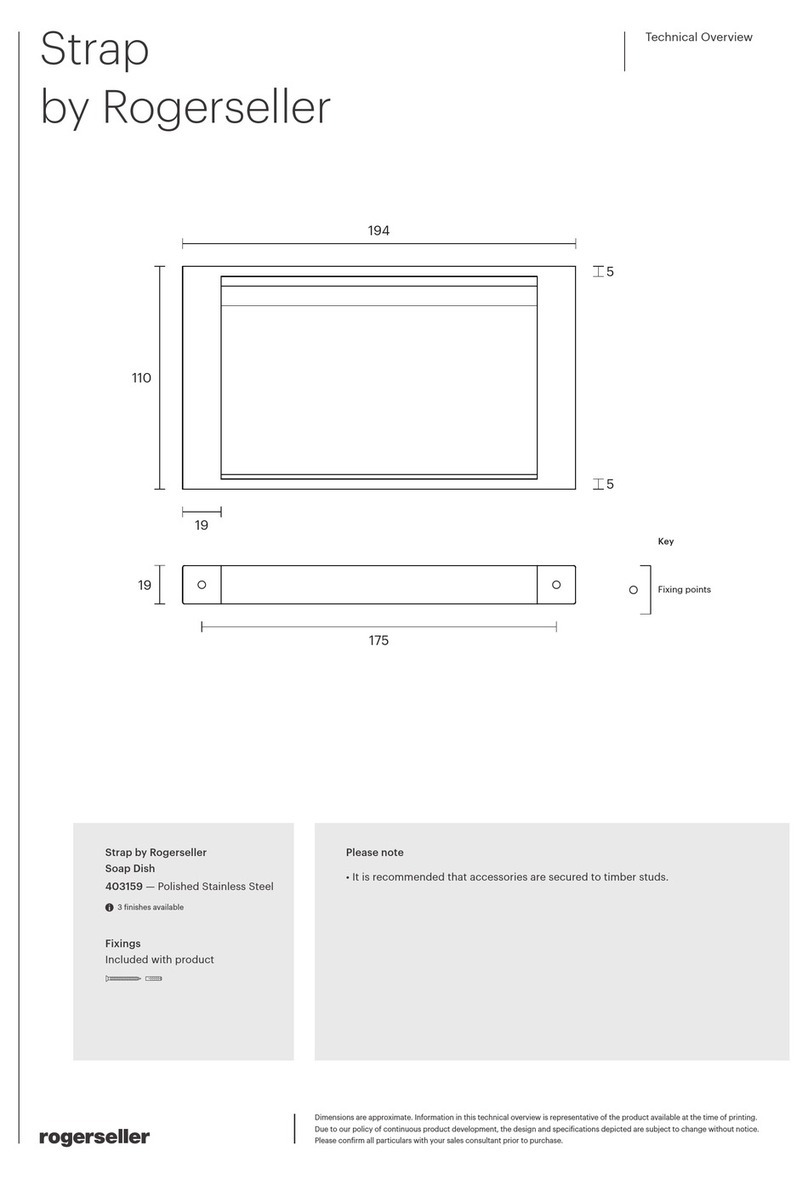
ROGERSELLER Strap 403159 Maintenance manual

ROGERSELLER

ROGERSELLER Strap 403159 Maintenance manual

ROGERSELLER Tectonic 3435002701 Maintenance manual

ROGERSELLER

ROGERSELLER Tectonic 3435002701 Maintenance manual

ROGERSELLER Tectonic User manual

ROGERSELLER

ROGERSELLER Tectonic User manual
Popular Bathroom Fixture manuals by other brands

WilTec 61836 Operation manual

WilTec

WilTec 61836 Operation manual

Laura Ashley LA1013 Installation & Aftercare Instructions

Laura Ashley

Laura Ashley LA1013 Installation & Aftercare Instructions

Camargue 28590743 manual

Camargue

Camargue 28590743 manual

Duscholux Air X installation instructions

Duscholux

Duscholux Air X installation instructions

Franke AQUATIMER A3000 Installation and operating instructions

Franke

Franke AQUATIMER A3000 Installation and operating instructions

Porcelanosa noken SQUARE 100251837 N806718582 manual

Porcelanosa

Porcelanosa noken SQUARE 100251837 N806718582 manual

Allibert LAJA 828572 quick start guide

Allibert

Allibert LAJA 828572 quick start guide

König HC-SH21N manual

König

König HC-SH21N manual

CUR AQUA 016434 operating instructions

CUR AQUA

CUR AQUA 016434 operating instructions

AQUALUX Aqua 4 manual

AQUALUX

AQUALUX Aqua 4 manual

Dimex360 Akuaplus Elite RDM8077223CP Instruction

Dimex360

Dimex360 Akuaplus Elite RDM8077223CP Instruction

Schulte DuschMaster Rain II D9638 Assembly instructions

Schulte

Schulte DuschMaster Rain II D9638 Assembly instructions

Kohler K-16140 Installation and care guide

Kohler

Kohler K-16140 Installation and care guide

Hewi 950.50.06490 Mounting instructions

Hewi

Hewi 950.50.06490 Mounting instructions

newform XT 4278E instructions

newform

newform XT 4278E instructions

Macro Design DKFF Series Assembly instructions

Macro Design

Macro Design DKFF Series Assembly instructions

PEERLESS P30 manual

PEERLESS

PEERLESS P30 manual

Naterial 3276007426380 instruction manual

Naterial

Naterial 3276007426380 instruction manual

manuals.online logo
manuals.online logoBrands
  • About & Mission
  • Contact us
  • Privacy Policy
  • Terms and Conditions

Copyright 2025 Manuals.Online. All Rights Reserved.