5RolliBot 2-in-1 Electric Mop
• Do not turn on the product before installing the mop.
• Do not touch the spin mop during operation. Doing so can cause physical harm to
you and damage to the product.
• If product emits loud noises during high-speed operation, adjust to a lower speed
mode.
• Remove mops to clean and dry after every use.
• Remove battery before disposal product at end of life (see Section 1.4 - Disposal
at End-of-Life).
• Turn off the product before removing battery.
• The battery should be disposed properly and safetly (see Section 1.4 - Disposal
at End-of-Life).
* Ensure that the product is powered off before cleaning it and during routine
maintenance.
* Clean the product gently with soft cloth and clean water or neutral detergent.
* Do not use gasoline, alcohol, lacquer thinner, strong or abrasive detergent, etc., to
clean the product.
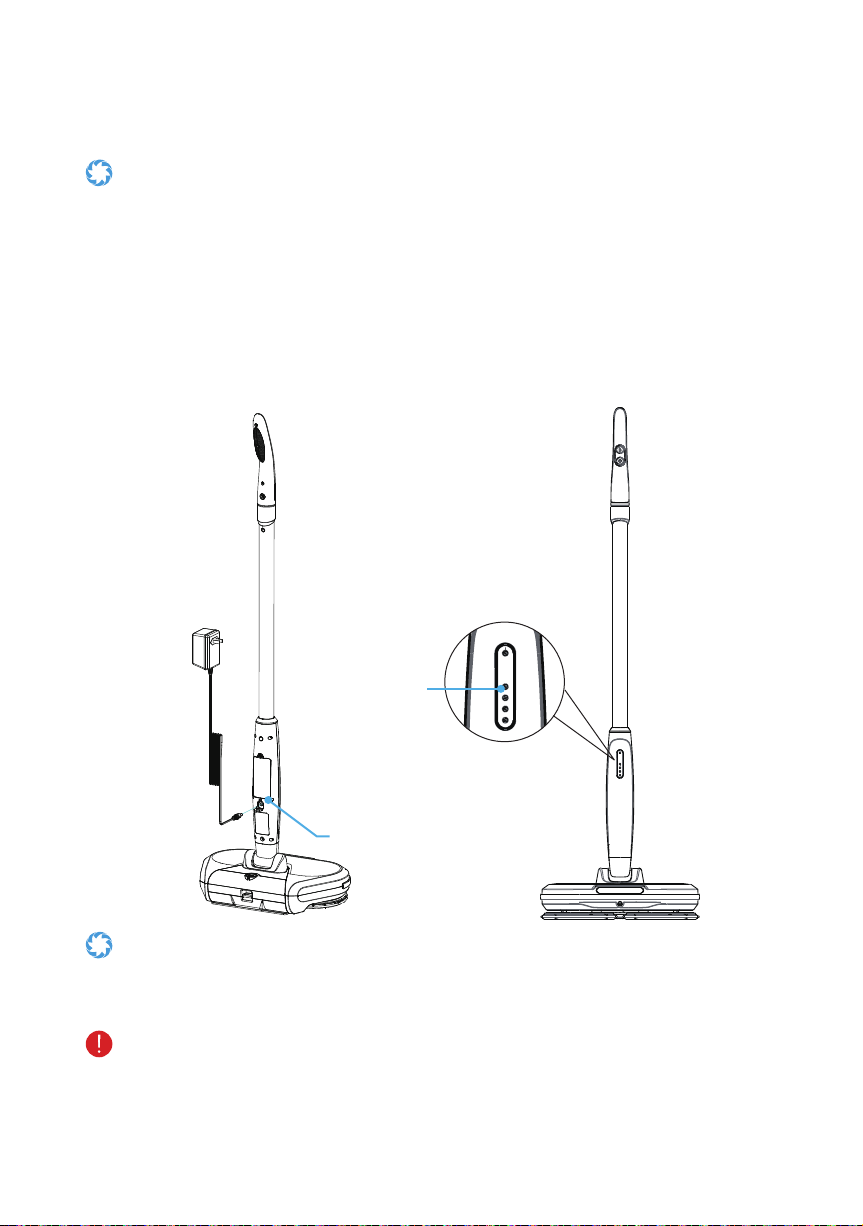
1.3 – Battery & Charging
• Before storing, fully charge the battery to prevent over-discharge due to non-use.
• Charge indoors only in a clean and dry environment.
• Do not store in a dusty environment as, with all electronic devices, dust may cause
damage over time.
• Do not use an adapter with a damaged cord or plug.
• If storing for more than one (1) month, remove the battery and store separately.
• If storing the battery for long periods, place it back in the electric mop and
recharge it at least once a month.
• If the battery section and/or its contacts are damaged or obstructed, do not use
it. Contact customer service.
• If you misplace your adapter, visit www.rollibot.com for a replacement.
• Batteries perform best after several full charge/discharge cycles.
• Please ensure the adapter is fully inserted and/or connected to the wall outlet
before charging.
• Improperinsertionmayresultinelectricshock,shortcircuiting,smoke,orfire.
• M6 mop may not be used with any type of power converter or extension cord.
• Store the M6 mop indoors at a dry location with stable temperature.