Romina 302 User manual
Other Romina Baby & Toddler Furniture manuals

Romina
Romina 4501 User manual

Romina
Romina TR 2501 User manual

Romina
Romina 6501 SP User manual

Romina
Romina TR 8510 User manual

Romina
Romina 3510s User manual

Romina
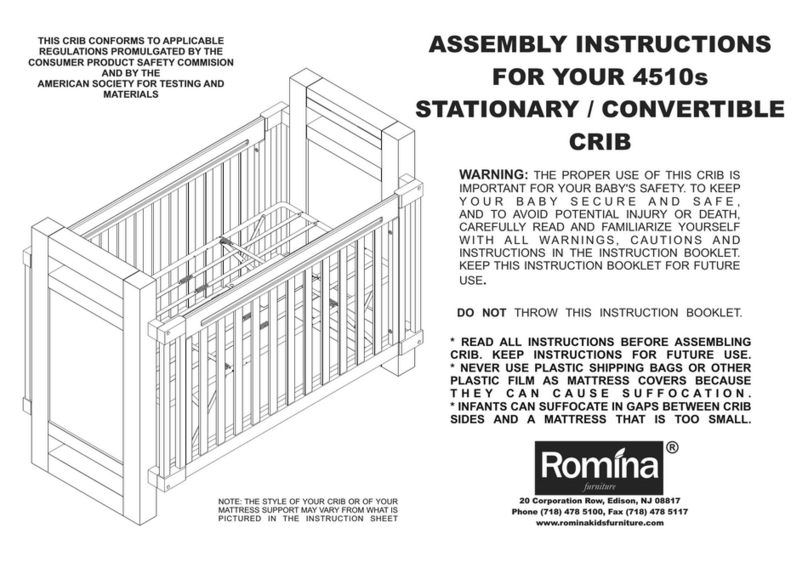
Romina 4510s User manual

Romina
Romina TR 4501 User manual

Romina
Romina 2501 CONVERTIBLE CRIB User manual

Romina
Romina 8510 User manual

Romina
Romina 15510 User manual

Romina
Romina TR 9510 User manual

Romina
Romina TR 401 User manual

Romina
Romina TR 4510 User manual

Romina
Romina 401s User manual

Romina
Romina TR 1501 User manual

Romina
Romina 6501 TH User manual

Romina
Romina 15510 User manual

Romina
Romina 5510 User manual

Romina
Romina TR 01 User manual

Romina
Romina TR 8501 User manual
Popular Baby & Toddler Furniture manuals by other brands

Fisher-Price
Fisher-Price H4790 instructions

Graco
Graco Dream Suite owner's manual

Delta Childrens Products
Delta Childrens Products BB87116CR Assembly instructions

Costway
Costway BB5591 user manual

SAUTHON
SAUTHON UP CHENE DORE UI101A Technical manual

Delta Children
Delta Children Classic instruction manual


