Rompa 14925 User manual

1. Product Name
Vibrating Floor by ROMPA®
2. Product Code
14925
3. Colour
As specified
4. Brief Description
This cushioned wooden floor vibrates automatically or in response to music or vocal stimuli.
It is particularly suitable for those with mild or total sight/hearing loss as it provides valuable
tactile stimulation.
5. Contents
1 x Vibrating Floor (includes platform, 2 speaker boxes, 2 leads with 2 mono jack plugs attached)
1 x Amplifier
1 x Oscillator (Control Box) 1 x Remote Box (wired not wireless)
1 x Microphone
1 x Blue lead with 2 RCA plugs on each end (red/white)
Please note: Music system/Stereo not included

6. Snoezelen® Stimulations
Sound
Touch
7. Best Use
Use on a flat, stable floor with cushions and pillows to make sure the individual using the
product can lie comfortably.
8. Compatible ROMPA® Products
20551 –Microphone
21986 –Hi-Fi Audio System with Bluetooth
9. Starting Up
Please note: Please make sure all connections are OFF before switching components
ON. Failure to make sure the power is OFF is likely to result in fuses being blown
Connect the floor to the amplifier
Operate using your music system, Oscillator or the microphone
10. Detailed Description
This cushioned wooden floor vibrates automatically or in response to music or vocal
stimuli. It is particularly suitable for those with mild or total sight/hearing loss as it
provides valuable tactile stimulation. Also used for those with autism.
Provides three methods of vibratory stimulation:
• Built in oscillator to vary frequency and extent of vibrations.
• Musical stimulation.
• Amplifier and leads supplied for ease of connection to any music centre or radio.
Used with the microphone provided it can help to stimulate vocalisation.
Vinyl - please specify colour required when ordering.
11. Safety
Always supervise the use of this product.
For use indoors in a dry environment.

12. Technical Specification
Size: 2m x 1m x 35cmH
Amplifier: code 22956
Fuses: 10 Amp fuse in the UK plug of the Amplifier
Oscillator (Control Box): T100mA
13. Installation
1. Choose a safe and suitably location for your Vibrating Floor. This product requires
two wall sockets –one for your music system and another for the Oscillator.
2. Connect the two leads with the two mono jack plugs from the speaker box under the
Floor to the 6.3mm SPEAKER PUTPUT sockets (LEFT and RIGHT) at the back of the
Amplifier.
The Vibrating Floor can be operated using:
your music system
your music system and the microphone
the microphone
the oscillator
TO USE THE OSCILLATOR
Please note: No music can be played when the Oscillator is in use. The Oscillator uses
frequency to create vibration, not music. There will be some noise when the Oscillator is in
use as the speaker is still in operation, but not music. It is not possible to create vibration
using the floor silently.
3. Connect the Oscillator into the mains (240V).
4. Connect the kettle lead from the Oscillator into the back of the Amplifier. The socket
on the Amplifier is on the right, just above the ON/OFF switch.
5. Connect the black lead that has a pair of RCA (phono) connectors on each end
between the Oscillator and the Amplifier. Connect one end of this lead to the
Oscillator. This end is colour co-ordinated i.e. black to black and red to red. The other
end of the RCA lead connects to the Amplifier. Connect the two leads with the two
mono jack plugs from the speaker box under the Floor to the 6.3mm SPEAKER PUTPUT
sockets (LEFT and RIGHT) at the back of the Amplifier.

6. Switch the Oscillator on at the front (this is either a green or red switch - the colour is
for identification and has no other significance).
7. Switch the Amplifier on at the back.
8. The VOLUME control on the Amplifier is for adjusting the volume. The dial on the
front of the Oscillator increases the frequency.
9. Use the Remote Box (labelled ‘Frequency’) to override the dial on the front of the
Oscillator. The remote box is remote in that it can be used away from the Oscillator, but
it is wired, not wireless. Connect the Remote Box to the socket labelled ‘REMOTE’ on the
Oscillator. Use of the remote box* allows more able clients to operate the floor and lie
on it at the same time. For less able clients, the carer can control the Oscillator. The
nearer the dial is turned to ‘MAX’, the faster the speaker vibrates and the more intense
the vibration.

TO USE A MUSIC SYSTEM
10. Switch off the Oscillator. Switch off the Amplifier. Connect your music device to the
amplifier using the appropriate sockets at the back of the amplifier:
-Use the AUX 2 input phono sockets (red and white sockets) when using a cable
connected to the microphone socket of your music system. Set the dial to AUX 2 IN.
-If using a phone without Bluetooth, an iPod etc., connect a lead with a 3.5mm jack
plug to the 3.5mm AUX 1 input socket on the front of the Amplifier, making sure that
you adjust the large dial on the right hand side of the front of the Amplifier to AUX 1.
A lead is not included by ROMPA –use a lead included with your own device.
-Adjust the large dial on the right hand side of the front of the Amplifier to
Bluetooth if using a Bluetooth device.
11. Connect the two leads with the two mono jack plugs from the speaker box under the Floor
to the 6.3mm SPEAKER OUTPUT sockets (LEFT and RIGHT) at the back of the Amplifier.
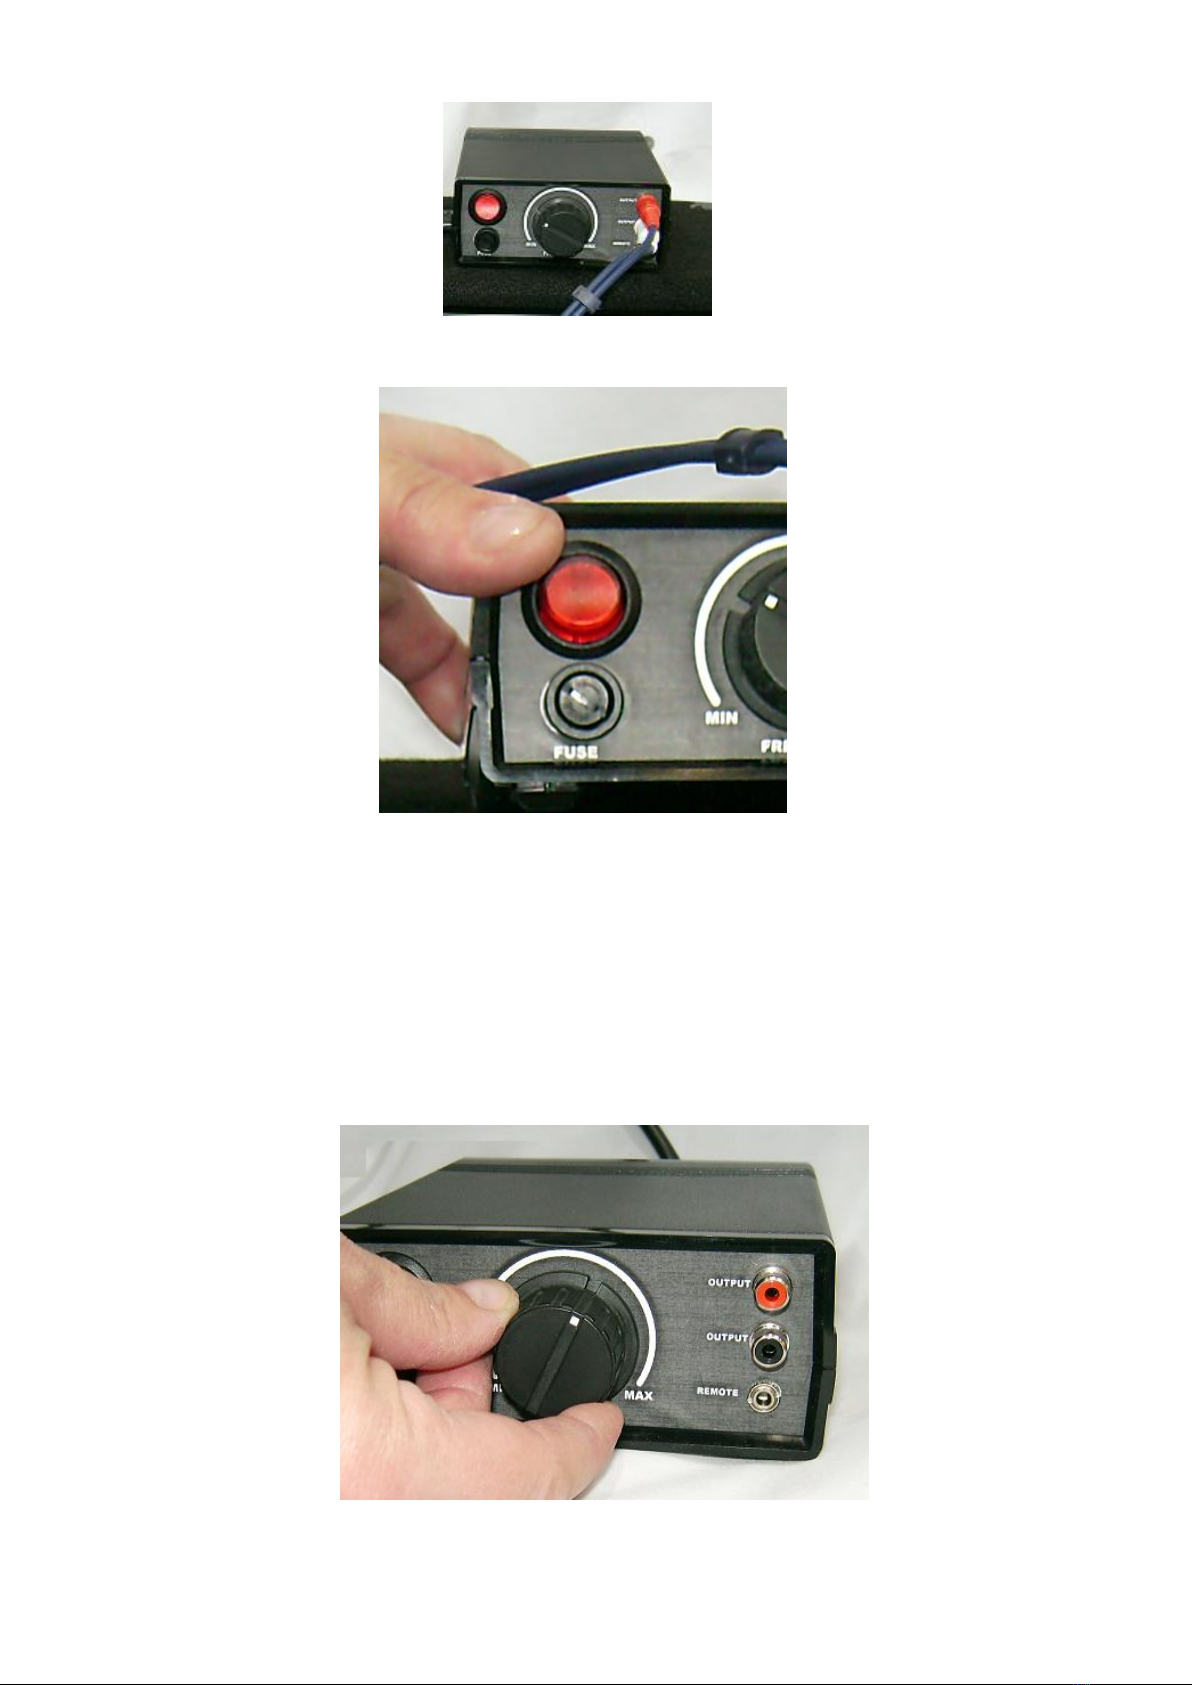
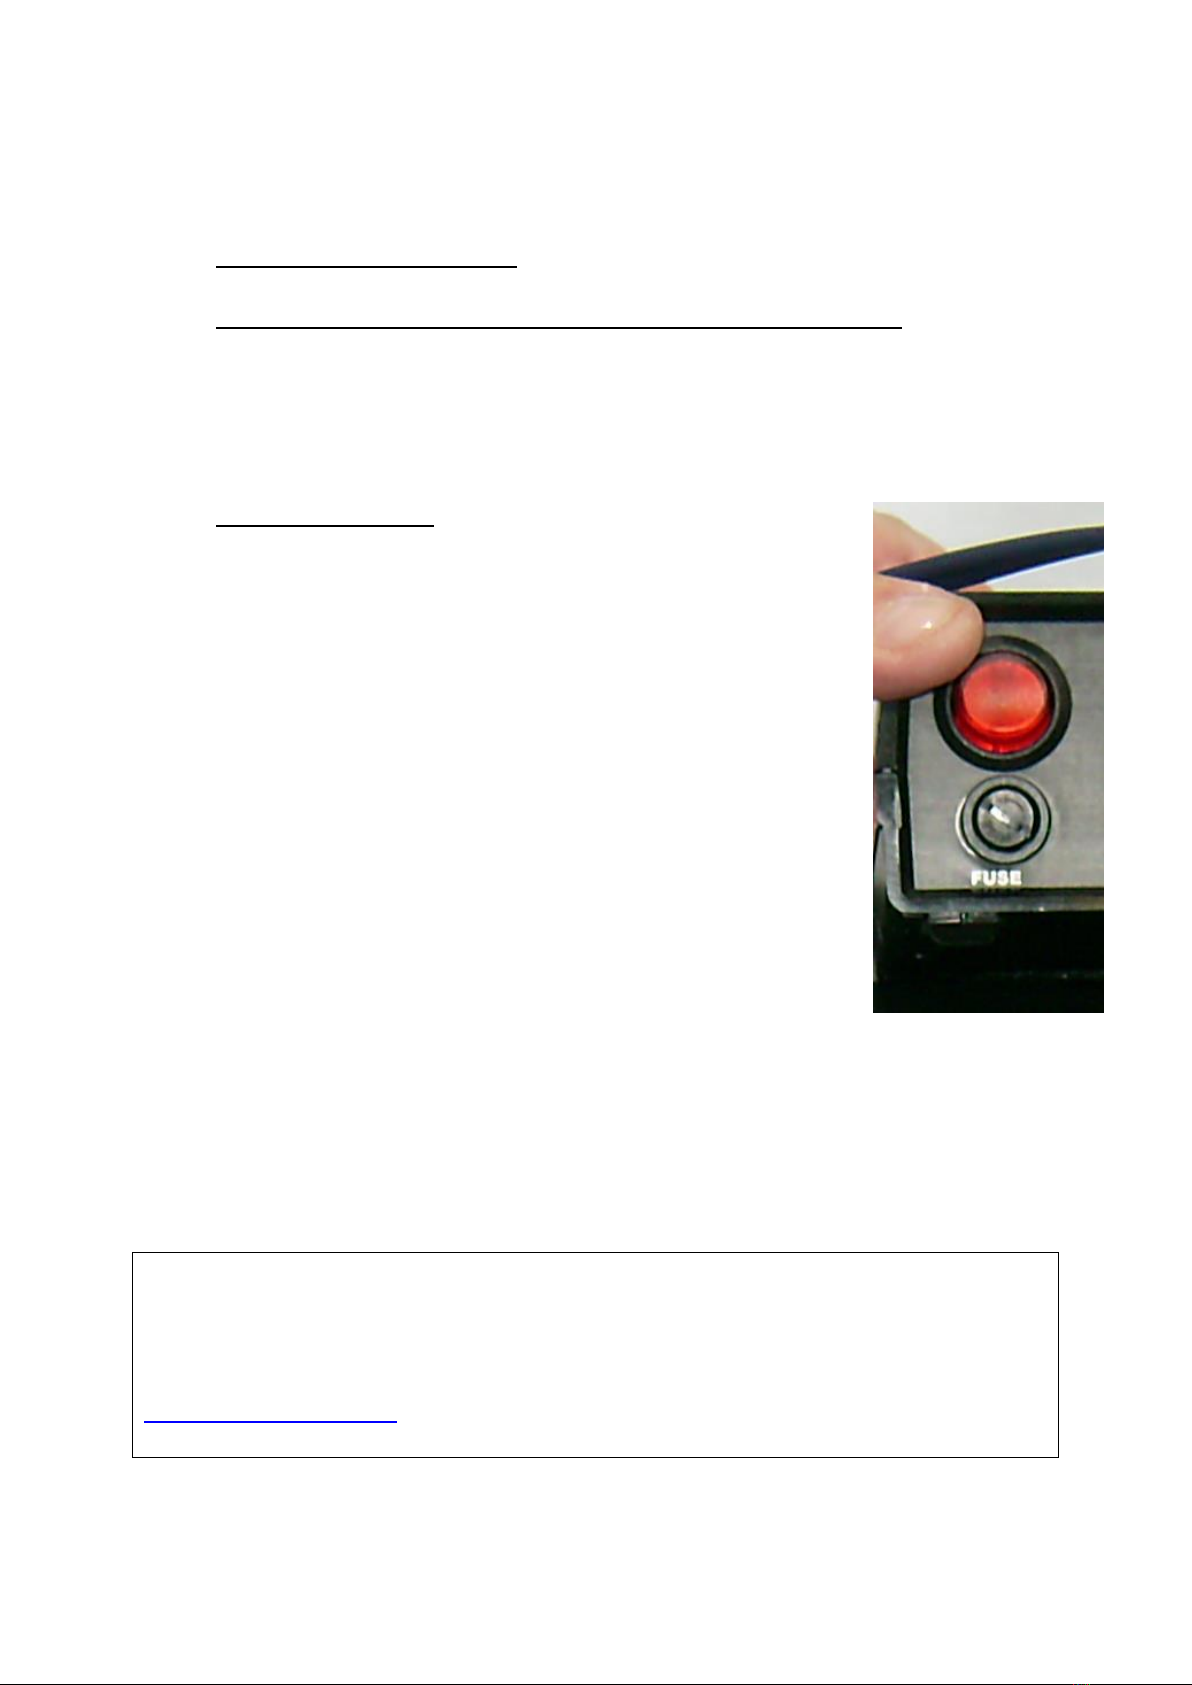
12. Switch the Amplifier on at the back (a light at the front of the unit indicates that it is
switched on).
13. Connect the stereo to the mains and switch the stereo on to activate the vibrations.
14. Use the ‘VOLUME’ control on the Amplifier to adjust the volume.
15. Experiment with the BASS and TREBLE controls to adjust the vibration effect.
TO USE THE MICROPHONE
The microphone may be used on its own to create vibrations from vocalisation/speaking. It
may also be used at the same time as music is played through your music system. That is to
say that clients who are able to do so, may sing along to their preferred music, i.e. karaoke.
There is provision to use one microphone only.
16. Switch the Amplifier off at the back (a light at the front of the unit indicates that it is
switched on –this will go out when switched OFF).
17. Plug in the microphone to the MIC INPUT socket at the back of the amplifier.
18. Switch the Amplifier on at the back.
19. Switch the microphone on (small sliding switch on the handle).

20. Speak into the microphone to activate the vibration.
21. Adjust the controls to control the vibration.
14. Care and Maintenance
Switch off components individually before unplugging from the mains.
First, make sure all the controls are set to their lowest settings. Then switch the
amplifier off BEFORE unplugging. Failure to do so may blow the fuses.
Do not allow the Vibrating Floor to become wet.
Do not strike the Vibrating Floor –use it with appropriate care.
15. Troubleshooting
The Vibrating Floor does not work
In the event of product failure check the connections (as detailed
in ‘Installation’ above).
If product still fails to operate, check the fuses. These are
located in the UK plug of the Amplifier and below the ON/OFF
switch on the Oscillator. Switch off and unplug before checking.
Constant noise
When the oscillator is in use there is a noise produced associated
with the vibrations. This is unavoidable as vibrations are
produced through the speakers. If noise is still present in stereo
mode, the oscillator may have been left on at the same time.
Avoid this by removing the lead with paired RCA connectors on
the end that connect the oscillator and the amplifier.
No noise
Make sure that the amplifier has not been turned right down to the minimum setting
–turn up as required.
High pitch squealing noise
Make sure the BASS control is not set to the maximum –turn this down.
Further copies of these instructions can be downloaded at www.rompa.com
We hope you find our instructions invaluable. If you have any suggestions for improving
them further your comments will be greatly received –please contact us at
VIBRATING FLOOR 14925, March 2018
Copyright ROMPA® Ltd
Table of contents
Other Rompa Massager manuals