roost&root Heritage Series User manual

Spring '23
Assembly Instructions
Heritage Series Chicken Coops ™
V1.0
Copyright ® Endure Products, LLC dba Roost & Root... all rights reserved... This document is provided to you for your own personal limited use as a paying customer to assemble
your coop. We consider these instructions company intellectual property and are granting you limited personal use only. Do not copy or distribute without written permission of Roost &
Root. We claim all available Federal protection for the name Heritage Chicken Coop ™ , our protected designs and trade dress as is allowed by any and all Federal intellectual property
protection laws. We invest heavily in your coop and work very hard to do a good job and it is only fair that our workers, vendors and future customers benefit from our hard work.
Models 20 | 30 | 40
Watch the YouTube
Assembly Overview Video
Model 20
Model 30
Model 40

Assembly Instructions
Heritage Series Chicken Coops ™
V1.0 Spring 2023
Copyright ® Roost & Root | All rights reserved.
Pre Build Notes
Page
01
It will be pretty much impossible for you or your contractor to assemble your new coop without (1) pre-reading these instructions to create familiarity, (2)
watching our assembly overview video, and (3) following instructions on each page. Concepts on one page are built upon in the next pages and we often
don't repeat in hopes of saving complexity. Any time taken up front going through everything will save you many hours (and grief) in the end :-)
�Your new coop won't gain full strength until completed. It must be protected from high winds until completed and properly anchored.
�Having a very level very flat area is required for the coop to assemble properly. It's impossible to overstate how much easier and better assembly will go with
things square and level. A properly prepared concrete footer is preferred.
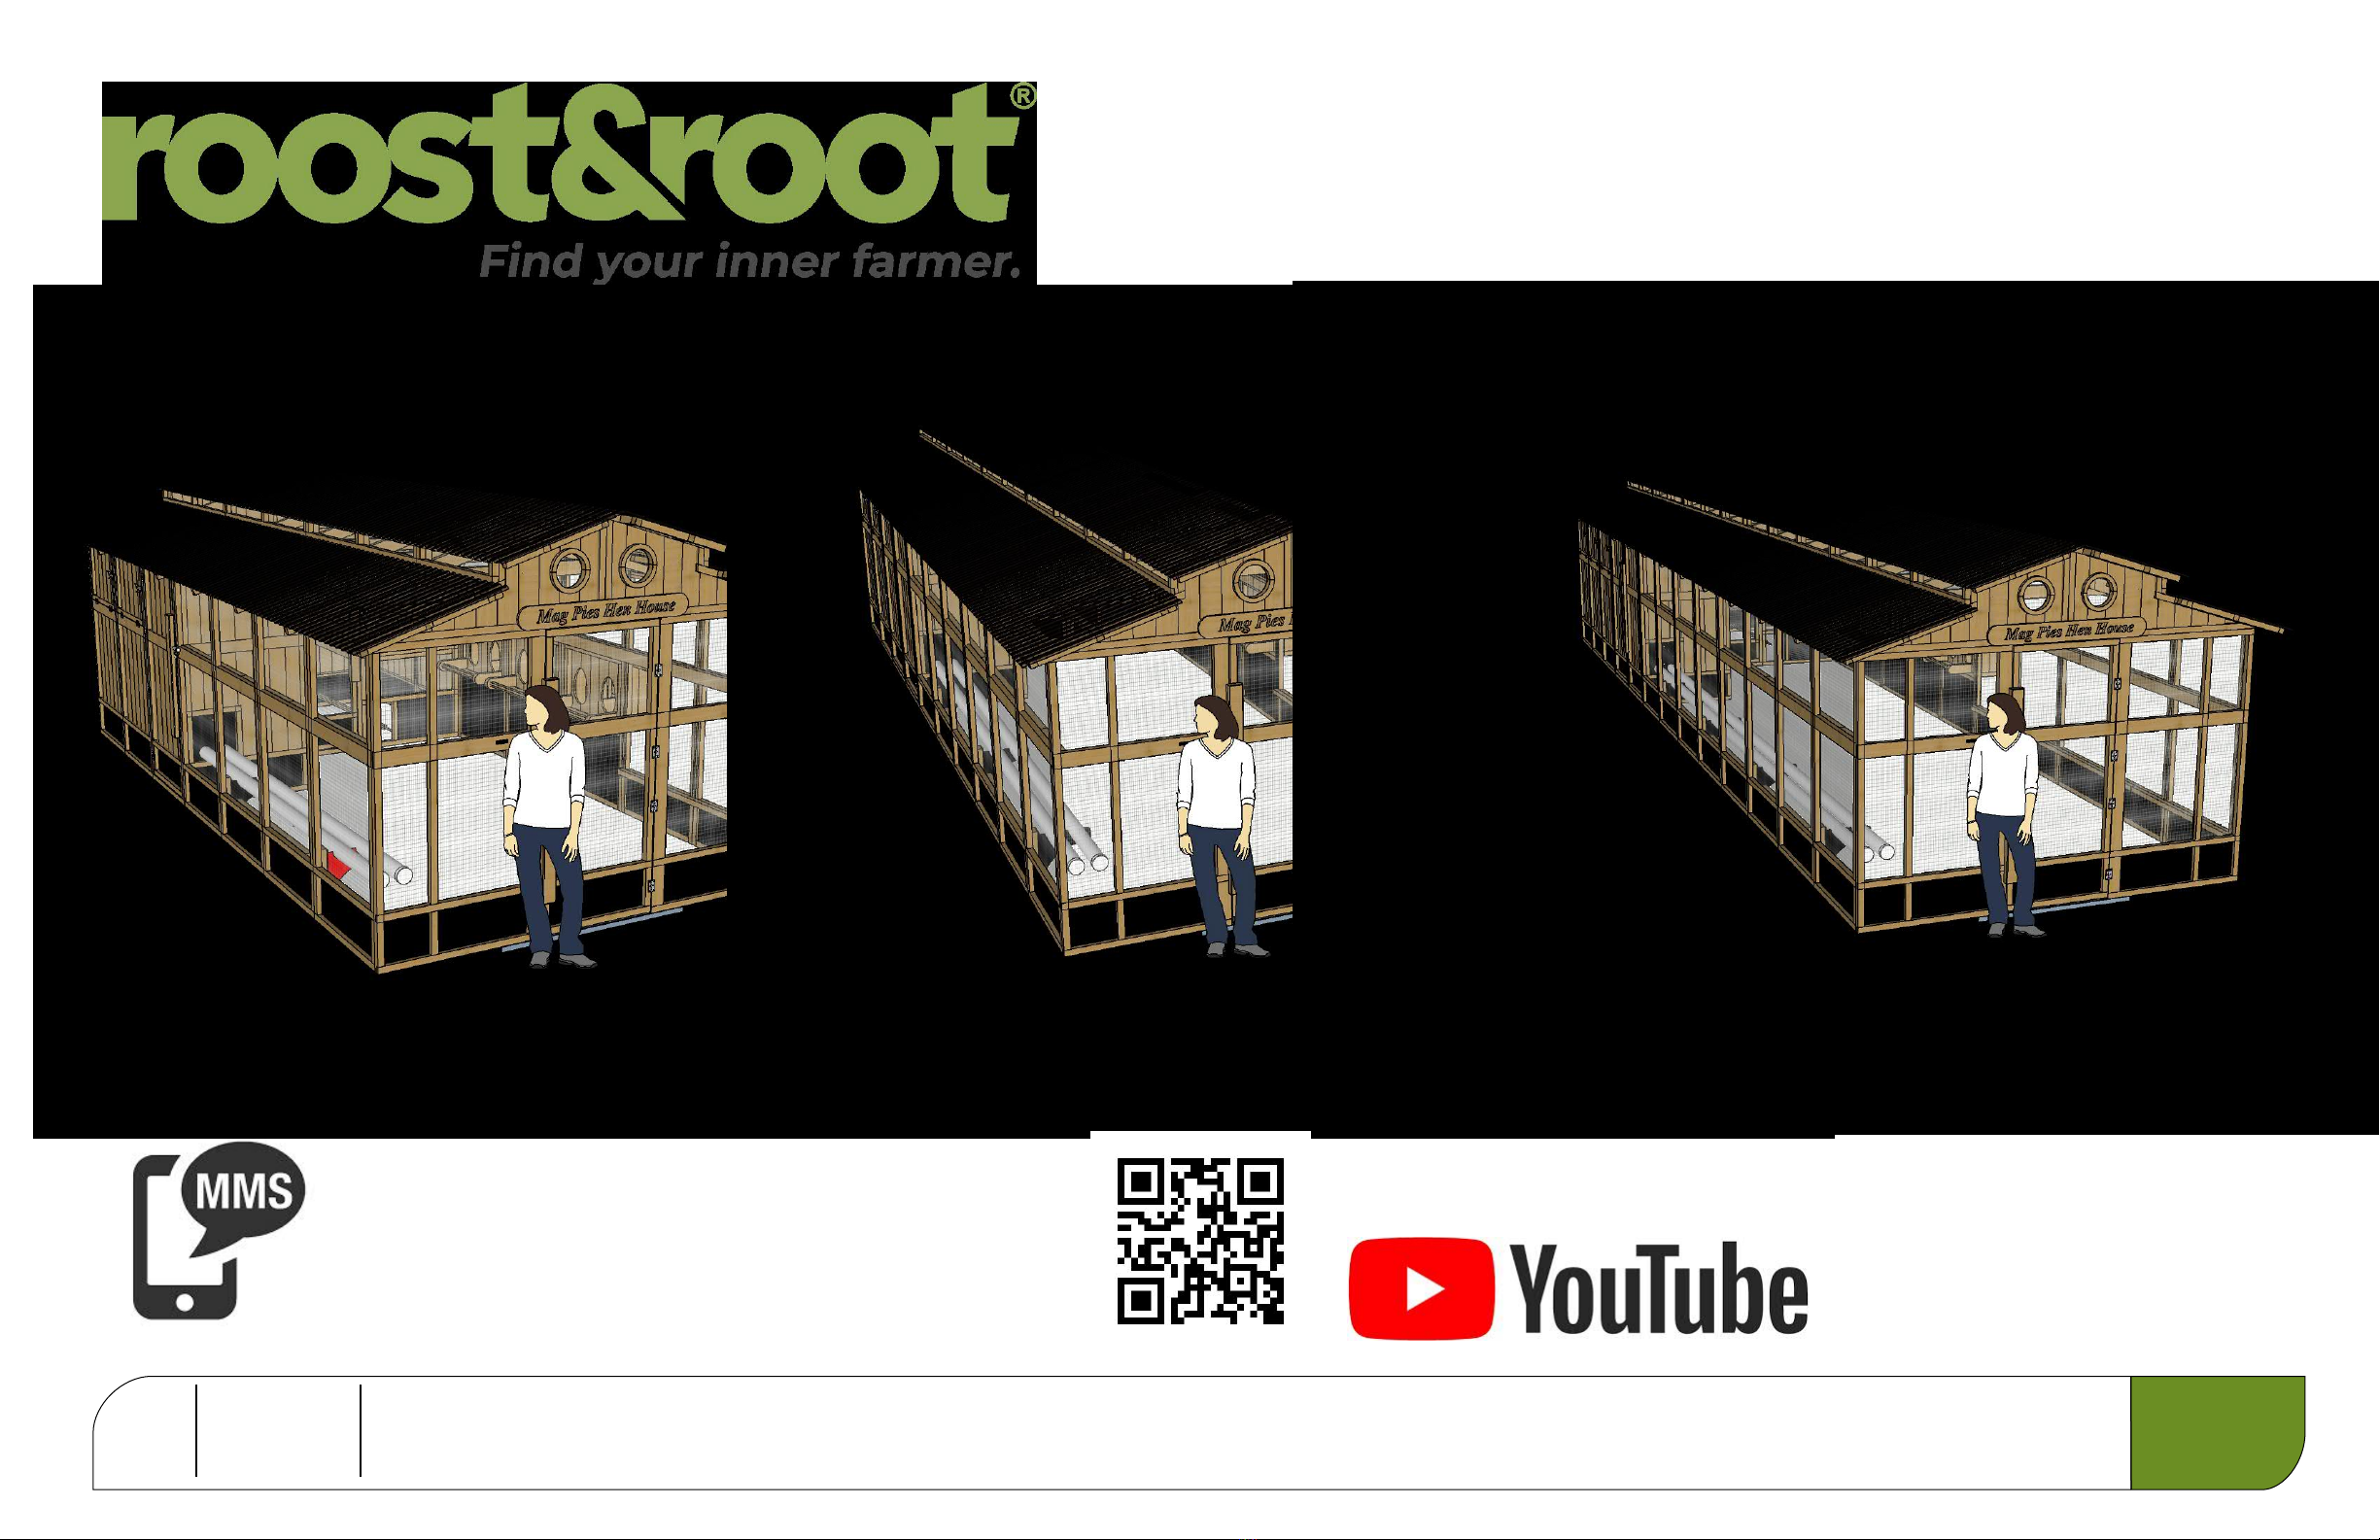
�We estimate about 60, 75, and 90 man hours to asseble the model 20, 30 and 40 Heritage Coops, respectively. Two people are required for the build and three
can be helpful.
�You will need a chuck type drill (preferably cordless, preferably two) and a hammer and a tape measure. Everything else is provided.
�We think we put extra screws and other fasteners in the kit. If you run out, one of us goofed up :-)
�Using the instructions is part reading, part illustrations, part photos and part watching videos. Please know that we value your input to an ongoing process. We
try hard but writing good instructions on complex objects for a variety of learning styles is an imperfect science. We're genuinely sorry for any confusion our
instructions cause.
�We indicate in the instructions where all screws go. All of the screws in the kit are aggressive enough to self drive. If concerned, we also include a pilot bit.
Position, count and direction of screws are indicated by various colored arrows.
�When we build your coop the cedar wood has about 12% moisture. If you wait a long time to assemble your coop it may dry out and shrink by up to 1/8". When it
get rained on, it will swell back. Human error, machine error and believe it or not computer error can cause parts to be off by as much as 1/8th inch. Most of the
design can tolerate small errors. Where it cannot we give you a measurement that must be adhered to. Like doors, for instance.
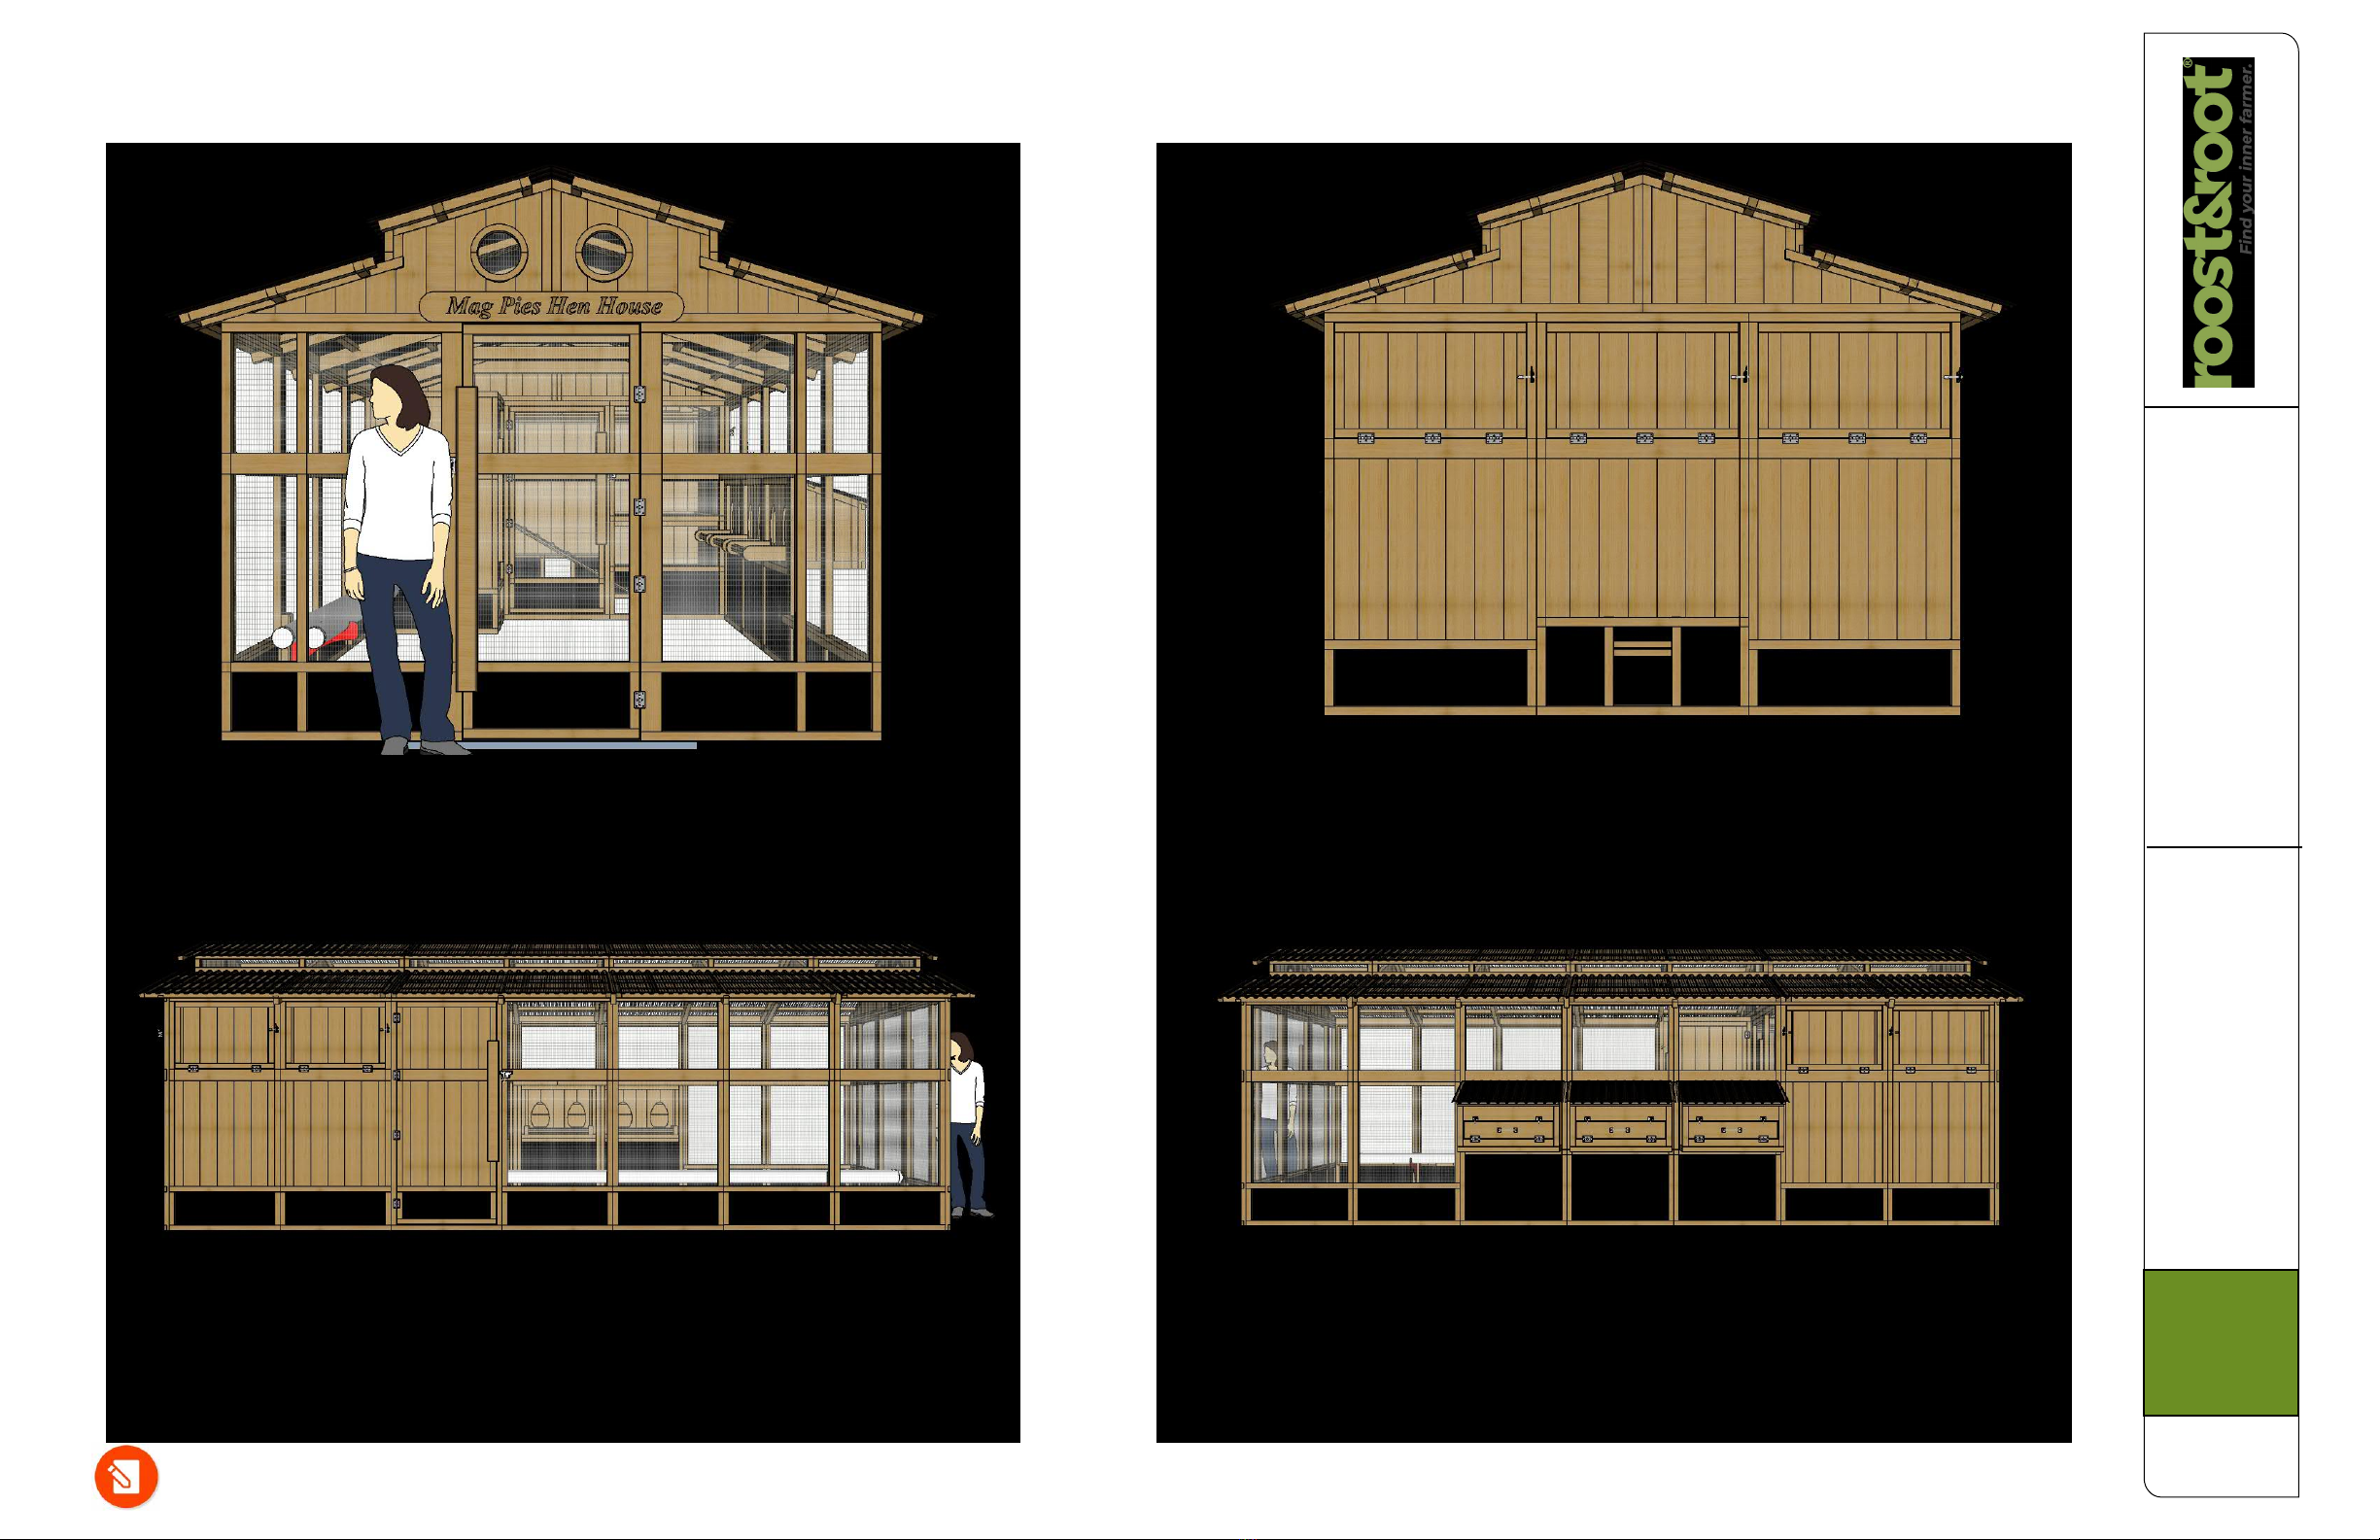
�Panels are not marked and we omit a section in the instructions for parts ID to save complexity. All wire sides face inward and the 3D renderings will allow you to
identify panels as you go. Spacing them out for easy ID is advised.
We include a gallon of Eco Sealer and a sprayer to treat the bottom rails
of ground contact panels if you desire. Even panels that sit on concrete
footer will benefit. Cedar is proven to last 10-15 years outdoors even when
in ground contact. Sealing bottom rails will extend this time. This product
allows re-sealing and even color staining after application. In our opinion it
is a premium grade product. We do not recommend painting cedar but you
can. Whatever you decide to do, a product that allows the wood to breathe
is best. Keep toxicity in mind too. With modest care, we expect your coop to
last 20 - 25 years.
Best practice would be to pour a concrete footer. Guidance is found in the following pages. You can most certainly build this coop
directly on the ground. Ours is. In either case, great care must be taken to make the surface both level and square. A concrete
footer will simplify proper anchoring which is required to prevent high wind damage both during and after construction.
20
30
40
20
40
30
20
40
30
Green box indicates to which model that page applies...

Assembly Instructions
Heritage Series Chicken Coops ™
V1.0 Spring 2023
Copyright ® Roost & Root | All rights reserved.
Coop Parts Listing
Page
02
"A" Run
A1 36" Wired Side Panels 6|10 |13
A2 Left Front Panel
A3 Right Front Panel
A4 Door
"B" Roost
B1 36" Roost Side Panels 4|4|6
B2 L&R Roost Back Panels
B3 Back Middle Roost Panel
B4 Roost Entry Door
B5 Roost Side Door Panel
B6 Model Roost Bunk Set 2|2|4
B8 Bunk Ramp
"C" Egg Box
C1 36" Egg Box Panels 3|4|5
C2 Egg Box Assemblies 3|4|5
C3 Egg Box Roof Panels 22" 6|8|10
"D" Roof
D1 Left Front Gable
D2 Right Front Gable
D3 Left Back Gable
D4 Right Back Gable
D5 Left Mid Gable
D6 Right Mid Gable
D7 Left Notched Rafter Assembly 3|5|6
D8 Right Notched Rafter Assembly 3|5|6
D9 Left No Notch Rafter Assembly 2|3|5
D10 Right No Notch Rafter Assembly 2|3|5
D11 Collar Tie 5|8|11
D15 Left Front Upper Purlin Panel
D16 Right Front Upper Purlin Panel
D17 Left Back Upper Purlin Panel
D18 Right Back Upper Purlin Panel
D19 L&R Mid Upper Purlin Panel 4|6|10
D20 Left Front Lower Purlin Panel
D21 Right Front Lower Purlin Panel
D22 Left Back Lower Purlin Panel
D23 Right Back Lower Purlin Panel
D24 L&R Mid Lower Purlin Panel 4|6|10
D30 Left Front Transom Panel
D31 Right Front Transom Panel
D32 Mid Transom Panels 4|6|10
D33 Left Back Transom Panel
D34 Right Back Transom Panel
D40 Upper Roof Panels 32" 26 |36 |44
D41 Lower Roof Panels 40" 26 |36 |44
D42 Ridge Cap 7|9|11
"E" Trim
E1 Upper 2x4 Wall Stiffener Set 6|9|11
E2 Lower 2x2 Wall Stiffener Set 4|5|6
E3 Optional Name Board
E4 Bird Stop Trim Package 14 |20 |26
Model 20
Model 30
Model 40
"F" Storage Room
F1 Left Exterior Door Panel
F2 Right Exterior Door Panel 0|1|1
F3 Ceiling Panel
F4 Roost Wall Panel
F5 Run Wall Panel
F6 Interior Door Panel
F7 Interior Side Door Panel 0|1|1
F8 Bottom Wall Stiffener 0|1|1
"G" Misc
G1 FeedWorx Feeders 1|2|2
G2 Easy Fill Waterer Parts Set
G3 Water Door Slide Set
G4 Egg Box Liners 6|8|10
Parts that are obvious to identify
in illustrations are not labeled.
Parts that could be confusing are
both labeled and dimensions are
provided for proper ID.
QTY
20
40
30

Assembly Instructions
Heritage Series Chicken Coops ™
V1.0 Spring 2023
Copyright ® Roost & Root | All rights reserved.
"Tool Kit" Contents
Page
03
Model 20 "Toolkit" List
(12) Standard OR Freeze Guard Drinkers
(1) Eco Sealer 1Gal
(1) Eco Sealer Sprayer
(1) Small Bottle of Gorilla Glue
(1) Ratchet Strap
(1) 4' Level
(1) Automatic Door Kit
(1) Roll of String
(1) Countersink Bit
(1) 5/32 Drill Bit
(3) 5lb Boxes 3" T-25 Screws
(1) 1lb Box T-20 1 1/4" Screws
(1) 1lb Box T-20 1 5/8" Screws
(24) 4 1/2" T25 GRK Screws
(2) 400 count 1½ #9 Roof Screws
(10) 3/4" Bolt - Nut - 2 Washer Sets
(3) Bolt Style Gate Latches & Hardware
(16) Stainless Steel Hinge Screws
(1) 3" Hook & Eye Door Catch
(7) Gravity Gate Latches & Screw Sets
(12) D-Ring Anchors & Bolt Sets
(1) Small SOCKiT Box & Screws
(10) Spring Snap "Clips"
(2) Bit Holders
(2) T25 Bits
(1) T20 Bit
(1) Phillips Bit
(1) PVC Glue
Model 30 "Toolkit" List
(15) Standard OR Freeze Guard Drinkers
(1) Eco Sealer 1Gal
(1) Eco Sealer Sprayer
(1) Small Bottle of Gorilla Glue
(1) Ratchet Strap
(1) 4' Level
(1) Automatic Door Kit
(1) Roll of String
(1) Countersink Bit
(1) 5/32 Drill Bit
(4) 5lb Boxes 3" T-25 Screws
(1) 1lb Box T-20 1 1/4" Screws
(1) 1lb Box T-20 1 5/8" Screws
(36) 4 1/2" T25 GRK Screws
(3) 400 count 1½ #9 Roof Screws
(16) 3/4" Bolt - Nut - 2 Washer Sets
(2) Bolt Style Gate Latches & Hardware
(1) Dual Gate Style Latch & Hardware
(16) Stainless Steel Hinge Screws
(1) 3" Hook & Eye Door Catch
(7) Gravity Gate Latches & Screw Sets
(16) D-Ring Anchors & Bolt Sets
(1) Small SOCKiT Box & Screws
(10) Spring Snap "Clips"
(3) Bit Holders
(3) T25 Bits
(1) T20 Bit
(1) Phillips Bit
(1) PVC Glue
Model 40 "Toolkit" List
(21) Standard OR Freeze Guard Drinkers
(1) Eco Sealer 1Gal
(1) Eco Sealer Sprayer
(1) Small Bottle of Gorilla Glue
(1) Ratchet Strap
(1) 4' Level
(1) Automatic Door Kit
(1) Roll of String
(1) Countersink Bit
(1) 5/32 Drill Bit
(5) 5lb Boxes 3" T-25 Screws
(1) 1lb Box T-20 1 1/4" Screws
(1) 1lb Box T-20 1 5/8" Screws
(48) 4 1/2" T25 GRK Screws
(4) 400 count 1½ #9 Roof Screws
(22) 3/4" Bolt - Nut - 2 Washer Sets
(2) Bolt Style Gate Latches & Hardware
(1) Dual Gate Style Latch & Hardware
(16) Stainless Steel Hinge Screws
(1) 3" Hook & Eye Door Catch
(9) Gravity Gate Latches & Screw Sets
(20) D-Ring Anchors & Bolt Sets
(1) Small SOCKiT Box & Screws
(12) Spring Snap "Clips"
(3) Bit Holders
(3) T25 Bits
(1) T20 Bit
(1) Phillips Bit
(1) PVC Glue
20
40
30

Assembly Instructions
Heritage Series Chicken Coops ™
V1.0 Spring 2023
Copyright ® Roost & Root | All rights reserved.
Orientation
Page
04
Front
Back
Model 20 coop shown...
Left
Right
This manual suits for next models
3
Table of contents
Other roost&root Farm Equipment manuals
Popular Farm Equipment manuals by other brands

Schaffert
Schaffert Rebounder Mounting instructions

Stocks AG
Stocks AG Fan Jet Pro Plus 65 Original Operating Manual and parts list

Cumberland
Cumberland Integra Feed-Link Installation and operation manual

BROWN
BROWN BDHP-1250 Owner's/operator's manual

Molon
Molon BCS operating instructions

Vaderstad
Vaderstad Rapid Series instructions