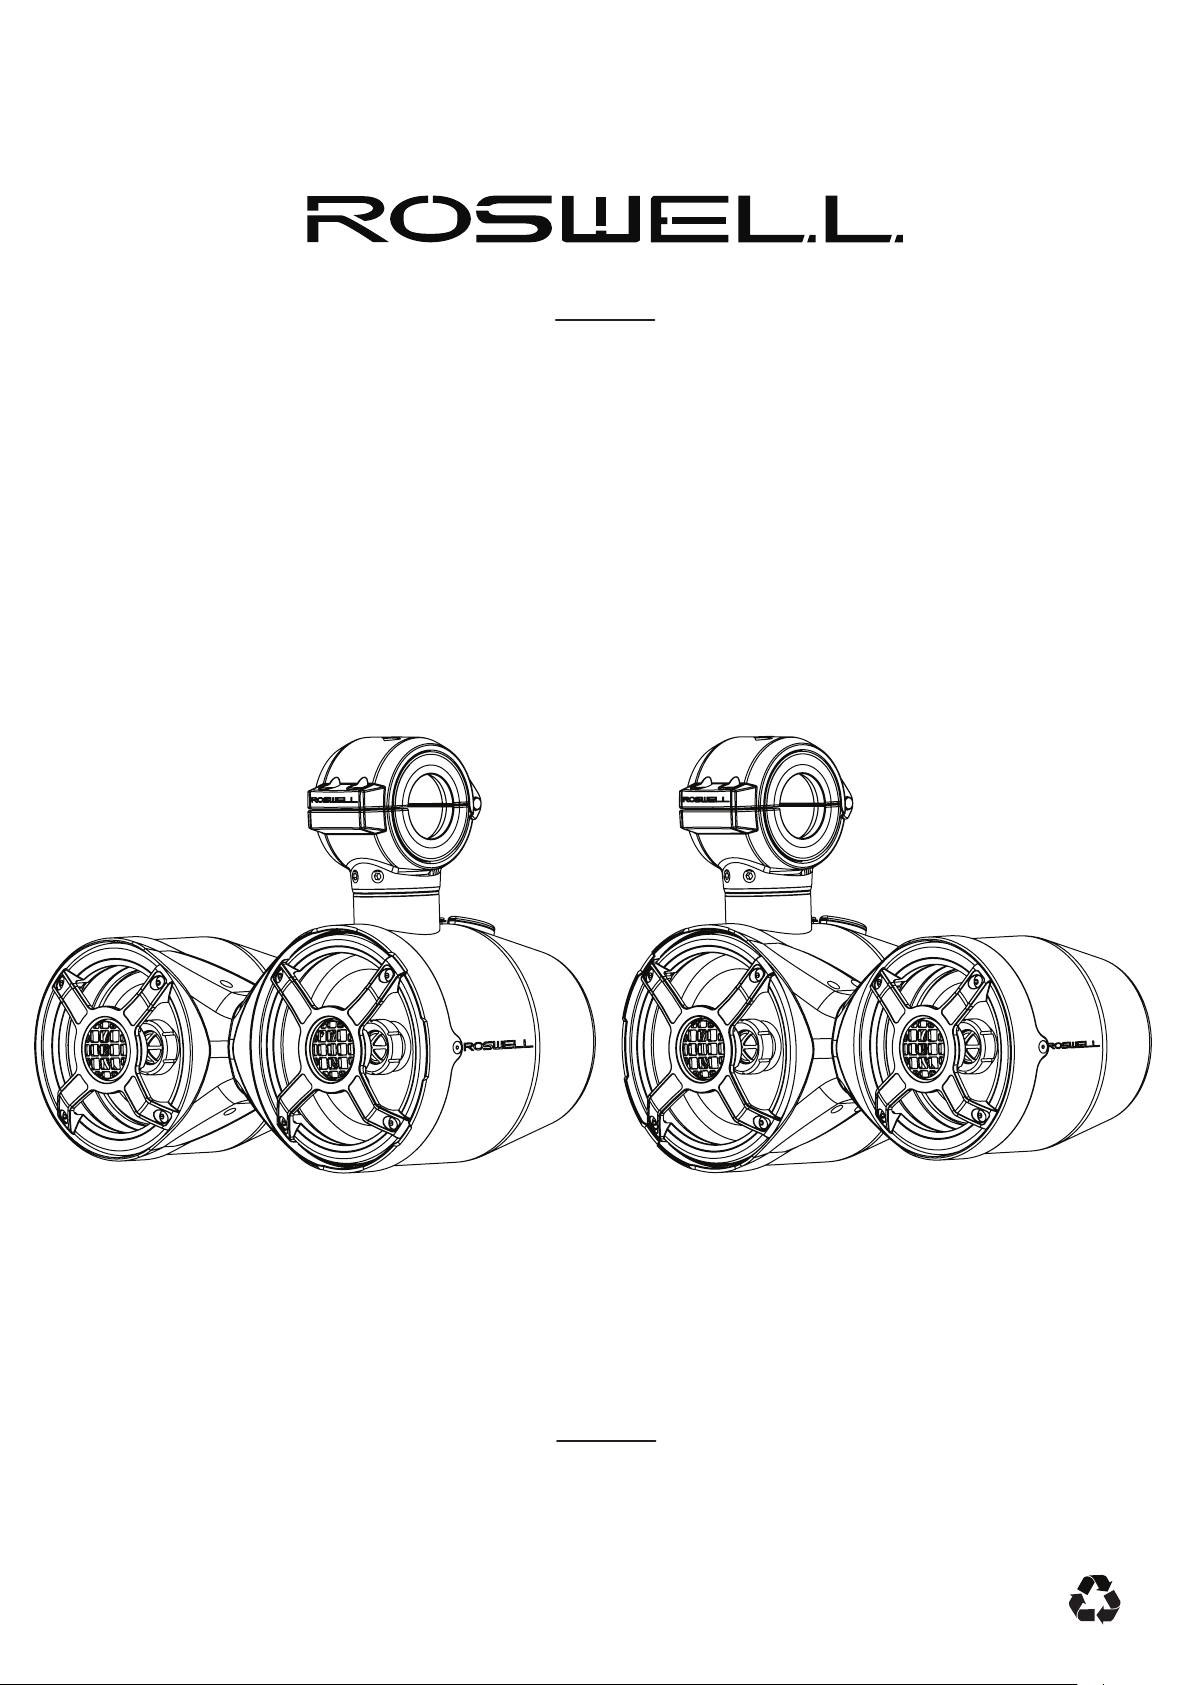
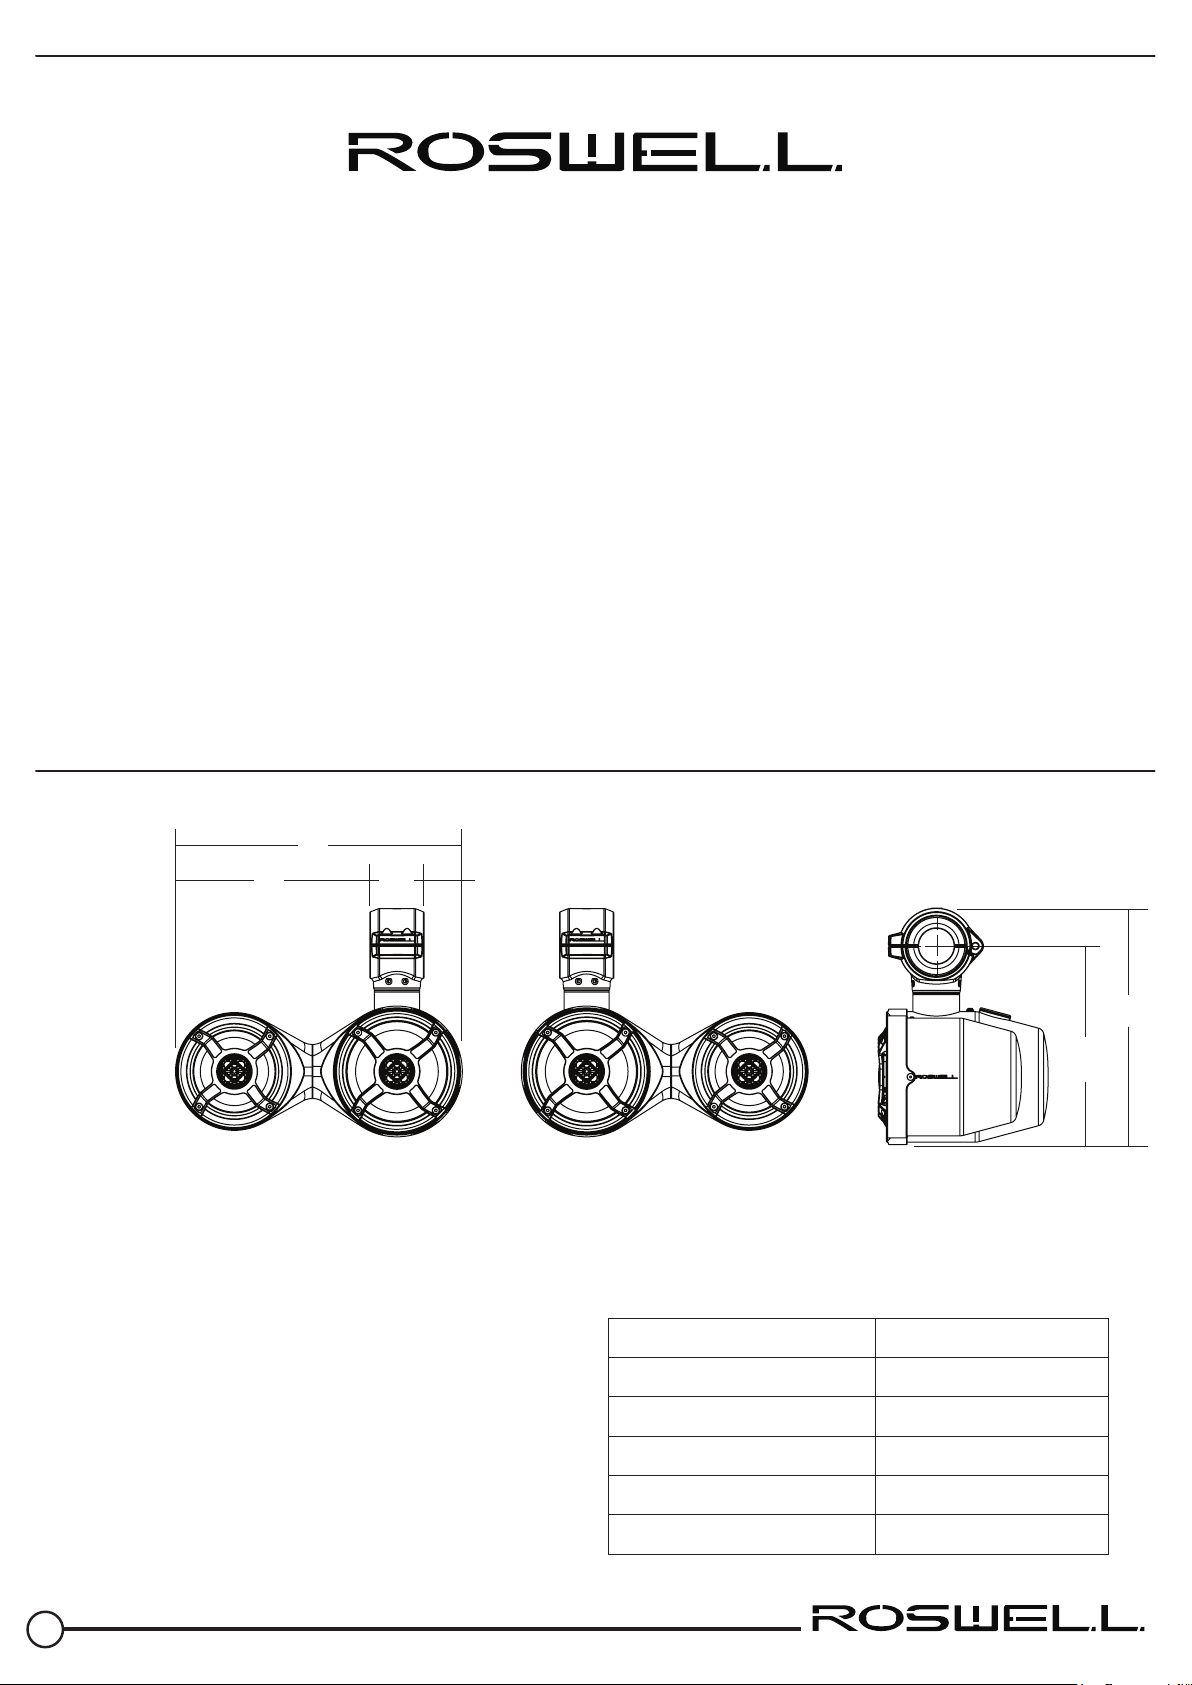
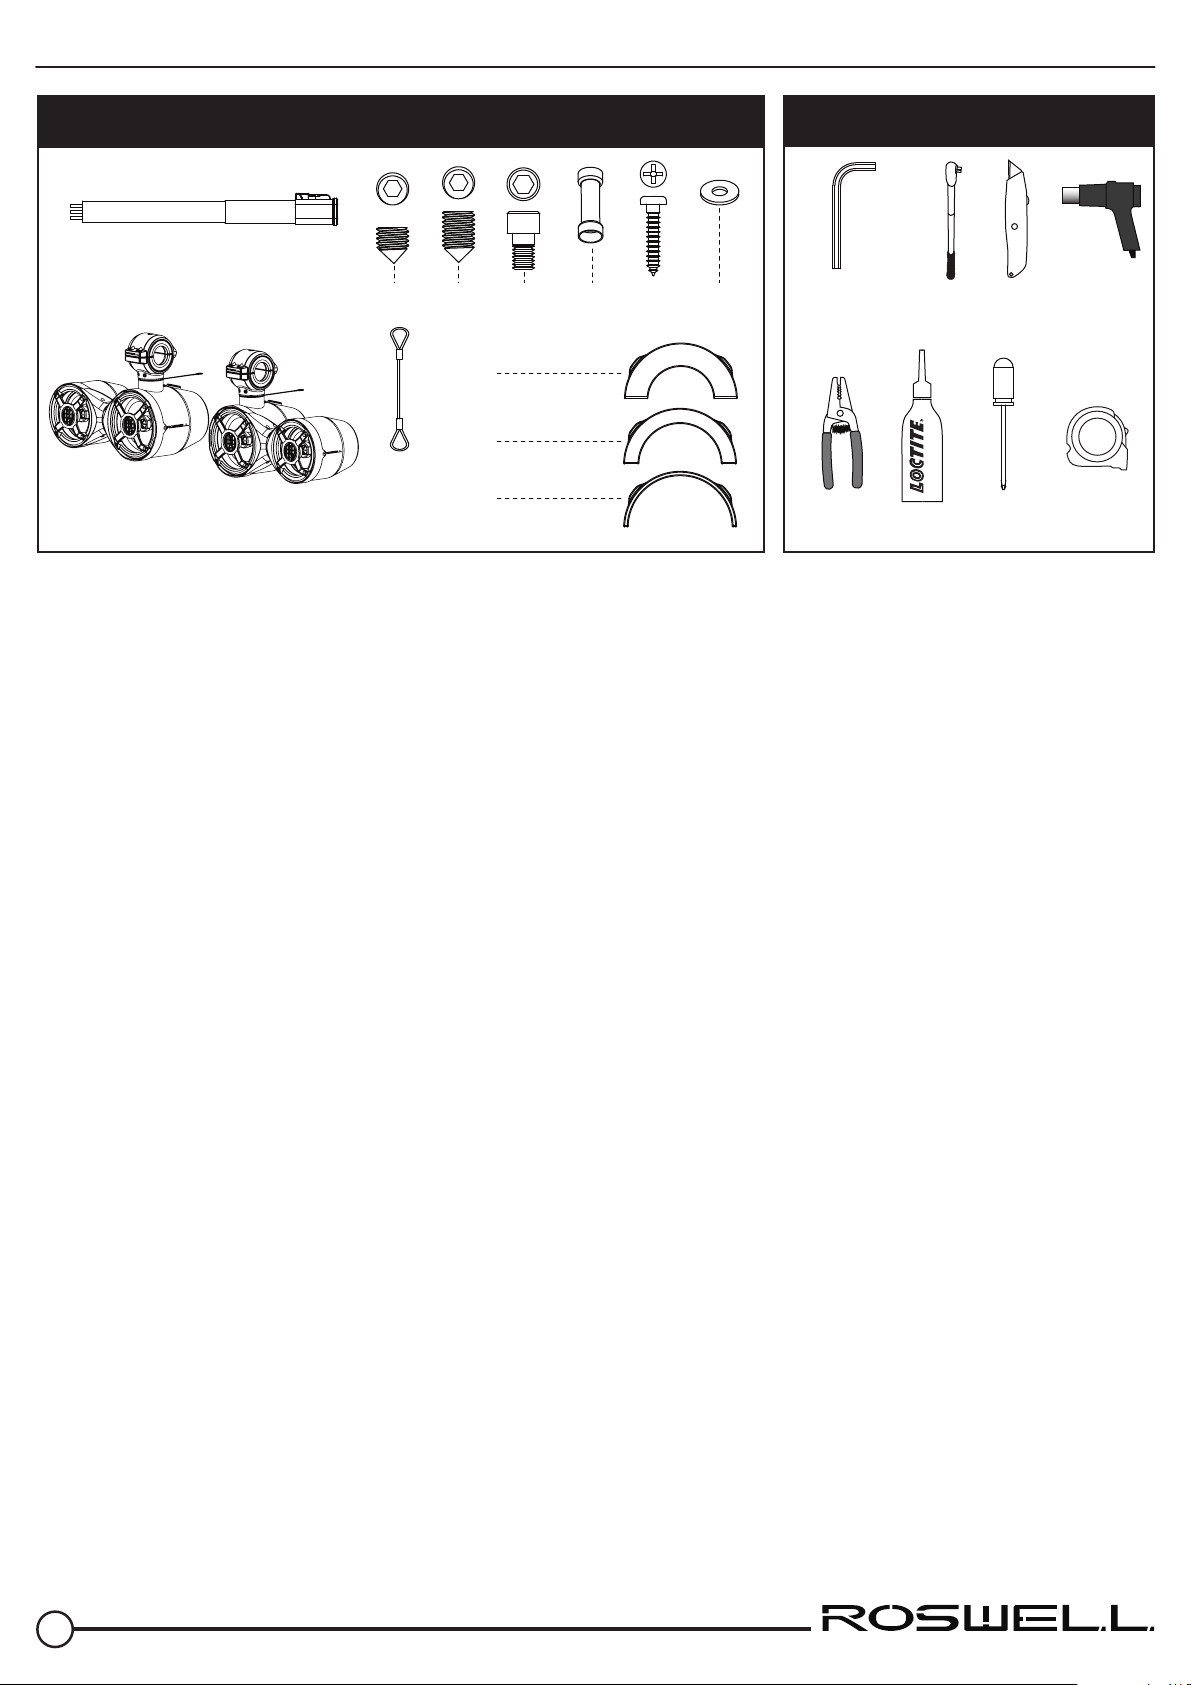
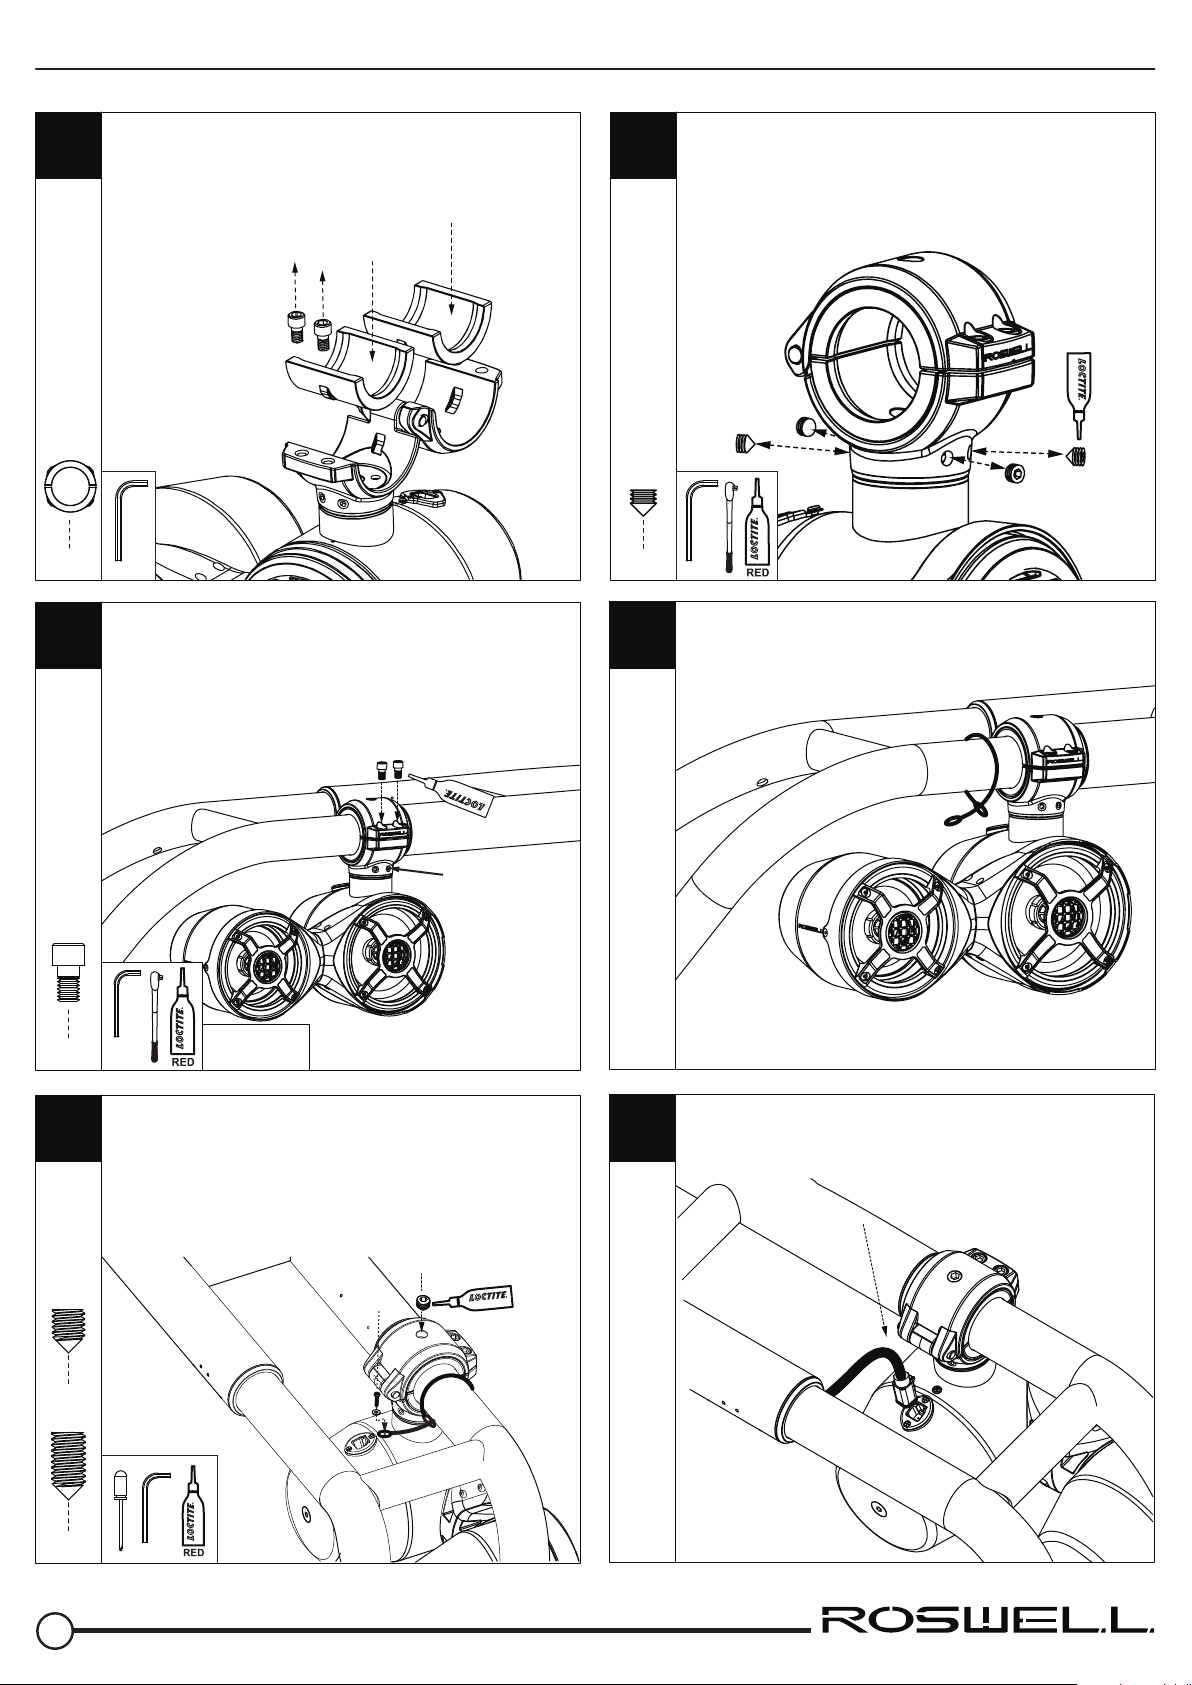
6.5x5.25” Classic Vamp Spin Speaker Installation Instructionswww.roswellmarine.com
6
Enjoy your Roswell Classic Vamp Spin Speakers!
Use & Care
These speakers are built to the highest standards of marine durability. However, they are still a sensitive piece of electronic
equipment. When cleaning, avoid hosing down the speakers directly and do not use harsh cleaners on the speakers and
housings as they could damage the nish. Simply wiping the speaker down with a damp cloth should be sucient to ensure
years of enjoyment.
It is necessary to regularly check the tightness of the bolts securing the Roswell speaker to your tower. Bolts and screws tend to
rattle loose over time due to the vibrations and shaking that your boat experiences while on the water or in transit.
Covering your speakers with something removable like saran wrap or aftermarket fabric covers during transit or storage can
save you a lot of time cleaning and also protect your speakers from damage.
Roswell Limited Warranty
Roswell warrants the 6.5x5.25”Classic Vamp Spin Speakers against defects in material and workmanship for a period of ONE (1)
YEAR from the original date of purchase. This warranty is not transferable and applies only to the original retail purchaser from
an authorized Roswell retailer. Upon inspection by Roswell, should service be necessary under this warranty for any reason due
to manufacturer defects, Roswell will, at our own discretion, repair or replace the defective product with new or similar condi-
tioned product at no charge.
THIS WARRANTY DOES NOT COVER INSTALLATION OR DAMAGE RESULTING FROM ACCIDENT, MISUSE, ABUSE, IMPROPER
WIRING, COSMETIC DAMAGE DUE TO NORMAL WEAR AND TEAR, EXPOSURE TO CHEMICALS OR HARSH ENVIRONMENTS,
OPERATION OUTSIDE OF THE MANUFACTURERS RECOMMENDATIONS OR SPECIFICATIONS, OR AGAINST INSTRUC- TIONS IN
OWNERS MANUAL. IN ADDITION, ANY PRODUCT THAT HAS BEEN OPENED, TAMPERED WITH OR MODIFIED, OR IF ANY
SERIAL NUMBERS HAVE BEEN REMOVED, WILL NOT BE COVERED BY ANY PART OF THE MANUFACTURES WARRANTY.
All warranty claims must rst be made in direct contact with Roswell’s warranty department. When rst contact is made the
warranty representative will issue an RA # to open a claim. All warranty returns should be sent to Roswell freight prepaid and
must be accompanied by proof of purchase (a copy of original sales receipt). Direct returns from consumers or non-authorized
retailers will be refused unless specically authorized by Roswell with a valid return authorization number (RA#).
All warranty returns should be packed in the original packaging and must be accompanied by a copy of the original sales
receipt. Product damage during shipping will not be covered under this warranty. The customer or retailer may choose to have
this damage repaired at the normal“Out of Warranty” repair cost.
In no event will Roswell be liable for incidental, consequential, or other damages resulting from the use of this product. This
includes but is not limited to, damage of hearing, property or person, damage based upon inconvenience or on loss of use of
the product, and to the extent permitted by law, damages for personal injury.
This warranty applies to products being sold and used in the United States of America and Canada. In all other countries please
contact your authorized Roswell representative.
For warranty and non-warranty repairs, please contact Roswell Marine Inc.
Phone: 1-321-638-1331
Email: warranty@roswellmarine.com