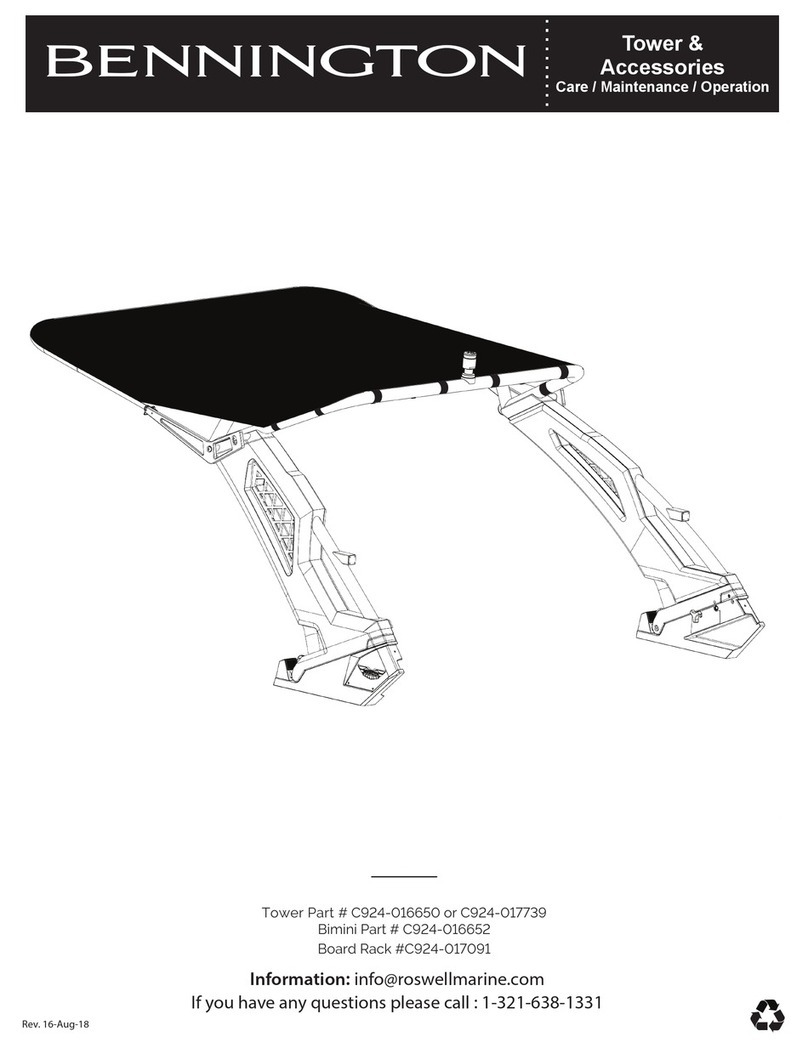
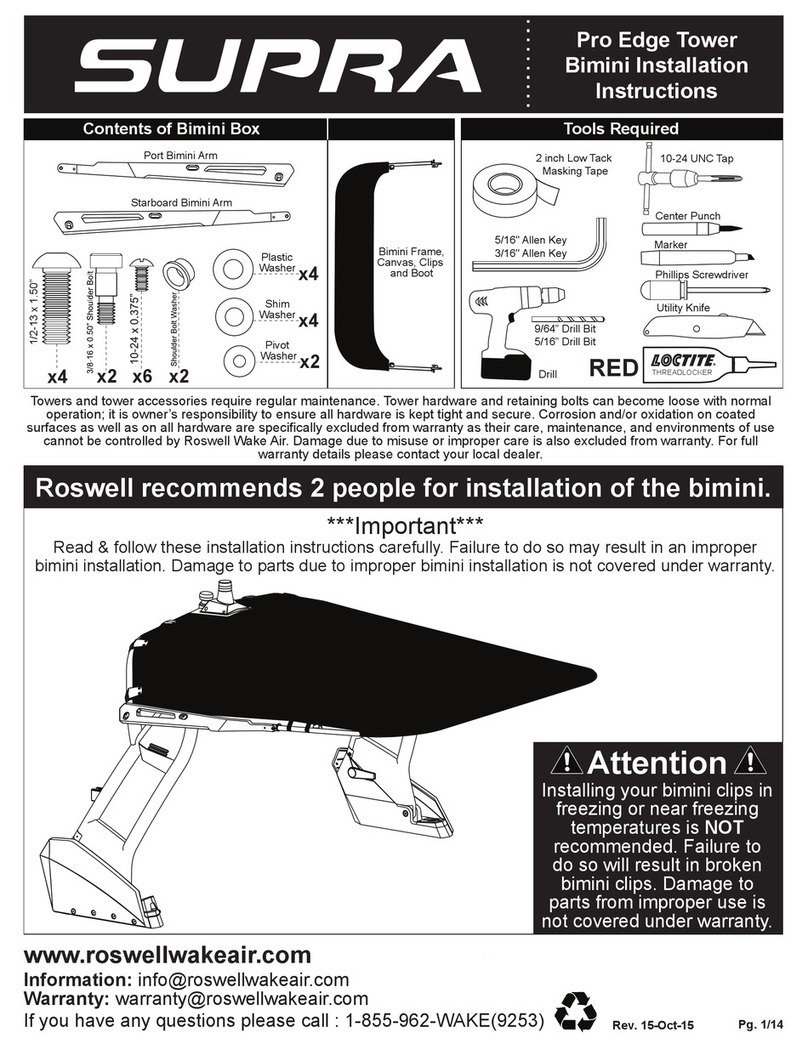
Roswell Moomba A3 Tower Maintenance manual

Tower &
Accessories
Care / Maintenance / Operation
Tower Center Section
Rev. 17-Oct-18
If you have any questions please call : 1-321-638-1331
Information: info@roswellmarine.com
Warranty: warranty@roswellmarine.com
Moomba A3 tower

About your A3 tower
Tower Features
Bimini
Folding Tower
Board Racks
Weight Assist Adjustment
Wiring
Notes
Table of Contents
03
04-05
06-09
15-16
17-24
25-28
29-30
31
Un-folding Bimini pg 10
Folding Bimini pg 11
Trailering pg 12
Tightening Canvas pg 13
Tips & Tricks pg 14
Triton Rack
Swivel Operation pg 21
Wake-Surf Rack pg 22
Quick Release

GENERAL TOWER CARE & MAINTENANCE
This product is to be used for the sole purpose of wakeboarding, wakesurng, hydrofoiling, and
kneeboarding.
The tower is intended to center tow a maximum of two wake boarders at one time and no more than
400lbs (181kg) collectively.
Check all tower hardware before every use on the water. We recommend keeping a set of allen
wrenches on your boat for this purpose. Verify that all bolts, screws, and nuts are tight. Even with
loctite they may loosen over time.
Never attach a tow rope to anything other than the tow head.
Do not use the board racks as entry/exit handles to get in and out of the boat – they are not designed
for this purpose.
Never hang from the tower or speakers. Do not climb or sit on the tower.
Be aware of the tow rope at all times. Ensure that it is not attached to anything on the tower other
than the tow head, and that the rope is clear of any cleats or objects on the boat before pulling the
rider up and out of the water.
Never travel at speeds in excess of 30mph / 48kph (i.e. towing the boat on a trailer) or
through extremely rough water with wakeboards, wakesurfers, skis, etc. In the racks.
Never travel at speeds in excess of 30mph / 48kph (i.e. towing the boat on a trailer) or
through extremely rough water with the bimini in it’s deployed state. ONLY travel with the
bimini in it’s folded state secured to the tower.
Be cautious when driving your boat on the water or on a trailer if you have board racks. They may
decrease your clearance into a garage or slip. Rotate board racks inboard.
Check the clearance between your tower and any overhead obstacles including bridges, canals etc.
NEVER USE CLEANERS ON YOUR TOWER OR ACCESSORIES! Your Roswell tower has been treated
with an automotive paint coating that forms a protective layer. A mild soap and water combination
may be used to remove traveling grime or water spots. Clean with each use. Use only a soft cloth and
never use any chemical cleaners. Treat as you would your vehicle. Wax to protect nish.
Happy Boating
Moomba Tower Care/ Maintenance/ Operations www.roswellmarine.c om
03

Moomba Tower Features ww w.roswellmarine.c om
A3 Tower Features
Tower Bimini
Get the shade you need when out on the water
with the bimini for your tower.
Surf Pockets
Surf pockets are a great place to store extra
surfboards. When storing the boards make sure
the nose goes in first with the fin pointing to the
sky. Lock the boards in place by securing the
bungee strap around the fin(s) of the board.
NOTE: More Information on Page 16-17
04
Tower Folding
Fold the tower with ease when you need.
Whether you need to drive under a bridge or
store your tower, this tower folds with Roswell’s
patented weightless fold down system.
Upgrade Kits
Upgrade Kits on your Moomba A3 tower include
Moomba Accent lights that can be activated
from your boat dash.

Moomba Tower Features ww w.roswellmarine.c om
Fixed Board Rack
C915-116071
Two Styles of Mounts for Two Styles of Board Racks
Choose between a fixed mount or a swivel mount. The swivel mount also comes with a quick release option for your
Wakesurf Rack or your vertical Triton Board Rack.
A3 Tower Features
NOTE: More Information on Page 18-23
05
Fixed Triton Board Rack
C915-118179
QR Swivel Triton Board Rack
C9151-16063 with
C915-118179
QR Swivel Board Rack
C915-116063 with
C915-116071

A3 Bimini Installation Instructions
Tools Required
5/16" Allen Key
3/16" Allen Key
THREADLOCKER
RED
Roswell recommends 2 people for installation of the bimini.
x4 x2
Pivot
Washer x2
Bimini Frame,
Canvas,
and Boot
***Important***
Read & follow these installation instructions carefully. Failure to do so may result in an improper
bimini installation. Damage to parts due to improper bimini installation is not covered under warranty.
Towers and tower accessories require regular maintenance. Tower hardware and retaining bolts can become
loose with normal operation; it is the owner’s responsibility to ensure all hardware is kept tight and secure.
Corrosion and/or oxidation on coated surfaces as well as on all hardware are specifically excluded from warranty
as their care, maintenance, and environments of use cannot be controlled by Roswell Marine. Damage due to
misuse or improper care is also excluded from warranty. For full warranty details please contact your local dealer.
Bolt
Washer x4
1/2-13 x 1.50”
Port Bimini Arm
Starboard Bimini Arm
Torque Wrench
Paint Protection
Washer x4
Moomba A3
06
Moomba Tower Bimini ww w.roswellmarine.c om
Hardware Parts
x2
Shoulder Bolt
Washer

A
B
Remove the 4 rubber plugs from the bimini mounts
on your tower. These are press fit into the bimini
mounts and do not require any tools to remove.
Rubber
Plugs
Preparing your tower
Installing Bimini Arms
Bimini
Mounts
x4
Remove the 2 bimini arms from your box. Carefully unwrap them. Assemble the bimini arms to the tower using
the 8 washers and 4 bolts from the box. Apply red Loctite to all 4 bolts and assemble the arms as illustrated. Do
not fully tighten down the arms yet, they need to be loose for the next installation step.
Bolt Washers
THREADLOCKER
5/16"
CPosition arms as illustrated,
then tighten down the bimini
arm bolts that were loosely
installed in Step B.
Tighten Bimini Arm
Bolts
5/16"
**IMPORTANT**
Tighten the Rear
Bolts at the top of the
slots as illustrated.
Port Bimini Arm
Starboard Bimini Arm
Torque bolts to 40ft.lbs
Bolts
x4
07
Moomba Tower Bimini ww w.roswellmarine.c om
Paint Protection
Washers
x4

E
Unzip the bimini boot from the bimini frame. Unroll
your fabric and middle bow. Rotate the frame
upwards and insert the quick release pins through
the arms and bimini frame.
Bimini Boot Removal
Bimini Boot
D
THREADLOCKER
3/16"
Bimini Frame Assembly
x2
Remove the plastic wrapping from your
bimini frame. Grab the 2 shoulder bolts, 2
pivot washers, and 2 shoulder bolt washers
from your bimini box. Apply red Loctite to
the 2 bolts. Attach the bimini frame to the
bimini arms as illustrated. Make sure the
pivot washers are sandwiched between the
bimini arms and the bimini frame and that
the shoulder bolt washers are under the
heads of the shoulder bolts.
x2
**This step requires 2 people**
**To avoid installing the frame upside down
make sure the middle bow rotates upward**
Shoulder Bolt
Pivot Washer
Folding Quick Release Pin
Shoulder Bolt Washer
(These may already be installed in your frame)
x2
**Refer to page 15 for Alignment Tips & Tricks**
Torque bolts to 15ft.lbs
x2
F
Adjust and secure the 2 velcro straps
located on either side of the bimini canvas
to the bimini frame as illustrated
Velcro Straps
08
Moomba Tower Bimini www.roswellmarine.c om

H
Your bimini is now ready
for use.
Happy Boating!!
GFinal Velcro Attach all 8 velcro straps on the rear of the bimini to the rear tower tube and the 2
buckle straps to the rear bimini mount. After attaching all straps, adjust and secure
them until the bimini canvas fits tight. Your bimini installation is now complete!
Velcro Straps
Buckle Straps
09
Moomba Tower Bimini ww w.roswellmarine.c om

A
Unfolding your Moomba Bimini
Adjust and secure the 2 velcro straps located on
either side of the bimini canvas to the bimini
frame as illustrated.
Undo the 2 straps that secure the bimini to your tower.
Rotate the frame upwards and insert the quick
release pins into the bimini arm only.
Tie Down Straps
Folding Quick
Release Pin
Attach all 8 velcro straps on the rear of the bimini
to the rear tower tube and the 2 buckle straps to
the rear bimini frame.
Note: be careful to not over tighten straps
Velcro Straps
Buckle Straps
Remove the pins, pull frame down, align holes,
and re-enter pins. Your bimini is now ready to
use!
Bimini Boot
10
Moomba Tower Bimini www.roswellmarine.c om
BUnfold the frame from the tower. Unzip the bimini
boot from the bimini frame. Unroll your fabric and
middle bow.
CD
E F

A
Folding up your Moomba Bimini
Undo all 8 velcro straps and 2 buckle straps attaching the rear of the bimini canvas to the the tower. Undo the 2 velcro
straps attaching the sides of the canvas to the bimini frame.
Fold the middle bow toward the front bow and wrap
the fabric around both bows. Zip the bimini boot
over the bows and fabric.
Fold the bimini up towards the tower until it rests on
top of the tower.
Loop the tie down
straps over and
under the tower
tubing. Adjust the
straps to tighten
the bimini to the
tower.
Folding Quick
Release Pin
Remove the quick release pins located on both bimini
arms and lower the frame.
Tie Down Straps
Bimini Boot
Velcro Straps
Buckle Straps
11
Moomba Tower Bimini ww w.roswellmarine.c om
BC
DE

ATTENTION
DO NOT TRAILER YOUR BOAT WITH THE BIMINI
IN ITS OUTSTRETCHED POSITION
*** Illustrated is the ONLY acceptable way to safely fold your Moomba
tower or trailer your Moomba boat with the bimini on***
Tower folding / Trailering
DO NOT FOLD YOUR TOWER WITH THE BIMINI
IN ITS OUTSTRETCHED POSITION
DO NOT FOLD THE TOWER OR
TRAILER BOAT WITH BIMINI IN
THIS POSITION
DO NOT FOLD THE TOWER OR
TRAILER BOAT WITH BIMINI IN
THIS POSITION
DO NOT USE YOUR BIMINI IN ITS OUTSTRETCHED
POSITION IN ANY HIGH WIND CIRCUMSTANCES
Quick release pins must
be inserted into the bimini
arms for trailering to avoid
damage to parts
**Middle Bow Hinge Pins also
need to be inserted into the hinge
to avoid any tower damage.**
12
Moomba Tower Bimini ww w.roswellmarine.c om
A

A
Tightening your Moomba Bimini Canvas
It is normal that your bimini canvas will stretch over time and use. Your Moomba
Bimini has been designed to allow you to tighten your canvas as needed.
Canvas Tightening
Remove
this bolt
Remove the rear bimini arm bolts on port and starboard sides. Do not remove the front bimini arm bolts or
your fabric. Once both rear bolts are removed, re-apply Loctite to each bolt and re-thread them loosely
back into the tower. Have a friend lightly pull down on the bimini arms one side at a time. With the arm
being pulled down, re-tighten the rear bimini arm bolt. Repeat on the other side.
This method is best executed with 2 people
5/16"
Factory installed
rear bolt
position
Tighter canvas
rear bolt
position
THREADLOCKER
Rear bimini
arm bolt Front bimini
arm bolt
13
Moomba Tower Bimini www.roswellmarine.c om

B
Tips and Tricks for your Bimini
It is normal that there is potentially a slight variation from one tower bimini to another.
Listed below are some tips and tricks to ensure that your bimini is installed and
functioning properly. This process is not mandatory for all biminis.
it is possible that once your bimini is installed your frame and
arms are not parallel where they pivot. This could make inserting
and removing your quick release pins difficult. If you are not
experiencing any issues, skip this page.
If your quick release pins are still difficult to remove and insert
with the addition of the arm shim washers, Roswell recommends
using a drill with a 5/16” drill bit to clean out the holes. Drill
perpendicular through the frame and bimini arms at the same
time. This will help with the alignment and ensure an accurately
aligned hole.
5/16” Drill Bit
TOP VIEW
ARMS
FRAME
THREADLOCKER
5/16"
TOP VIEW
Rear Bimini
Mount
Bimini Arm
Shim
Washer
Now that your shim washers have been added your frame and
arms should be parallel or much closer. Test removing and
inserting your quick release pins. If it is still difficult to remove or
insert the pins proceed to the next step.
TOP VIEW
ARMS
FRAME
If your bimini looks like
this, in Step 2 you will
need to add shim
washers between the
forward bimini mounts
and your bimini arms
If your bimini looks like
this, in Step 2 you will
need to add shim
washers between the
rear bimini mounts and
your bimini arms
Choose one side of your tower to work on first. Determine which
bimini mount the shim washers will need to be added to. Completely
remove the bolt that secures the bimini arm to your chosen bimini
mount. Loosen the other bimini arm bolt. Add the shim washer(s) in
between the chosen bimini mount and bimini arm (In some cases 2
washers may be required under each arm). Re-insert the bolt with
loctite applied. Remove the loosened bolt, apply Loctite and
re-insert. Tighten down the front and rear bimini arm bolts in the
same position they were in prior to loosening them. Repeat on the
other side of your tower.
Forward Bimini
Mount
14
Moomba Tower Bimini www.roswellmarine.c om
A
C D

15
Moomba Tower Folding ww w.roswellmarine.c om
BUnlocking the latches
C
Folding Your Tower
To fold your tower, rst unlock the latches using the lever illustrated. Follow the instructions indicated on each decal. The decal
instructions are dierent on each side. Prior to unlocking the second latch ensure your are ready to support and slowly lower the
weight of the tower.
BEFORE ATTEMPTING TO FOLD YOUR TOWER :
- Ensure all boards have been removed from racks.
- Ensure swivels are locked into either the inside or outside positions.
- Ensure your bimini is folded against the tower and secured.
- Ensure no body parts are near the folding area of the tower.
- Ensure that no one is sitting in the way of the folded tower.
A
PORT Side Unlocking:
Turn lever CLOCKWISE until it stops.
This is the reset position.
PORT Side Locking:
Turn lever COUNTERCLOCKWISE.
STARBOARD Side Unlocking:
Turn lever COUNTERCLOCKWISE until it stops.
This is the reset position.
STARBOARD Side Locking:
Turn lever CLOCKWISE.
Latch
Lever
Instruction
Decal
With both latches released, slowly lower the
tower until it rests at the stop position.
This folded position is intended for low speed
boat operation such as
- Parking boat in garage
- Boating under a bridge
- Parking Boat in Slip
DO NOT TRAILER YOUR TOWER IN THE FOLDED POSITION
Fold the tower down

16
Moomba Tower Folding ww w.roswellmarine.c om
DRaise the tower up To raise the tower up repeat steps B & C in reverse.
PORT Side Locking:
Turn lever COUNTERCLOCKWISE.
PORT Side Unlocking:
Turn lever CLOCKWISE until it stops.
This is the reset position.
STARBOARD Side Locking:
Turn lever CLOCKWISE.
STARBOARD Side Unlocking:
Turn lever COUNTERCLOCKWISE until it stops.
This is the reset position.

If you have any questions please call : 1-321-638-1331
Information: [email protected]
Board Racks/ Swivel/ Quick Release
Board Racks/ Swivel/ Quick Release ww w.roswellmarine.c om

Board Racks/ Swivel/ Quick Release ww w.roswellmarine.c om
18
x4 Triton Board Rack
MOUNTING OPTIONS
There are 4 scenarios for mounting a board rack provided by Moomba.
1 : You have a Triton rack and can mount the rack in a fixed position.
2 : You have a Triton rack and can mount the rack to a Moomba Swivel with Quick Release.
3 : You have a Board Rack and can mount the rack in a fixed position.
4 : You have a Board Rack and can mount the rack to a Moomba Swivel with Quick Release.
x2 Triton Spacer Triton Adapter
x4
1/4-20 x 1.00”
1/4-20 x 2.25”
• Always ensure your boards are securely fastened in place
by the rack. Give the board a quick tug to check it is secure
before setting off.
• Always ensure your swivel is properly locked before
moving your boat. Give the rack a tug and visually check
locking pin to make sure it is secure after you have put the
swivel in a new position.
• Never insert boards that are beyond the stated maxi-
mums and minimums for the rack:
• Always swivel your racks inboard when docking and/or
trailering your boat.
• Never trailer your boat with boards in the racks. Racks
are for on water use only.
• Check all bolts on the rack and swivel for tightness
before using your boat. If any bolts are found to be loose
remove them, apply red thread lock and re-tighten the
bolts.
• The driver should check their lines of sight before
operating the boat being sure nothing in the rack blocks
their safe view and operation of the boat.
• Be aware of your rope making sure it does not get
wrapped around the board rack, the boards, or any other
objects.
·20” maximum for the narrow board setting and 23” maximum for the wide board setting.
·14” minimum for the narrow board setting and 17” minimum for the wide board setting.
Triton Rack Specific
Hardware Tools Required
Triton Board Rack Assembly Instructions
5/32" Allen Key
THREADLOCKER
Parts

Board Racks/ Swivel/ Quick Release ww w.roswellmarine.c om
19
B
5/32”
THREADLOCKER
If you are mounting your Triton rack to a
swivel, use the 4 bolts provided and the
spacer from Step A. Apply loctite to the
4 bolts first.
x4
Swivel mounting
A
5/32”
THREADLOCKER
Swivel mounting
x2
If you are mounting Triton to a swivel first
verify that your swivel has 2 holes to
accommodate the 2 alignment pins. If it
does, thread the 2 alignment pins into the
spacer. Apply loctite to the 2 pins first. If it
doesn’t move on to step B.
A
5/32”
THREADLOCKER
x8
Fixed mounting
Torque bolts
to 15ft-lb
1- Mount the adapter to the
tower block with the 4 bolts
included with your adapter.
Add a drop of red Loctite to
each bolt first.
2- Mount the triton rack to the adapter
using the 4 long bolts provided with
your rack. Add a drop of red Loctite to
each bolt first.
This is how your Triton rack installation should look.
x8

Board Racks/ Swivel/ Quick Release ww w.roswellmarine.c om
20
A
B
Narrow board setting
Wide board setting
Your Triton rack is designed to be adjustable
to fit just about any size of wakeboard,
wakesurfer or wakeskate. There are 2
settings, one for narrower boards, one for
wider boards.
In the narrow setting,
the max board width
should be no greater
than 20” inches and no
less than 14” inches.
In the wide setting,
the max board width
should be no greater
than 23” inches and
no less than 17”
inches.
Adjust your telescopic arms one at a time. To adjust your telescopic
arms loosen the knobs on both sides of the rack for the same arm
until the knobs are past the counterbored holes they sit in. At this
point you will be able to slide the whole arm assembly up or down to
the next position where you will then retighten the knobs.
Tighten
Make sure your adjustment knobs
are tightened periodically.
Inserting Boards
1 : Slide your board
into one of the
Triton rack slots.
2 : Pull up on the telescopic
arm and flip your board
towards it.
3 : Let the telescopic arm
clamp down over your
board.
To remove a board, repeat
steps 1-3 in reverse
Ensure wakeboards with sharper
edges are located within the harder
rubber wakeboard pads in the tine
slots. This is essential to avoid
damaging the softer foam protection
intended for fragile surfboards and
wakesurfers.
Rubber
wakeboard
pads
Rubber
wakeboard
pads
Knob to loosen/tighten
C
Table of contents
Other Roswell Boating Equipment manuals
Popular Boating Equipment manuals by other brands

BAY SPORTS
BAY SPORTS PEDAL PRO FISH instructions

Watersnake
Watersnake GEO-SPOT instructions

Seakeeper
Seakeeper 5 GYRO Operation manual

Classic Accessories
Classic Accessories 05912 Instructions & Care

Vetus
Vetus V-QUIPMENT Light LCS Series installation instructions

Selden
Selden Furlex 500 H Series Supplementary manual