10 May 2013 IMO_294_EN_v0 Roto E-Tec DoorDrive Subject to change.
Safety
Stipulated use
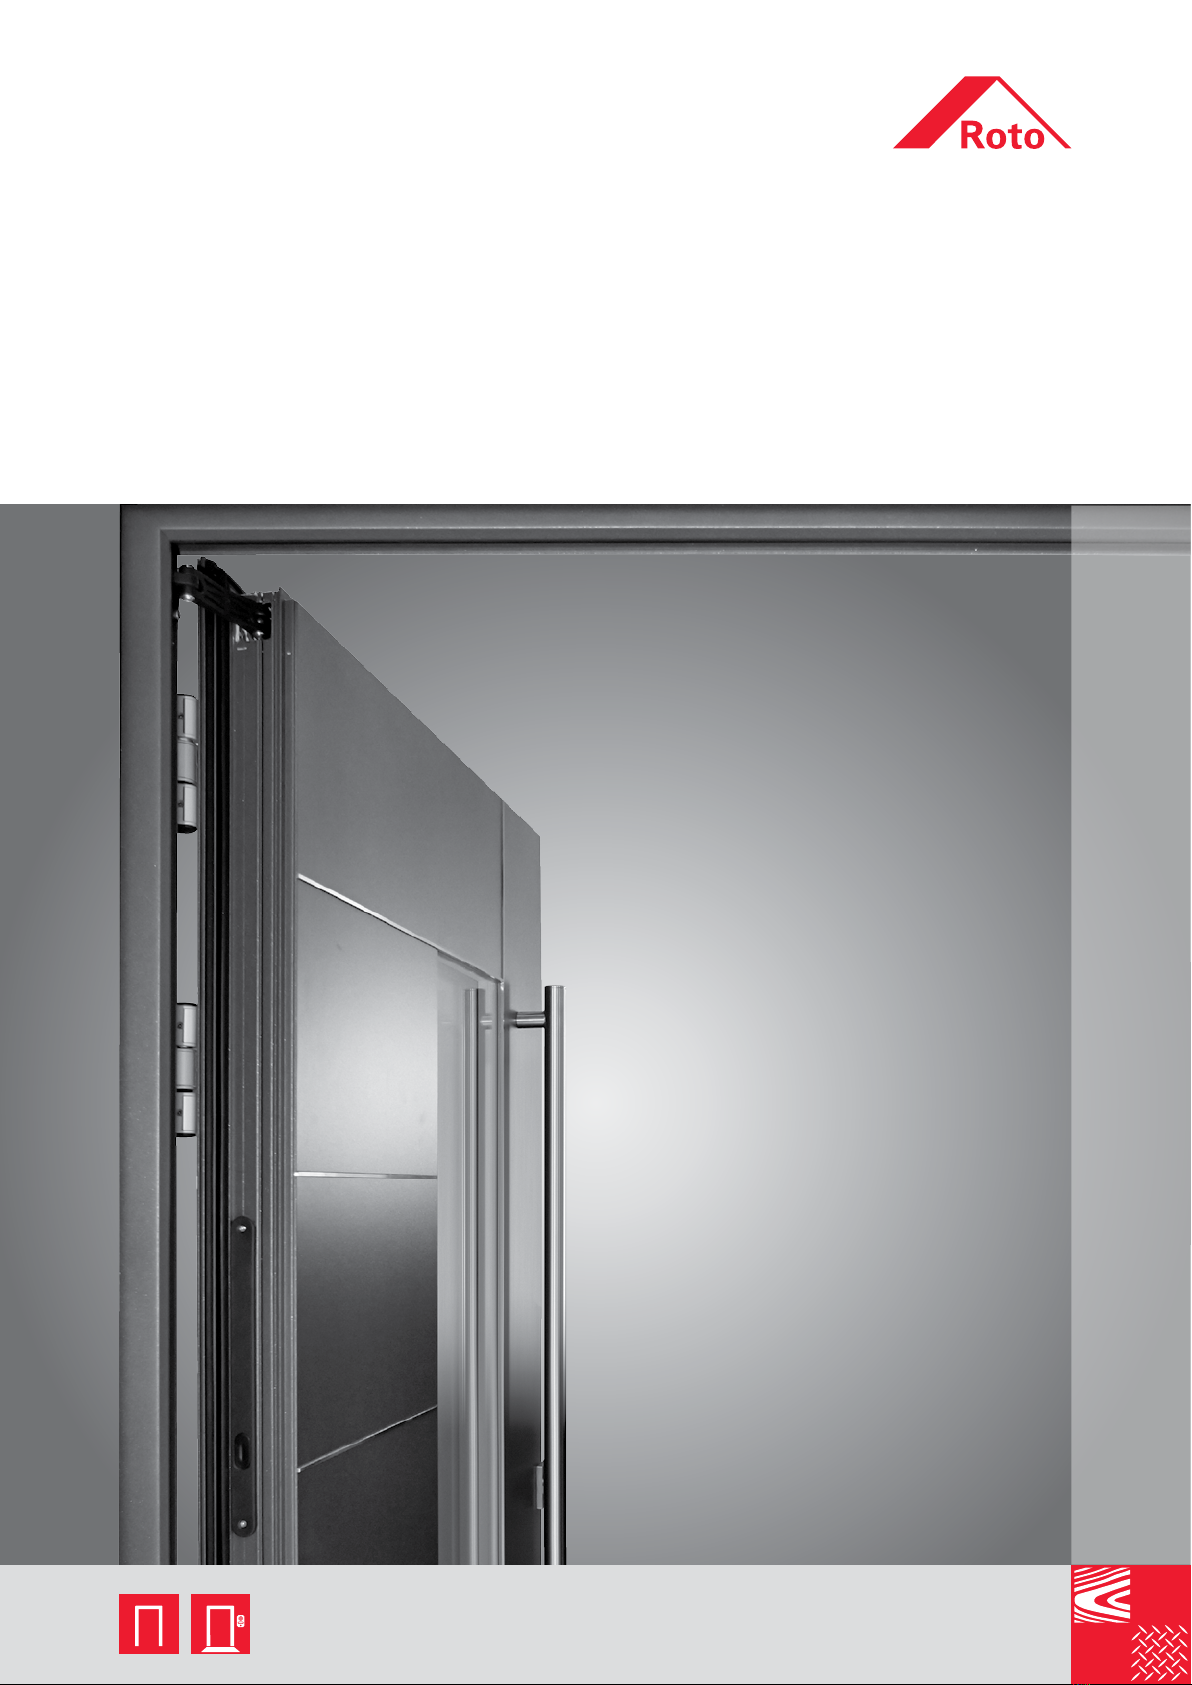
Roto E-Tec DoorDrive
– Is an electromechanical swing door drive
– It is used solely for opening and closing doors with a sash weight up to a
max.120 kg
– It has an operating voltage of 12 V
– Fulfils the low-energy requirements of DIN EN 16005
– Is not suitable for use in escape routes and with fire protection doors
Roto E-Tec DoorDrive is an aid which closes the door, but which does not
lock it. The swing door drive is therefore not a theft-deterrent device and as
such it does not absolve the user from his/her obligation to lock the door
using the door lock.
Certification of the door system as per DIN EN 16005 is only valid with
power supply units certified in accordance with EN60335.
Stipulated use also includes adhering to all the specifications in the
product-specific documents, such as:
– These installation, maintenance and operation instructions
– Product catalogues
– Information and specifications of the profile manufacturer (e.g. light metal
profiles etc.)
– The valid national laws and directives
Any type of use that goes beyond or differs from the stipulated use shall be
regarded as misuse.
WARNING!
Danger from misuse, improper installation and improper
initial operation
Misuse and incorrect installation of hardware can result in
hazardous situations.
– Never use combinations that have not been approved by the
hardware manufacturer.
– Never use accessories that are not original products or
that have not been approved by the hardware manufacturer.
– Only those control elements, settings or procedures described in
this documentation should be used. (Control elements,
settings or procedures that are not described in this documenta-
tion may cause electric shocks, hazards through electrical volt-
ages / currents and/or hazards through mechanical processes.)
The following safety instructions are in accordance with DINEN16005,
which regulates the safety specifications pertaining to automatic door
systems as per the Machinery Directive (2006 / 42 / EG).
Avoidance of any hazard is always preferable to securing the hazard.
The door equipped with Roto E-Tec DoorDrive is driven by a so-called low-
energy drive. In other words, the energy of the automatically-moved doors
is not any more than 1.6 Joules. This amount of energy is deemed to be
non-critical for a group of users that is familiar with the operating principle
of the driven door.