TO REPLACE LIGHT BULB:
Pressbulb inandturn counter-clockwiseto remove. Insertnew bulb, press inandturn
clockwiseuntil
it
is in place.
TO USE DEODORIZINGUNIT:
If your vacuum cleaner is equiped with a deodorizing,demothing unit underthe
headlight, usethe sanitizingcrystalsto eliminatemusty odors or repel moths by followingthe directionsprintedon
the container.
BRUSH BRISTLES:
Rmse in soapy water, then in clear water. Dry thoroughly before using. The Round Dusting
Brush bristles, 10" Floor Brush Bristlesand
6"
nozzleinsertare removablefor washing.
TOUSEYOURCLEANERFORBLOWING
Sometimes only a powerfulblast of air will do the cleaningjob
needed. You maywish to blow-cleanopen bookcases, stereos,
piano interior, refrigerator or freezer coils. When blowing, be
consciousof
where
you will be blowingthe dust. Our suggestion
isto always blowittoward a dampenedtowelwhich will trapthe
dust and not scatter
it
in
the air to resettle on other furniture.
When you are finished, just toss the "dusty" towel into your
washer.
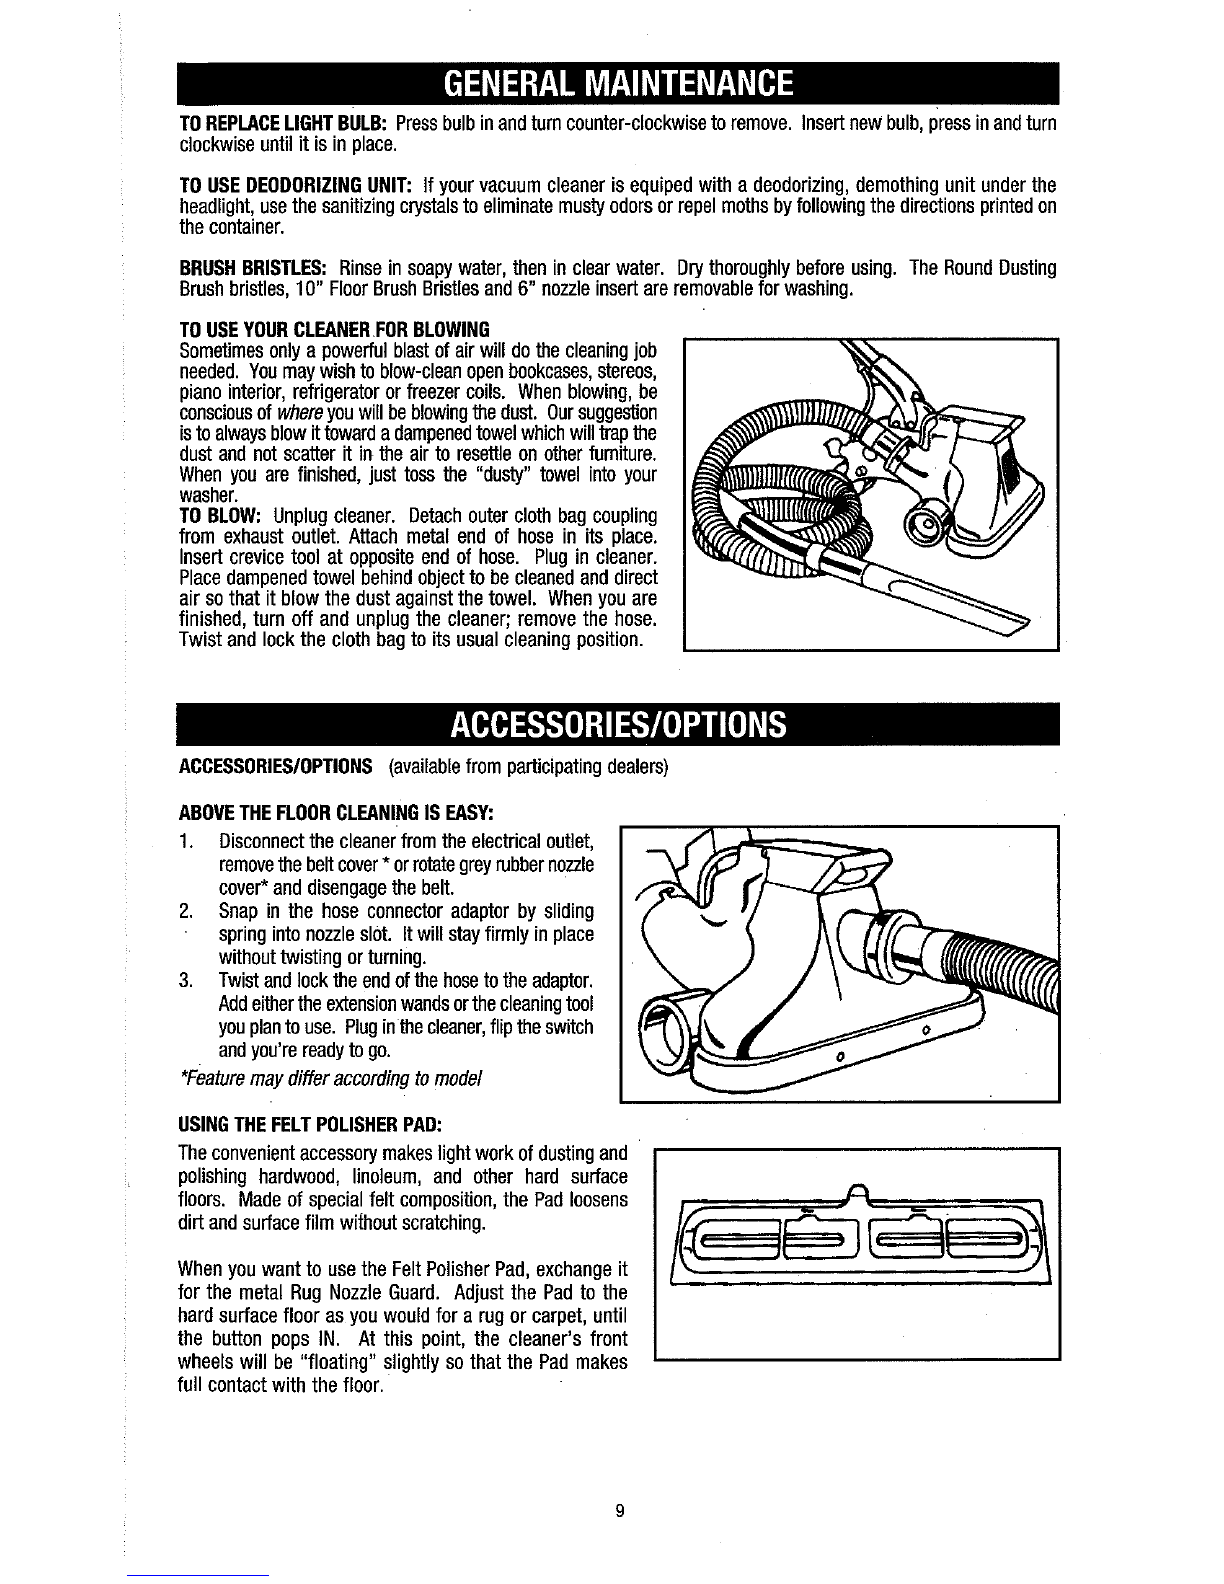
TO BLOW:
Unplug cleaner. Detach outer cloth bag coupling
from exhaust outlet. Attach metal end of hose in its place.
Insert crevice tool at opposite end of hose. Plug in cleaner.
Place dampenedtowel behindobjectto be cleaned and direct
air so that it blow the dust againstthe towel. When you are
finished, turn off and unplug the cleaner; remove the hose.
Twist and lock the cloth bag to its usual cleaning position.
ACCESSORlESlOPTlONS
(availablefrom participatingdealers)
ABOVE THE FLOOR CLEANING ISEASY:
1.
Disconnectthe cleaner from the electrical outlet,
removethe belt cover
*
or rotate grey rubbernozzle
cover* and disengagethe belt.
2.
Snap in the hose connector adaptor by sliding
spring into nozzle slot. Itwill stay firmly in place
without twisting or turning.
3.
Twistand lockthe end of the hose to the adaptor.
Add eitherthe extensionwandsorthecleaningtool
you planto use. Plug inthe cleaner,flip theswitch
and you're ready to go.
*Featuremay differaccording to model
USINGTHE FELT POLISHER PAD:
The convenientaccessory makeslight work of dustingand
polishing hardwood, linoleum, and other hard surface
floors. Made of special felt composition, the Pad loosens
dirt and surface film without scratching.
When you want to use the Felt Polisher Pad, exchange it
for the metal Rug Nozzle Guard. Adjust the Pad to the
hard surface floor as you would for a rug or carpet, until
the button pops IN. At this point, the cleaner's front
wheels will be "floating" slightly so that the Pad makes
full contact with the floor.