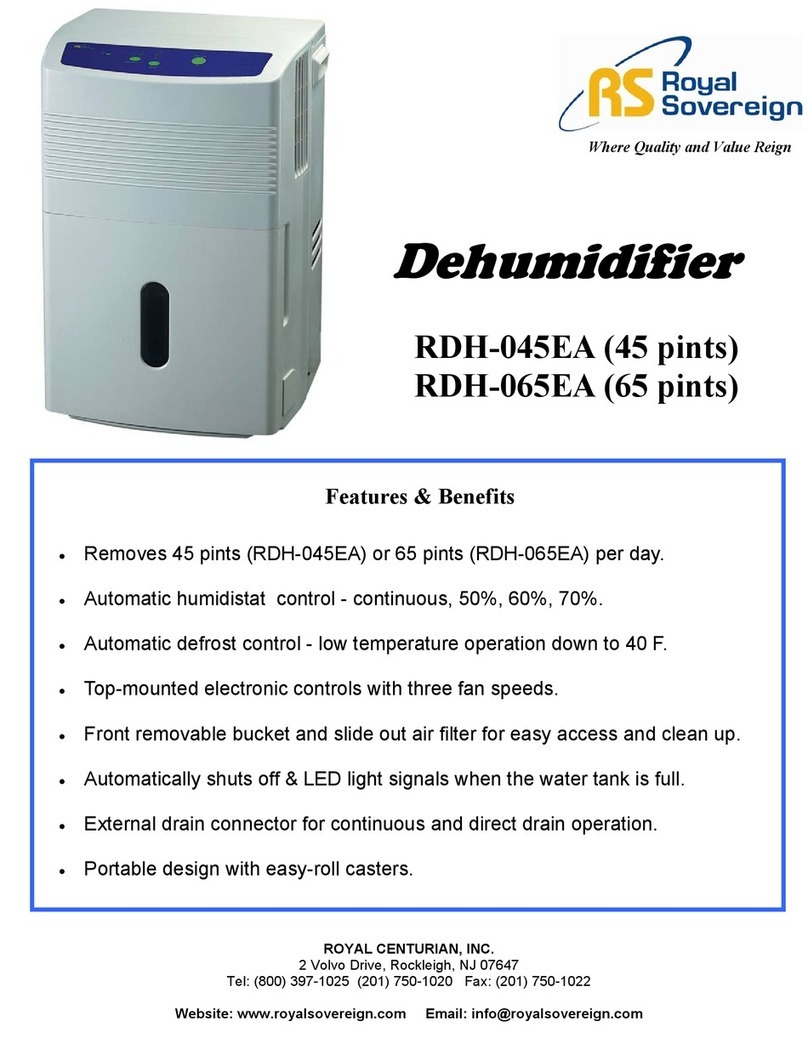
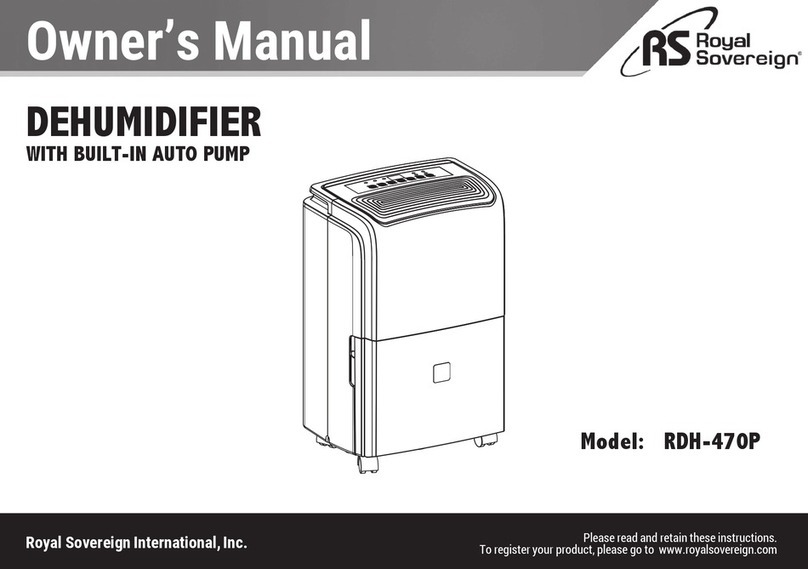
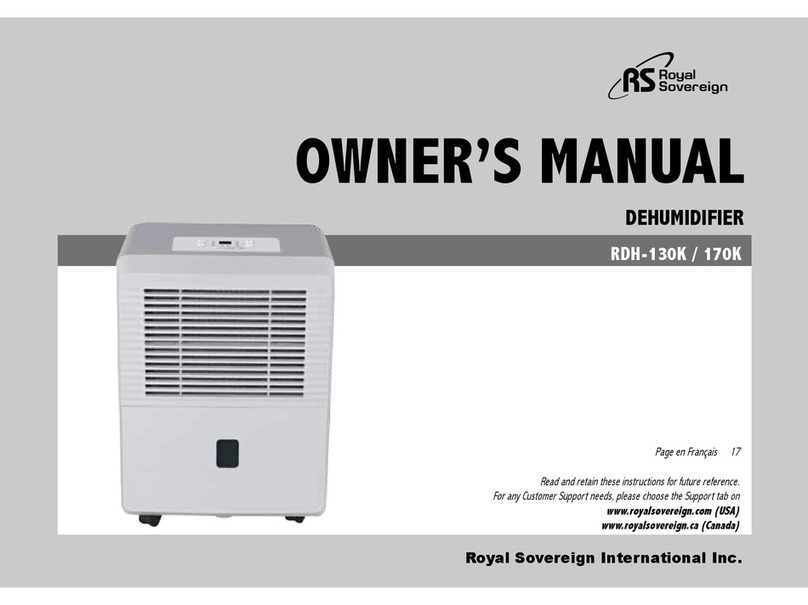
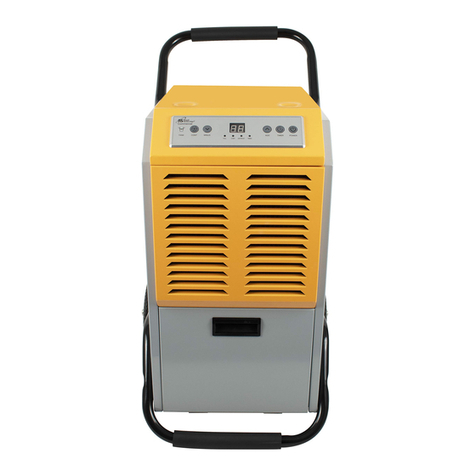
Royal Sovereign BDH-450 User manual

Royal Sovereign International Inc.
BUCKETLESS DEHUMIDIFIER
Read and retain these instructions for future reference
For any Customer Support needs, please choose
the Support tab on
www.royalsovereign.com
BDH-450 / 550
OWNER’S MANUAL
BDH-450 / 550 BUCKETLESS DEHUMIDIFIER
Page en Français 13

BUCKETLESS DEHUMIDIFIER
Model BDH-450 / BDH-550
INTRODUCTION
Thank you for choosing Royal Sovereign to provide you and your family with premium “Air Comfort” solutions for your home, apartment, or office.
This Dehumidifier can be set-up in just minutes and if properly maintained, will give you many years of trouble free operation. This manual will
provide you with valuable information necessary for the proper care and maintenance for your new appliances. Please take a few moments and
read the instructions thoroughly.
Why Dehumidify?
Moisture in the air can lead to mold and mildew leaving a room smelling musty.
Dehumidifiers remove the moisture in the air making it better quality to breathe and protect the furnishings in a room from being damaged.

Page
General use 4
Precautions for Use 4
Box Contents and Parts 5
Set-up 6
Operation 7~8
Maintenance 9
Troubleshooting 10
Specifications 11
Warranty 12
Contact information 12
Página en Français 13
CONTENTS

GENERAL USE
1. After unpacking the dehumidifier, wait 2 hours before using it. Common sense and caution must be used when installing, operating and maintaining any appliance.
2. This appliance should be used by adults only. Do not allow children to play with the appliance. Do not leave children unattended in an area where the appliance is operating.
Do not allow them to sit or stand on the appliance.
3. This appliance is designed to dehumidify domestic living areas, and should not be used for other purposes. It should be operated in an enclosed area to be most effective.
Close all doors, windows, and other outside openings to the room for maximum effectiveness.
4. Do not use outdoors.
5. Always remove the plug from the socket before performing maintenance operations, cleaning or when the dehumidifier will not be in used for an extended period.
6. Do not place heavy or hot objects on the top of the dehumidifier.
PRECAUTIONS FOR USE
1. Do not store or use gasoline, oil, sulphur, or other flammable vapors and liquids in the vicinity of this or any other appliance. Do not install the appliance near source of heat.
2. The appliance must not be modified in any way. Any modifications may be extremely dangerous.
3. Do not operate any appliance with a damaged cord or plug or after the appliance malfunctions, or has been damaged in any manner.
4. The use of accessory attachments is not recommended by the appliance manufacturer. It may cause injuries.
5. For your safety and protection, this dehumidifier is equipped with a three-prong grounding plug on the power cord.
Do not, under any circumstances, cut or remove the round grounding prong from the plug.
6. Your dehumidifier must plug directly into a properly grounded and polarized three-prong outlet.
If the wall outlet will not accept a three prong plug or if you are not sure the outlet is adequately grounded or protected by a time delay (use or circuit breaker, have a qualified
electrician install the proper outlet. Do not use an extension cord or an adapter plug.
7. Never unplug the dehumidifier by pulling on the power cord. Always grip the plug firmly and pull straight out from the outlet. Do not pinch, bend, or knot the power cord.
8. The appliance should remain upright during transportation. Remember to drain the dehumidifier before transporting.
4
BDH-450 / 550
BOX CONTENTS
PARTS
5
Handles
Caster wheels
Control panel
Hose protector
Filter grille
Filter
Electrical plug
Drainage hose
Storage hooks
Rubber drain plug
Manual drain hose outlet
User manual Dehumidifier Auto-pump
drainage hose Hose clamp

6
MANUAL DRAINING
1. Take out the rubber stopper on the manual drain hose outlet.
2. Position the manual drain outlet directly above a floor drain if possible. If not, use a 1/2-inch diameter hose to drain into a place lower than the unit.
Installing 1/2-inch diameter hose:
If there is a steel or plastic tip on you 1/2-inch diameter hose, it should be removed.
1. Put a 11/16-inch diameter hose clamp over the hose
2. Then, push the hose over the manual drain outlet.
3. Push the clamp over the outlet to secure the hose
4. Put the draining end of the hose over a drain or suitable place for water to empty.
Note: Manual drain hose and 11/16-inch hose clamp not included.
1. 2. 3. A B C
4.
1. 2. 3. A B C
4.
AUTO-PUMP SYSTEM
1. Put the hose clamp over the end of the auto-pump drainage hose by squeezing the 2
tabs of the clamp together, this will open the clamp to slide onto the hose.
2. Push the drainage hose over the auto-pump drainage outlet.
3. Push the hose clamp over the outlet to secure the hose.
4. Put the draining end of the hose over any suitable area where water can be emptied:
a sink, drain or window. Be sure the water flows away from the building or any other
objects that could be damaged.
Note: The draining hose must not be put more than 10 feet above the floor on which the
unit is standing.
1. 2. 3. 4.
SET-UP

BDH-450 / 550
OPERATION
Control Panel
7
POWER CONTROL BUTTON
The power control turns the unit on and off. When you press the control, the unit begins to operate and the light will illuminate.
SET HUMIDITY
The set humidity function will allow you to set the desired level of humidity you would like for the room. To set it, press the Set Humidity button and the use the “+” or “-” button to set the percentage.
The unit will turn on automatically when the room humidity is higher than the selected humidity. For the best results, the humidity level should be reduced gradually. Start at eh highest setting. Reduce
it by 5% until the compressor turns on. Allow the unit to run until it maintains this level of humidity then continue to reduce it gradually until it is between 30% and 50% depending on your level of
comfort.
After the setting the desired humidity, the unit will run automatically, maintaining the desired humidity.
The Relative Humidity may be set from RH 30% to RH 80%. The operational temperature for this unit is between 40 °F and 90 °F. If the temperature of the room falls below 40 °F, the unit will stop.
This function protects the compressor, and is normal.
FAN SPEED
HUMIDITY LEVEL
POWER
HIGH
LOW
DEFROST
WATER
FAN SPEED
HUMIDITY LEVEL
POWER
HIGH
LOW
MEDIUM
DEFROST
WATER
BDH-450 BDH-550

PUMP
Heavy-duty pump system on this unit will activate automatically.
FAN SPEED
Press to Speed button to select fan speed “HIGH” or “LOW”. BDH-550 offers a “MEDIUM” fan speed.
DEFROST LIGHT
If ice forms on the internal coils, the defrost light will come on. The dehumidifier will automatically go into “Auto Defrost” mode. The defrosting light remains on until defrosting is
completed. Once the defrosting process is finished, the unit will continue to remove humidity in the room.
WATER LIGHT
If for any reason the water is restricted from exiting the unit, the water light will be lit. Review the troubleshooting section of this manual for possible solutions.
8

BDH-450 / 550
9
MAINTENANCE
Warning: Always unplug the unit from the wall outlet before cleaning!
If the filter is dirty, air circulation is compromised and the efficiency of the dehumidifier decreases.
We recommend cleaning the filter approximately everything 3 months, or when conditions make it necessary.
This unit is equipped with a washable filter. Follow the instructions below to remove and clean it.
Cleaning the Air Filter
1. On the back of the unit, remove the filter grille by gently pulling the handle towards yourself. Then pull out the filter.
2. If the filter is very dirty, wash in warm water. You can also gently use a vacuum cleaner to remove the dust that has collected.
3. Allow filter to dry completely, then insert back into the back of the dehumidifier.
4. Slide the filter grille back onto the back of the unit.
Storage
The dehumidifier should be drained before long term storage.
1. Turn off and unplug the dehumidifier.
2. Drain any remaining water in the unit through the manual drain outlet. ( see manual draining section for details)
3. Wrap the hose and/ or plug around the storage hooks on the back of the unit.

10
TROUBLESHOOTING
Trouble Cause Solution
The unit does not work.
1. No power supply.
2. Unit is not turned on.
3. Humidity is set higher than the room humidity.
4. The power was shut off and automatically turned back on.
1. Plug power cord firmly into outlet and check fuse for that room.
2. Turn the unit on.
3. Set the humidity level on a lower percentage.
4. If a unit was turned off and turned on automatically the
compressor will take 5 minutes to start.
Water light is lit. 1. There is blockage of the flow of water in the unit. 1. Check the hose for crimps or blockage.
2. Make sure the height of the hose is below 10ft.
The air in the room is still humid.
1. Air filter is dirty and or blocked.
2. The room temperature is below 40 °F.
3. Poor air circulation or obstructions.
4. Humidity is set higher than the room humidity.
1. Clean the filter.
2. Raise the room temperature.
3. Improve the airflow by moving unit away from anything that
obstructs the airflow.
4. Set the humidity percentage to a lower percentage.
Relative humidity setting not being reached after
a long period of operation.
1. There are windows or doors opened.
2. Area is to large for the capacity of the dehumidifier.
1. Check to see the windows and doors are closed.
2. Change the location of the dehumidifier with-in room.
Defrost light is on. 1. The temperature in the room is below 40 °F.
2. Air filter is dirty.
1. Raise the room temperature above 40 °F.
2. Remove and clean the air filter.

BDH-450 / 550
11
SPECIFICATIONS
“Electrical waste products should not be disposed of with household waste.
Please recycle where facilities exist. Check with your local authority or retailer for recycling advice."
Description of product Bucketless Dehumidifier
Model BDH-450 BDH-550
Power Supply AC120V/ 60Hz AC120V/ 60Hz
Dehumidifying capacity (Pints / Day) 45 Pints / 21.3 Liters 55 Pints / 26 Liters
Power Consumption (W) 550
Variable Fan Speeds 2 3
Unit Dimensions 21.3 x 12.6 x 15 (inch) / 541 x 320 x 381 (mm)
Unit Weight 39.7 (lbs) / 18 (kg)

FULL ONE YEAR WARRANTY
Royal Sovereign warrants each Dehumidifier to be free from defects in material and workmanship. Our obligation under this warranty is limited to the repair or
replacement, free of charge, when delivered to an authorized Royal Sovereign service center, of any defective part(s) thereof, other than parts damaged in transit. This warranty is
in effect to the original purchaser, for a period of one year from the date of purchase and is not transferable. This warranty shall apply only if the dehumidifier is used on
Alternating Current (AC) circuit, in accordance with the factory provided instructions which accompany it.
LIMITED FIVE YEAR WARRANTY (COMPRESSOR)
For a period of five years from the date of purchase, when this Royal Sovereign Dehumidifier is operated and maintained according to the instruction manual provided
with the product, Royal Sovereign will supply a replacement compressor (parts only), free of charge, if the original compressor is determined to be defective in workmanship or
material. If repair becomes necessary, please contact our customer service center. You will be responsible for all freight, insurance, and any other transportation charges to get the
unit to our factory or service center. If shipping is required, be sure to pack the unit properly to avoid shipping damages, as we will not be responsible for such damages.
EXCLUSIONS
This warranty excludes and does not cover defects, malfunctions or failures of your Royal Sovereign Dehumidifiers, caused by repairs by unauthorized persons or service
centers, mishandling, improper installation, modification or unreasonable use including incorrect voltage, acts of God, or failure to provide reasonable and necessary maintenance.
This warranty is in lieu of any and all expressed warranties. In no event shall Royal Sovereign be liable for consequential or incidental damages. This limitation would not apply if you
live in a location that does not permit the exclusion of limitation of incidental or consequential damages. This warranty gives you specific legal rights and you may also have other
rights which vary from state to state.
12
ROYAL SOVEREIGN INTERNATIONAL, INC.
2 Volvo Drive Rockleigh, NJ 07647 USA
TEL : +1) 800-397-1025
FAX : +1) 201-750-1022
RS CANADA INC.
1025 Westport Crescent, Mississauga On L5T 1E8 CANADA
TEL: +1) 905-461-1095 TF: +1) 866 961-6673
FAX: +1) 905-461-1096

Royal Sovereign International Inc.
DÉSHUMIDIFICATEUR SANS RÉSERVOIR
Veuillez lire et conserver ces instructions pour référence future.
Pour toute question liée au soutien à la clientèle, veuillez choisir
l'onglet « support » sur le site
www.royalsovereign.com
BDH-450 / 550
GUIDE DE L'UTILISATEUR
DÉSHUMIDIFICATEUR SANS RÉSERVOIR BDH-450 / 550

DÉSHUMIDIFICATEUR SANS RÉSERVOIR
Modèles BDH-450 / BDH-550
INTRODUCTION
Merci de faire confiance à Royal Sovereign pour procurer à vous et à votre famille des solutions pour le confort de l'air de votre maison, votre
appartement ou votre bureau. Ce déshumidificateur s'installe en quelques minutes et, s'il est correctement entretenu, vous procurera plusieurs
années de fonctionnement sans souci.
Le présent manuel vous fournira des renseignements inestimables et nécessaires pour bien entretenir votre nouvel appareil. Veuillez prendre
quelques instants pour lire soigneusement les instructions.
Pourquoi déshumidifier?
L'humidité dans l'air peut favoriser la création de moisissures qui causent les odeurs de moisi.
Les déshumidificateurs extraient l'humidité de l'air pour le rendre plus sain à respirer et protéger des dommages à l'ameublement d'une pièce.

Page
Utilisation générale 16
Consignes de sécurité pour l'utilisation 16
Contenu de la boîte et pièces 17
Installation 18
Fonctionnement. 19~20
Entretien 21
Dépannage 22
Caractéristiques 23
Garantie 24
Coordonnées 24
CONTENU

UTILISATION GÉNÉRALE
1. Après avoir retiré le déshumidificateur de l'emballage, attendez deux heures avant de l'utiliser. Il convient de faire preuve de bon sens et de prudence lorsque vous installez,
utilisez et entretenez un appareil.
2. Cet appareil ne doit être utilisé que par des adultes. Ne permettez pas à des enfants de jouer avec cet appareil. Ne laissez pas les enfants sans surveillance dans l'endroit où cet
appareil est utilisé. Ne leur permettez pas de s'asseoir ni de se tenir debout sur l'appareil.
3. Cet appareil est conçu pour déshumidifier l'air des superficies habitables et ne doit pas être utilisé à d'autres fins. Pour une meilleure efficacité, il doit être utilisé dans un endroit
fermé.
Fermez toutes les portes, les fenêtres et les ouvertures vers l'extérieur de la pièce pour obtenir l'efficacité maximale.
4. N'utilisez pas l'appareil à l'extérieur.
5. Retirez toujours la fiche de la prise avant d'effectuer l'entretien du déshumidificateur ou lorsque ce dernier ne sera pas utilisé pendant une période prolongée.
6. Ne placez jamais d'objets lourds ou chauds sur le déshumidificateur.
CONSIGNES DE SÉCURITÉ POUR L'UTILISATION
1. L'essence, l'huile, le soufre et les autres liquides ou vapeurs inflammables ne doivent ni être conservés ni utilisés à proximité de cet appareil ou de tout autre appareil. N'installez
pas l'appareil à proximité d'une source de chaleur.
2. L'appareil ne doit être modifié d'aucune façon. Toute modification peut être extrêmement dangereuse.
3. Ne faites pas fonctionner un appareil dont le cordon ou la fiche sont endommagés ni un appareil qui a mal fonctionné ou été endommagé de quelque façon.
4. L'utilisation d'accessoires n'est pas recommandée par le fabricant de l'appareil. Ceci pourrait causer des blessures.
5. Pour votre sécurité et votre protection, le cordon d'alimentation de ce déshumidificateur est muni d'une fiche à trois lames.
Ne coupez ni n'enlevez jamais, dans aucune circonstance, la broche arrondie de mise à la terre de cette fiche.
6. Votre déshumidificateur doit être branché directement dans une prise mise à la terre polarisée à trois fentes.
Si vous ne pouvez pas insérer une fiche à trois lames dans la prise murale, ou si vous n'êtes pas certain si la prise est adéquatement mise à la terre ou protégée par un circuit
ou un fusible temporisés, faites installer une prise adéquate par un électricien compétent. N'utilisez pas de rallonge ni de fiche de raccord.
7. Ne débranchez jamais le déshumidificateur en tirant sur le cordon d'alimentation. Tenez toujours la fiche solidement et retirez-la de la prise à l'horizontale. Ne pincez pas, ne
pliez pas et ne nouez pas le cordon d'alimentation.
8. L'appareil doit demeurer à la verticale lors du transport. N'oubliez pas de vider le déshumidificateur avant de le transporter.
16

BDH-450 / 550
17
CONTENU DE LA BOÎTE
PIÈCES
Poignées
Roulettes
Panneau de commande
Protège-tuyau
Grille du filtre
Filtre
Fiche électrique
Tuyau de drainage
Crochets de rangement
Bouchon de drainage en caoutchouc
Orifice d’évacuation du
tuyau de drainage manuel
Manuel de l’utilisateur Déshumidificateur Tuyau de drainage
d’autopompage Bride de tuyau

18
DRAINAGE MANUEL
1. Retirez l'obturateur en caoutchouc de l'orifice d'évacuation
du tuyau de drainage.
2. Positionnez le raccord de drainage manuel directement au-dessus d'un drain de
sol, si possible. Sinon, raccordez un tuyau de ½ po de diamètre pour l'évacuation
vers une zone plus basse que l'appareil.
Installation d'un tuyau de ½ po de diamètre :
Si votre tuyau de ½ po de diamètre comporte un embout en plastique ou en métal, retirez l'embout.
1. Installez une bride de serrage de 11/16 po de diamètre sur le tuyau
2. Ensuite, poussez le tuyau par-dessus le raccord de drainage manuel.
3. Poussez la bride par-dessus le raccord pour fixer le tuyau
4. Placez l'extrémité d'évacuation du tuyau dans un drain ou à un endroit approprié
à l'évacuation d'eau
Remarque: Le tuyau de drainage et la bride de serrage de 11/16 ne sont pas inclus.
1. 2. 3. A B C
4.
1. 2. 3. A B C
4.
SYSTÈME D'AUTOPOMPAGE
1. Placez la bride de serrage par-dessus l'extrémité du tuyau de drainage
d'autopompage en serrant l'une contre l'autre les deux languettes de la bride dans le
but d'ouvrir la bride afin de glisser cette dernière sur le tuyau.
2. Poussez le tuyau de drainage par-dessus le raccord de drainage d'autopompage.
3. Poussez la bride de serrage par-dessus le raccord pour fixer le tuyau.
4. Placez l'extrémité de drainage du tuyau à un endroit où l'eau peut être évacuée : évier,
drain ou fenêtre. Veillez à ce que l'eau s'écarte de la bâtisse ou de tout autre objet qui
peut être endommagé.
Remarque: Le tuyau de drainage ne peut être situé à plus de 3 mètres (10 pi)
au-dessus du sol portant l'appareil.
1. 2. 3. 4.
INSTALLATION

BDH-450 / 550
FONCTIONNEMENT
Panneau de commande
19
TOUCHE POWER CONTROL (ALIMENTATION)
La touche Power Control (commande de l'alimentation) permet de mettre en marche et d'éteindre l'appareil. Lorsque vous appuyez sur cette touche, l'appareil commence à fonctionner et le voyant
s'allume.
SET HUMIDITY (RÉGLAGE DE L'HUMIDITÉ)
La fonction Set Humidity (réglage de l'humidité) vous permet de choisir le taux d'humidité souhaité pour la pièce. Appuyez sur la touche Set Humidity (réglage de l'humidité) et utilisez les touches +
et - pour régler le pourcentage.
L'appareil se met en marche automatiquement lorsque le taux d'humidité de la pièce est supérieur à celui sélectionné.
Pour obtenir de meilleurs résultats, le taux d'humidité doit être réduit graduellement. Commencez par le taux le plus élevé. Réduisez-le de 5 %, jusqu'à ce que le compresseur se mette en marche.
Laissez l'appareil fonctionner à ce taux jusqu'à ce qu'il soit maintenu, puis continuez de réduire graduellement le taux d'humidité jusqu'à l'atteinte d'un taux variant entre 30 et 50 %, selon votre
niveau de confort.
Après le réglage du taux d'humidité souhaité, l'appareil se mettra en marche automatiquement pour maintenir le taux d'humidité choisi.
L'humidité relative peut être réglée de H.R. 30 % à H.R. 80 %. La température de fonctionnement de cet appareil se situe entre 4,4 °C (40 °F) et 35 °C (95 °F). Si la température de la pièce
descend à moins de 4,4 °C (40 °F), l'appareil s'arrêtera. Cette fonction protège le compresseur et elle est normale.
REMARQUE: Le taux d'humidité choisi peut varier de + ou - 5 %.
BDH-450 BDH-550
FAN SPEED
HUMIDITY LEVEL
POWER
HIGH
LOW
DEFROST
WATER
FAN SPEED
HUMIDITY LEVEL
POWER
HIGH
LOW
MEDIUM
DEFROST
WATER

PUMP (POMPE)
Le système de pompe à usage intensif sur cet appareil s’activera automatiquement.
FAN SPEED (VITESSE DU VENTILATEUR)
Appuyez sur la touche Speed (vitesse) pour choisir la vitesse « HIGH » (élevée) ou « LOW » (faible) du ventilateur. Le modèle BDH-550 offre une vitesse de ventilateur « MOYENNE ».
VOYANT DEFROST (DÉGIVRAGE)
Si de la glace se forme sur les serpentins intérieurs, le voyant Deforst (dégivrage) s'illumine. Le déshumidificateur passe automatiquement au mode « autodégivrage ». Le voyant
Defrost (dégivrage) reste illuminé jusqu'à la fin du dégivrage. Lorsque le processus de dégivrage est terminé, l'appareil continue de retirer l'humidité de la pièce.
VOYANT WATER (EAU)
Si, pour toute raison, l'eau ne peut pas sortir de l'appareil, le voyant Water (eau) de l'eau s'illumine. Reportez-vous à la section de dépannage de ce guide pour des solutions
possibles.
20
Other manuals for BDH-450
1
This manual suits for next models
1
Table of contents
Languages:
Other Royal Sovereign Dehumidifier manuals

Royal Sovereign
Royal Sovereign RDH-130 User manual

Royal Sovereign
Royal Sovereign BDH-550 User manual

Royal Sovereign
Royal Sovereign RDHC-110 User manual

Royal Sovereign
Royal Sovereign RDH-330 User manual

Royal Sovereign
Royal Sovereign RDH-M050 User manual

Royal Sovereign
Royal Sovereign BDH-550 User manual

Royal Sovereign
Royal Sovereign RDH-045EA User manual

Royal Sovereign
Royal Sovereign RDH-M050 User manual

Royal Sovereign
Royal Sovereign RDH-230 User manual

Royal Sovereign
Royal Sovereign BDH-450 User manual