Oth
er
Fu
nctions
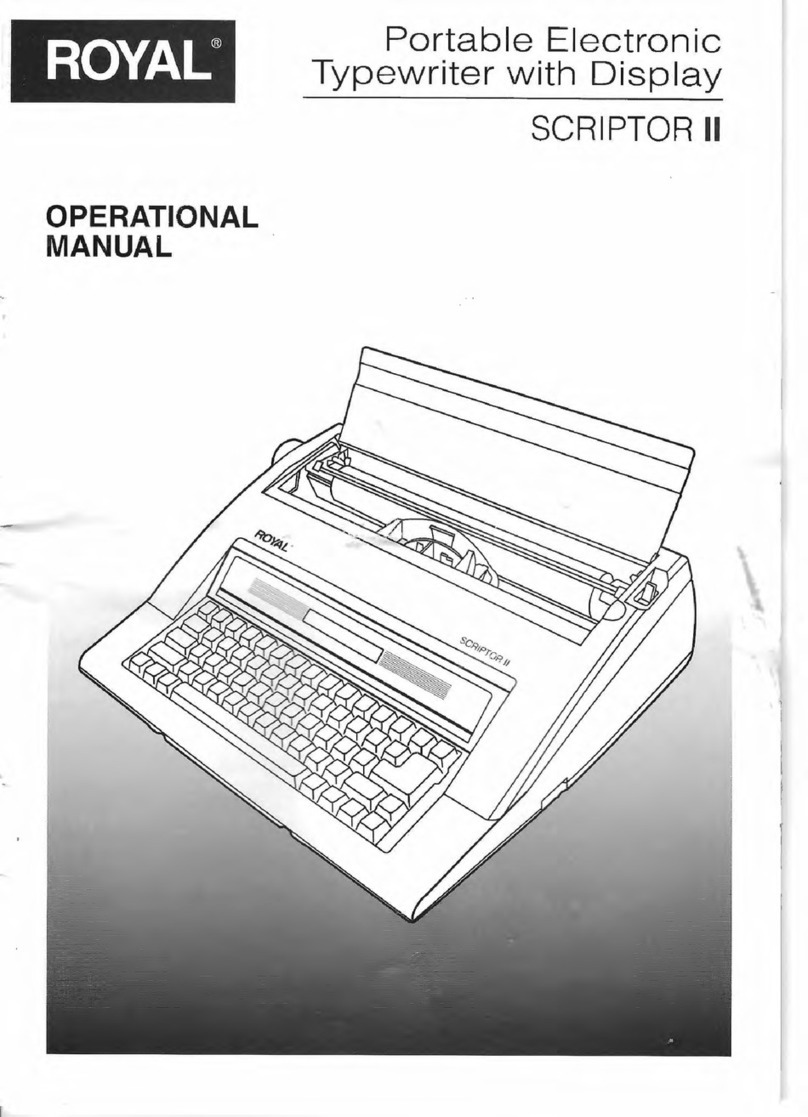
The Scripter
II
is a full function typewriter with many advanced feature
s.
By using the CODE
key,
yo
u
ca
n activate the fu
ll
power of the
un
it.
A
co
mplete list of features and usage are available
in
your OPERATION MANUAL.
We
invite your to take a moment
to
read your
manual to take full advange of
al
l these features.
Ribbon
Cassette Replacement Card
Holder
Printwheel
The Scripter
II
is
eq
ui
pp
ed
wi
th
a high
yield bl
ac
k
co
rr
ectable
typewriter r
ibbo
n
cassette. Replacement
part nu
mb
er is 013045.
Tu
rn the
typ
e
wr
iter
OFF
. Open the top cover and
gently
gr
asp the
ri
bbon
cassett
e.
Lift up and forward
to remove the ri
bbo
n cassette.
Take
the new ribbon
and remove the plastic shipping brake. Tu
rn
the Ribbon
Take-Up Knob counter clockwi
se
to remove
any
slack
in
the ribbon. Insert the two projections on the rear ofthe
ri
bbon cassette
in
to the
two
ho
les in the ribbon cassette
h
older.
Ca
refu
ll
y lower the front portion ofthe cassette so
thatthe ribbon is located between the card holder
and t
he
printwheel. Press on the locations marked
(
A)
unt
il
the ribbon cassette snaps into place.
Turn
the
Ribbon
Ta
ke-Up Knob counter clockwise unt
il
th
ere
is
no slackin the ribbo
n.
Close t
he
top cover and turn
ON the typewriter.
Corre
c
ti
on
Tape
Rep
lac
em
ent
Th
e Scripter II is
equi
pped
with a lift-off
tape to erase and
---"'
corr
ect
mistakes. The
take-up spool is the one
with the kn
ob
and is
mount
ed
on the left
sp
indle of the printhead.
Replacement part
number is 013025.
Take-up
Spindle Supply
Spindle
a a
Tu
rn the typewriter
OFF
. Open the top cover and
remove the
ri
bbon cassete. Using both hands,
grasp both spools of the correction tape and pull
away from the printer head.
Un
pack
the correction t
ape
and hold the two
spools in each hand. Insert the tape behind the
co
rr
ection tape g
ui
de
and the printwheel as shown
above. Make su
re
that the powder
ed
side of the
co
rr
ect
i
on
tape is facing the card holder.
Take-up
Spindle Supply
Spindle Card Holder
Mount the spool holdi
ng
the bulk of the
co
rrection tape
onto the spindle on the right side. Mo
un
t the left spool
(with the knob) onto the left spindl
e.
Turn the left spool to the left and wind
up
the
co
lor
ed
portion of the tape. Make s
ur
e that the correcti
on
tape
passes behind
bo
th the left and right tape guides.
Replace the ri
bbo
n cassette and close the top cover.
Turn
ON
the typewriter.
Printwheel
Replacement
The Script
er
II comes with
a Prestige Pi
ca
10
printwheel. Replacement
part number is 013064.
Other typefaces and
sizes are available. For a
fu
ll
list cont
ac
t ROYAL
Supplies.
~,-
n •
Printwheel Release
Lever
Print Head
Turn the typewriter OFF.
Ope
n the top cover
and remove the ribbon cassete. Pull the
printwheel's Set and Release Lever backto
unlock the p
ri
ntwheel. Gently grasp the
edge
of the printwheel and lift it away from the print
head.
Tr
o
ubl
e
Sh
oo
t
ing
&
Cu
stomer
Su
pp
ort
Print
Head
~--
Card
Holder
~~'
lln~
Printwheel Release
Lever
Gently grasp the ed
ge
of
t
he
printwheel and carefully lower
it between the card hol
de
r and the print head. Be sure that
the characters face away from you.
Press the printwheel's
Se
t/Reset Lever forward until it snaps
into place. Turn
th
e typew
ri
ter ON. The printwheel will
reset itself. Once it stops, replace the ribbon cassette and
close the t
op
cover.
If the typewriter fails tofunction or does notfunction properly,
check
the
fo
ll
owing: 1. Isthe typewriter plugged into a live
11
0v outlet? 2. Is
the typewriter switched on? 3. Is the printwheel properly
in
stalled? 4. Are the
ri
bb
on cassette and
th
e correction tape properly
in
stalled?
5. Does the
ri
bbon cassete
or
the correction tape need replacing? 6. Are the
ca
rri
er
sto
pp
er or ribbon st
oppe
r pieces removed?
If the typewriter still does notwork properly after
chec
king the above, contact Customer Support
at
1-800-272-6229.
If your retailer does not have the supplies you need, contact ROYAL Supplies
at
1-888-261-4555
or
www.royalsupplies.com.
