rtd GPS6185HR User manual

BDM-610020042
Rev. A
GPS6185HR User's Manual
Global Satellite Positioning PC/104 Module

Page 2 of 32
GPS6185HR User's Manual
RTD EMBEDDED TECHNOLOGIES, INC.
103 Innovation Blvd
State College, PA 16803-0906
Phone: +1-814-234-8087
FAX: +1-814-234-5218
E-mail
techsupport@rtd.com
Web Site
http://www.rtd.com

Page 3 of 32
Manual Revision History
Rev A New manual
Published by:
RTD Embedded Technologies, Inc.
103 Innovation Boulevard
State College, PA 16803
Copyright 2005 by RTD Embedded Technologies, Inc.
All rights reserved
The RTD Embedded Technologies Logo is a registered trademark of RTD Embedded
Technologies. dspModule, cpuModule, and utilityModule are trademarks of RTD Embedded
Technologies. PC/104, PC/104-Plus, and PCI-104 are registered trademarks of the PC/104
Consortium. All other trademarks appearing in this document are the property of their respective
owners.

Page 4 of 32
Table of Contents
Introduction...................................................................................................................................... 7
Product Overview......................................................................................................................... 7
Board Features ............................................................................................................................ 7
GPS6185HR Features.......................................................................................................... 7
GPS Receiver....................................................................................................................... 7
I/O Interfaces................................................................................................................................ 8
16C550 Compatible UARTs ................................................................................................. 8
Connector Description.......................................................................................................... 8
Available Options......................................................................................................................... 8
Getting Technical Support ........................................................................................................... 8
Board Connections........................................................................................................................ 10
Connector and Jumper Locations.............................................................................................. 10
External I/O Connections........................................................................................................... 10
CN7 – GPS Receiver Connector (to GPS module)................................................................ 11
CN5 – GPS Utility Connector................................................................................................. 12
CN6 – Serial Connector ......................................................................................................... 13
Jumpers ..................................................................................................................................... 13
GPS or COM Base Address Jumpers (Default: GPS = 3E8h, COM = 2E8h)....................... 15
IRQ Jumpers (Default: GPS IRQ 5 closed, G Jumper closed)......................................... 17
(Default: COM IRQ 10 closed, G Jumper closed)................................................................. 17
Reserved IRQs ...................................................................................................................17
The G Jumper..................................................................................................................... 18
RS-422/485 Termination for CN6 (Default: JP3 open) .......................................................... 18
JP3 Jumper – Default Open ............................................................................................... 18
GPS Configuration (Default: JP8 1-2 = closed, JP8 3-4 closed) .......................................... 18
JP8 1-2 Jumper – Default Closed....................................................................................... 18
JP8 3-4 Jumper – Default Closed....................................................................................... 19
DIO Pullup/Pulldown Configuration (Default: JP1 & JP2 2-3 = closed)................................ 19
JP1 Jumper – Default 2-3................................................................................................... 19

Page 5 of 32
JP2 Jumper – Default 2-3................................................................................................... 19
Active Antenna Supply...........................................................................................................19
Board Installation........................................................................................................................... 20
Installing the Hardware.............................................................................................................. 20
Static Precautions .................................................................................................................. 20
Steps for Installing.................................................................................................................. 20
Configuring Software ................................................................................................................. 20
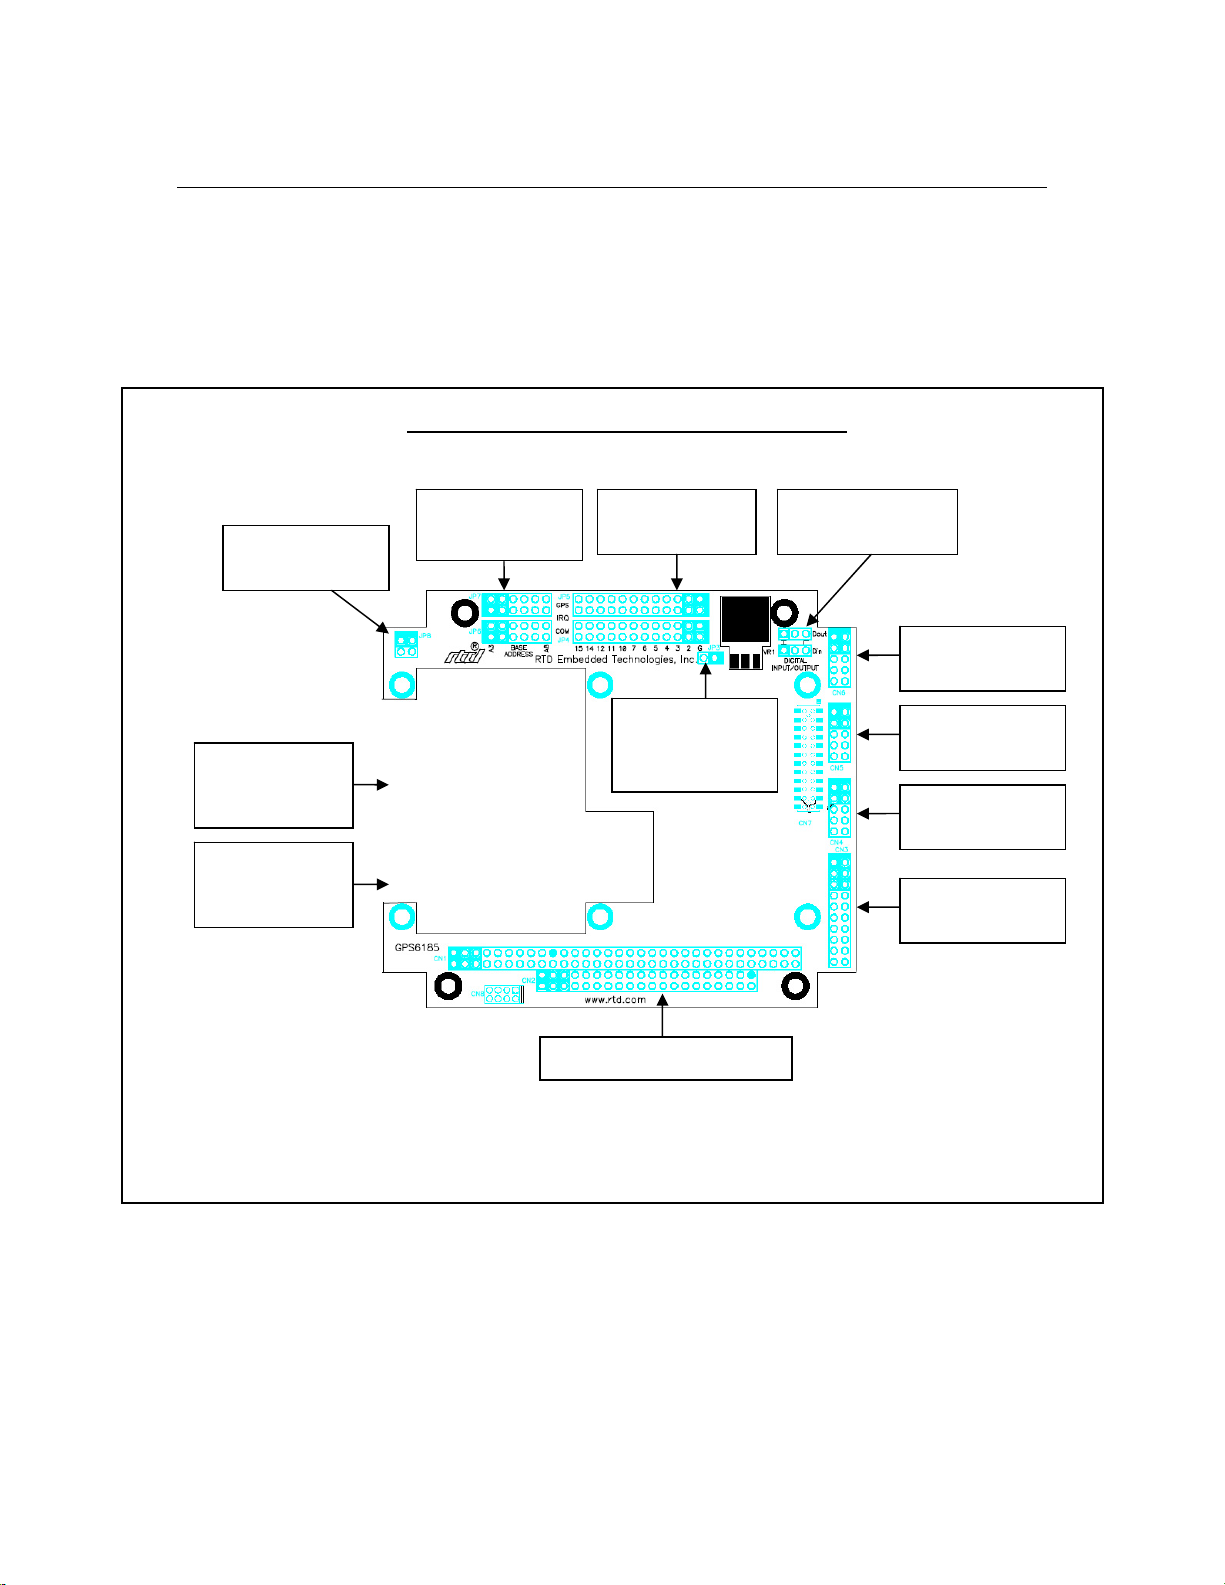
Hardware Description.................................................................................................................... 22
Overview.................................................................................................................................... 22
Block Diagram............................................................................................................................ 22
The NovAtel GPS Receiver Modules......................................................................................... 23
Antenna...................................................................................................................................... 23
UARTs........................................................................................................................................ 23
USB............................................................................................................................................ 23
Pulse Outputs............................................................................................................................. 24
1 pulse/sec output and LED................................................................................................... 24
Software Programming.................................................................................................................. 25
Device I/O Map .......................................................................................................................... 25
GPS6185 Control/Status............................................................................................................ 25
GPS6185 Digital I/O................................................................................................................... 26
GPS6185 RTD ID ...................................................................................................................... 27
Interrupts.................................................................................................................................... 28
GPS6185HR Specifications........................................................................................................... 29
GPS Receiver Specifications.....................................................................................................29
Physical Attributes.................................................................................................................. 29
Operational............................................................................................................................. 29
RF Signal Environment .......................................................................................................... 29
Environmental ........................................................................................................................ 29
UARTs........................................................................................................................................ 29
GPS6185HR Operating Conditions ........................................................................................... 30

Page 6 of 32
Additional Information.................................................................................................................... 31
NovAtel OEM4-G2L GPS Receiver ........................................................................................... 31
NMEA-0183 v2.01 Standard...................................................................................................... 31
Serial Port Programming............................................................................................................ 31
Interrupt Programming............................................................................................................... 31
GPS Antennas ........................................................................................................................... 31
Limited Warranty............................................................................................................................ 32

Page 7 of 32
Introduction
Product Overview
The GPS6185HR is designed to provide a global positioning system (GPS) for PC/104-based
systems. Included on the GPS6185HR is a NovAtel OEM4-G2L series GPS receiver. The
GPS6185HR has an onboard dual UART chip that permits communication with both serial ports
on the GPS receiver module over the PC/104 bus without using other serial ports in the PC/104
system. The GPS6185HR supports NAVMAN binary protocol and National Marine Electronics
Association (NMEA-0183) v2.01 messages.
Board Features
GPS6185HR Features
oTwo direct connections to onboard GPS receiver module
oChoice of GPS message formats
RTCA
RTCM
RTCMV3
CMR
NMEA
oPC/104 compliant
GPS Receiver
The OEM4-G2LTM is a parallel 24-channel, dual-frequency or 12-channel, single-frequency
receiver featuring a 60 mm x 100 mm form-factor and low power consumption. All OEM4-
G2L cards feature position output, real-time DGPS positioning, support for RTCA and
RTCM messages, two serial ports and a USB interface. The OEM4-G2L is configurable as
a rover or base station and is designed for embedded applications.
All OEM4 family receivers have the following features:
•24 channel “all-in-view” parallel tracking
•Pulse Aperture Correlator (PAC) technology
•Fast reacquisition
•Fully field-upgradeable firmware
•Low power consumption
•20 Hz raw data and position output rates
At a minimum, the following models are available for each receiver:
•L1 only
•L1/L2
•L1 plus RT-20
•L1/L2 plus RT-2
•L1 plus Satellite-Based Augmentation System (SBAS) support
•L1/L2 plus SBAS support
Those models with dual-frequency capabilities make the following possible:
•Longer baselines in differential positioning mode, due to the reduction errors
•Faster resolution of carrier-phase ambiguities when performing RTK
•Enhanced positioning precision due to the additional measurements

Page 8 of 32
I/O Interfaces
The GPS6185HR can be controlled and monitored by software through the two dedicated serial
ports of the module.
A utility I/O connector provides a connection to the onboard GPS 1 pulse/sec time mark as well
as programmable onboard timing signals. Two event inputs can be used to trigger position of
time logs.
16C550 Compatible UARTs
The GPS receiver module communicates through two dedicated UART channels allowing other
serial ports in the system to be free for the user. The 16C550 UART is recognized by all x86
operating systems, and does not require a special communication driver to receive data from the
GPS receiver. The base address and interrupt of the UART channel can be changed with
onboard jumpers. For information on how to install the jumpers, please refer to the “Board
Connections” chapter of this manual.
Connector Description
The GPS receiver antenna interface and external clock interface are female MMCX type
miniature coaxial connectors. Connect your antenna directly to the GPS6185HR antenna
connector, or use a short cable inside your enclosure to connect to a feed through connector to
allow connection of the antenna to the wall of your enclosure. The GPS module supplies up to
100 mA of 4.75 – 5.10 VDC for antenna LNA.
All other I/O connections to the GPS6185HR use 0.1” header type terminals.
Available Options
The GPS6185HR is available as a starter kit, bundled with an active antenna. It may also be
purchased as an IDAN module for integration into an RTD IDAN system.
The following is a summary of the different GPS6185 configurations:
Part Number Description
GPS6185HR GPS6185HR
SK-GPS6185HR GPS6185HR with an active antenna
IDAN-GPS6185HRS GPS6185HR mounted in an IDAN frame
IDAN-SK-GPS6185HRS GPS6185HR mounted in an IDAN frame with an active
antenna
For antenna specifications, please refer to the “Additional Information” chapter of this manual.
Getting Technical Support
If you are having problems with your system, please try the following troubleshooting steps:

Page 9 of 32
•Simplify the System – Remove modules one at a time from your system to see if there
is a specific module that is causing a problem.
•Swap Components – Try replacing parts in the system one-at-a-time with similar parts
to determine if a part is faulty or if a type of part is configured incorrectly.
If problems persist, or you have questions about configuring this product, obtain the base address
and IRQ settings of the GPS6185HR and other modules in the system. After you have this
information, contact RTD Embedded Technologies via the following methods:
Phone: +1-814-234-8087
E-Mail: techsupport@rtd.com
Be sure to check the RTD web site (http://www.rtd.com) frequently for product updates, including
newer versions of the board manual and application software.

Page 10 of 32
Board Connections
Connector and Jumper Locations
The following diagram shows the location of all connectors and jumpers on the GPS6185HR.
Future revisions of the GPS6185HR may have cosmetic differences. For a description of each
jumper and connector, refer to the following sections.
External I/O Connections
The following sections describe the external I/O connections of the GPS6185HR.
GPS6185HR Connector and Jumper Locations
PC/104 (ISA) Connector
Base Address
Jumpers IRQ Jumpers
and G Jumper
CN3
Digital I/O
JP8
Mode Select
GPS External
Clock Input
On Module
CN4
USB
CN5
GPS Utility
CN6
Serial Port
GPS Antenna
Input
On Module
JP1 & JP2 DIO
Pullup/Pulldown
JP3
RS-422/485
Termination
1-2
3-4

Page 11 of 32
CN7 – GPS Receiver Connector (to GPS module)
The GPS receiver module connects to the 2mm female socket connector. The table below shows
the pin connections of the GPS receiver interface to the GPS6185HR.
Pin Name Description
1 GND Ground
2 GND Ground
3 VARF Variable Frequency Out
4 PPS 1 Pulse Per Second
5 VCC +3.3V Supply
6 VCC +3.3V Supply
7 Event 2 Mark 2 Input
8 Event 1 Mark 1 Input
9 ERROR Fatal error when high
10 PV Valid GPS position when high
11 CTS2 COM 2 Clear to send
12 Reset Low output indicates GPS in reset
13 RTS2 COM 2 Request to send
14 RXD2 COM 2 Received data
15 CTS1 COM 1 Clear to send
16 TXD2 COM 2 Transmitted data
17 RTS1 COM 1 Request to send
18 RXD1 COM 1 Received data
19 Reserved Reserved
20 TXD1 COM 1 Transmitted data
21 USB D- USB data
22 USB D+ USB data
23 GND Ground
24 GND Ground

Page 12 of 32
CN5 – GPS Utility Connector
The GPS module has several discrete inputs and outputs that are accessed throuth CN5. The pin
connections are shown below.
Pin Name Description
1 PPS 1 Pulse Per Second Output
2 VARF Variable Frequency Output
3 Event 1 Mark 1 Input
4 Event 2 Mark 2 Input
5 Reset Low output indicates GPS in reset
6 Reserved Reserved, do not connect
7 PV High output indicates Valid GPS Position
8 ERROR High output indicates GPS Fatal Error
9 GND Ground
10 GND Ground

Page 13 of 32
CN6 – Serial Connector
GPS COM2 can be directed to either the on-board UART or this serial connector.
Pin RS-232 Name RS-232 Description RS-422 Name RS-422 Description
1 DCD Carrier Detect - Reserved
2 DSR Data Set Ready - Reserved
3 RxD Receive Data RxD- Receive Data (-)
4 RTS Request To Send TxD+ Transmit Data (+)
5 TxD Transmit Data TxD- Transmit Data (-)
6 CTS Clear To Send RxD+ Receive Data (+)
7 DTR Data Terminal Ready - Reserved
8 RI Ring Indicator - Reserved
9 GND Ground GND Ground
10 GND Ground GND Ground
Note on using RS-422 or RS-485 Mode
When using the serial port in RS-422 or RS-485 mode, the serial transmitters are enabled and
disabled under software control. The transmitters are enabled by manipulating the Request To
Send (RTS*) signal of the first serial port controller. This signal is controlled by writing bit 1 of the
Modem Control Register (MCR) as follows:
•If MCR bit 1 = 1, then RTS* = 0, and serial transmitters are disabled
•If MCR bit 1 = 0, then RTS* = 1, and serial transmitters are enabled
For more information on the serial port registers, including the MCR, please refer to a standard
PC-AT hardware reference for the 16550-type UART.

Page 14 of 32
CN4 – USB Connector
GPS can be connected to a CPU USB port. The NovAtel module will appear as three COM ports
to the system.
Pin Name Description
1 Vcc USB Power Input
(Does not power NovAtel Receiver)
2 n/c No connect
3 D- USB Data -
4 n/c No connect
5 D+ USB Data +
6 n/c No connect
7 GND No connect
8 GND No connect
9 Shield Shield
10 Shield Shield
Note on using RS-422 or RS-485 Mode
When using the serial port in RS-422 or RS-485 mode, the serial transmitters are enabled and
disabled under software control. The transmitters are enabled by manipulating the Request To
Send (RTS*) signal of the first serial port controller. This signal is controlled by writing bit 1 of the
Modem Control Register (MCR) as follows:
•If MCR bit 1 = 1, then RTS* = 0, and serial transmitters are disabled
•If MCR bit 1 = 0, then RTS* = 1, and serial transmitters are enabled
For more information on the serial port registers, including the MCR, please refer to a standard
PC-AT hardware reference for the 16550-type UART.

Page 15 of 32
Jumpers
The following sections describe the jumper configuration options available on the GPS6185HR.
For a reference that shows the location of each set of jumpers, refer to the diagram of the
GPS6185HR at the beginning of this chapter. The default factory jumper settings are listed in the
following table:
Jumper Description Default Factory Setting
GPS Base Address Jumpers Set to 3E8h (COM3:)
COM Base Address Jumpers Set to 2E8h (COM4:)
GPS IRQ Jumpers IRQ 5 and G jumper closed
COM IRQ Jumpers IRQ 10 and G jumper closed
GPS Configuration Jumper JP8 1-2 Closed, GPS COM2 to UART
GPS Configuration Jumper JP8 3-4 Closed, PC compatible baud clock
DIO Pullup/Pulldown JP1 and JP2 Pulldown
RS-422/485 Termination JP3 Open
GPS or COM Base Address Jumpers (Default: GPS = 3E8h, COM
= 2E8h)
The base address selection jumpers (A3 through A8) allow you to set the base address of the first
UART that connects to the GPS module COM1 and the second UART that connects to the GPS
COM2. Any software that accesses the board will do so through reads and writes to the I/O
address set by the jumpers. To function properly, the I/O address the software is expecting must
match the base address set by the jumpers.
As shown in the figure below, A3 is located at the left end of the jumper block, while A8 is located
at the right end:
The table on the following pages shows the possible base address settings for the GPS6185HR.
All base addresses are in hexadecimal. An ‘X’ indicates a closed jumper, while an empty cell
indicates an open jumper.
Jumpers
Base Address
(Hexadecimal) A8 A7 A6 A5 A4 A3
200
208 X
210 X
218 X X
220 X
228 X X
230 X X
238 X X X

Page 16 of 32
240 X
248 X X
250 X X
258 X X X
260 X X
268 X X X
270 X X X
278 X X X X
280 X
288 X X
290 X X
298 X X X
2A0 X X
2A8 X X X
2B0 X X X
2B8 X X X X
2C0 X X
2C8 X X X
2D0 X X X
2D8 X X X X
2E0 X X X
2E8 X X X X
2F0 X X X X
2F8 X X X X X
300 X
308 X X
310 X X
318 X X X
320 X X
328 X X X
330 X X X
338 X X X X
340 X X
348 X X X
350 X X X
358 X X X X
360 X X X
368 X X X X
370 X X X X
378 X X X X X
380 X X
388 X X X
390 X X X
398 X X X X
3A0 X X X
3A8 X X X X
3B0 X X X X
3B8 X X X X X
3C0 X X X
3C8 X X X X
3D0 X X X X
3D8 X X X X X
3E0 X X X X
3E8 X X X X X

Page 17 of 32
3F0 X X X X X
3F8 X X X X X X
By default, the GPS6185HR comes configured with a base address of 0x3E8 for the first UART
which connects to GPS COM1 and 0x2E8 for the second UARD that connects to GPS COM2.
When selecting a base address for the GPS6185HR, please observe the following guidelines:
•Every device in your PC/104 system must have a unique base address! When selecting
a base address for the GPS6185HR, make certain that it does not conflict with any other
devices.
•Base addresses 0x3F8 and 0x2F8 are typically used by serial ports COM1 and COM2,
respectively. If you wish to use one of those base addresses, you will need to disable
any conflicting serial port.
•Some operating systems expect UART devices to be located at the standard serial port
base addresses (0x3F8, 0x2F8, 0x3E8, and 0x2E8). Setting your GPS6185HR to one of
these addresses can make system setup and configuration easier.
IRQ Jumpers (Default: GPS IRQ 5 closed, G Jumper closed)
(Default: COM IRQ 10 closed, G Jumper closed)
The IRQ selection jumpers allow you to set the IRQ used by the serial port UART of the
GPS6185HR. The GPS6185HR can be configured for any one of the following IRQs: 2, 3, 4, 5,
6, 7, 10, 11, 12, 14, or 15. The IRQ can be set by closing the appropriately labeled jumper on the
board.
The IRQ jumpers are located next to base address jumpers, as shown in the diagram at the
beginning of this chapter.
Note: Typically IRQs can not be shared; although there are some special cases (see “The G
Jumper” later in this document). In general, the IRQ you select should not be used by
any other devices in your system.
Reserved IRQs
Some of the IRQ choices on the GPS6185HR may already be used by your CPU’s onboard
peripherals. Some commonly-used IRQs are:
•IRQ 2/9 is used by some VGA controllers.
•IRQ 3 or 4 may be set to a serial port in your system. You may need to disable a serial
port in your system prevent an IRQ conflict.

Page 18 of 32
•IRQ 5 or 7 may be used by the CPU’s parallel port. Check your CPU’s configuration to
avoid a conflict.
•IRQ 12 is used by the PS/2 mouse. To use this IRQ, you will need to remove the PS/2
mouse from the system. Some CPUs also require a BIOS setting to disable the PS/2
mouse controller.
•IRQ 14 is used by the primary IDE controller. To use this IRQ, you will need to disable
the primary IDE controller.
•IRQ 15 is used by the secondary IDE controller. To use this IRQ, you will need to disable
the secondary IDE controller.
The G Jumper
The GPS6185HR supports shared interrupts as defined by the PC/104 specification. This
sharing is accomplished via the G jumper, which is located adjacent to the IRQ jumpers. The G
jumper installs a 1K-ohm resistor to pull the signal to the low state, allowing an interrupt to drive
the signal high. To share interrupts, configure the devices for the same IRQ, and close the G
jumper on one (and only one) of the devices.
When using interrupt sharing, consider the following guidelines:
•An interrupt can only be shared if all devices on the IRQ support it. If you have two
sharing and one non-sharing device on the same IRQ, it will not work.
•To share interrupts, the system’s drivers and operating system must support it. The
Interrupt Service routines must be written to check all devices on an IRQ when the
interrupt is detected. Many popular operating systems do not support interrupt sharing
for ISA devices.
Note: If you are not sharing interrupts, make sure you leave the GPS6185HR’s G jumper
closed!
RS-422/485 Termination for CN6 (Default: JP3 open)
JP3 Jumper – Default Open
If JP3 is closed, the RS-422/485 serial port on CN6 is terminated with 120 ohms. This
should only be used in RS-422/485 mode. If jumper JP8 3-4 is open, then jumper JP3
must be open.
GPS Configuration (Default: JP8 1-2 = closed, JP8 3-4 closed)
The jumper block JP8 is used to configure the mode of operation of the GPS receiver
module. The location of jumper JP8 can also be found in the diagram at the beginning of
this chapter.
JP8 1-2 Jumper – Default Closed
Closed connects the GPS6185’s second UART to GPS COM2. Any logs send to GPS
COM2 can now be received by the PC on the second UART.

Page 19 of 32
Open connects the GPS COM2 to the serial connector CN6 for connection to external
devices.
JP8 3-4 Jumper – Default Closed
Closed selects normal baud clock. The UART clock for both UARTS is set to the PC
standard 1.8432 MHz. The highest baud rate possible is 115.2K baud.
Open selects high speed baud clock. This 14.7456 MHz UART clock will enable high
speed baud clocks. The highest baud rate possible is 921.6K baud. This jumper also
puts the serial port on CN6 into RS-422/485 mode. With this setting, baud rate divisors
will be 8 times larger for the same baud rate. For example, in normal mode 9600 baud
has a baud rate divisor of 12. In high speed mode 9600 baud has a baud rate divisor of
96.
DIO Pullup/Pulldown Configuration (Default: JP1 & JP2 2-3 =
closed)
JP1 Jumper – Default 2-3
2-3 closed selects a 10 Kohm pulldown on digital I/O DIO8 – DIO15. 1-2 closed selects a
10 Kohm pullup on digital I/O DIO9 – DIO16.
JP2 Jumper – Default 2-3
2-3 closed selects a 10 Kohm pulldown on digital I/O DIO1 – DIO8. 1-2 closed selects a
10 Kohm pullup on digital I/O DIO1 – DIO8.
Active Antenna Supply
The antenna connector supplies up to 100 ma of 4.75 - 5.10 volts for active GPS antennas.

Page 20 of 32
Board Installation
Installing the Hardware
The GPS6185HR can be installed into a PC/104 or PC/104-Plus stack. It can be located almost
anywhere in the stack, above or below the CPU.
Note: If the GPS6185HR is installed in a PC/104-Plus system, be sure to not break the chain of
PCI devices (such as stacking the GPS6185HR between two PC/104-Plus boards).
Static Precautions
Keep your board in its antistatic bag until you are ready to install it into your system! When
removing it from the bag, hold the board at the edges, and do not touch the components or
connectors. Handle the board in an antistatic environment, and use a grounded workbench for
testing and handling of your hardware.
Steps for Installing
1. Shut down the PC/104 system and unplug the power cord.
2. Ground yourself with an anti-static strap.
3. Set the Base Address and IRQ jumpers as described in the previous chapter.
4. Line up the pins of the GPS6185HR’s PC/104 connector with the PC/104 bus of the stack
and gently press the board onto the stack. The board should slide into the matching
PC/104 connector easily. Do not attempt to force the board, as this can lead to
bent/broken pins.
5. Attach the external antenna to the MMCX connector.
6. If any boards are to be stacked above the GPS6185HR, install them.
7. Attach any necessary cables to the PC/104 stack.
8. Re-connect the power cord and apply power to the stack.
9. If the system has a PCI bus, enter the BIOS setup and reserve the GPS6185HR’s IRQ as
a Legacy ISA resource.
10. Apply power to the system, and verify that all of the hardware is working properly. Once
power is applied, the GPS receiver will automatically initialize.
Configuring Software
The GPS6185HR uses a standard serial port UART for host communication. Therefore, you
must “install” a serial port under your host operating system for the GPS6185HR to be
recognized.
If the GPS6185HR was installed using a standard serial port base address (0x3F8, 0x2F8,
0x3E8, or 0x2E8), your operating system may detect the GPS6185HR’s UART automatically. If
Table of contents
Other rtd GPS manuals
Popular GPS manuals by other brands

Digistar
Digistar Moisture Tracker Getting started

US Fleet Tracking
US Fleet Tracking USFT NT-V3 install guide

Global Sat
Global Sat ER-506 Hardware data sheet and user manual

Ublox
Ublox MAX-7 Series Hardware Integration Manual

Global Sat
Global Sat TR-151 quick start guide

Global Sat
Global Sat GD-101 user manual