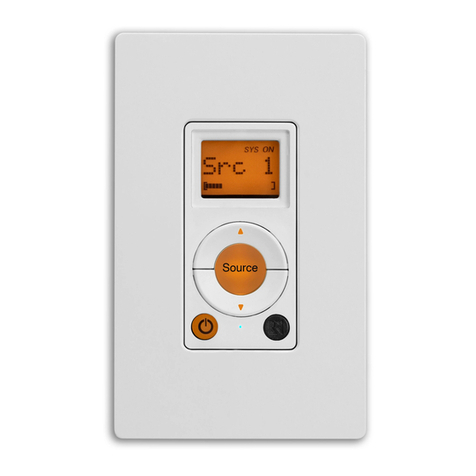
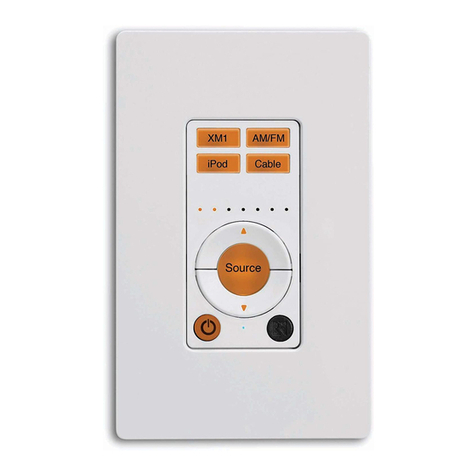
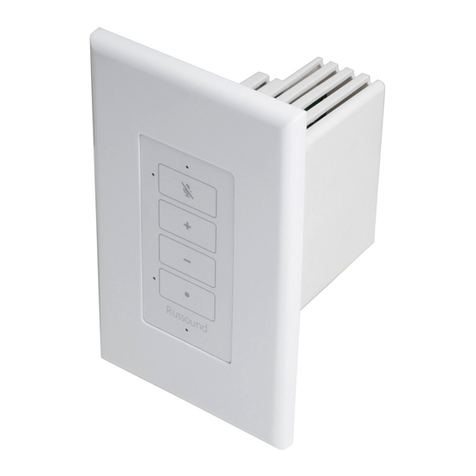
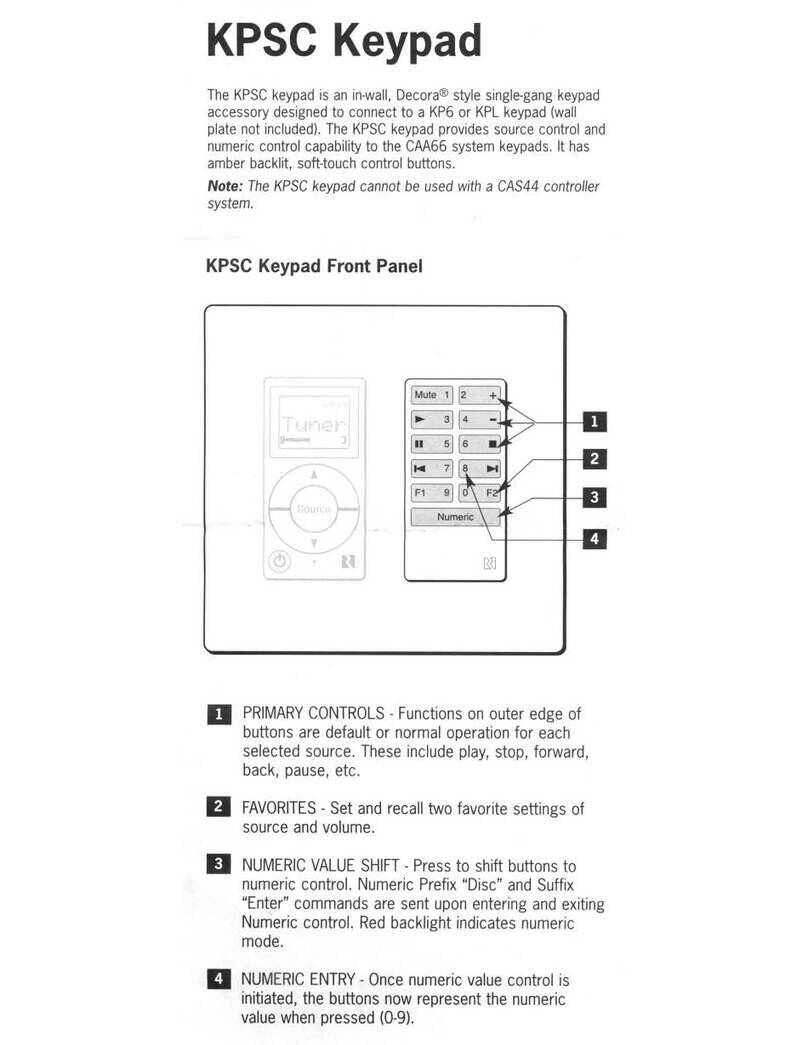
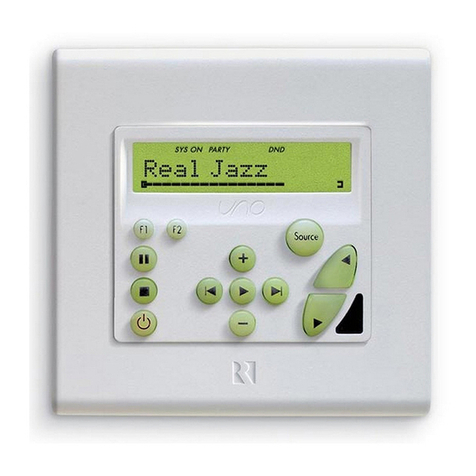
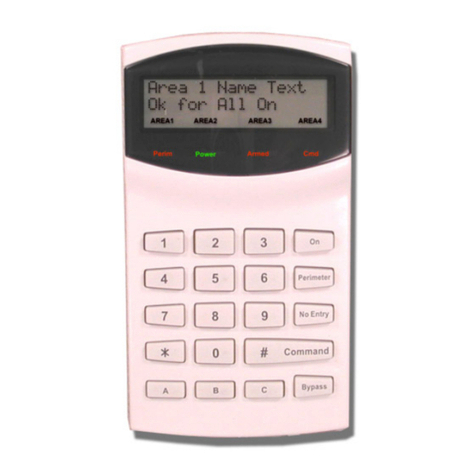
Model CA-LCD2
Digital Display Keypad
for CAi-Series System
Instruction Manual
INSTRUCTIONS FOR CONNECTING AND USING RUSSOUND®MODEL CA-LCD2. REFER TO THE DIAGRAMS INSIDE.
CA-LCD2 OVERVIEW
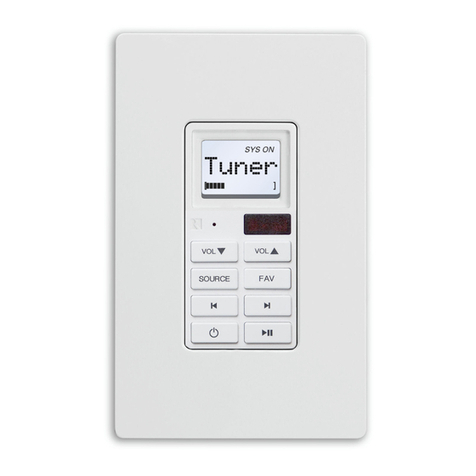
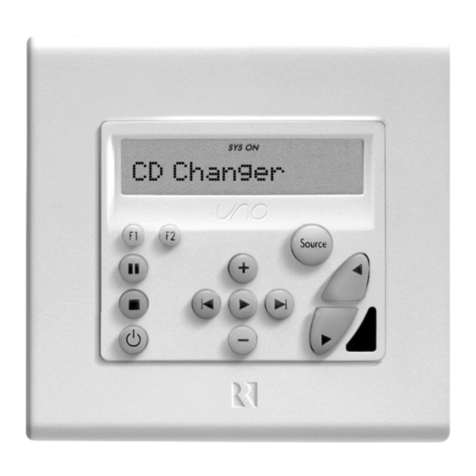
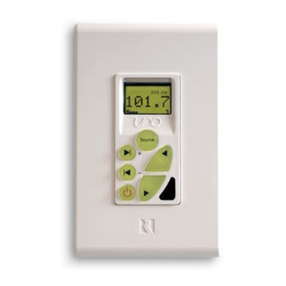
The CA-LCD2 keypad is an accessory to the CA6.4i and CA4.4i audio
distribution systems. The CA-LCD2 controls volume and source selec-
tion for the zone that it is in. The backlit LCD display shows the source
that is selected as well as the volume level. The backlight can be
selected between green and amber. Each of the four sources can be
designated by easily selecting one of the 23 source labels with a quick
selection from the front of the keypad. Volume, source selection, room
on/off and backlight operation can be operated from the CA-LCD2
remote. The IR receiver on the CA-LCD2 will also pass IR to operate
source components. A 12-VDC trigger output allows operation of 12
volt-triggered products like the Russound®SRM-2.1 speaker relay
module. The Russound®CA-LCD2 keypad is built with pride. Reliability
and quality are the primary objective. Russound®products are guaran-
teed to provide years of enjoyment.
CA-LCD2 FEATURES
1) Power On/Off, Volume Up/Down buttons
2) Selectable amber or green back lighting
3) Backlit LCD readout
4) Choose from custom list of source names
5) Built-in IR receiver
6) IR control of keypad via optional CA-LRC1 remote
7) IR control of source components in an CAi system that
uses IR Emitters
8) LED indicator for IR confirmation
9) Volume Trims for setting max. allowable level and L/R balance
10) Decora® faceplate
Do not install near any heat source such as radiators, heat reg-
isters, stoves or other apparatus (including amplifier) that pro-
duce heat. Only use attachments/accessories specified by the
manufacturer. Keep these instructions. Follow all instructions.
These service instructions are for use by qualified personnel
only. To reduce the risk of electric shock do not perform any
servicing other than that contained in the operating instruc-
tions unless you are qualified to do so.
a) Display: The LCD panel displays the source selected and the volume
level.
b) Source: The source button is pressed to select one of the four
sources to listen to. Press the source button until the desired
source is selected. The source will be displayed on the LCD display
panel.
c) Volume Up/Down: The UP/DOWN arrows for volume are used to
select the volume level and to select a different source name after
the store button is pressed. If the button is pressed and held the
volume will ramp up or down.
d) Lamp: The lamp button when pressed and released will turn on
and off the backlight lamp. The backlight color can be set to
amber or green by pressing and holding the button. The backlight
will change from one color to the other.
e) Store: The store function is used to select and store one of the 23
preset source names for each of the four sources. Select the source
name that you want to change by selecting source. Press and hold
the store button for approximately 3 seconds, and the display
begins to flash. Immediately press the UP/DOWN volume buttons
to select the different source names. After you have selected the
name, press the store button again.
f) Power: Turn on or off any zone by pressing the power button on
the front of the corresponding keypad. When the keypad comes
on, it will automatically select the source that was previously
selected and set the volume to minimum.
g) IR receiver: The IR receiver is used to receive commands from an IR
remote control. Remote controls used for the source equipment
will pass through to the main controller and on to the source
equipment. The IR receiver will receive IR signals from 38KHz to
60KHz. To control the functions of the CA-LCD2 keypad, use the
CA Remote control. The CA remote control will operate the lamp,
source selection, volume up/down and room on/off.
h) IR confirmation LED: This LED will flash to confirm the reception of
an IR signal from a remote control through the IR receiver.
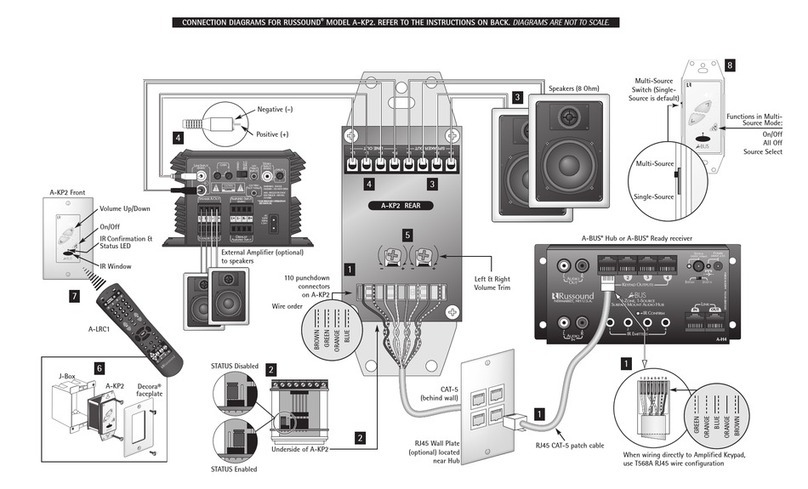
CAi System keypads are wired with CAT-5 wire. It is inexpensive
and color coded for ease of installation. Due to the qualities of
CAT-5 wire, when using it for keypad control wire with the CAi-
Series, it is recommended to use the color code (shown on
reverse) for maximum performance. NOTE: 250ft run of wire
maximum per keypad is recommended.
Before the keypad is installed into the j-box, turn on the power so
that you can operate the keypad. The amber and the green back
light brightness can be individually set. Note the brightness con-
trols are located on the side of the keypad. Adjust to the desired
brightness the backlight that first comes on. Press and hold the
lamp button on the front of the keypad until the backlight switch-
es to the other color. Adjust the brightness for the selected color.
Also the maximum volume and the balance can be set at this time.
• The best infrared remote performance is achieved with the key-
pad away from any direct sunlight. Also consider convenience
when choosing a location.
• Choose a place that is easily seen from the position where a
person is most likely to be located.
• Check whether or not you can route the wire to the location
you have chosen.
• Purchase retro-fit plastic junction boxes (min. 20 cubic inches)
or p-rings and cut in the boxes using a key-hole saw or
sheetrock knife/hand saw.
• If you are installing the optional DSC keypad you will need to
use a double-gang electrical box. If you are installing both the
optional DSC and DAN keypad you will need to install a triple-
gang electrical box.
• If you feel uncomfortable cutting into your walls and running
wire through the walls, seek help from a professional installer or
an electrician.
• Route the wire to the junction box from the CAi location.
• When using CAT-5 wire, connect each wire to its corresponding
color labeled on the punchdown terminal.
• Mount the keypad in the junction box and attach the Decora®
plate.
• Repeat the above steps until all keypads are installed.
7SETTING THE KEYPAD
4INSTALLING THE KEYPADS
1WIRING AT THE CONTROLLER
The CAi Keypads come with 110 punchdown terminals. These
terminals are quick, easy to install and provide a strong con-
nection. Punchdown terminals require the use of a punchdown
tool. One has been provided with this kit. Press wires into
punchdown terminal with punchdown tool as shown.
2PUNCHDOWN TERMINALS
For clean installations, we recommend using RJ-45 jumpers to
run from the CAi controller to an RJ-45 Wall Plate then run-
ning your keypads from the Wall Plate.
3CLEAN INSTALLATION
If you are using the SRM-2.1 speaker relay module, wire the +, -
terminals of the CA-LCD to the SRM-2.1 +, - terminals as shown.
5SRM-2.1
6CA-LCD2 KEYPAD OPERATION
9IMPORTANT SAFETY INSTRUCTIONS
8CAUTION
CA-LCD2 SPECIFICATIONS
Power Requirements: +12VDC from system
CAT-5 Connection: 110 Punchdown
Dimensions (in-wall): 1.75"W x 2.875"H x 1.375"D (45x73x39mm)
Weight: 6 oz. (170g)
LIMITED WARRANTY
The Russound®CA-LCD2 is fully guaranteed for Two (2) years from the date of purchase
against all defects in materials and workmanship. During this period Russound®will replace
any defective parts and correct any defect in workmanship without charge for either parts
or labor. For this warranty to apply, the unit must be installed and used according to its writ-
ten instructions. If service is necessary, it must be performed by Russound®. The unit must
be returned to Russound®at the owner’s expense and with prior written permission.
Accidental damage and shipping damage are not considered defects under the terms of the
warranty. Russound®assumes no responsibility for defects resulting from abuse or servicing
performed by an agency or person not specifically authorized in writing by Russound®.
Damage to or destruction of components due to improper use voids the warranty. In these
cases the repair will be made at the owner’s expense. To return for repairs, the unit must be
shipped to Russound®at the owner’s expense, along with a note explaining the nature of the
service required. Be sure to pack in a corrugated container with at least 3 inches of resilient
material to protect the unit from damage in transit.
5 Forbes Rd. Newmarket, NH 03857, USA
☎ 603.659.5170 • Fax 603.659.5388
Come visit us at:
English
