2
IMPORTANT!
It is essential that you read the instructions
in this manual before assembling, operating,
and maintaining the product.
Subject to technical modication.
Safety, performance, and dependability have
been given top priority in the design of your
cordless bug zapper.
INTENDED USE
The cordless bug zapper is intended to be used
only by adults who have read and understood
the instructions and warnings in this manual and
can be considered responsible for their actions.
The product is intended only for indoor use in a
well-ventilated area. The product is intended for
household use only. The product is not suitable
for use in barns, stables, and similar locations.
The product is designed to attract and zap
bugs from the area where the product is used.
Do not use the product for any other purpose.
GENERAL SAFETY WARNINGS
■Read all safety warnings, instructions,
illustrations and specifications provided
with this power tool. Failure to follow all
instructions listed below may result in
electric shock, fire and/or serious injury.
■When using the product, the safety rules
must be followed. For your safety and that of
bystanders, read these instructions before
using the product. Keep the instructions
safe for later use.
■Never allow children or people with reduced
physical, sensory, or mental capabilities,
or persons who are not familiar with these
instructions to operate, clean, or maintain
the product. Local regulations may restrict
the age of the operator. Children should be
adequately supervised to ensure that they
do not play with the product.
BATTERY TOOL USE AND CARE
■Recharge only with the charger specified by
the manufacturer. A charger that is suitable
for one type of battery pack may create a risk
of fire when used with another battery pack.
■Use only battery packs intended specifically
for the product. Use of any other battery
packs may result in a risk of fire, electric
shock, or injury to persons.
■When the battery pack is not in use, keep
it away from other metal objects, like
paper clips, coins, keys, nails, screws, or
other small metal objects that can make a
connection from one terminal to another.
Shorting the battery terminals together may
cause burns or a fire.
■Under abusive conditions, liquid may be
ejected from the battery. Avoid contact.
If contact accidentally occurs, flush with
water. If liquid contacts eyes, additionally
seek medical help. Liquid ejected from the
battery may cause irritation or burns.
■Do not place battery products or their
batteries near fire or heat. This increases
the risk of explosion and possibly injury.
■Remove exhausted battery packs from the
product and safely dispose of them.
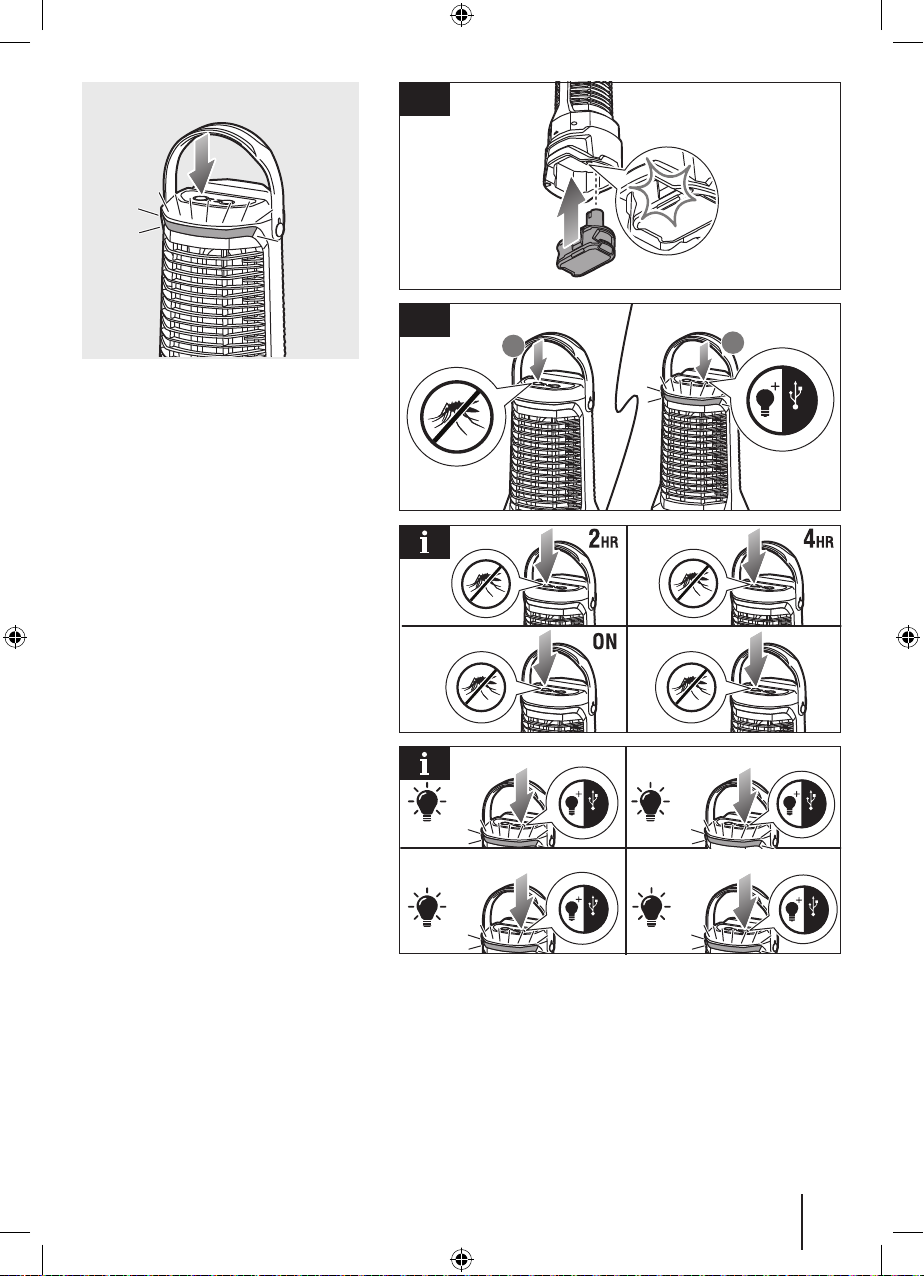
BUG ZAPPER SAFETY WARNINGS
■To reduce risk of electric shock and serious
injury, do not clean or spray the product with
water.
■Do not operate the product in explosive
atmospheres, such as in the presence
of flammable liquids, gases, or dust. The
product creates sparks which may ignite the
dust or fumes.
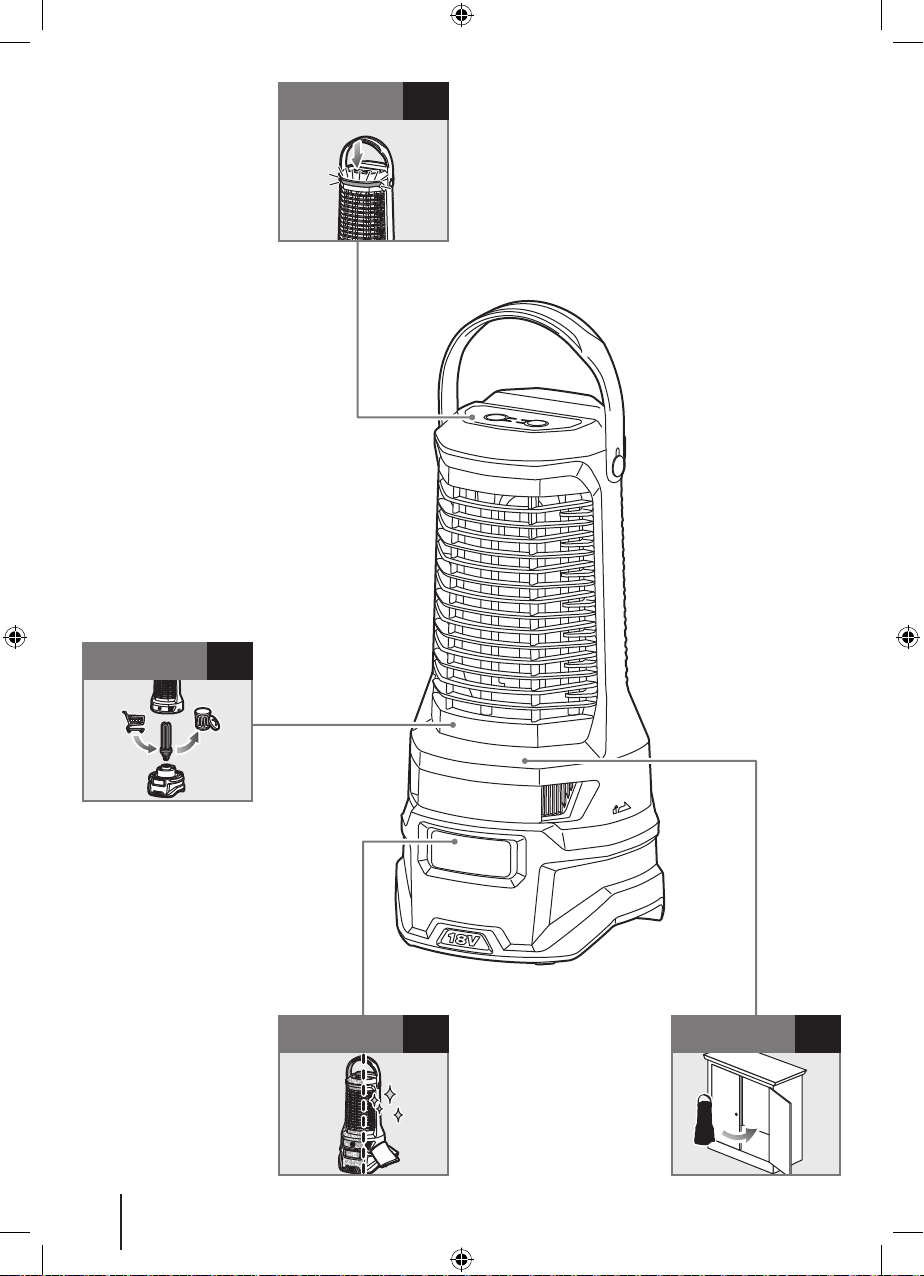
■The product has a high voltage grid. To reduce
the risk of electric shock and/or serious injury,
do not touch the high voltage grid.
■Never use the product with defective guards
or shields, or without safety devices in place.
■Before use and after any impact, check
that there are no damaged parts on the
product. A defective switch or any part that
is damaged should be properly repaired or
replaced by an authorised service centre.
■Never modify the product in any way. This
may increase the risk of injury to yourself
or others.
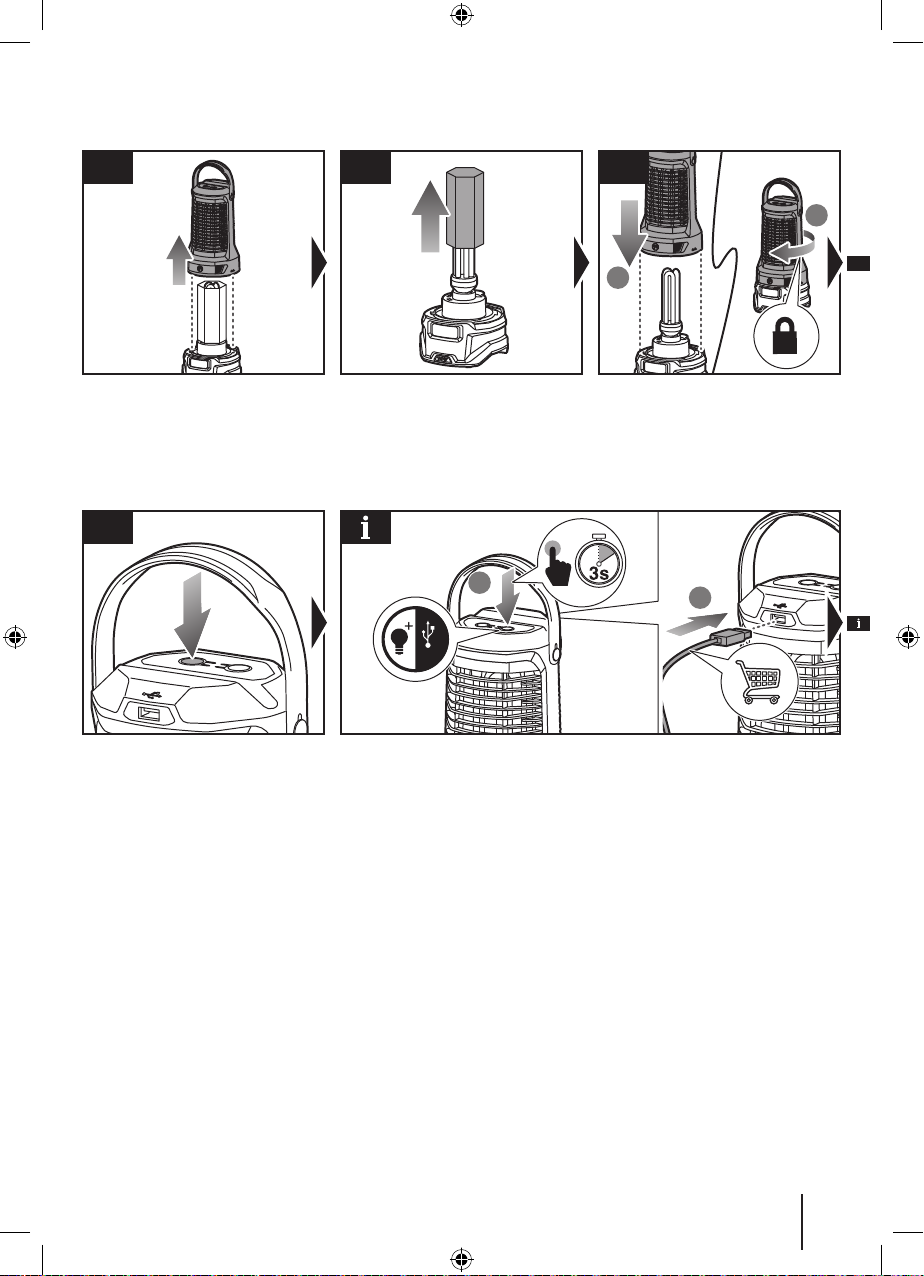
■Turn off the product, remove the battery
pack, and allow the product to cool down:
●before servicing
●before clearing a blockage
●before checking, cleaning, and working
on the product
●before changing accessories
●whenever performing maintenance
■Immediately turn off the product and remove
the battery pack in the event of accident