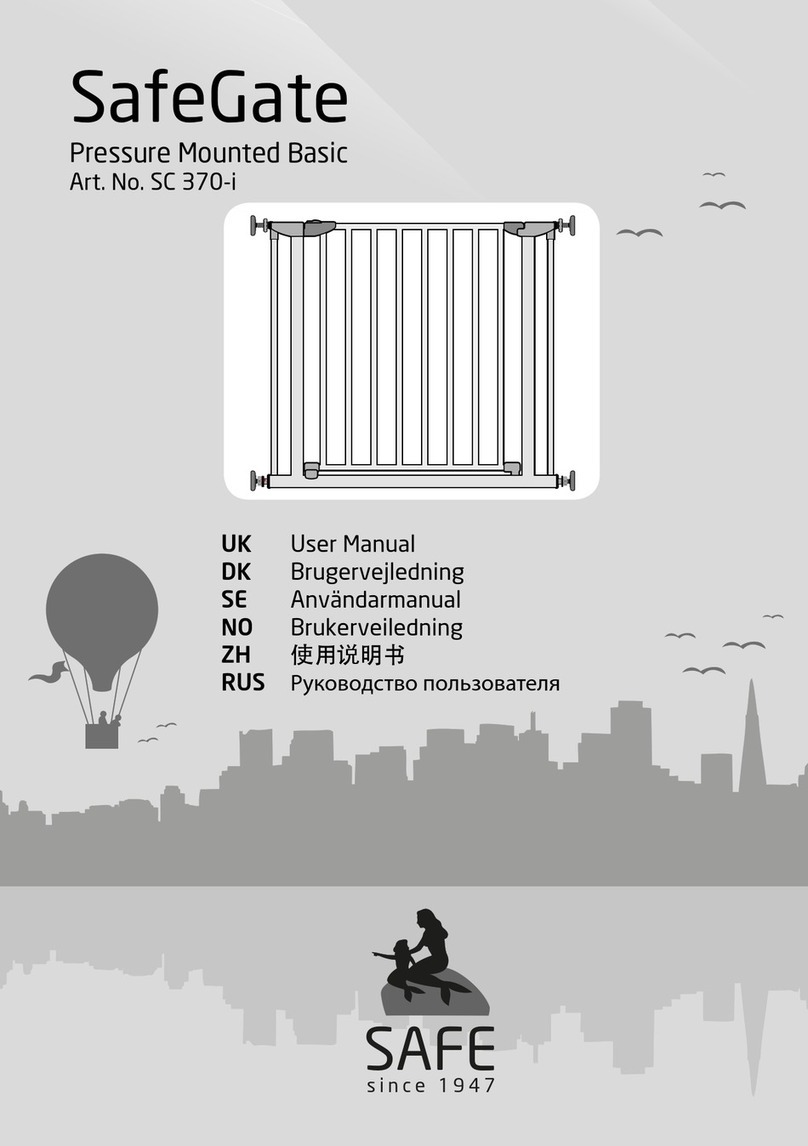
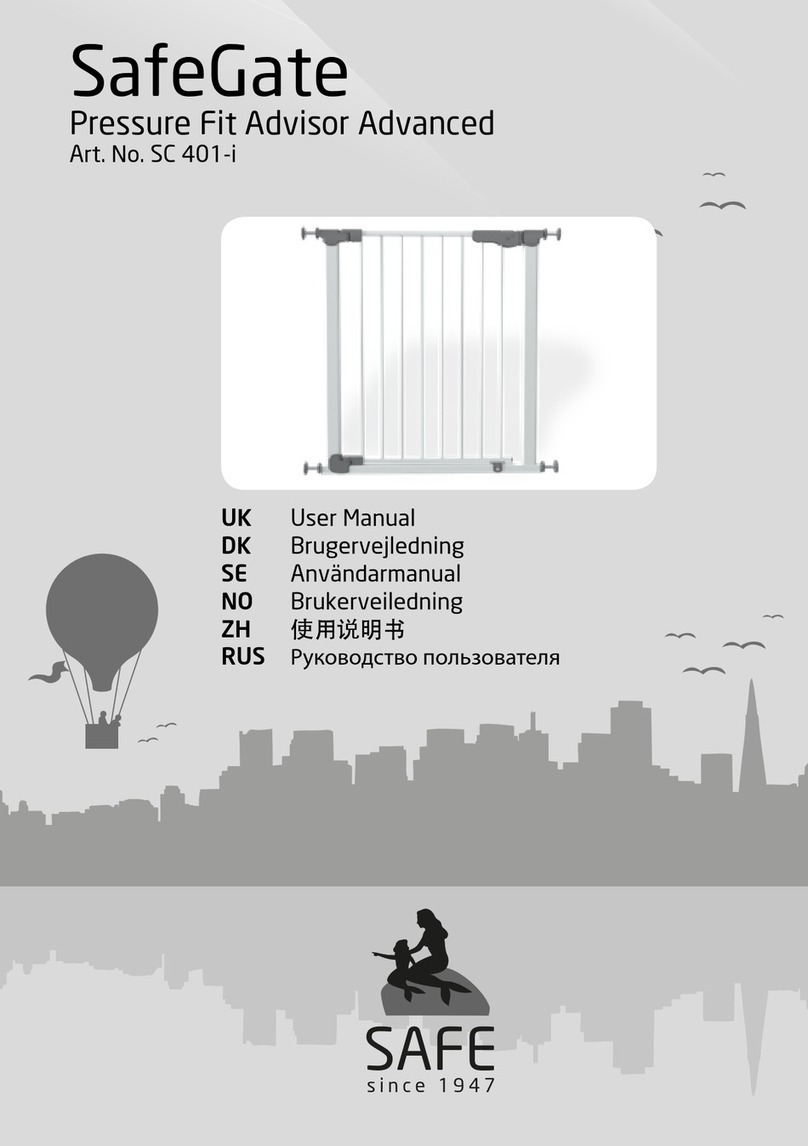
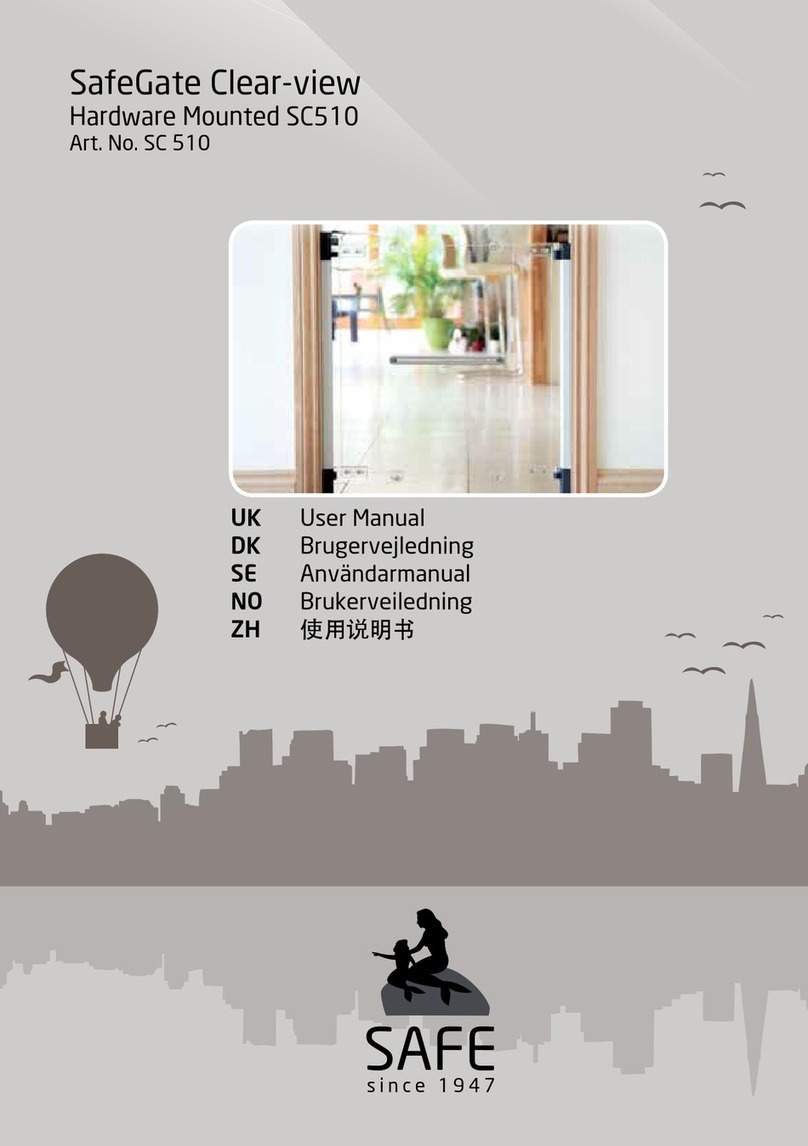
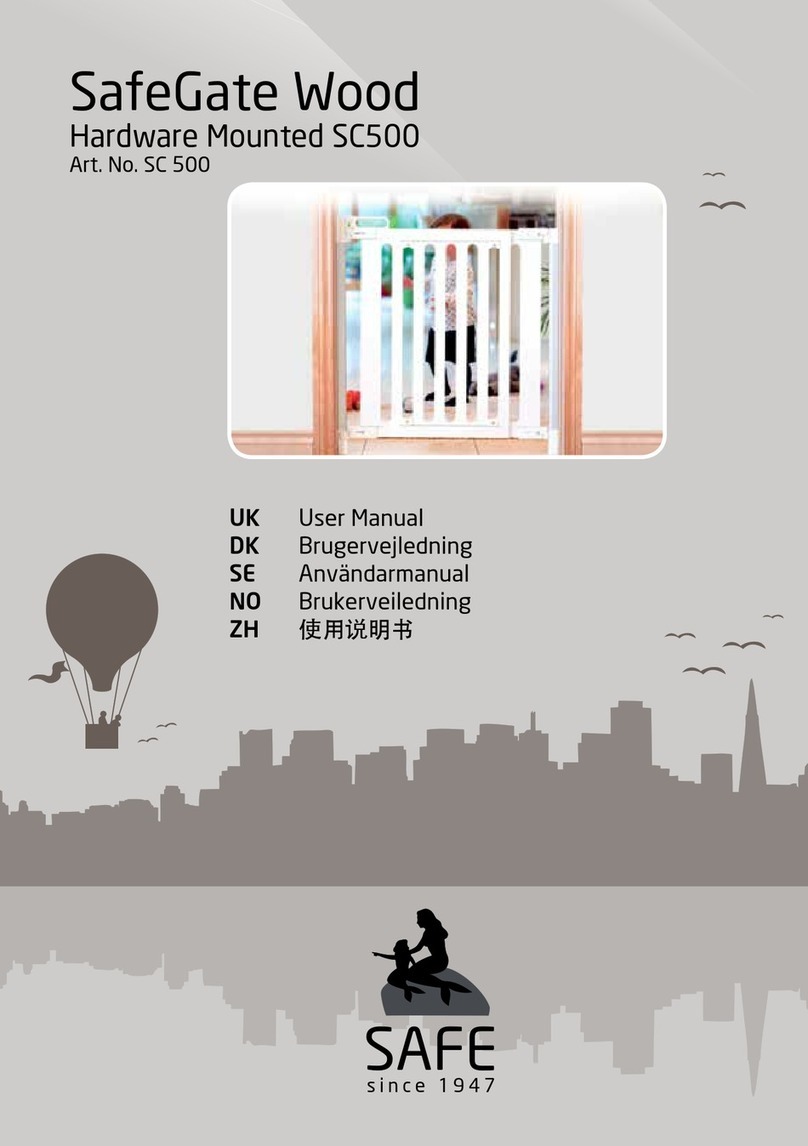
Safe SafeGate SC 701-50 User manual

1
SAFE
s i nce 1947
www.safeandcareco.com
Made in China
www.safeandcareco.com
Safety is our first thought
We have for more than two decades been dedicated find
ways to reduce hazards around toddlers in the home.
Our products are not substitution for parental care and
supervision, but we try to give parents peace of mind by
providing products developed specifically to reduce hazards
and manufactured to meet only the most strict
requirements and highest level of quality.
Safe and Care co - we do what we do best always striving
to be better through constant improvements.
UK
Sikkerhet er det første vi tenker på
I over to tiår har vi vært dedikerte til å finne måter å
redusere farer rundt småbarn i hjemmet på.
Våre produkter erstatter ikke foreldres omsorg og tilsyn,
men vi prøver å gi foreldre sinnsro ved å levere produkter
spesifikt utviklet for å redusere farer, og produsert til å
møte de strengeste krav og høyeste kvalitetsnivåer.
Safe and Care Co - vi gjør det vi gjør best, og prøver alltid å
bli bedre gjennom konstante forbedringer.
NO
安全是我们的首要考虑的因素
我们寻求通过一些方式以减少儿童因在家中所存在的危
险而造成的伤害,我们致力于这一领域已有20多年。
我们的产品并不能替代父母的关心和监护,但是我们将
通过这些专门为减少儿童所受到的伤害而设计,生产并
符合最为严格要求的优质产品,让父母安心,省心。
Safe and Care Co- 我们将尽我们所能,通过不断地改
善,做得更好。
ZH
Sikkerhed er vores vigtigste fokus
I mere end to årtier har vi gjort vores bedste for at bidrage
til at mindske risikoen for ulykker i hjemmet for børn.
Vores produkter er ikke erstatning for forældres omsorg og
overvågning, men vi håber at kunne bidrage til en større
følelse af tryghed ved at levere produkter, der er specielt
udviklet og produceret med børnesikkerhed for øje. Og alle
vore produkter er underlagt de strengeste kvalitetskrav.
Safe and Care co - vi gør det, vi er gode til, og vi vil være
bedre dag for dag.
DK
Säkerhet är vår första tanke
Vi har i över två årtionden gjort vårt yttersta för att minska och
förhindra risken för skador och olyckor i hemmet för våra barn. Våra
produkter ersätter inte föräldrarnas ansvar för uppsikt och
övervakning över sina barn men vi hoppas kunna ge en trygghet
genom att leverera produkter som är speciellt utvecklade och
producerade med barnens säkerhet för ögonen.
Alla våra produkter är testade och följer de strängaste och högsta
kvalitetskraven.
Safe and Care Co - vi gör det vi är bäst på och vi strävar efter att bli
ännu bättre genom att hela tiden utveckla oss själva och våra
produkter.
SE
Безопасность для нас— прежде всего
В течение более чем двух десятилетий мы работаем для того, чтобы находить
способы уберегать детей от различных опасностей, которые их подстерегают в
повседневной жизни дома.
Наша продукция, конечно же, не сможет заменить родительскую заботу и
надзор, однако она позволит вам обрести спокойствие и уверенность в том, что
вашему ребёнку ничто не угрожает. Наша продукция была специально
разработана таким образом, чтобы сокращать различные риски и опасности для
ребёнка в доме, и соответствует самым строгим требованиям в области
высочайшего уровня качества.
Safe and Care Co: мы занимаемся тем, что у нас получается лучше всего, и
постоянно стараемся совершенствоваться.
RUS
SafeGate
Constructor 1, 2, 3 & 4
Art. No. SC 701-50, 701-80, 702-50, 702-80
UK User Manual
DK Brugervejledning
SE Användarmanual
NO Brukerveiledning
ZH 使用说明书
RUS Руководство пользователя

2
Wall mounted extending safety gate. Allows for installation in doorways on stairs, across the front of ope-
nings, or at varying angles between solid surfaces.
IMPORTANT! READ AND FOLLOW THESE
INSTRUCTIONS CAREFULLY AND KEEP FOR
FUTURE REFERENCE
Please read the instructions thoroughly, failure to do so may result in damage to the gate or could in worst case cause injury to
your child. When unpacking the gate, carefully check all parts.
WARNING
This gate is designed and tested for children up to 24 months. However, this guidance should be constantly monitored against
your child’s own development. Individual children’s skills develops at different ages and if your child can operate or climb the
gate, it should not be used.
• Incorrect fitting or positioning of this safety barrier can be dangerous.
• Do not use the safety barrier if any components are damaged or missing.
• The safety barrier must not be fitted across windows.
• This safety gate is for domestic use only.
• Stop using the barrier if the child is capable of climbing it.
Product information
• Fits openings from SC 701-50: 70-185 cm, SC 701-80: 90-210 cm, SC 702-50: 70-300 cm, SC 702-80: 90-330 cm.
• Ensure that the wall, door frame or stair post to which you are fitting the gate, is strong and rigid, free of dirt and grease. If
mounting onto brick, drywall or other surfaces, it may be necessary to mount a wooden batten onto the wall. The provided
screws are for wood surface only, if fitting into brick or plaster, correct and suitable screws and wall plugs must be used.
• Keep these instructions and the spanner for future reference and use.
• This gate has a manual locking mechanism.
• When fitted as per these instructions this gate conforms to: EN1930:2011.
Please note the following:
• The position of the safety barrier in relation to the stairs may have an adverse effect on
your child’s safety.
• If the safety barrier is used at the top of the stairs to prevent the child from falling down
the stairs, it must not be placed on any stair below the level of the top stair see fig. A.
• If the safety barrier is used at the bottom of the stairs to prevent the child from climbing
the stairs it must be placed on the lowest stair see fig. B.
• If the gate has been exposed to an accident it must not be used again.
• Please note that this product will not necessarily prevent accidents from happening.
• Never leave your child unattended.
• Once the gate is installed, read the instructions again and check the gate is correctly
fitted and secure.
• If the gate is damaged, it must not be used again.
• Do not hang or tie toys to any part of this gate.
• Never allow your children to swing on the gate.
• Do only use original spare parts for this product – can be aquired from your local stockist.
• Never climb over the gate, always open the gate door.
• Always keep the gate in a closed and locked position.
• Periodically check the security of the fixings and general condition of the parts. Adjust if necessary, referring to this User
Guide.
• Do not allow older children to climb over this gate as this may pose a danger.
• Wipe clean with a cloth damped in a mild cleaner.
UK

3
Part list
1 Door section
SC 701: 2 Extension panels
SC 702: 4 Extension panels
SC 701 : 4 Assembly tubes
SC 702 : 6 Assembly tubes
2 Wall fitting left
2 Wall fitting right
4 Wall fitting brackets
1 Bottom hinge cover with screw
1 Under hinge cover
2 Top hinge covers
8 Wood screws
1 Allen key
(a)
(b)
(c)
(d)
(e)
(f)
(g)
(h)
(i)
(j)
(k)
UK

4
Installation and assembly of gate:
Determine the size of the opening in which the gate is to be installed.
If you have already bought extra extensions the installation of extensions follows the same
instructions as you are about to read. The 2 or 4 extension panels are identical to any optional
extensions you may have purchased.
Please notice that this gate can be installed on the outside as well as the inside of an opening
frame. The wall fittings allow full freedom for most convenient installation.
Opening up to 130 cm: 1 door section + 1 extension panel
Can be mounted in a straight line or angled
Opening up to 191 cm: 1 door section + 2 extension panels
Can be mounted in a straight line or angled
Opening up to 241 cm: 1 door section + 3 extension panels
Can be mounted in a straight line or angled
1. Decide where you want the door section positioned, the most convenient will normally be in the
centre, but depending on the shape and configuration of the opening you may chose otherwise.
The gate system allows you to place it wherever you may find it most convenient.
2. The hinge joints has 9 positions which allows angles of 30, 45, 60, 90, 120 etc. degrees. This,
combined with the wall fittings in both sides of the gate, will allow all positions you may need.
3. Take the door section and attach the extension panels on either side of the door section, press
the hinges together at top and bottom. See pict. 1 - 4.
Pict. 1 Pict. 2
UK

5
Pict. 3 Pict. 4
4. Insert the assembly tubes through the top hinges and guide them down to the bottom hinges.
See pict. 5 and 6.
Pict. 5 Pict. 6
The end of the tube has internal threads and the bottom hinge ain in- moulded screw. Now turn
the tube clockwise until the tube has connected to the bottom screw. Now screw the tube until 3
-4 mm of the screw head in the top hinge is still visible. See pict. 7.
Pict. 7
5. The gate panels are now connected and you can now lift and turn each section into the position
you need without separating the panels. Adjust each panel to the final position and press each
hinge together. Now with your hands screw each assembly tube tight so the hinges cannot be
lifted again for further adjustment. Final tightening with the enclosed Allen key will be done after
installation has been completed!
UK
This manual suits for next models
3
Table of contents
Languages:
Other Safe Indoor Furnishing manuals
Popular Indoor Furnishing manuals by other brands

Regency
Regency LWMS3015 Assembly instructions

Furniture of America
Furniture of America CM7751C Assembly instructions

Safavieh Furniture
Safavieh Furniture Estella CNS5731 manual

PLACES OF STYLE
PLACES OF STYLE Ovalfuss Assembly instruction

Trasman
Trasman 1138 Bo1 Assembly manual

Costway
Costway JV10856 manual