Pair Transmitter to Receiver:
(Always test unit prior to installation)
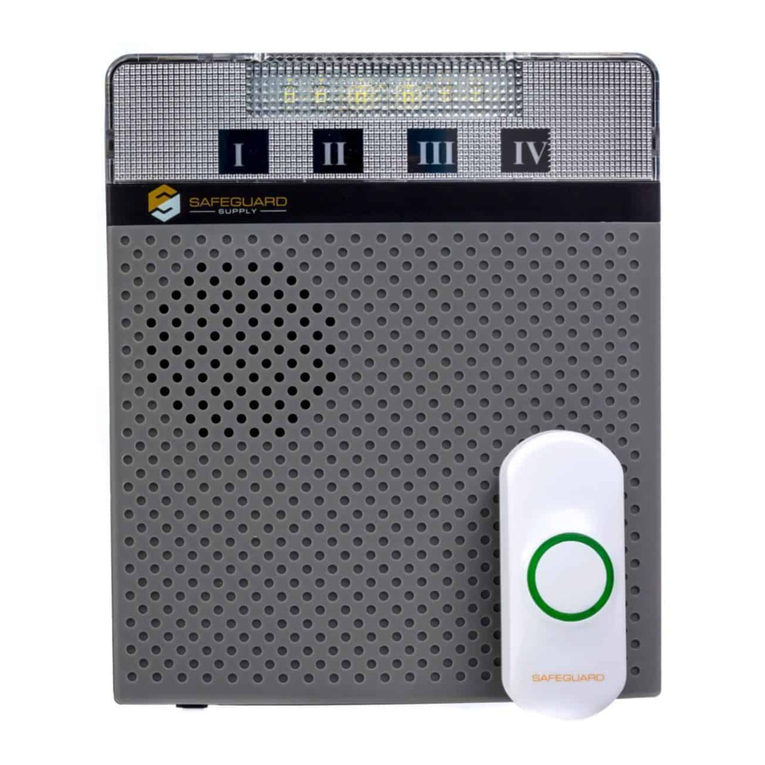
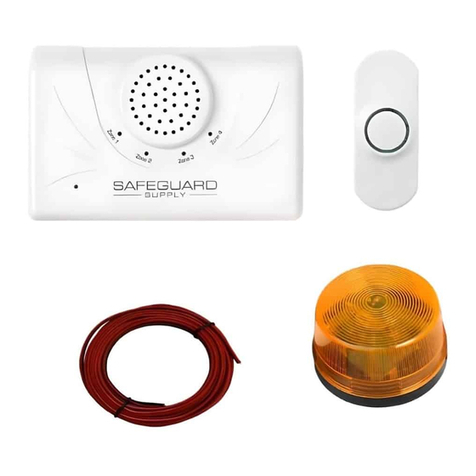
The transmitter works with the ERA-DCRX & ERA-VPRX receivers & basic
programming calls for the user to pair the transmitters with a receiver &
select a melody for the transmitter to instruct the receiver to play when
triggered. For quick setup, however, each zone defaults to a basic "ding-dong"
sound allowing you to easily pair the transmitter for a faster set up process.
1. Remove the four screws on the back of the case using a Phillips head
screwdriver (figure 1).
2. Remove top half of case from lower case.
3. Install a 9V alkaline battery & place it in the holder (figure 2).
4. See section titled, "Pairing Transmitter to Receiver".
5. Note: When battery gets weak, it will cause paired zone to flash LED on
receiver for 10 minutes when triggered.
Battery Installation:
•The ERA-DSTX must be programmed to a ERA receiver to function.
Programming instructions, settings, & mounting instructions are
included in this manual. Consult that manual to change melody,
adjust volume, add accessories, etc.
•Consult the receiver's user manual for more details & specifications
for settings.
•The ERA-DSTX is powered by a 9V alkaline battery (not included).
•Up to 12 ERA-DSTX's may be programmed to a ERA receiver, There's
no limit to the number of receivers programmed to the ERA-DSTX.
•Each transmitter must be paired to a zone on the receiver.
•Each zone is programmed to the "ding-dong" sound from the factory.
Consult the receiver's manual to change the melody.
•When the transmitter battery is low, it sends a signal to the receiver
(when triggered) & the corresponding LED on the receiver will
continue to flash for 10 minutes.
•Package contents: PIR sensor/transmitter, plate mount, swivel mount,
screws (4) and this user guide.
(Figure 3)
1. On the ERA-DCRX receiver, hold down the "mode" (left button in
figure 2 below) button for approx 3 sec. until you hear a short tone
sound & the "zone 1" LED flashes (figure 3).
2. If you are programming the transmitter to zone 1waive your hand
over the sensor/transmitter, or press the test button (figure 4). You
will hear the receiver play a short tone (zone 1 will continue to flash).
3. To program a transmitter to a different zone, press the "zone" button
on the receiver to scroll to the appropriate zone . The zone you want
to program will flash. Repeat step 2 above.
4. Once you have programmed all the zones move to the next step.
5. To exit program mode, hold down the "mode" button for approx 3
sec. until you hear a short tone.
(Figure 1)
Setup Steps for Setting Up Sensor/Transmitter:
1.
2.
3.
4.
Install a 9V battery (not included). See the section titled "Battery
Installation." Note: do not re-assmeble the case until programming
is complete.
Program the sensor/transmitter to the receiver (sold separately). See
section titled "Pair Transmitter to Receiver."
Mount the motion sensor/transmitter. See the section titled
"Mounting the Transmitter."
Note: some settings of the transmitter may be adjusted as needed.
Please see section titled "Advanced Sensor Settings."
Helpful Notes:
•ERA-DCRX Plugin Receiver: volume control, 4 zones, 4 x 12V DC
outputs, 1 x C-Form relay.
•ERA-VPRX Portable Vibrating Receiver: volume control, multi-zone,
vibrate mode, back-lighted LCD screen.
•ERA-UTX Universal Transmitter: works as door/window contact and/
or push button. 4,000 ft. range. 1 x relay .
Specifications:
•Dimensions (HxWxD): 4.5 x 3 x 2.25 inches
•Operating temperature: -30 to 120 F (-34.4 to 48.9 C)
•Operating frequency: 433 MHz
ERA-DSTX Driveway Sensor
Owner’s Manual
This device complies with Part 15 of the FCC rules, Operation of this device is subject
to the following conditions: 1. This device may not cause harmful interference. 2. This
device must accept any interference, including interference that may cause unde-
sired operation.
Introduction
The ERA-DSTX is an outdoor rated PIR sensor compatible with the ERA-
DCRX & ERA-VPRX Receiver. When the combination of heat & motion are
detected, the sensor will transmit a wireless radio signal up to 4,000 ft. to
the receiver .
Compatible Products:
•Power source: 9V alkaline battery
•Detection range: low, to 25 ft., medium, to 50 ft., high, to 100 ft.
•Wireless range: up to 4,000 ft.
(Figure 2)
(Figure 4)

