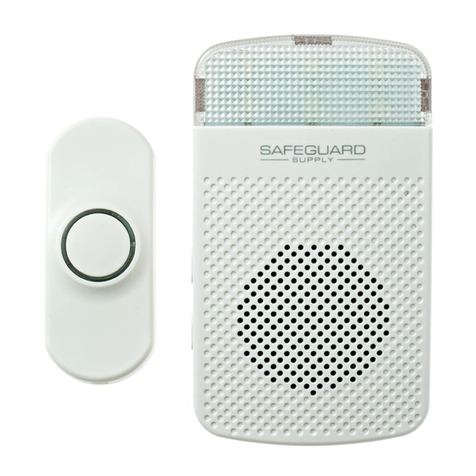
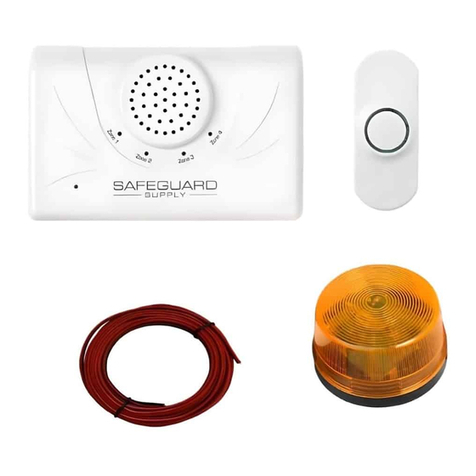
LRA-DCRX MOUNTING OPTIONS
CODE MATCHING & TUNE SELECTION
Step1: Insert the battery into the transmitter to be
used
(
doorbell button).
Step 2: Insert the batteries into the receiver (chime
unit)..
Step 3: Enter pairing mode for the receiver (chime unit).
Press and hold the • zone selector button for 3 seconds. The
LED in zone #1 will flash.
DELETE
A TRANSMITTER (PUSH BUTTON) FROM A ZONE ON RECEIVER
FCC Statement:
This equipment has been tested and found to comply with the limits for a Class B digital device, pursuant to part 15 of the FCC Rules. These
limits are designed to provide reasonable protection against harmful interference in a residential installation. This equipment generates, uses and
can radiate radio frequency energy and, if not installed and used in accordance with the instructions, may cause harmful interference to radio
communications.
However, there is no guarantee that interference will not occur in a particular installation. If this equipment does cause harmful interference to radio or
television reception, which can be determined by turning the equipment off and on, the user is encouraged to try to correct the interference by one or
more of the following measures:
* Reorient or relocate the receiving antenna.
* Increase the separation between the equipment and receiver.
* Connect the equipment to an outlet on a circuit different from that to which the receiver is connected.
This device complies with part 15 of the F CC rules. Operation is subject to the following two conditions: (1) This device may not
cause harmful interference, and (2) this device must accept any interference received, including interference that may cause
undesired operation.
Note: Modifications to this product will void the user's authority to operate this equipment.
First, Press and hold the 'Zone selector' button for 3 seconds to enter the
programming mode. Press the 'Zone selector' button to select the zone you want to
delete. Press and hold both the 'Zone selector' and the 'Melody' button for
approximately 5 seconds. The chime will generate a tone to indicate the remote on this
zone has been deleted.
CHANGING THE MEDLODY FOR A ZONE
First, Press and hold the 'Zone selector' button for 3 seconds to enter programming
mode. Press the 'Zone selector' button to select the zone you want to change. Press the
'Melody' button to select the new melody/tone and then push button. You will hear a tone
to indicate the melody has been changed.
BATTERY LOW INDICATOR
If a zone LED light is blinking, it indicates that the battery is low for this transmitter. You
must replace the battery as soon as possible. If the white flash at the top of the Chime
blinks every 5 seconds, this indicates the receiver batteries are low. You must replace the
batteries of the receiver .
CODE CONFLICT
In rare situations the push button frequency coding is the same as another transmitter. In this
case you must change the code on the transmitter.
Or
Receiver
Wall mounded
Put on the desk Top
25mm
o
/ 7mm
Install
Mounting with screws Mounting With Double-sided adhesive
Stick the double-sided
adhesive on the
mounting bracket.
stick the bracket on
the door frame.
Requires an electric drill for holes to fix the wall bracket
with the provided ram plug and screws.
Put the bell press to the bracket
Step 4: Press the • zone selector button again to move to
the
zone you wish to pair with. Press the melody selector button to
scroll through the melodies. Once you hear a melody you
prefer, do not press any button as the melody is set for that
zone.
Step 5: Once the zone & melody are selected, trigger the
pusher once to pair. If successful, the receiver (chime unit) will
generate two short tones. Press the • zone selector button to
exit the pairing mode, the system is now ready to use.
To stop the Chime while the receiver (chime unit) is alerting
press the reset button located on back, upper right-hand corner.
RoHS
2002/95/EC
TECHNICAL SUPPORT
If you need assistance with the operation of this product, please contact us. You can
reach us by phone at 904-245-1184 from 8:00AM to 5:00PM Monday through Friday,
WARRANTY INFORMATION
The product you have purchased is guaranteed against defects in workmanship
and materials for a period of one year from the date of purchase. Warranties implied
by law are subject to the same time period limitation. For a detailed warranty policy,
please visit our website by visiting: www.safeguardsupply.com
Zone selector
buttonMelody selector
button
Function Switch
* Chime
*Light & Chime
*Light

