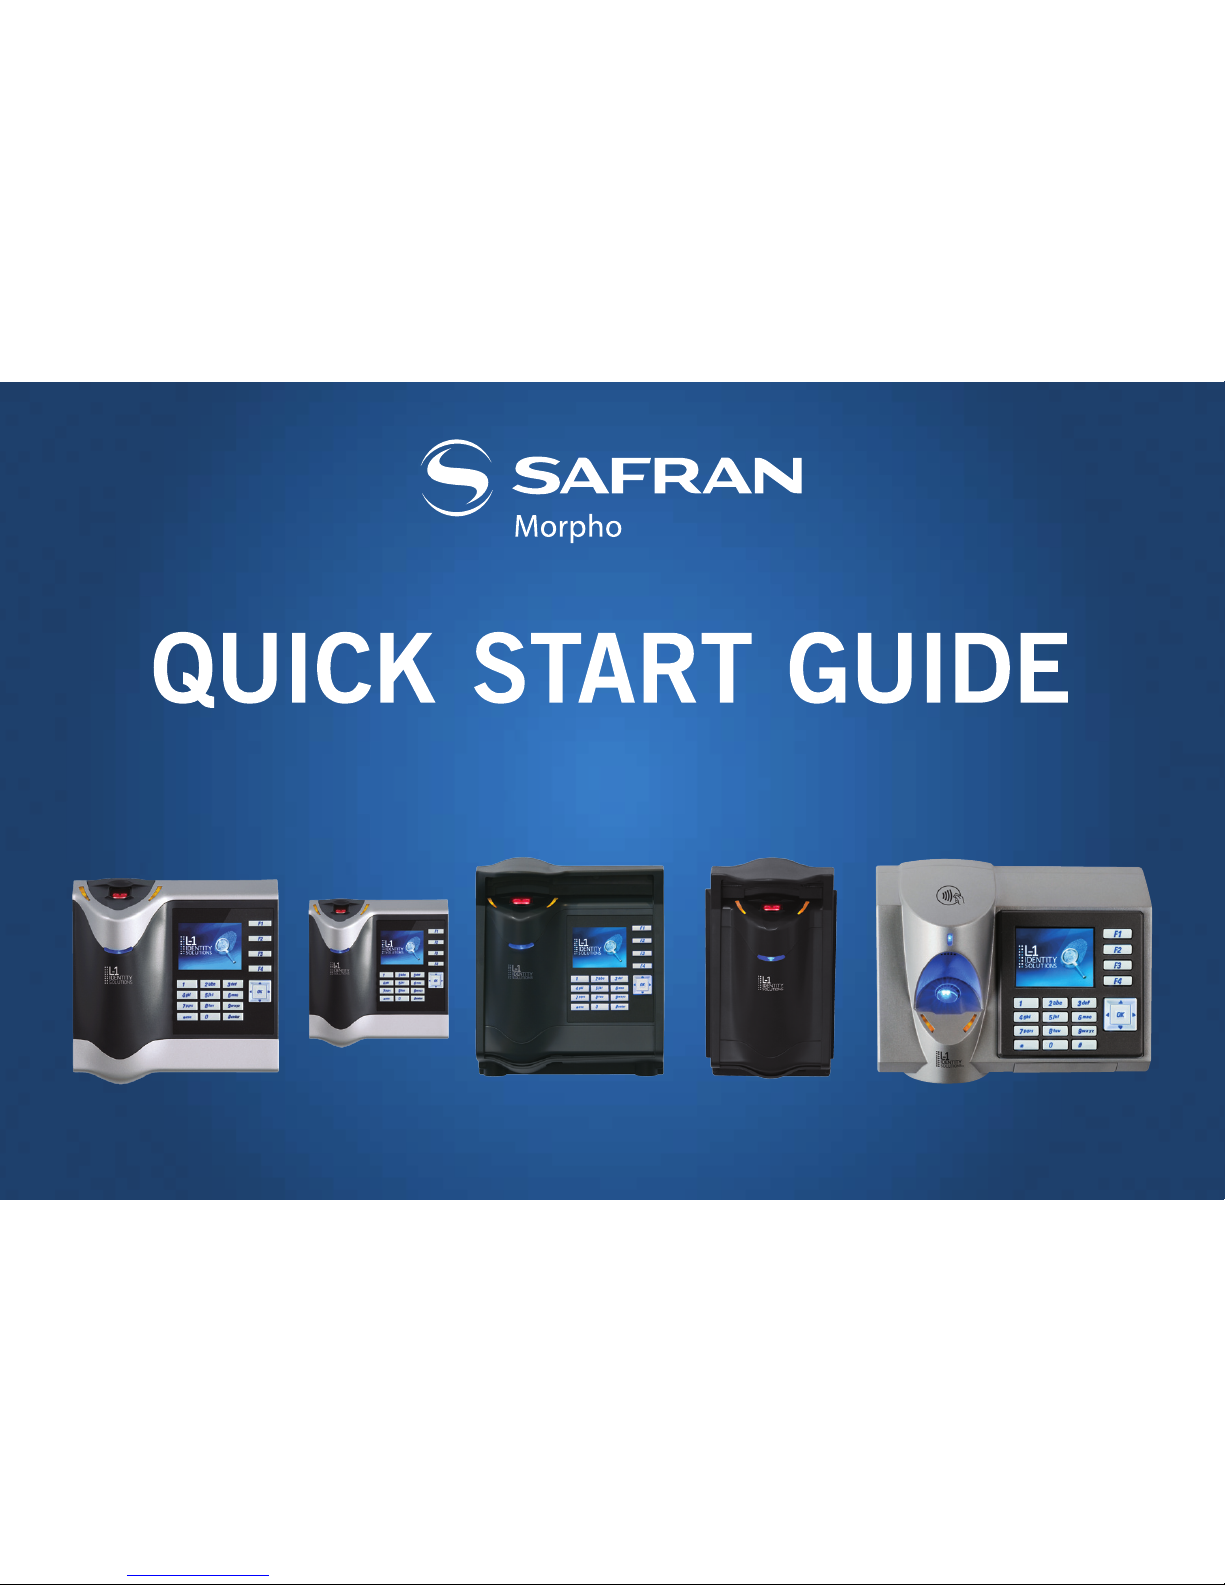
Safran 4G V-Station User manual

4 G FINGERPRINT PRO DUCT SERIES

STEP ONE: OVERVIEW
QUICK START GUIDE 1
1Ridge Lock
2 Tricolor Pass/Fail LED
3 Finger Scan Sensor
4 Power Indicator LED
5 Internal Smart Card
or Proximity Reader (optional)
6 USB Port (Bottom)
7 Power Input
8Ethernet & PoE
9 I/O Port (Wiegand & RS-485/232)
28 Pin Connector
10 Built-in Hood (WR models only)
2.5” Backlit TFT LCD
Function Keys
Illuminated Keypad
Navigation Pad
Indoor & Weather Resistant (WR) Overview
22
3
3
14
14
6
6
7
13
13
11
11
11
8
8
9
9
7
4
4
5
5
AVAILABLE ON BOTH
4G V- STATI ON
10
10
12
12
NOTE: Product images are not to scale.

STEP ONE: OVERVIEW
QUICK START GUIDE 2
Indoor & Weather Resistant (WR) Checklist
QTY ITEM
1 4G V-Station™ or 4G V-Flex™ device
1 2-pin or 3-pin power cable
1 External 28-pin signal cable
1 Micro-USB to USB-A cable
1 Installation CD
1 Installation Guide (on Installation CD)
1 Operator’s Manual (on Installation CD)
1 Quick Start Guide (on Installation CD
and printed copy in package)
4G V-Station™ ONLY:
2 6-32 security screw, pin-in hex, 3/8”
2 0.013” ID, 3/8” OD, 1/32” thick,
ber washers
QTY ITEM
1 Micro-USB PC cable
1 Flush-mount wall plate
1 Ethernet ferrite core (P/N: 28A2432-0A2)
1 DC & I/O lines ferrite core (P/N: 28A4155-0A2)
6 #4-8 1” nylon wall anchors
6 #6-32 3/4” Philips pan-head screws
6 #6 1” Philips pan-head self-tapping screws
29 Crimp connectors, B Wire (RoHS)
1 1/8” pin-in-hex security key 2.5”
4G V-Flex™ ONLY:
1 Recessed wall mounting plate
1 6-32 security screw, pin-in hex, 3/8”
1 0.013” ID, 3/8” OD, 1/32” thick,
ber washers
NOTE: Electronic documentation is provided in Adobe®Acrobat®format (PDF). Adobe®Acrobat®Reader is available on the Installation
CD or at http://www.adobe.com

STEP ONE: OVERVIEW
QUICK START GUIDE 3
4G V-Station Extreme Overview
1Tricolor Pass/Fail LED
2Finger Scan Sensor
3Power Indicator LED
4Internal Smart Card
or Proximity Reader (optional)
5USB Port (Bottom)
6Power Input
7Ethernet & PoE
8I/O Port (Wiegand & RS-485/232)
9 3.5” Backlit TFT LCD
10 Function Keys
11 Illuminated Keypad
12 Navigation Pad
3
10
12
11
4
8
9
7
2
15
6

STEP ONE: OVERVIEW
QUICK START GUIDE 4
4G V-Station Extreme Checklist
QTY ITEM
1 4G V-Station™ Extreme device
1 User Comm and Ctrl cable, 4G Outdoor
1 User TTL cable, 4G Outdoor
1 Micro-USB Device cable
1 Micro-USB PC cable
1 Installation CD
1 Installation Guide (on Installation CD)
1 Operator’s Manual (on Installation CD)
1 Quick Start Guide (on Installation CD
and printed copy in package)
QTY ITEM
8 Wall Mount Anchor for #8 screws
8 #8 Philips pan-head thread-forming screws
29 Super B-Wire connectors, Dolphin DC-100-S
1 Pin-in-hex security key 2.5”
6 6-32 security screw, pin-in hex, 3/8”
2 Dielecric Grease
1 8-32 hex nut
1 8-32 Male-Female Hexstand-1.25L
1 Mech Acuator Magnet
1 Stainless Steel Wall Mount Plate,
No Magnetic Reader
NOTE: Electronic documentation is provided in Adobe®Acrobat®format (PDF). Adobe®Acrobat®Reader is available on the Installation
CD or at http://www.adobe.com

STEP ONE: OVERVIEW
QUICK START GUIDE 5
Ideal Deployment Environments
Indoor Solutions
These versatile solutions are perfect for indoor
environments where restricted access to
specic areas is required such as, in corporate
environments where employee time and
attendance is a key factor in managing the
workforce, or in labs where access to clean rooms
is restricted. Our full featured solutions unleash
a combination of power, usability and more.
Operating temperature is
+32° to +140°F (0° to +60°C).
Weather Resistant (WR) Solutions
The Weather Resistant (WR) models have
specialized components and a built-in hood
that offers protection against certain outdoor
elements. Ideal deployment areas are; outdoor
locations that offer some degree of protection
from direct elements – such as under a building
overhang, main entrances at multi-tenant
residential buildings, and recreation and
entertainment center entrances. These devices
are IP 65 rated and the operating temperature
range is between -5° to +140°F (-20° to +60°C).
Extreme Outdoor Solutions
Our extreme outdoor solutions are designed
for access control in the rain, sleet, snow and
desert conditions. This IP 65 rated solution is
built to address your concerns and perform in
moderate to the most extreme outdoor conditions.
Condently deploy a biometric device created for
organizations that cannot compromise on security
regardless of the weather. Wide temperature
range options for sub-zero climates and the
hottest desert: -13° to +158°F
(-25° to +70°C).

QUICK START GUIDE 6
STEP TWO: WIRING
There are six communication types that can be used by the device:
9. RS-485
9. RS-232
8. Ethernet
RS-485
• Use CAT-5 UTP (or better) cable (shielded recommended)
with a characteristic impedance of 120 ohms.
• AWG 24 should be the minimum wire gauge used.
• Choose a Morpho approved RS-232 to RS-485 converter that supports Sense Data
to switch from Send to Receive mode.
B&B Electronics model # 485TBLED RS-232/RS-485 converter (Morpho Enterprise
Access Solutions (EAS) P/N V-Series-CNV) is recommended.
6. USB
14. Wireless LAN (optional)
9. Wiegand
Wiring
Refer to Page 1
(Refer to Page 1)
6
8
9

QUICK START GUIDE 7
STEP TWO: WIRING
RS-232 PC Communication
Use CAT-5 UTP (or better) cable (shielded recommended).
Cable should be run in a direct (homerun) connection from the
unit to the PC’s DB9 COM port.
Ethernet
Ethernet connections to the device are made through a standard
RJ-45 connector on the back of the device. Use CAT-5 UTP (or
better) cable.
USB
Standard cable with Micro AB plug to A plug
(USB on the Go) is used.
Wiegand Output to Access Control Panel (ACP)
• For 18 AWG, the maximum cable distance is 500 ft.
(150m); for 20 AWG, the maximum is 300 ft. (90m); for 22
AWG, the maximum is 200 ft. (60m).
• Three-conductor wire (shielded recommended) is required for
Data 0, Data 1, and WGND.*
Power
For most installations, use 18-22 AWG cable.
Remember to calculate line-loss when selecting cable.
Wiring (continued)
IMPORTANT:
1.
2.
* Morpho EAS always recommends the use of wiegand
Refer to local electrical codes and standards before selecting a cable type.
For UL-294 compliance, an earthed screen in the wire or around all wires to/from product is only
required when the wires share space/compartment/tube with high voltage cables

QUICK START GUIDE 8
STEP TWO: WIRING
Indoor & WR 28-Pin Signal Connector
Pin No. Function Color
1 RS485A Blue
3 RS485B Blue/Black
5 SGND Black/Red
7 WIEGAND_LED_IN0 Grey/Black
9 Not Connected
11 WIEGAND_LED_OUT0 Brown/Green
13 WIEGAND_LED_OUT1 Brown/Black
15 TTLOUT_OH White/Brown
17 TTLOUT_0L White/Red
19 TTLOUT_1H Brown/White
21 TTLOUT_1L Yellow/Black
23 TTLOUT_2H Grey/Orange
25 TTLOUT_2L White/Green
27 RELAY_NO Yellow
Pin No. Function Color
2 RS232_RX Violet/White
4 RS232_TX Violet
6 SGND Black/Red
8 WIEGAND_DIN0 Green/White
10 WIEGAND_DIN1 White/Black
12 WIEGAND_DOUT0 Green
14 WIEGAND_DOUT1 White
16 WGND Black/White
18 TTLIN0 Yellow/Blue
20 TTLIN1 Blue/Brown
22 TTLIN2 Brown/Violet
24 TTLGND Green/Brown
26 RELAY_NC Orange
28 RELAY_COM Grey
28
1
TOP OF UNIT
* Colour codes are different from pervious product series

QUICK START GUIDE 9
STEP TWO: WIRING
Extreme 26-Pin Signal Connector
Pin No. Function Color
1 RS485A Blue
2 RS232_RX Violet/White
3 RS485B Blue/Black
4 RS232_TX Violet
5 SGND Black/Red
6 RELAY_NC Orange
7 RELAY_NO Yellow
8 RELAY_COM Grey
1 WIEGAND_LED_IN0 Red/White
2 WIEGAND_DIN0 Green/White
3 WIEGAND_DIN1 White/Black
4 WIEGAND_LED-OUT0 Green/Red
5 WIEGAND_DOUT0 Green
6 WIEGAND_LED-OUT1 Green/Black
7 WIEGAND_DOUT1 White
8 WIEGAND Black/White
Pin No. Function Color
1 TTLOUT_OH White/Brown
2 TTLOUT_0L White/Red
3 TTLIN0 Blue/Yellow
4 TTLOUT_1H White/Orange
5 TTLINI Blue/Violet
6 TTLOUT_1L White/Yellow
7 TTLIN2 Blue/Red
8 TTLOUT_2H White/Blue
9 TTLGND Green/Yellow
10 TTLOUT_2L White/Violet
* Colour codes are different from pervious product series

QUICK START GUIDE 10
STEP TWO: WIRING
4G V-STATION, 4G V-STATION WR, 4G PIV-TWIC
STATION, 4G V-FLEX AND 4G V-FLEX WR
For 4G V-Flex device, recess-mount on an electrical box. A double gang
box is required to accept the rear extension of the housing.
For 4G V-Station device, attach an electrical box to the mounting plate
to a single gang box and use wall anchors on the remaining four holes
for additional security.
To install the mounting plate on to an electrical box, screw the
mounting plate to the box with the provided 6-32 screws.
Mounting Plate Installation
CAUTION: When installing a recess-mounted 4G V-Flex device, be careful
not to damage the tamper switch, as careless handling can shear it off.
4G V-FLEX FLUSH-MOUNT MOUNTING PLATE

QUICK START GUIDE 11
STEP TWO: WIRING
Mounting Procedure.
1. Hold the mounting plate onto the wall in the desired location, trace the square hole that will be cut out, and mark the
mounting screw locations. Note that for the 4G V-Flex, the large square hole is at the bottom and for the 4G V-Station the hole is
to the right.
2. Cut out the square hole with a jigsaw or drywall saw. If the 4G V-Flex device is to be recess-mounted, cut out a hole in the
drywall to accommodate the rear extension on the device housing.
3. Drill holes for the nylon wall anchors and install them.
4. Fish wires through the wall to the square hole.
5. Align the hole in the wall plate with the hole in the wall.
6. Fasten the mounting plate to the nylon wall anchors in the wall with the provided screws.
Mounting Plate Installation

QUICK START GUIDE 12
STEP TWO: WIRING
Mounting Plate Installation
4G V-FLEX FLUSH-MOUNT MOUNTING PLATE
DIMENSION (MM)
4G V-FLEX RECESSED-MOUNT MOUNTING PLATE

QUICK START GUIDE 13
STEP TWO: WIRING
Mounting Plate Installation
4G V-STATION (INDOOR AND WR) - MOUNTING PLATE
DIMENSION (MM)
4G V-STATION MOUNTING PLATE
NOTE: The 4G V-Station devices can only be ush mounted.

QUICK START GUIDE 14
STEP TWO: WIRING
Mounting Plate Installation (Extreme)
MAGNET ATTACHED TO MOUNTING PLATE WITH EXTENSION MAGNET ATTACHED TO MOUNTING PLATE WITHOUT EXTENSION
4G V-STATION EXTREME AND 4G PIV-TWIC STATION EXTREME

QUICK START GUIDE 15
STEP TWO: WIRING
Mounting Proceduce (Extreme).
1. Hold the mounting plate onto the wall in the desired location, trace the rectangular hole that will be cut out, mark the
mounting screw locations and the location of the tamper magnet on the mounting plate.
2. Cut out the rectangular hole in the wall. Drill a Ø15mm hole in the wall in the place where the tamper magnet will be
installed on the mounting plate.
3. Drill holes for the nylon wall anchors and install them.
4. Fish wires through the wall to the rectangular hole.
5. Before fastening the mounting plate to the nylon anchors attach to it the tamper magnet provided in the installation kit.
When installing a 4G Extreme device with a skirt, use the extension to attach the magnet to the mounting plate otherwise attach
only the magnet to the mounting plate.
6. Align the hole in the wall plate with the hole in the wall.
7. Fasten the mounting plate to the nylon wall anchors in the wall with the provided screws.
Mounting Plate Installation (Extreme)

QUICK START GUIDE 16
STEP TWO: WIRING
Mounting Plate Installation (Extreme)
4G V-STATION EXTREME MOUNTING PLATE
DIMENSION (MM)
4G PIV-TWIC STATION EXTREME MOUNTING PLATE
DIMENSION (MM)

QUICK START GUIDE 17
STEP TWO: WIRING
Mounting Plate Installation (Extreme)
4G V-STATION EXTREME WITH SKIRT DIMENSIONS (MM)

QUICK START GUIDE 18
STEP TWO: WIRING
Mounting Plate Installation (Extreme)
4G PIV-TWIC STATION EXTREME WITH SKIRT DIMENSIONS (MM)

QUICK START GUIDE 19
STEP TWO: WIRING
Power Supply
Use an external power supply that provides a minimum of 0.5A at 12VDC PER DEVICE.
The power supply should be regulated, ltered, and dedicated to Morpho EAS products
only. If sharing power between devices, be sure that each unit receives 0.5A (e.g. two
units would require a 12VDC, 1A supply).
The external power source must be a SELV and a Limited DC Power
Source, as dened in IEC 60950-1 standard.
A battery backup or uninterrupted power supply (UPS) with built-in
surge protection is recommended.
Power Over Ethernet (PoE)
When the device is powered over Ethernet, an IEEE 802.3af compliant Active Midspan
Injector must be used. This injector is not supplied with v EAS products.
Indoor & Weather Resistant Power
12V
EXTERNAL 12 VDC
POWER SOURCE
CONNECTIONS FOR
AN EXTERNAL POWER SOURCE
Mini
Connector
1 - PWR
2 - NC
3 - GND
+
-
WARNING:
1. Under powering may cause memory and data corruption; over powering may cause hardware damage.
Both of these situations will void the warranty.
2. Risk of explosion if battery is replaced by an incorrect type. Dispose of used batteries according to
the instructions.
PoE Injector Specs
• InputVoltage:90-264VAC,60Hz
• InputCurrent:0.4A@100VAC
• OutputVoltage:-48VDC
• OutputCurrent:0.32A
• Power:15.36W
This manual suits for next models
1
Table of contents
Other Safran Touch Terminal manuals