Sagem ITD81 User manual
DIGITAL TERMINAL
ITD81
TERRESTRIAL RECEPTION
MPEG2 – MPEG4
HD TV
USER MANUAL
LU 252744938B ITD81 HD EN.book Page 1 Mercredi, 7. juin 2006 6:31 18

DIGITAL TERMINAL USER MANUAL
I
CONGRATULATIONS!
This is a new generation of Sagem Communication receiver dedicated to Digital Terrestrial Television.
Once you have connected your receiver, you will be able to enjoy all the services.
You can update your receiver if new functions or services become available.
The Sagem Communication Receiver follows a continuous development strategy. Therefore, we
reserve the right to make changes and improvements to the product described in this user manual
without any prior notice.
This product complies with EMC directive 89/336/EEC.
CE marking:
The CE marking certifies that the product complies with the essential requirements of the Directive
1999/5/CE of the European Parliament and Council concerning radio equipment and telecommunication
equipment for the health and safety of users and concerning magnetic interference.
The CE declaration of conformity can be viewed in the support section of the Sagem Communication
site www.sagem.com, or it can be obtained from the following address:
Sagem Communication - Customer relations department
4 rue du Petit Albi
95800 Cergy Saint-Christophe - France
Copyright © Sagem Communication (SAFRAN Group)
All rights reserved
Your Set Top Box is supplied with default code 1234.
LU 252744938B ITD81 HD EN.book Page I Mercredi, 7. juin 2006 6:31 18

DIGITAL TERMINAL USER MANUAL
1
1. DESCRIPTION ...................................................................................................................................................... 2
1.1. Front panel ................................................................................................................................................. 2
1.2. Rear panel .................................................................................................................................................. 2
1.3. Remote control ............................................................................................................................................ 3
2. RECOMMENDATIONS .......................................................................................................................................... 4
3. ENVIRONNEMENT AND SAFETY ........................................................................................................................ 5
4. CONNECTIONS .................................................................................................................................................... 6
4.1. Connection to a high-definition television .................................................................................................... 6
4.2. Aerial connections ....................................................................................................................................... 7
4.2.1. DTT-compatible wireless aerial ........................................................................................................ 7
4.2.2. Non-DTT-compatible wireless aerial ................................................................................................ 8
4.3. Connection to a home cinema amplifier ...................................................................................................... 9
4.4. Connection to a hi-fi unit .............................................................................................................................. 9
5. FIRST INSTALLATION ....................................................................................................................................... 10
5.1. Choice of menu language and Country ..................................................................................................... 10
5.2. Installation of DTT channels ...................................................................................................................... 10
6. CHOICE OF LANGUAGES AND COUNTRIES ................................................................................................. 11
7. TERMINAL SETTINGS ........................................................................................................................................ 12
7.1. DTT channel search .................................................................................................................................. 12
7.1.1. Memorisation of DTT channels ....................................................................................................... 12
7.1.2. Reception level indication ............................................................................................................... 12
7.2. Picture adjustment ..................................................................................................................................... 13
7.2.1. HD outputs ...................................................................................................................................... 13
7.2.2. SD output ........................................................................................................................................ 13
7.3. Audio settings ............................................................................................................................................ 14
7.4. Default settings .......................................................................................................................................... 15
8. USER SETTINGS ................................................................................................................................................ 16
8.1. Changing the parental pin code ................................................................................................................ 16
8.2. Parental control options ............................................................................................................................. 16
8.3. User preferences ....................................................................................................................................... 17
8.4. User List .................................................................................................................................................... 17
9. USING THE INFO BANNER ................................................................................................................................ 18
10. SOFTWARE UPDATE ......................................................................................................................................... 19
11. TECHNICAL CHARACTERISTICS ..................................................................................................................... 20
12. GUARANTEE ...................................................................................................................................................... 22
13. ENVIRONMENT .................................................................................................................................................. 23
Contents
LU 252744938B ITD81 HD EN.book Page 1 Mercredi, 7. juin 2006 6:31 18

DIGITAL TERMINAL USER MANUAL
2
1. DESCRIPTION
Using the high definition digital terminal, you can receive the free DTT (Digital Terrestrial Television) channels
( HD and SD).
The free DTT (Digital Terrestrial Television) channels.
THE PACKAGE CONTAINING YOUR TERMINAL ALSO CONTAINS:
• 1 remote control and 2 batteries.
• 1 mains unit.
• 1 Scart cable.
1.1. Front panel
1.2. Rear panel
1. P+/P-
• Change channel.
2. ®
• Wake up the terminal (press and release)
• Reinitialize terminal (press and hold for 5 sec.).
3. TERMINAL STATUS INDICATOR
4. DISPLAY DIAL
• The current time when the terminal is on standby.
• The programme number when it is turned on.
5. SUBSCRIBER CARD READER
6. DTT AERIAL INPUT
7. ANALOGUE VIDEO CONNECTORS Y Pb Pr
8. DIGITAL AUDIO CONNECTOR
9. SCART CONNECTOR (to TV)
10. MAINS SUPPLY UNIT CONNECTOR
11. SCART CONNECTOR (to VCR or DVD writer)
12. ANALOG AUDIO CONNECTORS (to hi-fi unit)
13. HDMI DIGITAL AUDIO VIDEO CONNECTOR
14. DTT AERIAL OUTPUT
1
234 5
IN
OUT
VCR
TV
12V DC IN
DIGITAL
RIGHT
LEFT
HDMI
Y
Pr
Pb
AUDIOVIDEO
DTT
689
1014 13 12 11
7
LU 252744938B ITD81 HD EN.book Page 2 Mercredi, 7. juin 2006 6:31 18

DIGITAL TERMINAL USER MANUAL
3
1.3. Remote control
*
Access teletext mode.
*
Access radio mode *.
*
Used to switch from TV mode to
terminal mode and AUX scart mode.
V+/V-
Volume adjustment.
ON/OFF
Put terminal on standby:
• Normal (press and release)
• Sleep (press and hold for 5sec.)
To wake up the terminal from sleep
mode, press the ®button on the
terminal front panel.
Button not assigned
Favourite channels
Access favourite channels.
P+/P-
Change channel.
OK
Confirms a selection
MENU
Access terminal customization
screens:
• PIN Code management
• Selection of favourite channels
• Terminal setting
• Storing channels
INFO BANNER
Information on current/following
programme.
1234...
Access a particular channel
SAT/DTT**
Mute
Switches sound on or off.
Navigation arrows
• In the MENU, you use them to
navigate between the various
screens.
• In the INFO BANNER, you use
them to see what programmes are
on other channels later on.
GUIDE*
Access to programme guide.
EXIT
Exit from an application (INFO
BANNER or MENU for example).
RETURN
Return to the last screen or channel
visited.
HD
Change resolution mode if HD option
enabled.
* not available
** not available: DTT receiver only
LU 252744938B ITD81 HD EN.book Page 3 Mercredi, 7. juin 2006 6:31 18

DIGITAL TERMINAL USER MANUAL
4
2. RECOMMENDATIONS
XWHERE TO PUT YOUR TERMINAL?
• The terminal must be connected to an easily-accessible mains socket.
• Choose a location away from radiators or other heat sources.
• Leave free space around the terminal for ventilation and ensure that curtains, other appliances or
cupboards cannot prevent air circulating around the ventilation slots.
• Avoid exposing the terminal to very strong light (sun, spotlights, etc.).
XINSERTING BATTERIES INTO THE REMOTE CONTROL
• Remove the cover on the back of the remote control. Insert the two round AAA 1.5 batteries supplied (press
and raise the cover using a coin for example).
XSAFETY INSTRUCTIONS
• To avoid short-circuits (fire or electrocution hazard) do not expose your terminal to dampness. Do not place
any object containing liquid (vase for example) on the appliance. The terminal must not be splashed with
liquid. If necessary, disconnect your terminal and consult your supplier.
• Avoid reconnecting the terminal after it has been subjected to large changes in temperature.
XWARNING
DANGEROUS VOLTAGE INSIDE – DO NOT OPEN THE TERMINAL!
• Any attempt to open the terminal may render you liable to legal action.
• Take care not to allow liquids or metal objects to enter the terminal through the ventilation slots. You will be
liable for any repair or replacement costs.
• If liquid is upset onto the terminal, unplug it immediately from the mains.
XThis "HD TV" Television Receiver complies with the "HD TV" Minimum Requirements. The "HD TV" Logo is a
trademark of EICTA.
LU 252744938B ITD81 HD EN.book Page 4 Mercredi, 7. juin 2006 6:31 18
DIGITAL TERMINAL USER MANUAL
5
3. ENVIRONNEMENT AND SAFETY
XEUROPEAN DIRECTIVE ON WASTE ELECTRICAL AND ELECTRONIC EQUIPMENT (WEEE)
In the context of sustainable development, the reduction of wastes to be eliminated by reusing, recycling,
composting and energy recovery is strongly advised.
In order to comply with this directive which is applicable to EEEs sold after 13/08/2005, your receiver will be
taken back free of charge and recycled by the distributor of the EEE within the limits of the quantity and types
of equipment bought from them. These appliances which contain substances potentially dangerous to human
health and the environment will be recycled.
XDIRECTIVE ON THE RESTRICTION OF USE OF CERTAIN HAZARDOUS SUBSTANCES IN
ELECTRONIC EQUIPMENT (RoHS)
Your receiver along with the batteries supplied comply with the directive relating to the RoHS – dangerous
materials such as lead, mercury or cadmium are not used. This avoids environmental hazards and any risks
to the health of personnel at the recycling centres. The batteries of the remote control can be removed simply.
Note : When the batteries of the remote control are worn out, please dispose of them at a collection point and
not with household waste.
XMEANING OF LOGOS PRESENT ON THE PRODUCT OR ITS PACKAGING
The deleted dustbin sign means that at the end of its life, the product is subject to selective collection
and must not be thrown away in unsorted general household waste.
The looped arrow sign means that the packaging may be recycled and must not be disposed of with
household waste.
The green logo means that a financial contribution has been made to the national association for the
retrieval and recycling of packaging (Eco emballage in France).
The logo with three arrows shown on the plastic parts means that they may be recycled and that they
must not be disposed of with household waste.
XSAFETY
REMINDER FOR TERMINAL CONNECTIONS (PAGE 2 OF THIS MANUAL)
Connectors coded 6, 7, 8, 9, 10, 11, 12, 13, 14, 15, 16: Very low safety voltage
XELECTRICAL CONSUMPTION OF THE TERMINAL
To reduce the consumption of your terminal, you are recommended to place it in standby mode when not in
use. We recommend you to turn off the terminal or unplug it from the mains if you will not be using it for a
prolonged period of time.
LU 252744938B ITD81 HD EN.book Page 5 Mercredi, 7. juin 2006 6:31 18

DIGITAL TERMINAL USER MANUAL
6
4. CONNECTIONS
4.1. Connection to a high-definition television
To take advantage of HD high-quality definition, you must connect the HDMI connection of your digital
terminal to the HDMI or DVI connector (protected by HDCP) on your television (cable not supplied).
Your VCR/DVD writer is connected to your television and the terminal using the scart connectors.
Note : If your television is fitted with a DVI connector (protected by HDCP), refer to page 9 of this manual to
carry out the audio connections.
Digital terminal
High
definition
television
VCR or
DVD writer
LU 252744938B ITD81 HD EN.book Page 6 Mercredi, 7. juin 2006 6:31 18

DIGITAL TERMINAL USER MANUAL
7
4.2. Aerial connections
To make sure that your terminal can receive all the free DTT channels, you must check first of all that your
house is covered by DTT and that your wireless installation is compatible.
TO FIND OUT IF YOU ARE COVERED BY DTT: contact your distributor.
4.2.1. DTT-compatible wireless aerial
• Connect your aerial by plugging in the terrestrial aerial cable to the DTT INPUT connector. Afterwards,
connect the DTT OUTPUT connector to the aerial input of your VCR/DVD writer.
• Then connect the mains unit between the 12V connector of the terminal and a mains socket near to the
appliance and easily accessible.
• Finally, connect your other appliances as indicated below.
Note : If your VCR/DVD writer has multiple scart connectors, choose the TV or EXT1 connector.
Digital terminal
VCR or
DVD writer
DTT-
compatible
aerial
LU 252744938B ITD81 HD EN.book Page 7 Mercredi, 7. juin 2006 6:31 18

DIGITAL TERMINAL USER MANUAL
8
4.2.2. Non-DTT-compatible wireless aerial
If your wireless aerial is not compatible and you live near a transmitter, you can buy a "FULL BAND" internal
aerial from a specialist shop, local audiovisual shop or superstore.
If you live a long way from a transmitter, you will need a new external aerial which may be installed by an
installer.
• Connect your aerial by plugging in your internal aerial cable to the DTT INPUT connector. You do not
change your current aerial connection which stays connected to your TV.
• Then connect the mains unit between the 12V connector of the terminal and a mains socket near to the
appliance and easily accessible.
• Finally, connect your other appliances as indicated below.
Note : If your VCR/DVD writer has multiple scart connectors, choose the TV or EXT1 connector.
Digital terminal
VCR or
DVD writer
Non-DTT-
compatible
aerial
DTT-compatible
internal aerial
LU 252744938B ITD81 HD EN.book Page 8 Mercredi, 7. juin 2006 6:31 18
DIGITAL TERMINAL USER MANUAL
9
4.3. Connection to a home cinema amplifier
To take advantage of quality DOLBY DIGITAL sound available on some channels, we advise you to connect
your terminal to your HOME CINEMA amplifier fitted with a coaxial input.
Connect the DIGITAL AUDIO output to the input of your HOME CINEMA amplifier (coaxial cable not
supplied).
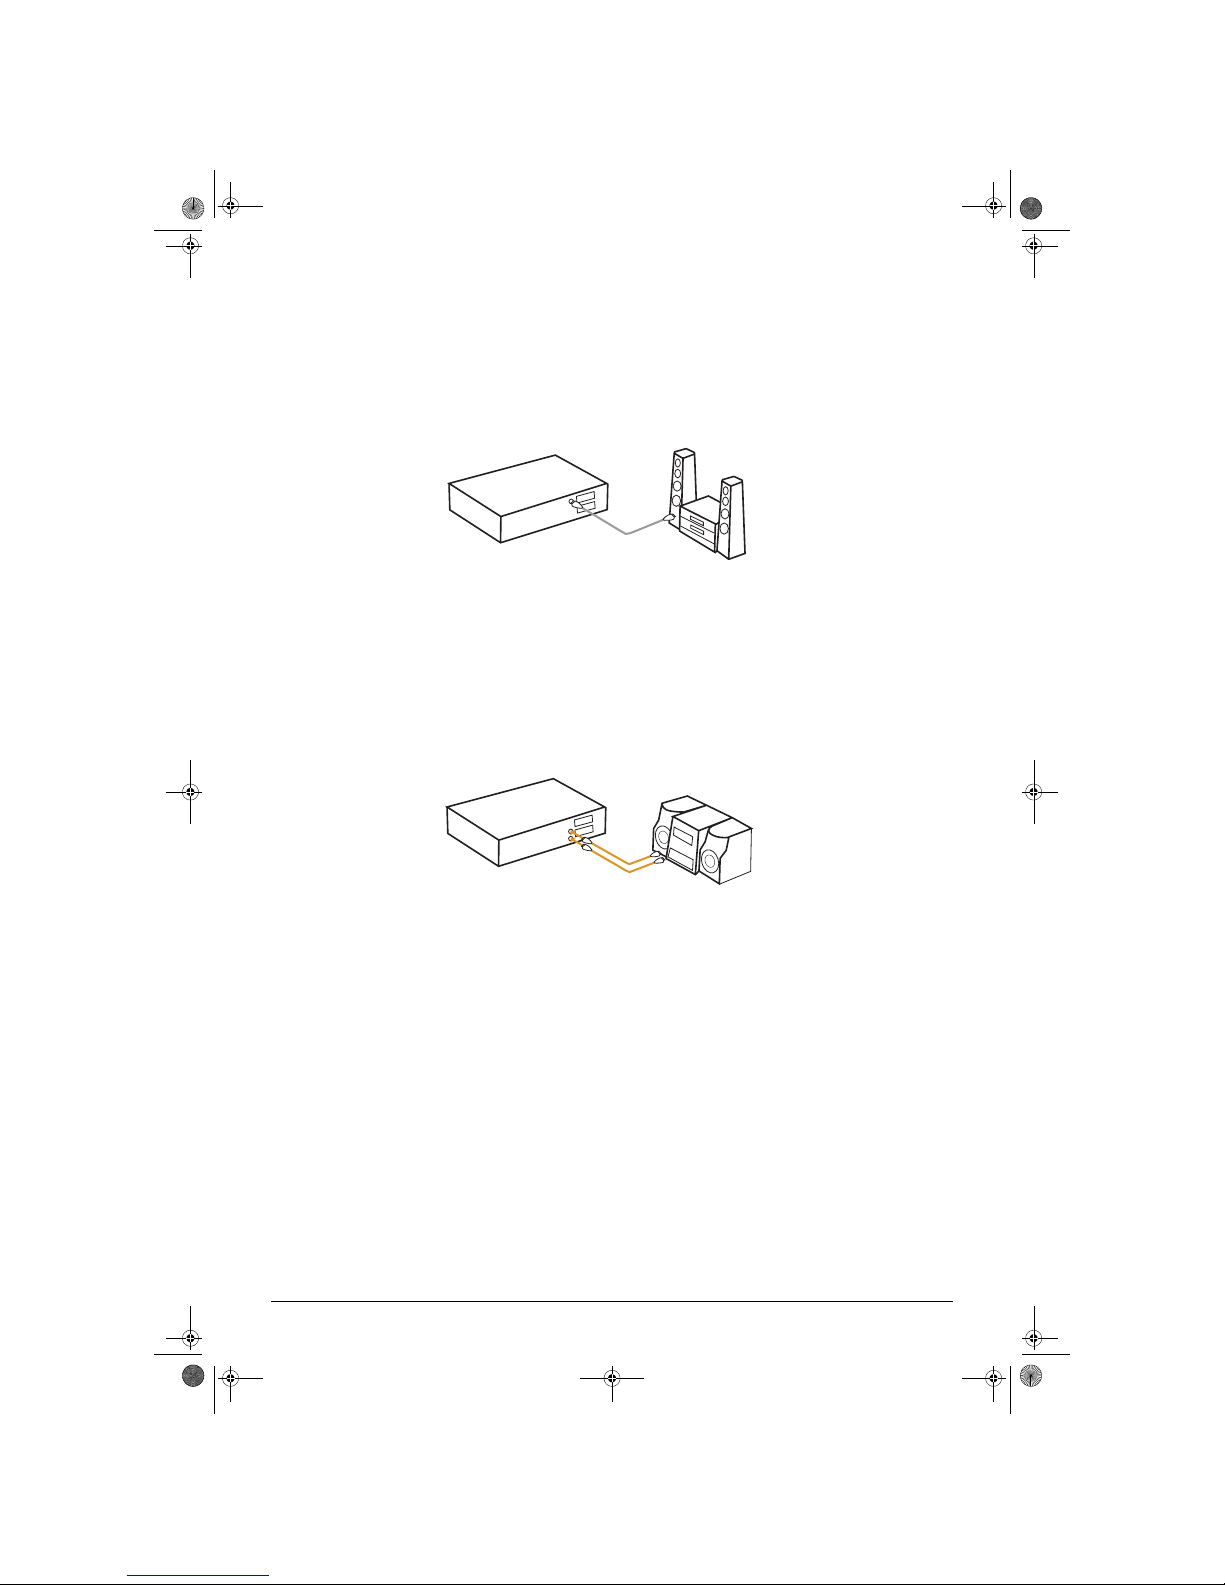
4.4. Connection to a hi-fi unit
To take advantage of the terminal's laser quality sound, just connect the right and left audio outputs of the
terminal to the auxiliary input of your hi-fi system (cable not supplied).
Tip: Connected this way, you can listen to radio channels with the TV turned off.
Digital terminal
Home Cinema
Amplifier
Digital terminal
HI-FI unit
LU 252744938B ITD81 HD EN.book Page 9 Mercredi, 7. juin 2006 6:31 18
DIGITAL TERMINAL USER MANUAL
10
5. FIRST INSTALLATION
• Switch on your TV.
• The welcome screen appears. If it has still not appeared after 30 seconds, switch your TV to the auxiliary
inputs (HDMI, YUV, Scart) until the welcome screen does appear.
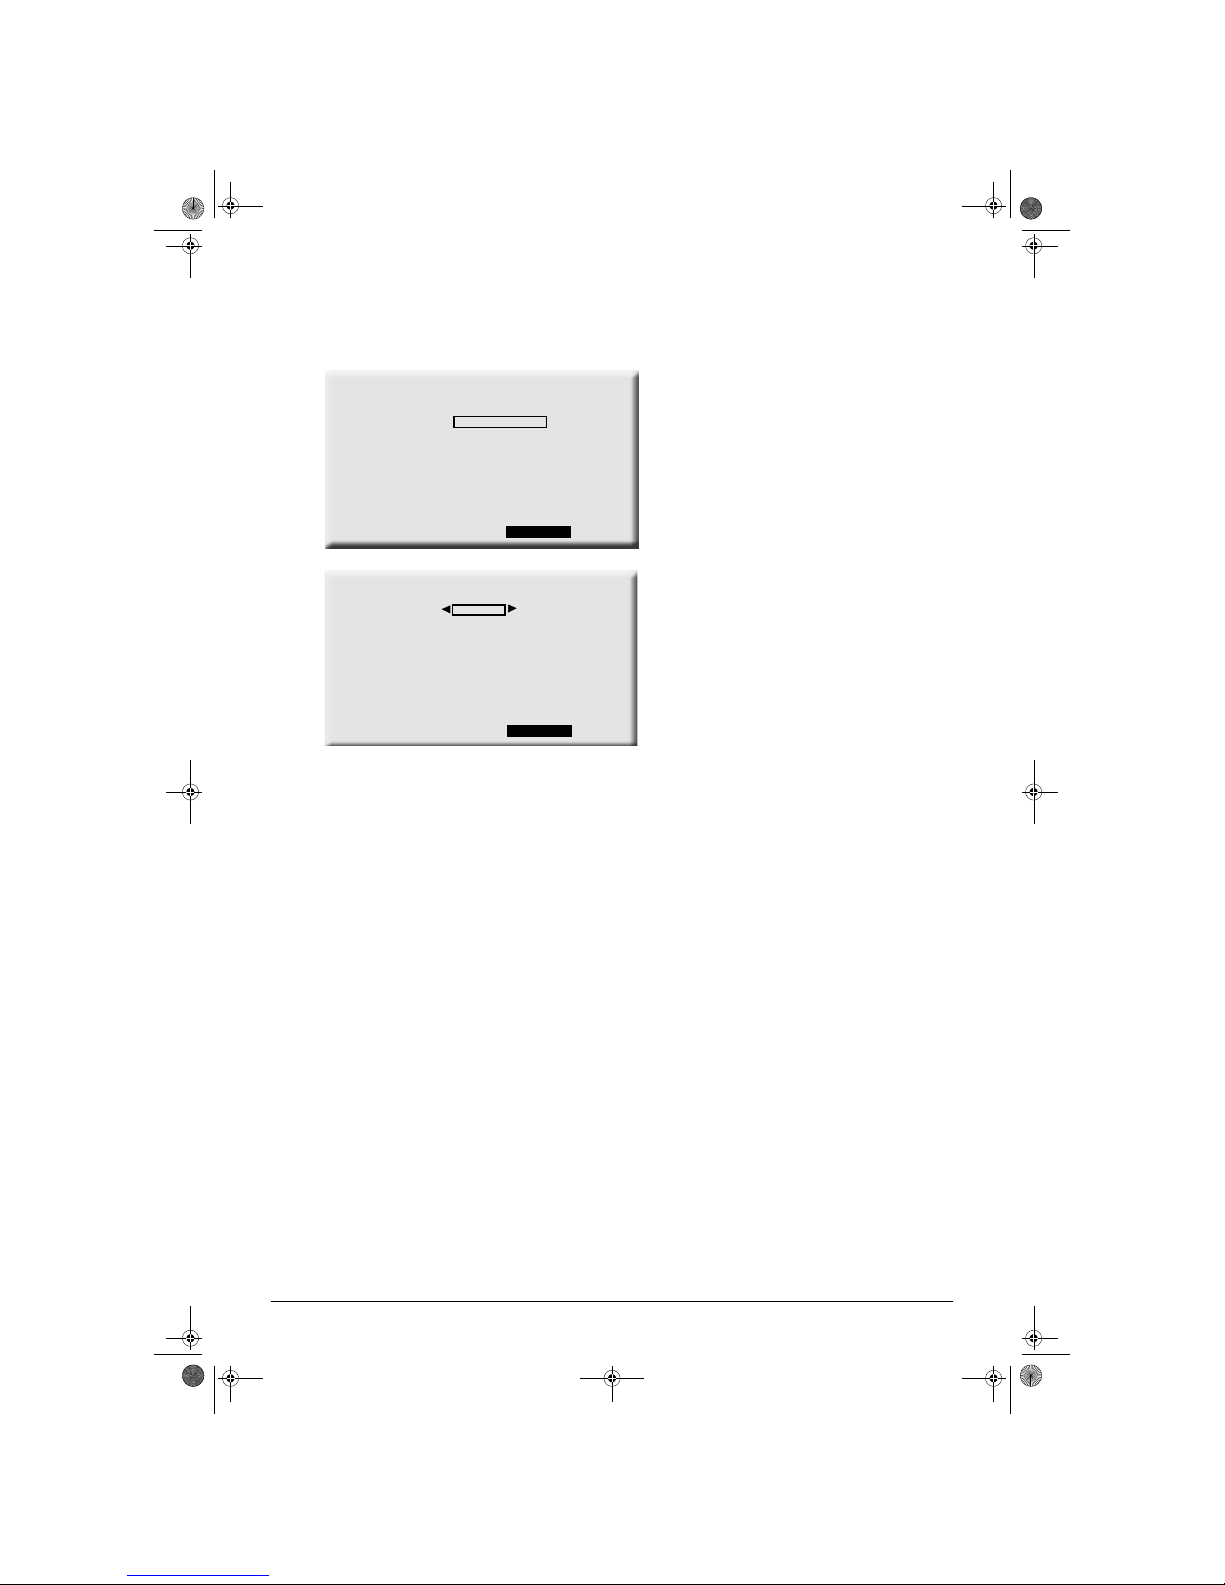
5.1. Choice of menu language and Country
• Choose your menu language.
• Choose the country in which the terminal is to
be used
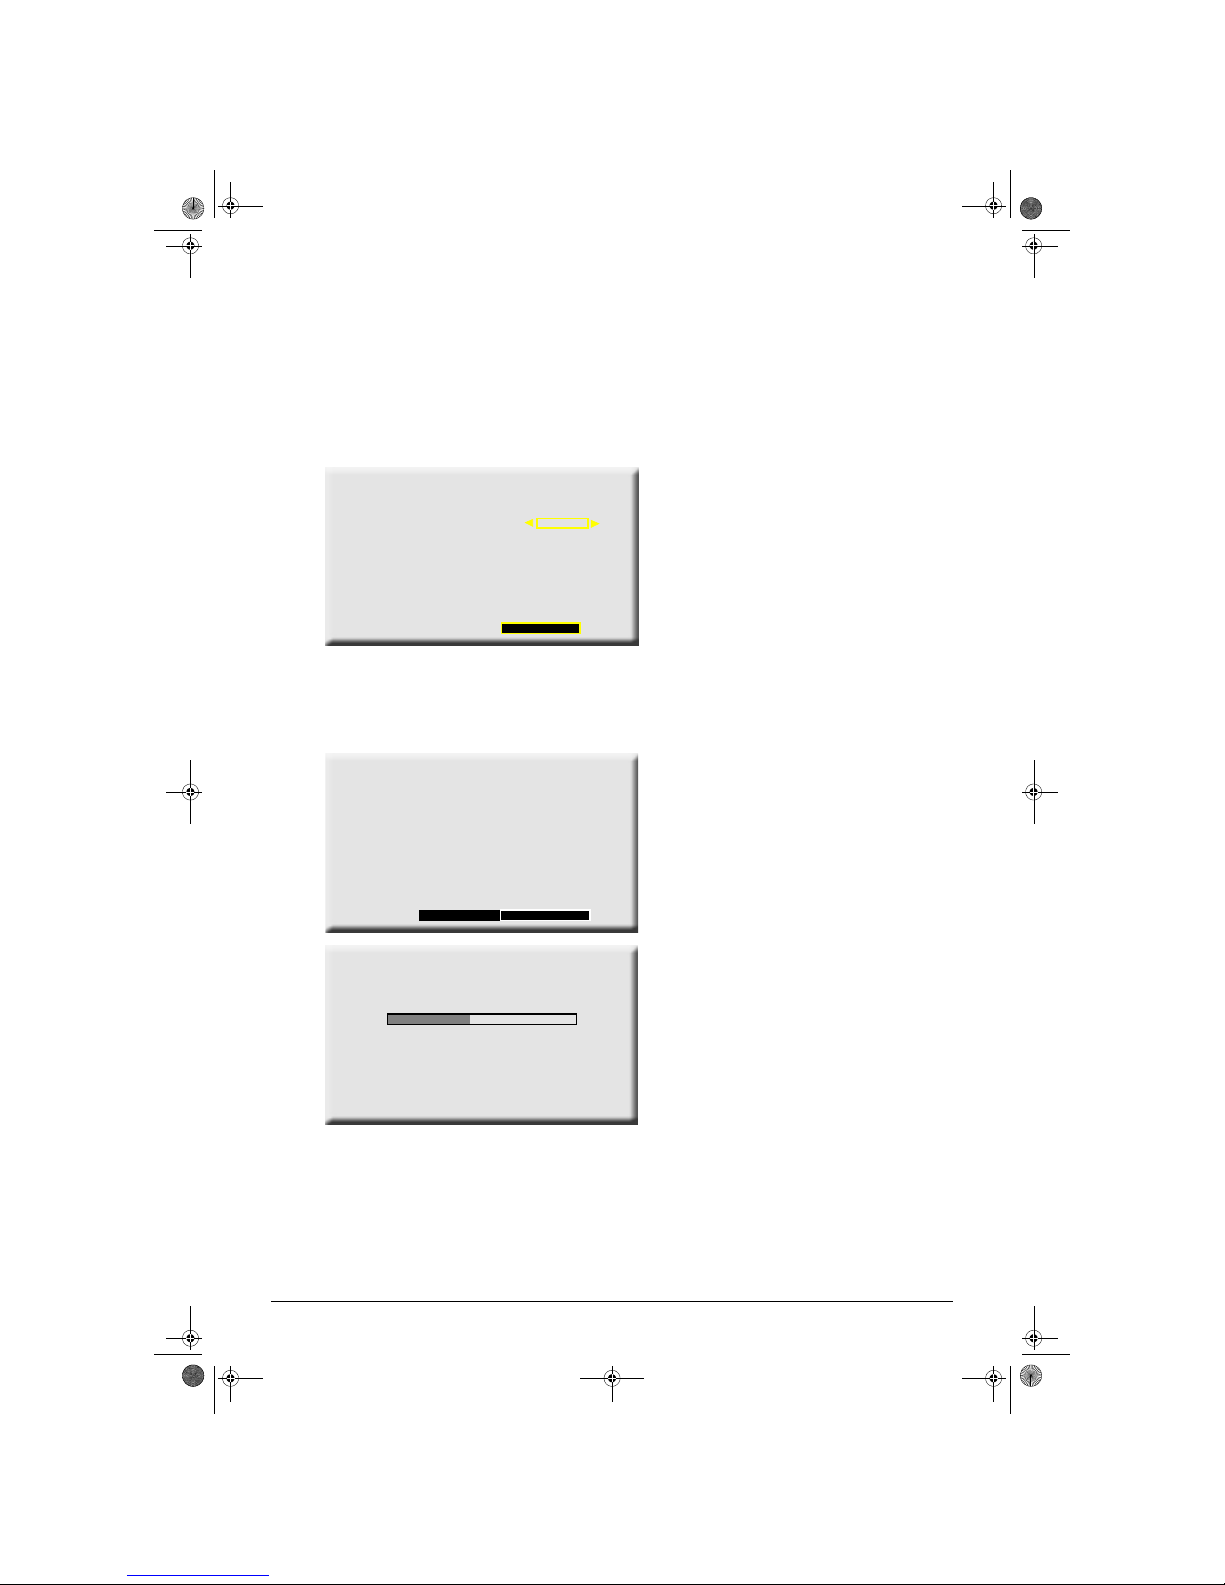
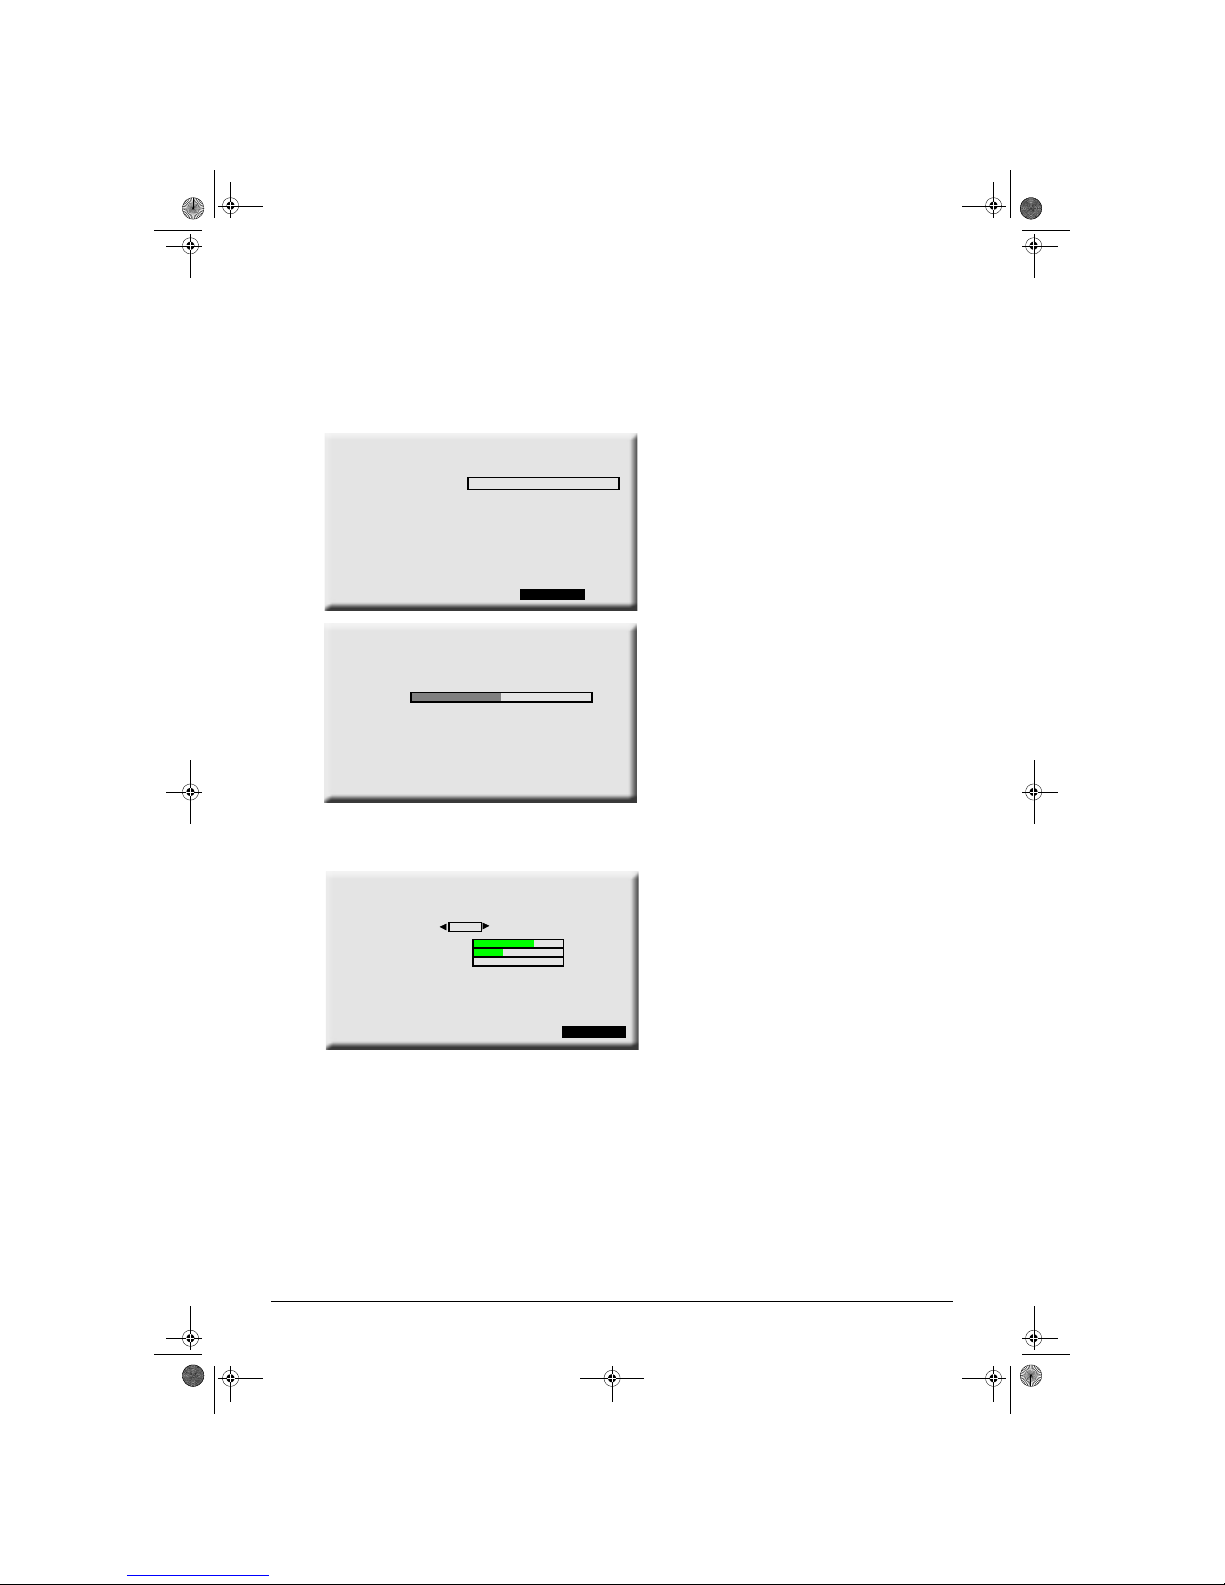
5.2. Installation of DTT channels
If you want to install the free DTT channels straight
away, select "TO INSTALL DTT", otherwise select
"TO NOT INSTALL DTT".
Note: If you are unable to receive the DTT signal,
choose "Cancel" to cancel the DTT channels
installation procedure and refer to section 7.2 to
adjust your antenna and carry out another
memorisation operation.
Your terminal is now ready to work.
However, you should refer to chapter 7 "Terminal settings" for a configuration better suited to your needs, and
to chapter 8 "User settings", depending on your preferences.
WELCOME
OSD LANGUAGE SWEDISH
NEXT
DTT CHANNEL
SEARCH
With your box you can access to the free digital
terrestrial television channels.
To accede, press OK key of your remote.
If not select "to not install DTT"
TO NOT INSTALL DTT TO INSTALL DTT
DTT CHANNEL
SEARCH
PROCESSING CHANNEL : 35
LU 252744938B ITD81 HD EN.book Page 10 Mercredi, 7. juin 2006 6:31 18
DIGITAL TERMINAL USER MANUAL
11
6. CHOICE OF LANGUAGES AND COUNTRIES
Press the MENU key to access the settings.
Select the "Languages/country" line.
Choose your preferred settings.
Note: your choice of audio language and subtitles
will be applied at each channel change, provided
that they are broadcast.
MAIN MENU
LANGUAGES/COUNTRY
USER SETTINGS
BOX SETTINGS
CONDITIONNAL ACCESS
EXIT
LANGUAGES/COUNTRY
OSD LANGUAGES
COUNTRY
AUDIO TRACK
SUBTITLING
TELETEXT LANGUAGE
ENGLISH
SWEDEN
SWEDISH
SWEDISH
DANISH
EXIT
LU 252744938B ITD81 HD EN.book Page 11 Mercredi, 7. juin 2006 6:31 18
DIGITAL TERMINAL USER MANUAL
12
7. TERMINAL SETTINGS
7.1. DTT channel search
7.1.1. Memorisation of DTT channels
• Select the "DTT channel search" line by OK.
• The search begins automatically.
If no channel is found, adjust your dish using
the following level control screen.
7.1.2. Reception level indication
The "diagnostic" screens can help you adjust your
dish more accurately.
CHANNEL SEARCH
DTT CHANNEL SEARCH
DTT SIGNAL INFORMATIONS
BACK
DTT CHANNEL
SEARCH
PROCESSING CHANNEL : 35
DTT SIGNAL
DIAGNOSTIC
checked DTT channel
DTT Transmitter
signal strength
cber
vber
not received packet
tps presence
aci
cci
presence long echos
frequency: 522,17
none
Yes
No
No
No
27
-63 dBm
1,16e-04
0
LU 252744938B ITD81 HD EN.book Page 12 Mercredi, 7. juin 2006 6:31 18

DIGITAL TERMINAL USER MANUAL
13
7.2. Picture adjustment
7.2.1. HD outputs
If you have connected your terminal to an "HD ready" flat screen with a YUV, HDMI or DVI input, you should
set "HD outputs activation" to "Yes".
• Select the required resolution: 1080i or 720p.
• "Make sure that the chosen screen format is
16/9.
• Choose the AUX scart video standard (PAL or
S-Video).
• Note that the video output on the AUX scart is
not in HD quality but in SD and the 16/9 format
of the HD video will be delivered in 4/3 letter
box format.
• "If the terminal's HD outputs are used (YUV or
HDMI) the TV scart only outputs PAL video
(RGB cut).
7.2.2. SD output
If you have not connected your terminal to an "HD ready" flat screen, but to a standard 16/9 or 4/3 television,
you should set the "HD outputs activation" option to "No".
The YUV and HDMI outputs on your terminal will then output no video signal.
• Choose the format of your standard TV: 4/3 or
16/9.
• If you have a 4/3 TV, select the "Letter box"
option in other words a 16/9 picture in a 4/3
screen, or the "pan and scan" option, in other
words the centre of a 16/9 image in a 4/3
screen.
• Choose the TV scart video: PAL or RGB (better
quality).
• Choose the AUX scart video: PAL or S-video
(better quality).
VIDEO SETTINGS
HD outputs activation
HD outputs resolution
TV screen format
video resizing
AUX scart
Yes No
1080i 720p
4/3 16/9
letter box pan & scan
PAL S-VIDEO
CANCELDEFAULT VALUES OK
VIDEO SETTINGS
HD outputs activation
TV screen format
video resizing
TV scart
Yes No
4/3 16/9
letter box pan & scan
PAL RGB
CANCELDEFAULT VALUES OK
AUX scart PAL S-VIDEO
LU 252744938B ITD81 HD EN.book Page 13 Mercredi, 7. juin 2006 6:31 18
DIGITAL TERMINAL USER MANUAL
14
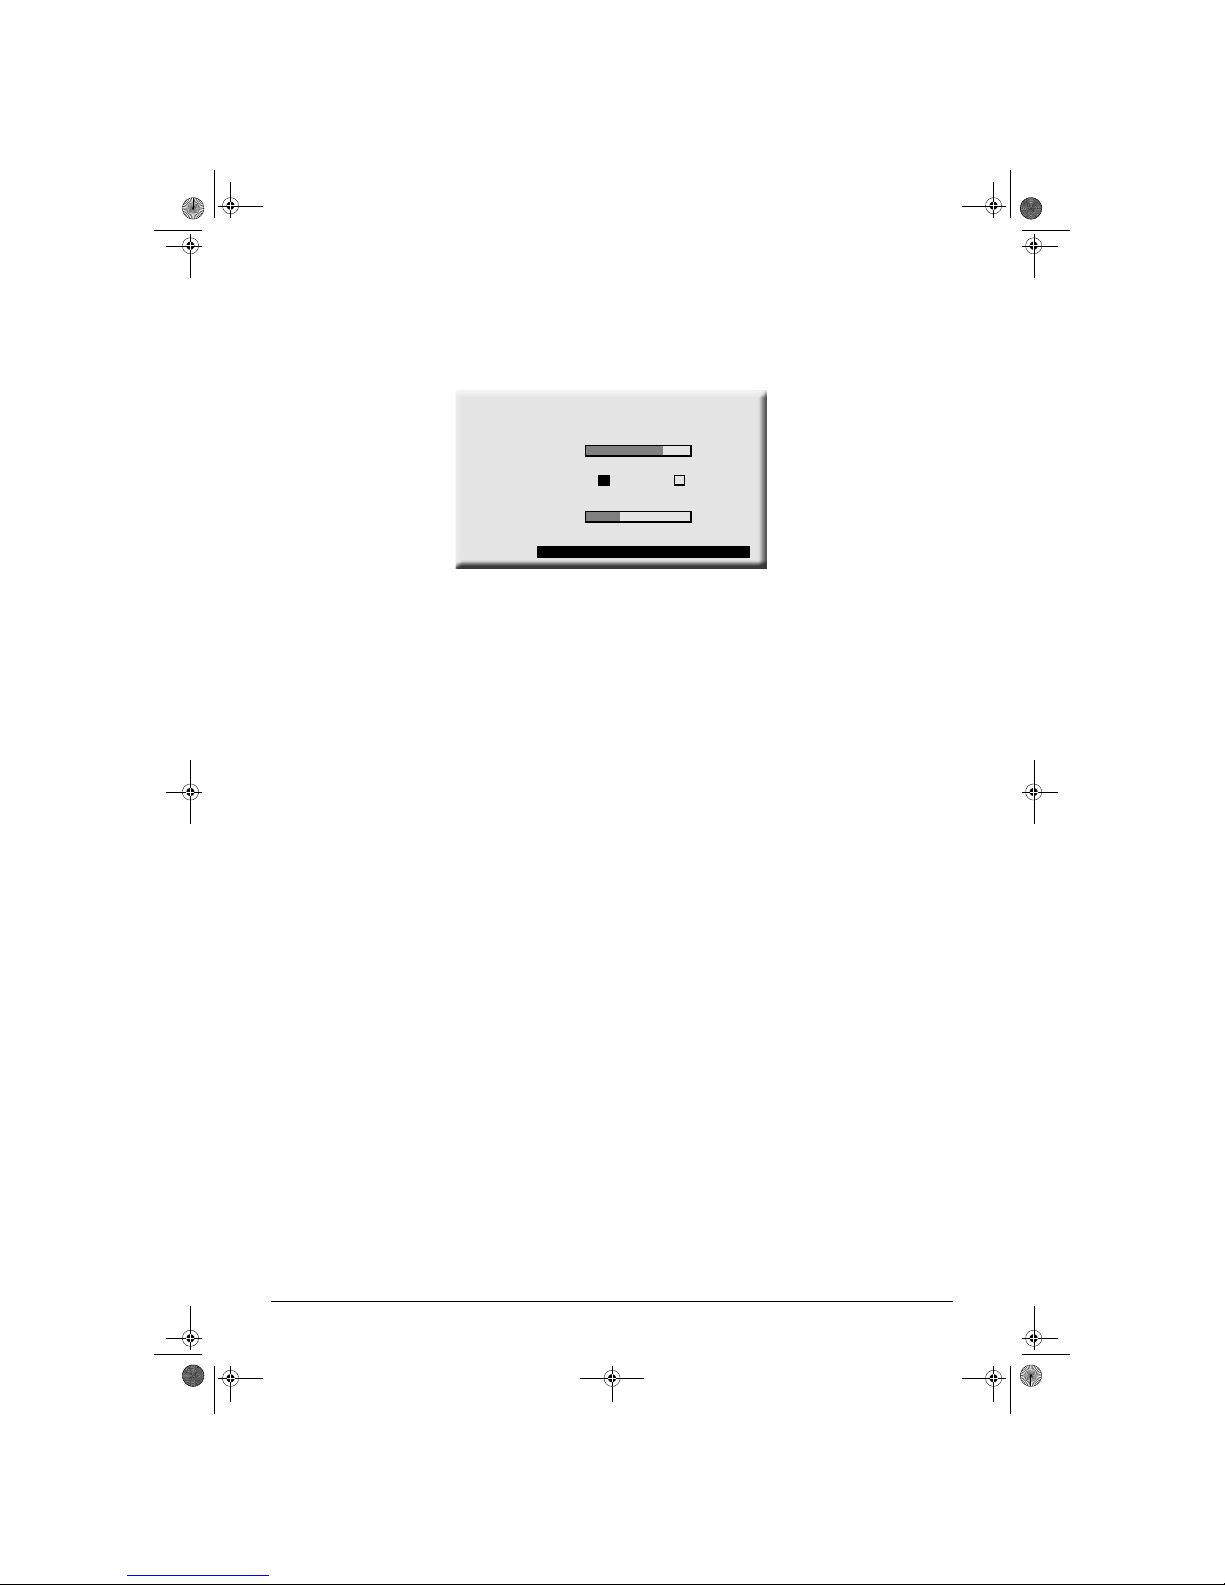
7.3. Audio settings
Access this screen from the MENU key, then "Terminal settings" and "Audio settings".
• To adjust the terminal's volume setting, position the cursor on "-" or "+" to lower or raise the volume and
press the OK key.
• If you have HOME CINEMA equipment, set "Dolby AC3" to "Yes".
• If you are using the HDMI or DIGITAL AUDIO connector, set "Dolby AC3" to "YES".
• You can memorise the settings by pressing the "OK" button.
AUDIO SETTINGS
DOLBY AC3 on digital output output
Yes No
CANCELDEFAULT VALUES OK
Digital audio output level
MIN MAX
-+
Dolby digital adjusting
MIN MAX
-+
LU 252744938B ITD81 HD EN.book Page 14 Mercredi, 7. juin 2006 6:31 18

DIGITAL TERMINAL USER MANUAL
15
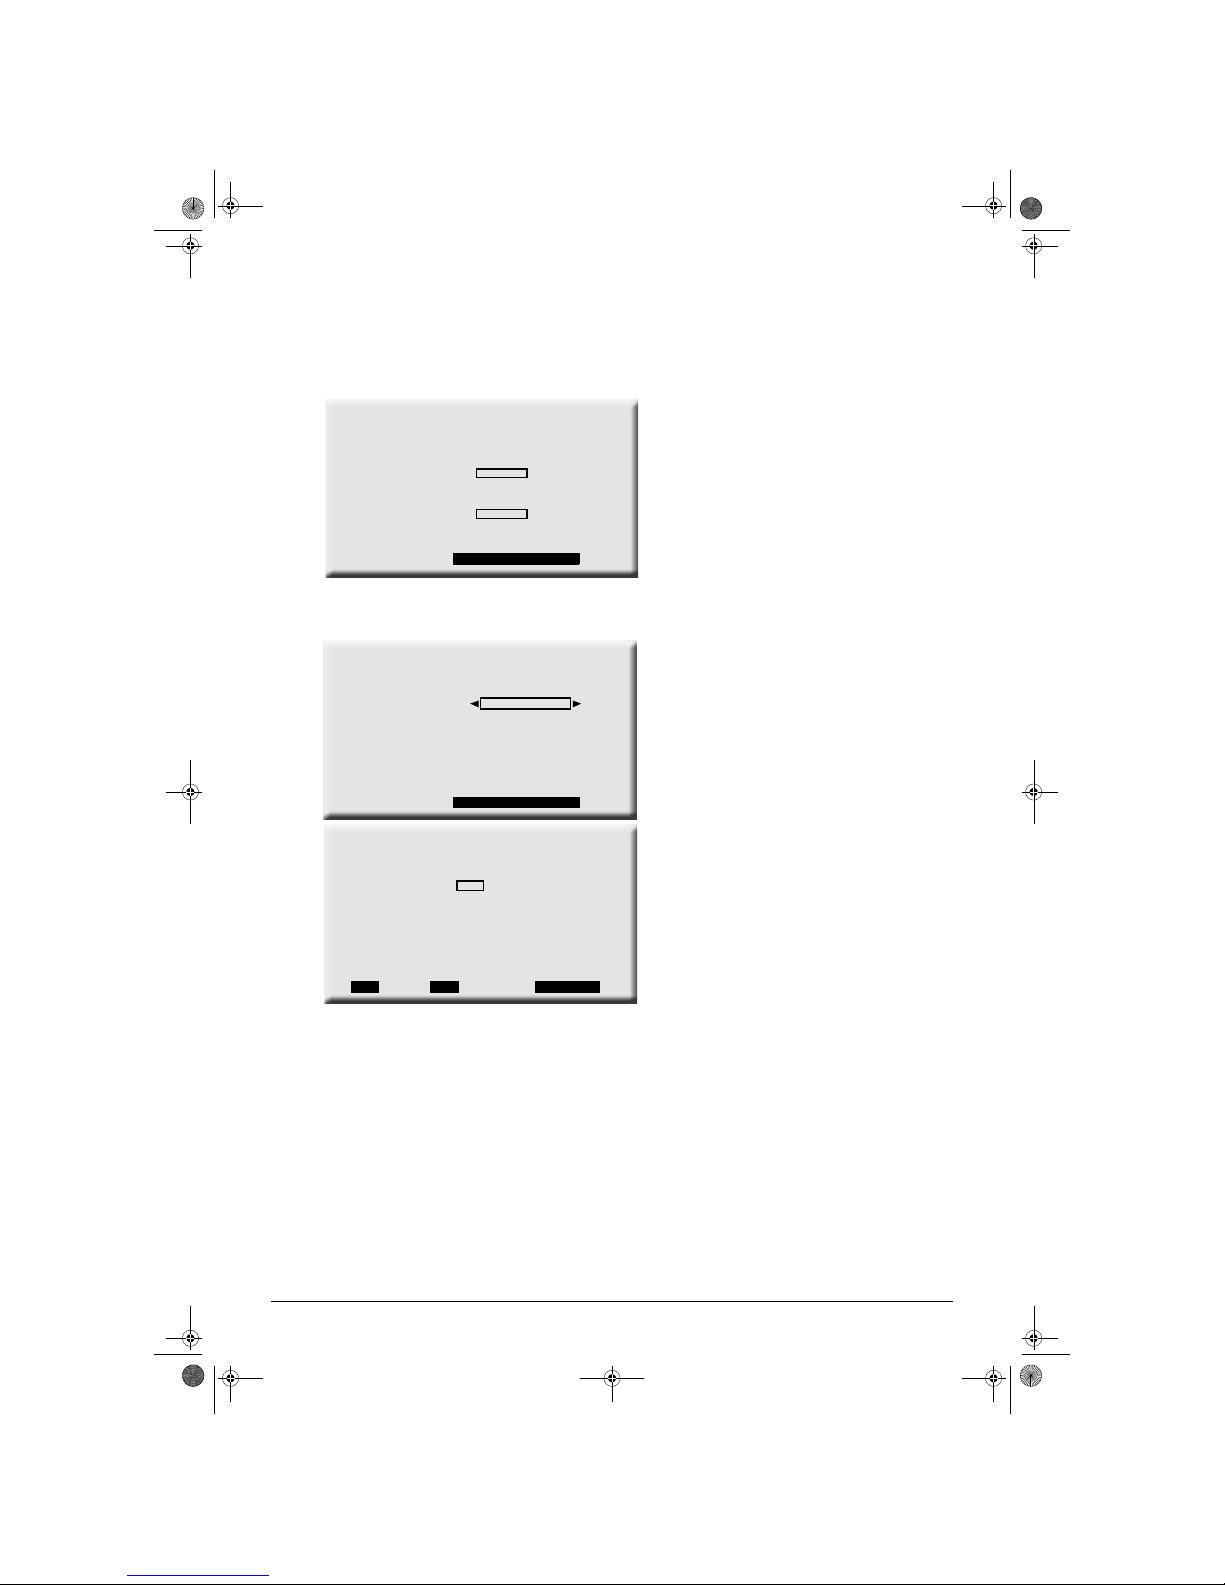
7.4. Default settings
In Terminal Settings, choose FACTORY DEFAULT
RESET.
As mentioned on the screen opposite, all
the channels and settings will be lost if you
confirm this choice.
You must enter the parental pin code in order to set
this configuration.
FACTORY DEFAULT
RESET
To enter the reset menu, please
enter your parental pin code
OK
* * * *
CANCEL
FACTORY DEFAULT
RESET
Your box will be reset to factory condition
This operation will take a few
minutes.
Do you confirm the reset ?
CONFIRM
CANCEL
!
LU 252744938B ITD81 HD EN.book Page 15 Mercredi, 7. juin 2006 6:31 18
DIGITAL TERMINAL USER MANUAL
16
8. USER SETTINGS
8.1. Changing the parental pin code
Press MENU to access the various configurations.
Select "User settings" then "Parental pin code".
Enter your code to access the menu opposite then
type in and reconfirm your new code.
Note: The decoder is delivered with default pin
code 1234.
8.2. Parental control options
You can lock access to the wished DTT channels.
Select the type of channel.
Then check the channels you want to lock.
You will be asked for your parental code when you
reach the locked channel.
CHANGE MY PARENTAL
CONTROL PIN CODE
Enter your new parental pin code :
Please confirm your parent pin code by
entering it again :
OKCANCEL
OKCANCEL
PARENTAL CONTROL
OPTIONS
DTT Channels locking :
DTT channels list
DTT LOCKED
CHANNELS
1 channel1 X
2 channel2
3 channel3
4 channel4
5 channel5
6 channel6
7 channel7
8 channel8
NEXT<< >>PAGE 1/3
LU 252744938B ITD81 HD EN.book Page 16 Mercredi, 7. juin 2006 6:31 18

DIGITAL TERMINAL USER MANUAL
17
8.3. User preferences
On this screen you can choose the zapping banner
display time.
8.4. User List
With this screen you can create a list of DTT
favourites.
Set "User list" to YES.
Select the type of list (DTT).
Indicate the required channels.
You can switch to the user favourites list by
pressing key .
OKCANCEL
USER PREFERENCES
Zapping banner time out :
LOW MEDIUM HIGH
OKCANCEL
USER LIST
MANAGER
Favourite DTT channels selection
DTT channels list
User list:
YES NO
FAVOURITE DTT
LIST
1 channel1 X
2 channel2
3 channel3
4 channel4
5 channel5
6 channel6
7 channel7
8 channel8
NEXT<< >>PAGE 1/3
LU 252744938B ITD81 HD EN.book Page 17 Mercredi, 7. juin 2006 6:31 18

DIGITAL TERMINAL USER MANUAL
18
9. USING THE INFO BANNER
used to look for programmes in progress on
another channel without leaving the current
channel.
on another channel without leaving the current
channel.
More information enables you to:
• watch the selected channel
• see the summary of the channel selected.
From the INFO BANNER, you can also choose a
different audio language and subtitling than those
chosen in the settings menus.
From the INFO BANNER you can also activate or
add a channel to your user list.
17:49
PRESS OK
FOR MORE
2 C MORE HD SAT
MOVIE - IMPOSSIBLE DREAM
16H42 18H56
17:49
WATCH
SUMMARY
OPTIONS
2 C MORE HD SAT
MOVIE - IMPOSSIBLE DREAM
16H42 18H56
BACK
SUMMARY
Bla Bla bla bla
1/3 1 CHANNEL 1 DTH
MOVIE - IMPOSSIBLE DREAM
FROM 16H42 TO 18H54
17:49
PREFER
1 CHANNEL 1 DTH
MOVIE - IMPOSSIBLE DREAM
FROM 16H42 TO 18H54
BACK
AUDIO TRACK
ENGLISH
SUBTITLES
NONE
17:49
LANGUAGE
1 CHANNEL 1 DTH
MOVIE - IMPOSSIBLE DREAM
FROM 16H42 TO 18H54
BACK
USER LIST
ACTIVATE
DISPLAYED CHANNEL
ADD
17:49
LU 252744938B ITD81 HD EN.book Page 18 Mercredi, 7. juin 2006 6:31 18
Table of contents
Other Sagem TV Receiver manuals

Sagem
Sagem ITD 5510 User manual

Sagem
Sagem ITD 58 User manual

Sagem
Sagem ITD 602 User manual

Sagem
Sagem ITD 58 User manual

Sagem
Sagem DVR 6400T User manual

Sagem
Sagem freesat+ recorder User manual

Sagem
Sagem DTR94 HD FREESAT User manual

Sagem
Sagem PVR 6200T UK User manual

Sagem
Sagem ITD 66 User manual

Sagem
Sagem DVR 6200T User manual


Popular TV Receiver manuals by other brands


FONESTAR
FONESTAR RDT-756U instruction manual

Sony
Sony SAT-T60 Welcome to DIRECTV & TiVo Instructions (primary... Upgrade instructions

Xoro
Xoro HRS 8750 CI+ user manual

Denver
Denver DVBT-804 Operation instructions

Tripp Lite
Tripp Lite FCC Radio/TV Owner's manual addendum

RCAVICTOR
RCAVICTOR TRK-12 owner's manual