manuals.online logo
Brands
  1. Home
  2. •
  3. Brands
  4. •
  5. Salamander Designs
  6. •
  7. Indoor Furnishing
  8. •
  9. Salamander Designs OLIVIA User manual

Salamander Designs OLIVIA User manual

Page 1 of 10Olivia - v8/20
OLIVIA
Assembly Instructions
Thank you for your purchase.
Unpack all content and check
to ensure that all of the parts
are in proper condition. To
help protect the environment,
use the appropriate recycling
and discarding methods for the
packaging items.
Read ALL assembly instructions
before beginning. If you have any
questions, please contact your
installator or Salamander Designs
at 800-535-5659.
Tool Required:
Philips Screwdriver
PARTS - Supplied with Armless, Left and Right-End Chairs
5/16 - 18 x 50 mm
Connector Bolt
Part# 012028
1/4 - 20 x 45 mm
Connector Bolt
Part# 002253
1/4 - 20
Hex Nut
Part# 005489
6
1/4 - 20 x 70 mm
Connector Bolt
Part# 003356
4321
Hex Wrench
Part# 005490
5
Spacers
Page 2 of 10
Olivia - v8/20
A. Remove four hand-tightened
screws from the back rest frame.
B. Remove lower back removable
panel.
Align the backrest screw holes to
the upper and lower holes in the
chair mechanism tongues.
Install and tighten screws.
Attaching Back Rests
1
Page 3 of 10Olivia - v8/20
If you have purchased a Tactile
Sound Transducer for your chair(s),
install before connecting seats.
Remove lower back panel. Screw
on jam nut included with transducer
kit. Approximately 3/8” (10 mm) of
threads should be exposed on bolt
on chair frame. Screw transducer
onto bolt to meet jam nut. Make
sure transducer sits at least 1/8”
(3 mm) above inner chair frame
cross rail (adjust if necessary),
tighten jam nut and transducer to
lock in-place.
Tactile Transducer - Optional
2
Power Seating - Optional
3
A. Connect recliner controllers
to motors.
B. Connect power supplies
to motors.
Coil & Tie Extra Wire Length.
Be careful to route wires away
from mechanism.
2-pin adaptor cord
Page 4 of 10
Olivia - v8/20
A. Align pieces in location, as
they will be nal assembled.
Align front and back bolt holes.
B. Extend foot rest to access front
bolt holes and secure connection
by inserting bolts (#1) through chair
and into arm.
C. Remove lower back panels
and locate the back bolt holes.
Secure connection by inserting bolt
(#1) through chair and into arm.
Connecting Seats to Arms (End Chair to Straight or Corner Section)
4
1
1
Spacer info:
• Spacers are needed when connecting seats to arms. Each side of a
seat that does not have an arm needs a spacer.
• Spacers match the shape of the chair bases and are attached along the
side of the base.
• Spacers are unique to each model chair. Some are thicker than others.
Some have upholstery applied.
Example:Inacongurationof4recliners6spacersareneeded.
Spacer
Page 5 of 10Olivia - v8/20
Connecting Seat to Seat (Without Arms Between Seats)
- Recliner to Recliner
5
B. Remove lower back panel and
locate the back bolt holes.
Secure connection by inserting bolt
(#2) through chair frames.
Fasten with nut (#4).
A. Extend foot rest to access front
bolt holes.
Insert two ¼” (6 mm) spacer panels
between chairs (align bolt holes).
Secure connection by inserting bolt
(#2) through chair frames.
Align front and back bolt holes.
Fasten with nut (#4).
2
4
24
Inthiscongurationof2spacersareneeded
between each seat.
Page 6 of 10
Olivia - v8/20
A. Extend foot rest on recliner,
remove front panel on chair (pull
outward to disengage hook & loop
fasteners) to access front bolt
holes.
Insert two ¼” (6 mm) spacer panels
between chairs (align bolt holes).
Secure connection by inserting bolt
(#2) through chair frames.
Align front and back bolt holes.
Fasten with nut (#4).
B. Remove lower back panel and
locate the back bolt holes.
Secure connection by inserting bolt
(#2) through chair frames.
Fasten with nut (#4).
Connecting Seat to Seat (Without Arms Between Seats)
- Recliner to Non-Reclining Unit
6
2
4
2 4
Page 7 of 10Olivia - v8/20
A. Extend foot rest on recliner,
remove seat on chaise (lift seat
up to disengage hook & loop
fasteners) to access front bolt
holes.
Insert two ¼” (6 mm) spacer panels
between chair and chaise (align bolt
holes).
Secure connection by inserting bolt
(#2) through chair frames.
Align front and back bolt holes.
Fasten with nut (#4).
B. Remove lower back panel and
locate the back bolt holes.
Secure connection by inserting bolt
(#2) through chair frames.
Fasten with nut (#4).
Connecting Seat to Seat (Without Arms Between Seats)
- Recliner to Chaise
7
2
4
24
Page 8 of 10
Olivia - v8/20
A. Extend foot rest on recliner to
access front bolt holes.
Insert two ¼” (6 mm) spacer panels
between chair and corner.
Align front and back holes.
Secure connection by inserting bolt
(#2) through chair frames into
pre-installed T-nut in corner.
Tighten.
B. Remove lower back panel on
recliner and locate the back bolt
holes.
Secure connection by inserting bolt
(#3) through chair frames into pre-
installed T-nut in corner.
Tighten.
Connecting Seat to Seat (Without Arms Between Seats)
- Recliner to Corner Seat
8
2
3
Page 9 of 10Olivia - v8/20
A. Remove front panel on chair or
seat on chaise to access front bolt
holes.
Secure connection by inserting bolt
(#3) through chair frames.
(DO NOT use spacer panel
supplied with recliner).
Align front and back bolt holes.
Fasten with nut (#4).
B. Remove lower back panel on
recliner and locate the back bolt
holes.
Secure connection by inserting bolt
(#3) through chair frames.
Secure connection by inserting
bolt through chair frames into pre-
installed T-nut in corner.
Tighten.
Connecting Seat to Seat (Without Arms Between Seats)
- Non-Reclining Unit to Non-Reclining Unit
9
3
4
3
Page 10 of 10
Olivia - v8/20
Salamander Designs Ltd. (Salamander) provides the following Limited Lifetime Warranty. The Limited Warranty herein described
for the specic products listed below shall be in lieu of any other warranty, expressed or implied, including but not limited to any
implied warranty of merchantability or tness for a particular use. The Limited Warranty does not cover damages incurred in
shipment, failures caused by other products not supplied by Salamander, or failures due to accident, misuse, abuse or alteration
of the product. No warranty is provided to business, commercial, rental, institutional and other non-residential users or seating
purchased from retail showroom displays. Salamander’s sole liability and the purchaser’s exclusive remedy shall be for the
repair, or at Salamander’s option, for the replacement of the defective part as provided herein. Notwithstanding the above, if
replacement parts for defective materials are not available, Salamander reserves the right to make reasonable compensation in
lieu of repair or replacement. Liability for incidental or consequential damages under the warranty is excluded. Some states do
not allow limitation of incidental or consequential damages. Therefore, the above limitation may not apply in certain instances.
Defective product must be given Return Authorization by Salamander and is to be returned to the factory, in proper packaging.
Any damage incurred in a shipment not in proper packing shall be the responsibility of the purchaser. This warranty gives you
specic rights and you may also have other rights that could vary in your area.
Powered Mechanism
Salamander provides a one (1) year Limited Warranty on our powered reclining mechanism. This warranty covers the repair or
replacement of the powered reclining mechanism against manufacturing defects when used in a normal manner.
Cushioning
Salamander provides a two (2) year Limited Warranty against tearing or collapsing due to defects in material or workmanship.
Please note that all foams and composites naturally soften with use. This softening does not constitute a defect under the
warranty.
Fabric/Leather
The Limited Warranty on the fabric covers defects in material or workmanship for one (1) year that result in seam failure, fabric
separation, nap loss, leather splitting, natural scars opening, premature fading or pilling under normal conditions. The fabric
Limited Warranty does not apply where there is evidence of excessive soiling, improper cleaning, abuse, or where the fabric has
had a chemical treatment applied by the retail dealer or the consumer.
Warranty Procedure
Claims should be made through the dealer from which the product was purchased. The dealer will contact Salamander Designs
Ltd. (Salamander) for warranty service. An original sales order number/purchase order number will be required for warranty
protection. Salamander’s liability under this warranty is limited to repairing or replacing at Salamander’s option any part(s) of the
product found to be defective in material or workmanship within the applicable warranty period. Salamander in its sole discretion
will determine the cause and nature of any defect, the necessity and manner of repair or replacement, and all other matters
pertaining to the condition of the product.
Labor and Shipping Charges
Should you be entitled to receive a repair or replacement under this warranty, Salamander will pay the cost of labor, handling and
shipping to the consumer for two (2) years from the date of purchase by the original consumer. After that date, the purchaser will
be responsible for these costs.
Salamander Seating Limited Lifetime Warranty
Leather Care
Leather is a natural product and variations in color can occur, along with minor aws such as scars. We therefore
recommend that you look after your chair by not exposing it to direct sunlight or placing it too close to a heat source, such
as a radiator, which will cause the leather to dry.
To remove any dust and dirt we recommend vacuuming with a soft brush. To remove simple stains (water soluble) please
use a soft cloth or sponge with a little water.
phone: 800-535-5659
www.SalamanderDesigns.com

Other Salamander Designs Indoor Furnishing manuals

Salamander Designs SDAV2 7224 User manual

Salamander Designs

Salamander Designs SDAV2 7224 User manual

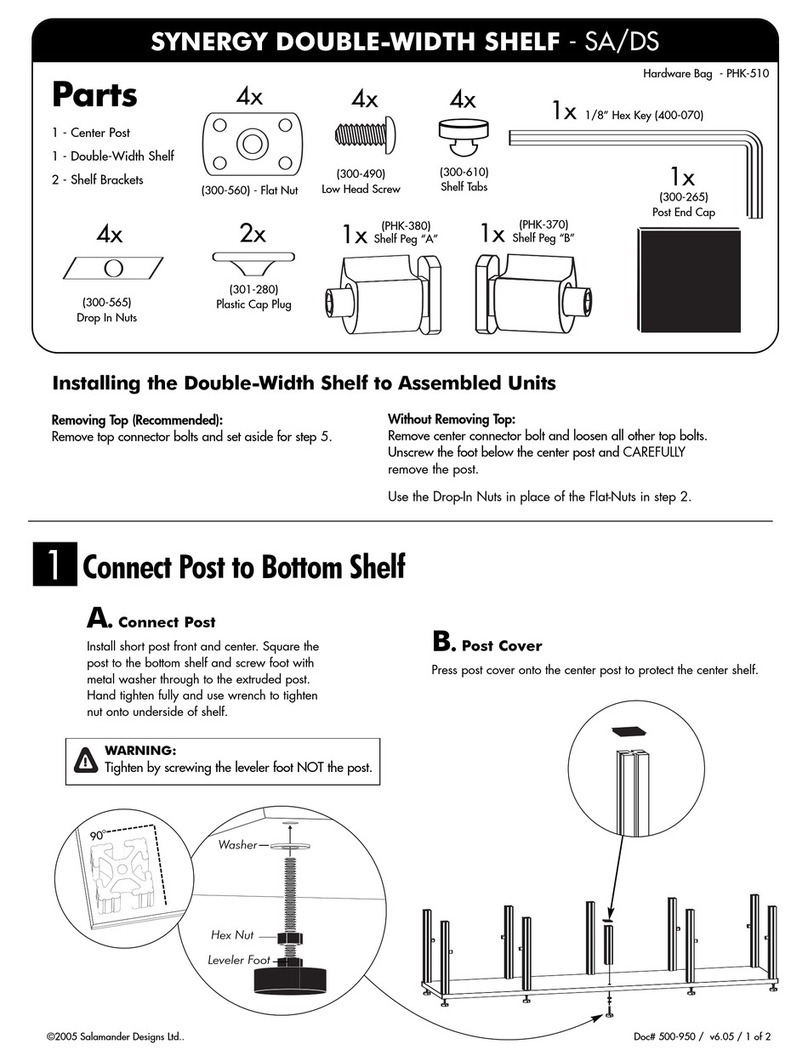
Salamander Designs SYNERGY DOUBLE-WIDTH SHELF SA/DS User manual

Salamander Designs

Salamander Designs SYNERGY DOUBLE-WIDTH SHELF SA/DS User manual

Salamander Designs Chameleon User manual

Salamander Designs

Salamander Designs Chameleon User manual

Salamander Designs MATTEO User manual

Salamander Designs

Salamander Designs MATTEO User manual

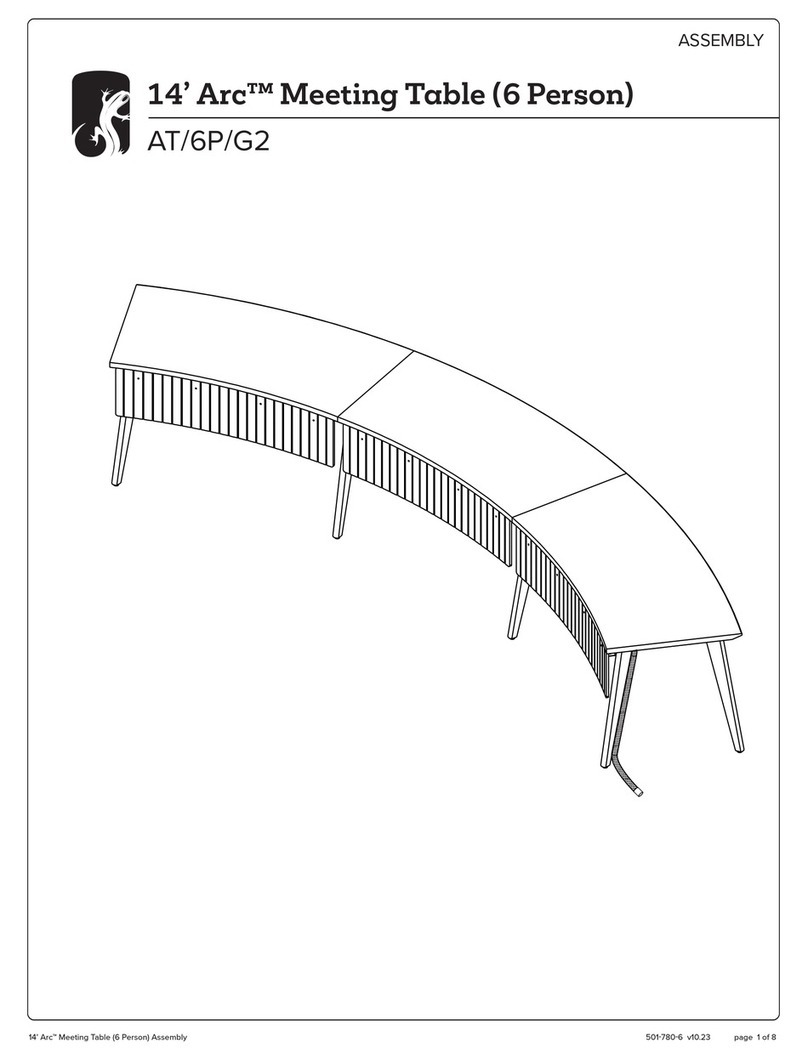
Salamander Designs Arc AT/6P/G2 User manual

Salamander Designs

Salamander Designs Arc AT/6P/G2 User manual

Salamander Designs SYNERGY SYSTEM SNC20 User manual

Salamander Designs

Salamander Designs SYNERGY SYSTEM SNC20 User manual

Salamander Designs SDAV4 7126 User manual

Salamander Designs

Salamander Designs SDAV4 7126 User manual

Salamander Designs SYNERGY 245 User manual

Salamander Designs

Salamander Designs SYNERGY 245 User manual

Salamander Designs D2/347AMXL User manual

Salamander Designs

Salamander Designs D2/347AMXL User manual

Salamander Designs SDAV5 7225 User manual

Salamander Designs

Salamander Designs SDAV5 7225 User manual

Salamander Designs Lilliana User manual

Salamander Designs

Salamander Designs Lilliana User manual

Salamander Designs CHAMELEON User manual

Salamander Designs

Salamander Designs CHAMELEON User manual

Salamander Designs SDAV7 6629 User manual

Salamander Designs

Salamander Designs SDAV7 6629 User manual

Salamander Designs SYNERGY 339 User manual

Salamander Designs

Salamander Designs SYNERGY 339 User manual

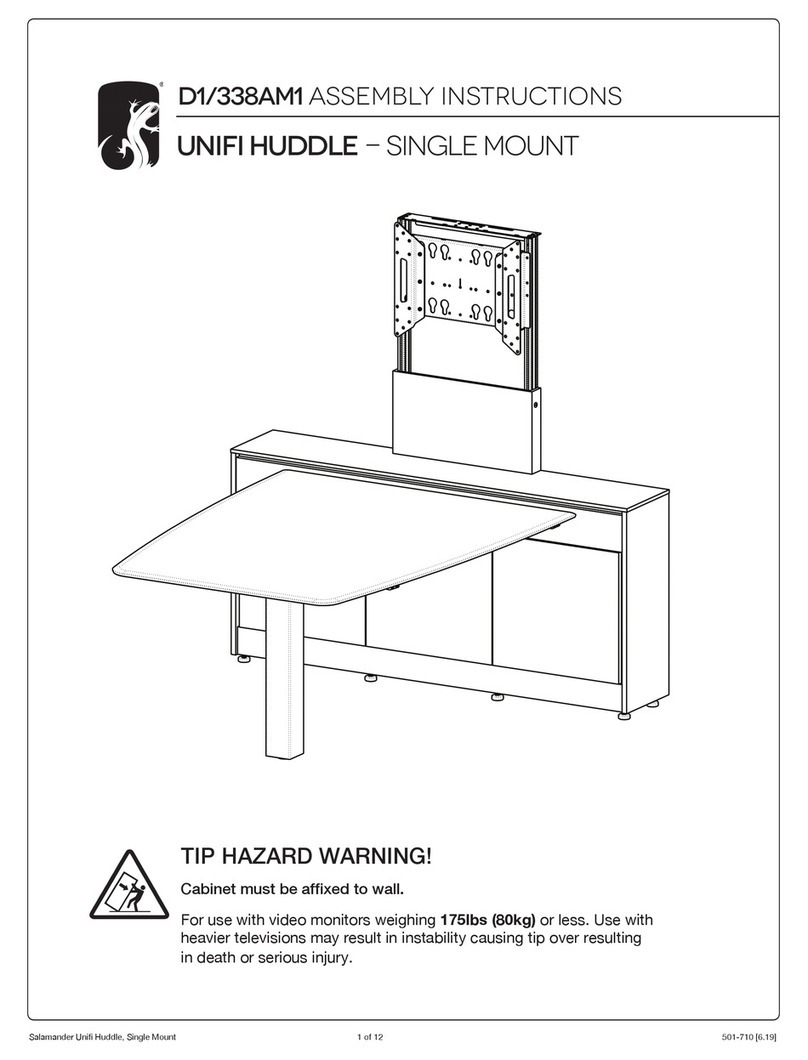
Salamander Designs UNIFI HUDDLE D1/338AM1 User manual

Salamander Designs

Salamander Designs UNIFI HUDDLE D1/338AM1 User manual

Salamander Designs SYNERGY 402 User manual

Salamander Designs

Salamander Designs SYNERGY 402 User manual

Salamander Designs FPSA/KS/GT User manual

Salamander Designs

Salamander Designs FPSA/KS/GT User manual

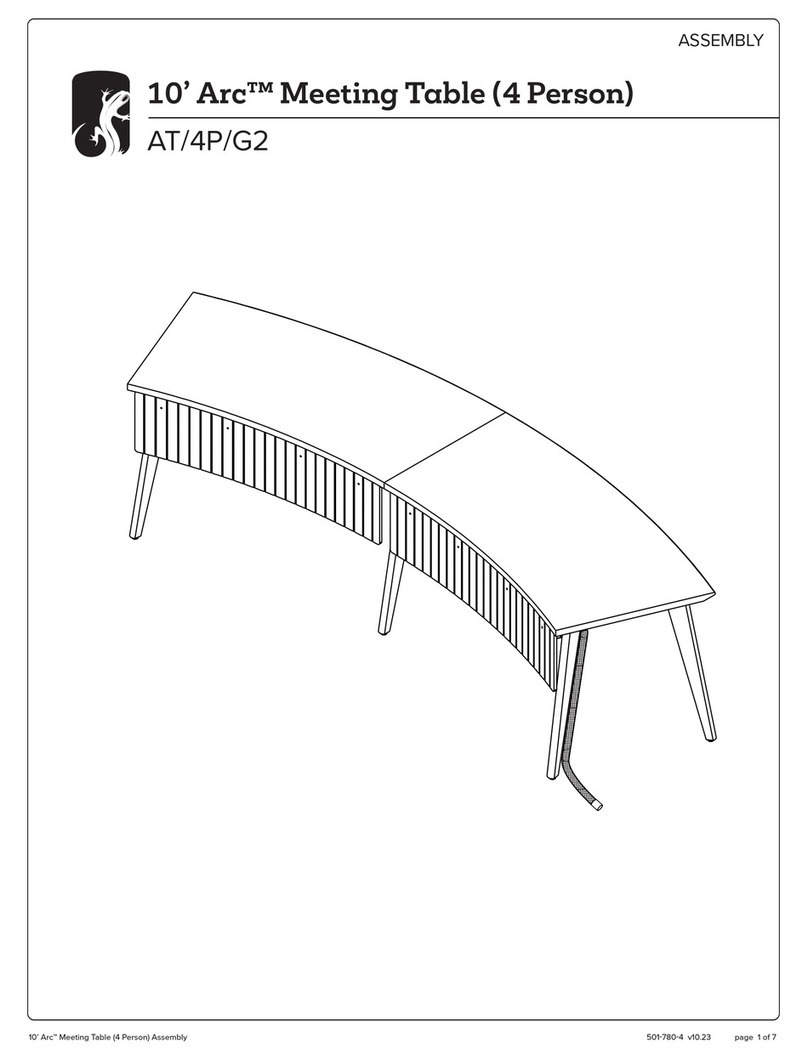
Salamander Designs Arc AT/4P/G2 User manual

Salamander Designs

Salamander Designs Arc AT/4P/G2 User manual

Salamander Designs SYNERGY SYSTEM SLC20 User manual

Salamander Designs

Salamander Designs SYNERGY SYSTEM SLC20 User manual

Salamander Designs Madrid SDAV37022 User manual

Salamander Designs

Salamander Designs Madrid SDAV37022 User manual

Salamander Designs SYNERGY QUAD UNIT User manual

Salamander Designs

Salamander Designs SYNERGY QUAD UNIT User manual

Salamander Designs FPSA/MSB User manual

Salamander Designs

Salamander Designs FPSA/MSB User manual

Salamander Designs SYNERGY 402 User manual

Salamander Designs

Salamander Designs SYNERGY 402 User manual

Popular Indoor Furnishing manuals by other brands

realspace Premium 402843 Assembly instructions

realspace

realspace Premium 402843 Assembly instructions

Home Decorators Collection BANKSIDE 21075-VS37-WT Assembly instructions

Home Decorators Collection

Home Decorators Collection BANKSIDE 21075-VS37-WT Assembly instructions

Friant LUNE FCTTB-MOD.72 installation manual

Friant

Friant LUNE FCTTB-MOD.72 installation manual

Coaster 300833KE Assembly instructions

Coaster

Coaster 300833KE Assembly instructions

Ashley M9X572 owner's manual

Ashley

Ashley M9X572 owner's manual

comfortel 8055 owner's manual

comfortel

comfortel 8055 owner's manual

Hooker Furniture 1652-90267-MWD Assembly instruction

Hooker Furniture

Hooker Furniture 1652-90267-MWD Assembly instruction

Furniture of America CM-BK601 Assembly instructions

Furniture of America

Furniture of America CM-BK601 Assembly instructions

Whalen Furniture Bayside CUS60AC-1R manual

Whalen Furniture

Whalen Furniture Bayside CUS60AC-1R manual

TUHOME Furniture ZURICH CABINET SET Assembly instructions

TUHOME Furniture

TUHOME Furniture ZURICH CABINET SET Assembly instructions

GrainWood CLF0503 Assembly instructions

GrainWood

GrainWood CLF0503 Assembly instructions

GFW CATANIA 3 DOOR 4 DRAWER WARDROBE Assembly instructions

GFW

GFW CATANIA 3 DOOR 4 DRAWER WARDROBE Assembly instructions

Dorel Living DL8085 manual

Dorel Living

Dorel Living DL8085 manual

URBAN OUTFITTERS PADDLE Assembly instructions

URBAN OUTFITTERS

URBAN OUTFITTERS PADDLE Assembly instructions

Elkay EFSBP33 Specifications

Elkay

Elkay EFSBP33 Specifications

FROST UNU U4132 FITTING INSTRUCTION

FROST

FROST UNU U4132 FITTING INSTRUCTION

Amart Furniture LANTANA 71909 Assembly instruction

Amart Furniture

Amart Furniture LANTANA 71909 Assembly instruction

EverSewn Loft-2 Setup instructions

EverSewn

EverSewn Loft-2 Setup instructions

manuals.online logo
manuals.online logoBrands
  • About & Mission
  • Contact us
  • Privacy Policy
  • Terms and Conditions

Copyright 2025 Manuals.Online. All Rights Reserved.