User manual
User manual
Coating thickness gauge
Salu
SaluTron
Tron
Com
ComBi
Bi D3
D3
SaluTron Messtechnik GmbH
Dr.-Gottfried-Cremer-Allee 30 7
D-50226 Frechen
Tel.: +49 2234 9999960
Fax: +49 2234 9999962
www.salutron.de
Congratulations on the purchase of our coating
thickness gauge ComBi-D3.
Description
The ComBi-D3 is a simple and cost effective
measuring device. It belongs to a range of non-
destructive coating thickness gauges.
Measuring ability of ComBi-D3:
It is easy and handy to use and allo s the user
to make all necessary adjustments ith the aid
of a menu (MODE–button). This allo s for
change to be implemented quickly and simply.
The gauge ComBi-D3 can be used for a ide
variety of applications and has to offer a large
measuring range from 0 to 3.5 mm. Modern
electronic and the robust casing guarantee an
extended lifetime for the high precision
instruments.
Battery exchange
The ComBi-D3 gauge is po ered by a 9 V
alkaline battery. The battery compartment can
be found in the top back portion of the
instrument. If a battery icon appears in the
display, the battery has to be exchanged.
If a replacement battery is not available
immediately, several measurements can still be
taken until the gauge shuts do n completely
(the display sho s bAT and a discontinuous
beep tone is audible).
Attention: Exhausted batteries are hazardous
aste. Used batteries not ith the domestic
aste decontaminate, but deliver at stated
collective places.
Switching on and off of the device
➢The gauge can be s itched on manually
via pressing of ON OFF-button or by
directly placing the probe on the
measurement object.
➢It appears Cd3 (name of device) and then
the last measured value.
➢The gauge s itched off automatically after
40 seconds of non-use or by long pressing
(about 3 seconds) of ON OFF-button.
Handling and storage
The ComBi-D3 gauge is a high precision
instrument ith a ide scope of applications. It
is therefore of great importance that the device
is handled ith care to ensure a long life and a
prerequisite for precise and accurate
measurement results. The follo ing guidelines
are to be follo ed to achieve the above:
➢Protect the device from dust and dirt.
➢Do not drop the device to the floor.
➢Protect the device from moisture,
aggressive vapors and chemicals.
➢After use please put the device in the
carrying case.
➢Avoid direct strong sunlight and
temperature shocks as these can have a
negative influence on the measurement
result.
➢Precise measurement results can be
achieved only ith a clean probe.
Therefore, use regularly a clean, damp
cloth.
➢Check the probe regularly for soiling such
as paint or iron particles.
➢If the device is not used for a long time, it is
advisable to remove the battery to avoid
possible damage caused by the leakage of
a battery.
➢If the device has a failure, contact your
supplier for help.
Taking measurements
➢Hold the device vertically on the location to
be measured.
➢Place the probe flat (avoid tipping!).
➢To get the best results, place the thumb on
the elliptical indicated position ith the
other fingers behind the gauge for balance.
➢A beep is audible and the measured value
appears on the display.
➢Improper placement, as ell as picking up
the device before the end of the
measurement and the zeroing on a non-
metallic surface (substrate) is displayed
ith Er0 (error).
➢If the coating thickness exceeds the
maximum range (3500 µm) or if the device
is placed on the incorrect substrate ( ood,
paper, cardboard etc), the display sho s InF
(infinite).
➢The V-groove on the measuring head helps
by measurements on round objects, such
as rods, tubes, shafts, radii etc.
Please do not perform measurements on
magnets and in magnetic fields.
Magnetic fields influence the results by the
Fe- and strong electromagnetic radiation
has the influence by the NFe
measurements.
Zero calibration
A zeroing of the instrument is necessary after
s itching on, by different measurement
processes, inserting of ne battery or after
prolonged use.
Place the device on the iron- or the aluminum
plate in the carrying case. You can also use a
piece of uncoated ferro (Fe) or non-ferro (NFe)
metal (substrate) used in your process. If the
displayed value is out of the basic tolerance,
the instrument has to be zeroed. The follo ing
steps are to be taken to zero the gauge:
➢Remove the device from the zero plate or
the substrate.
➢Press the Zero button. The display sho s
P0.0 (zero point).
➢Place the gauge on the zero plate or the
substrate. PIn (infinity) appears follo ed by
a beep tone.
➢Lift the device at least 5 cm from the zero
plate. 0.0 appears follo ed by another
beep.
➢To check the zeroing place the gauge on
the zero plate or the substrate again. 0.0
should appear on the display follo ed by
beep. If the result is different repeat the
zeroing procedure.
➢The device is no ready for accurate
measurements.
Note that it is not necessarily to receive the
same displayed result by repeated
measurements at the same location.
Measurement variations can be caused by
roughness, dirt or bumps.
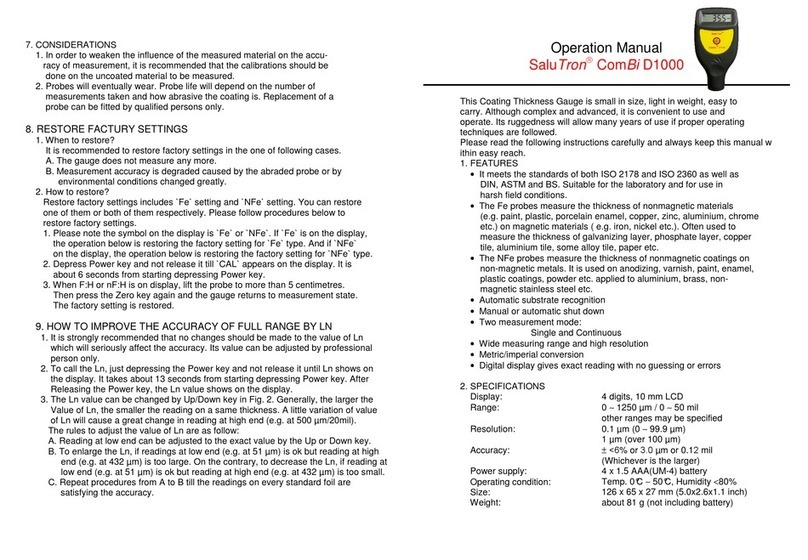
The menu of Com Bi -D3
The various options from the menu can be
accessed by repeatedly pressing the Mode-
button. Pressing the Enter-key allo s to select
the displayed option. No the Mode-button
change or select the setting. Pressing of Enter
confirms your choice and exits the menu.
rST - Resetting the average value (mean)
of the measurements
(YES - Yes, no - no)
GAG - Choice of substrate material
AUT - automatic detection
(recommended) indicated by AUTO
icon in the display
FE - only steel or iron
nFE - non magnetic metals
(aluminum, copper etc.)
CnT - continuous measurement indicated
by CONT icon in the display
(On - On, OFF - Off)
UnT - Choice of measuring unit bet een
microns / mm and mil
(25.4 - µm/mm, 1.00 - mil)
bEP - S itching on or off of tons keys
(On - On, OFF - Off)
Sn - Displays the serial number of the
device


