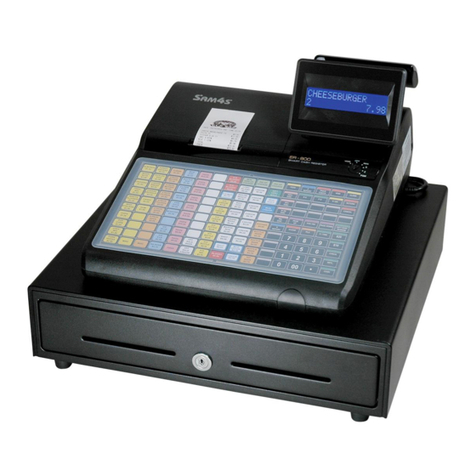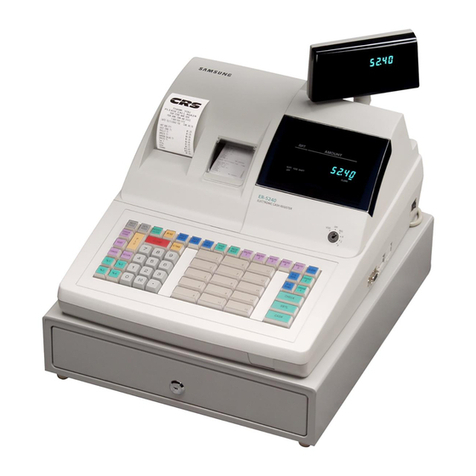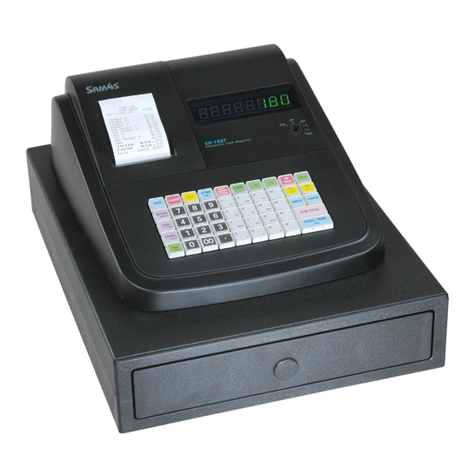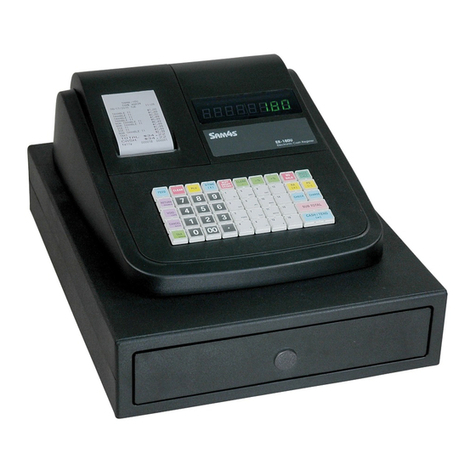
SAM4s ER180U Quick Setup Guide
j. You have now Reset your Cash Register
k. Press the MODE|CALC button until the screen is displaying the “REG” Position.
l. The Register is ready for use! Continue to Step 4 to Add Receipt Names etc.
4. Receipt Header Programming (Add Shop Name, TAX Invoice, Phone Number etc)
a. Register should be ON.
b. Press the MODE|CALC button until the screen is displaying the “P” Position.
c. To change Line 1 of the Receipt
a. Enter the numbers 3 0 0 0 1 then press [SUB-TOTAL] Button
b. You are now programming Line 1 of your Receipt.
c. Using the White buttons you will notice each key has a letter of the alphabet on it.
d. Use these buttons to spell the words of your Shop. In this example “HOTPOS CAFÉ”
e. Use the [Tax/Space] button to add a Space in between words.
f. When complete, press [SUB-TOTAL]
d. To change Line 2 of the Receipt
a. Enter the numbers 3 0 0 0 2 then press [SUB-TOTAL] Button
b. You are now programming Line 2 of your Receipt.
c. Using the White buttons you will notice each key has a letter of the alphabet on it.
d. Use these buttons to spell the words: “TAX INVOICE”
e. Use the [Tax/Space] button to add a Space in between words.
f. When complete, press [SUB-TOTAL]
e. To change Line 3 of the Receipt
a. Enter the numbers 3 0 0 0 3 then press [SUB-TOTAL] Button
b. You are now programming Line 3 of your Receipt.
c. Using the White buttons you will notice each key has a letter of the alphabet on it.
d. Use these buttons to Insert your ABN number. Example: “ABN 73 895 253 111”
e. Use the [Tax/Space] button to add a Space in between words.
f. When complete, press [SUB-TOTAL]
f. To Change Line 4 of the Receipt
a. Enter the numbers 3 0 0 0 4 then press [SUB-TOTAL] Button
b. You are now programming Line 4 of your Receipt.
c. Using the White buttons you will notice each key has a letter of the alphabet on it.
d. Use these buttons to Insert your Phone Number. Example: “PH 1300 735 919”
e. Use the [Tax/Space] button to add a Space in between words.
f. When complete, press [SUB-TOTAL]
g. Once you have finished Receipt Header programming Press the [CASH/TEND] button to Save.
h. Press the MODE|CALC button until the screen is displaying the “REG” Position.
i. The Register is ready for use! Continue to Step 5 to change Departments

