Samsung OfficeServ 7200 User manual
Ed. 00.1
OfficeServ 7200
Installation Guide
07. 2005.

COPYRIGHT
This manual is proprietary to SAMSUNG Electronics Co., Ltd. and is protected by copyright.
No information contained herein may be copied, translated, transcribed or duplicated for any
commercial purposes or disclosed to third parties in any form without the prior written consent of
SAMSUNG Electronics Co., Ltd.
TRADEMARKS
Product names mentioned in this document may be trademarks and/or registered trademarks of their
respective companies.
This manual should be read before the installation and operation, and the operator should correctly install and
operate the product by using this manual.
This manual may be changed for the system improvement, standardization and other technical reasons without prior notice.
For further information on the updated manual or have a question the content of manual, contact Document Center at the
address below.
Address : Document Center 2nd Floor IT Center. Dong-Suwon P.O. Box 105, 416, Metan-3dong Yeongtong-gu,
Suwon-si, Gyeonggi-do, Korea 442-600
e-mail : manual@samsung.com
Or contact Call Center at the telephone below if you have any questions or concerns regarding the operation of your system.
Phone : 82-1588-4141
http://www.samsungdocs.com
©2003 SAMSUNG Electronics Co., Ltd. All rights reserved.

INTRODUCTION
© SAMSUNG Electronics Co., Ltd. Page I
Purpose
This document provides information(installing Chassis, mounting and replacing
Modules, connecting external batteries, power, C.O. lines, stations and additional
equipment, starting the system) required for installing the Samsung OfficeServ
7200 system.
Audience
This document is intended for personnel who install the Samsung OfficeServ 7200
system.
Document
Content and
Organization
This document consists of eight chapters as follows:
CHAPTER 1. Pre-Installation Information
Describes items to check when inspecting the installation site and the grounding
and power conditions before installing the OfficeServ 7200 system.
This chapter also describes the items included in the OfficeServ 7200 package and
the installation procedure.
CHAPTER 2. Installing Chassis
Describes how to install an OfficeServ 7200 Chassis on the ground, inside rack or
on a wall, depending on the installation environment, and how to connect the
grounding wire.
CHAPTER 3. Mounting and Replacing Modules
Describes how to mount and replace various Modules of the OfficeServ 7200
system.
Introduction OfficeServ 7200 Installation guide/Ed.00
Page II © SAMSUNG Electronics Co., Ltd.
CHAPTER 4. Connecting External Batteries
Describes how to connect external batteries to the OfficeServ 7200 system.
CHAPTER 5. Connecting Power
Describes how to connect power to the OfficeServ 7200 system.
CHAPTER 6. Connecting C.O. Lines
Describes how to connect C.O. lines to the OfficeServ 7200 system.
CHAPTER 7. Connecting Stations and Additional Equipment
Describes how to connect various stations and additional equipment, such as
analog/digital phones, door phones and door locks, to the OfficeServ 7200 system.
CHAPTER 8. Starting the System
Describes items to check before starting the OfficeServ 7200 system, the procedure for
starting the system, and the procedure for testing whether the system is normally
operating after startup.
ABBREVIATION
Introduces the acronyms and their full terms.
Conventions
The following special paragraphs are used in this document to point out information
that must be read. This information may be set-off from the surrounding text, but is
always preceded by a bold title in capital letters.
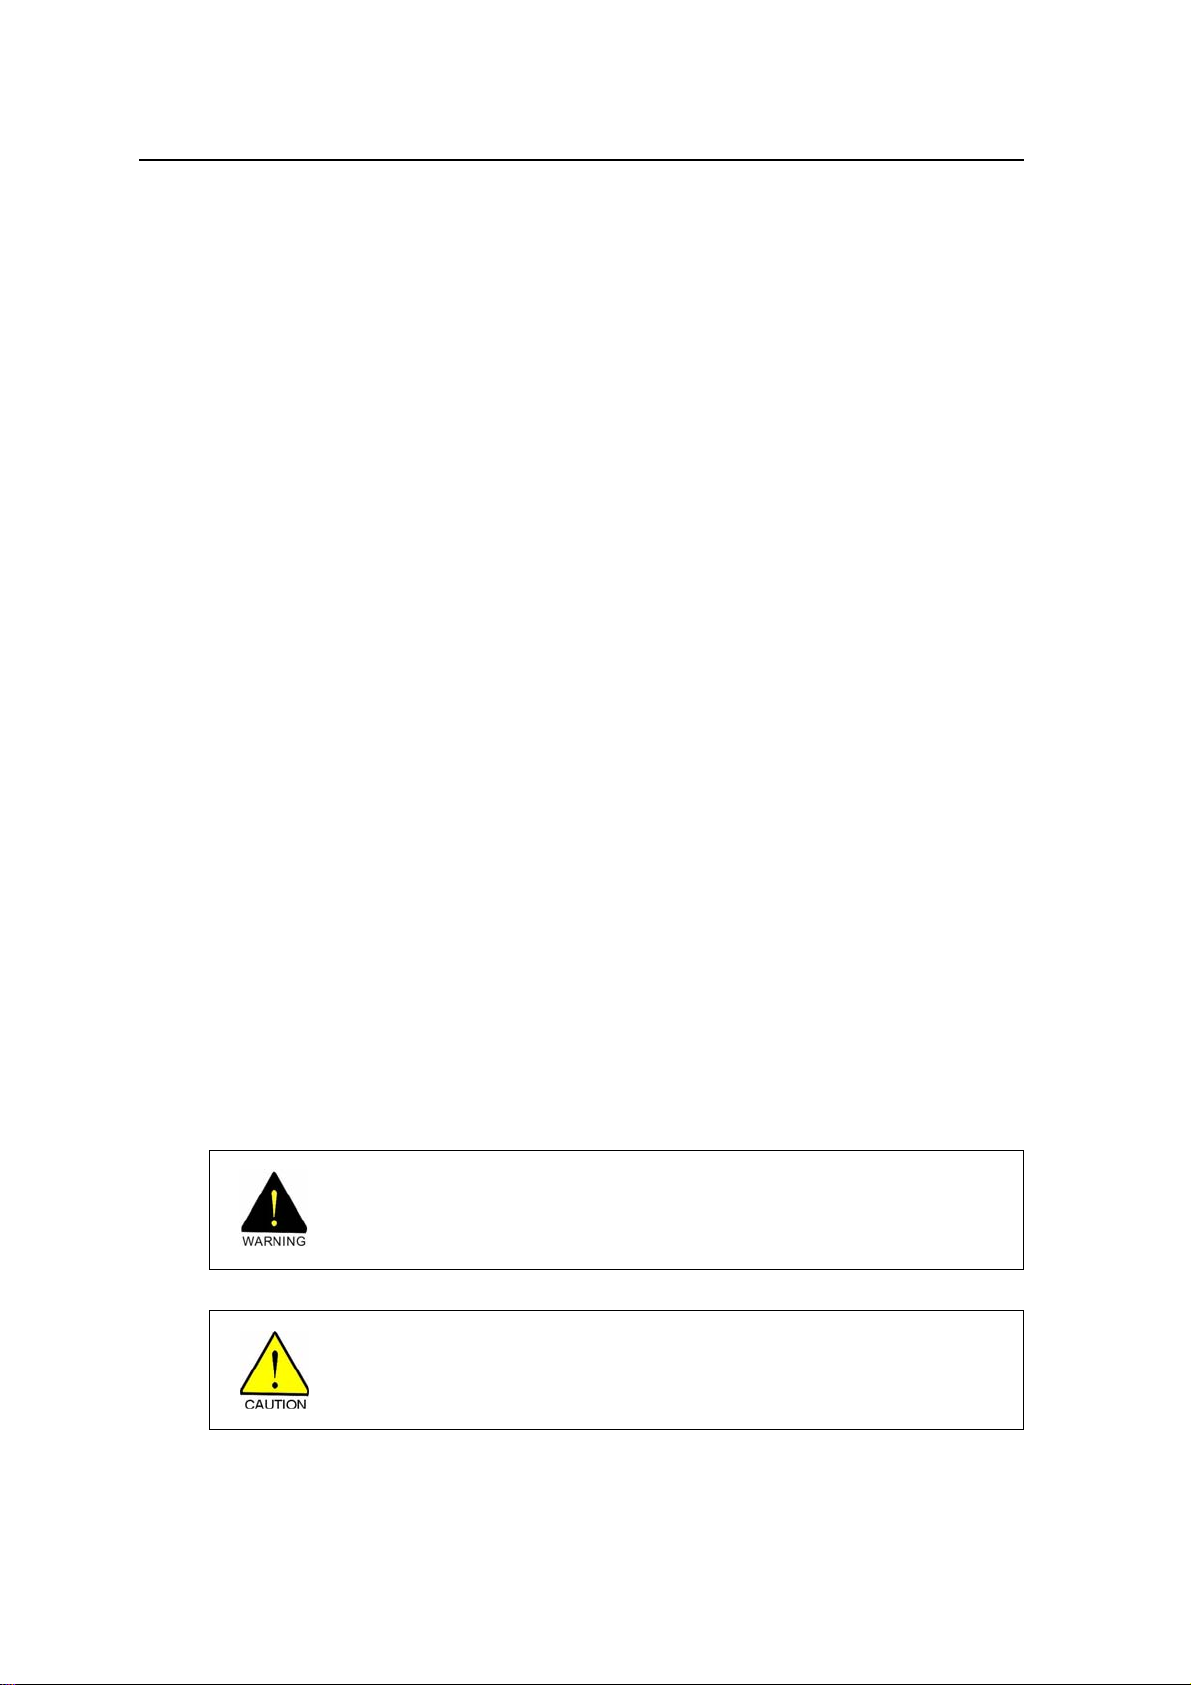
WARNING
Provides information or instructions that the reader should follow in order to avoid
personal injury or fatality.
CAUTION
Provides information or instructions that the reader should follow in order to avoid a
service failure or damage to the system.
OfficeServ 7200 Installation guide/Ed.00 Introduction
© SAMSUNG Electronics Co., Ltd. Page III
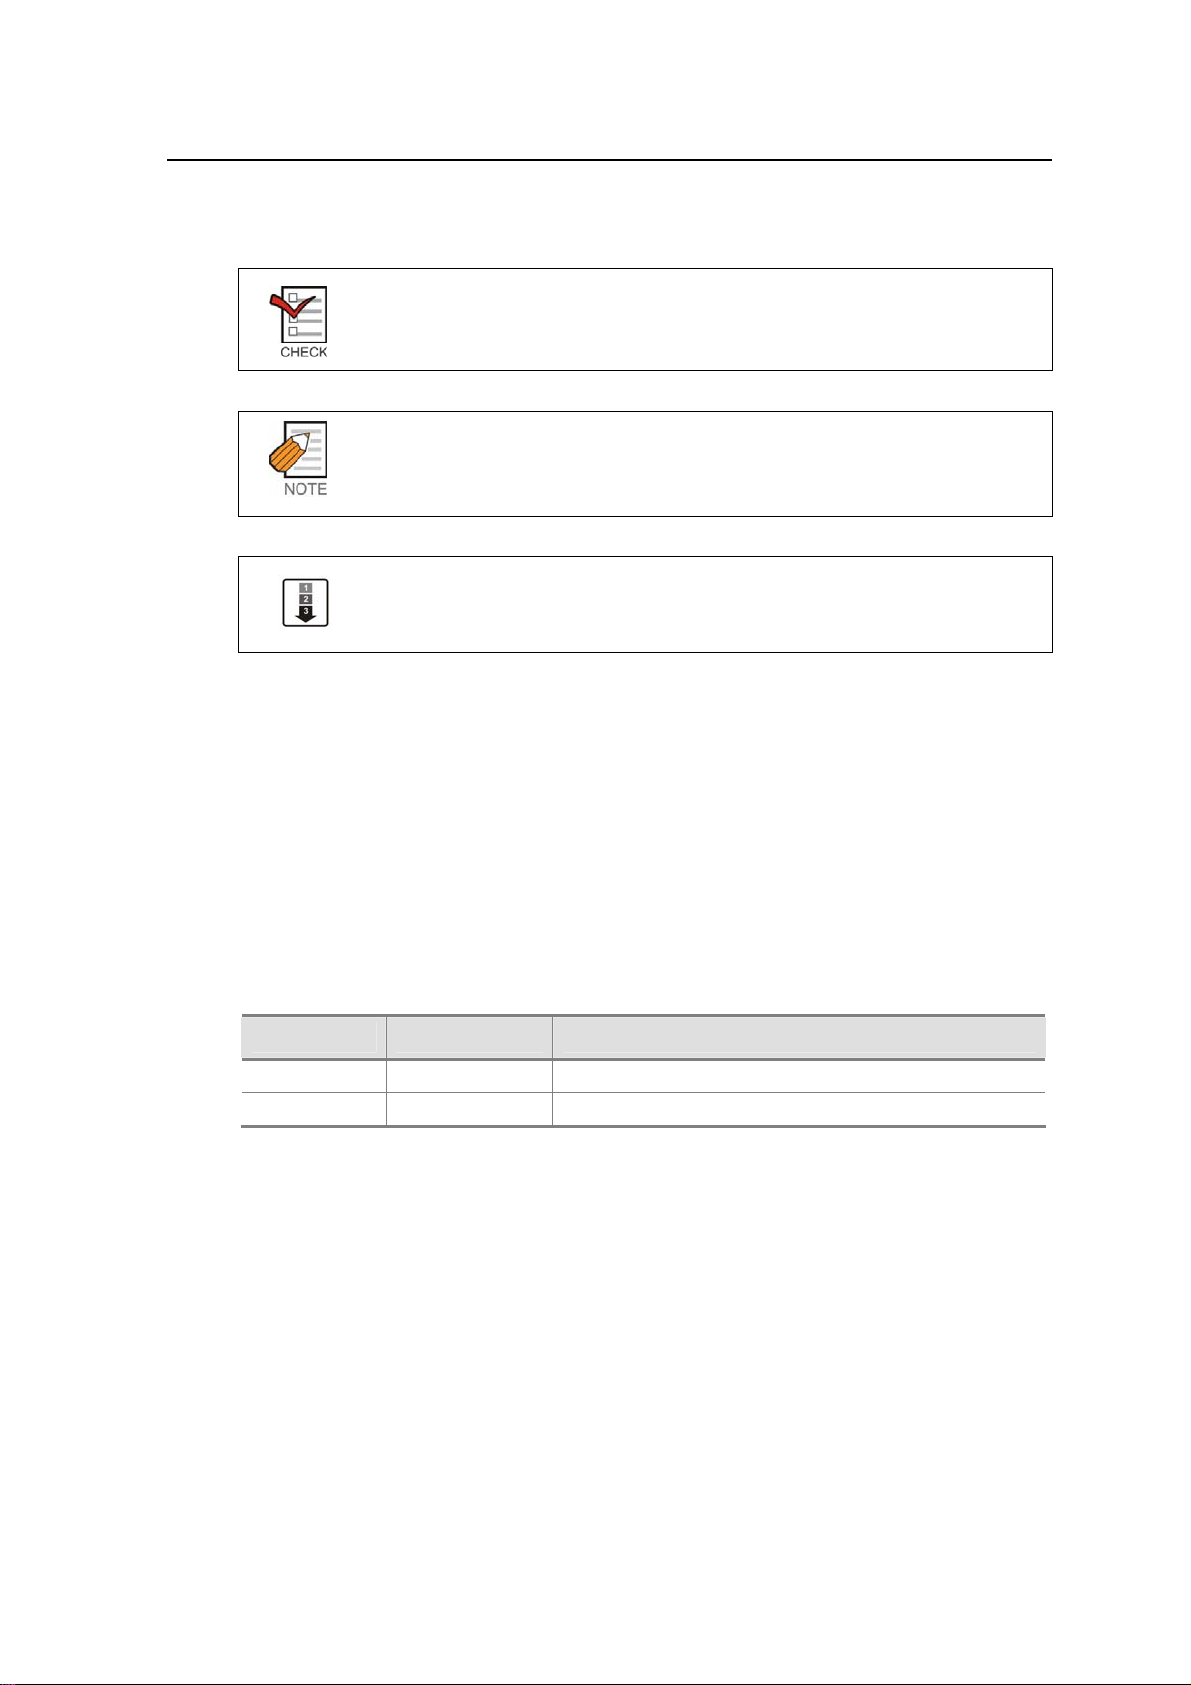
CHECKPOINT
Provides the operator with checkpoints for stable system operation.
NOTE
Indicates additional information as a reference.
OPERATION PROCEDURES
Indicates the operational procedures that should be executed in sequence.
Reference
OfficeServ 7200 General Description Guide
This guide introduces the Samsung OfficeServ 7200 and describes the hardware
configuration, specifications, and functions of the OfficeServ 7200, which are
required for understanding the OfficeServ 7200.
Revision History
EDITION DATE OF ISSUE REMARKS
00 12. 2003. Original
00.1 07.2005 Updated interface Modules added (WW)

Introduction OfficeServ 7200 Installation guide/Ed.00
Page IV © SAMSUNG Electronics Co., Ltd.
This page is intentionally left blank.
SAFETY CONCERNS
© SAMSUNG Electronics Co., Ltd. Page V
SAFETY CONCERNS
For product safety and correct operation, the following information must be given
to the operator/user and shall be read before the installation and operation.
Symbols
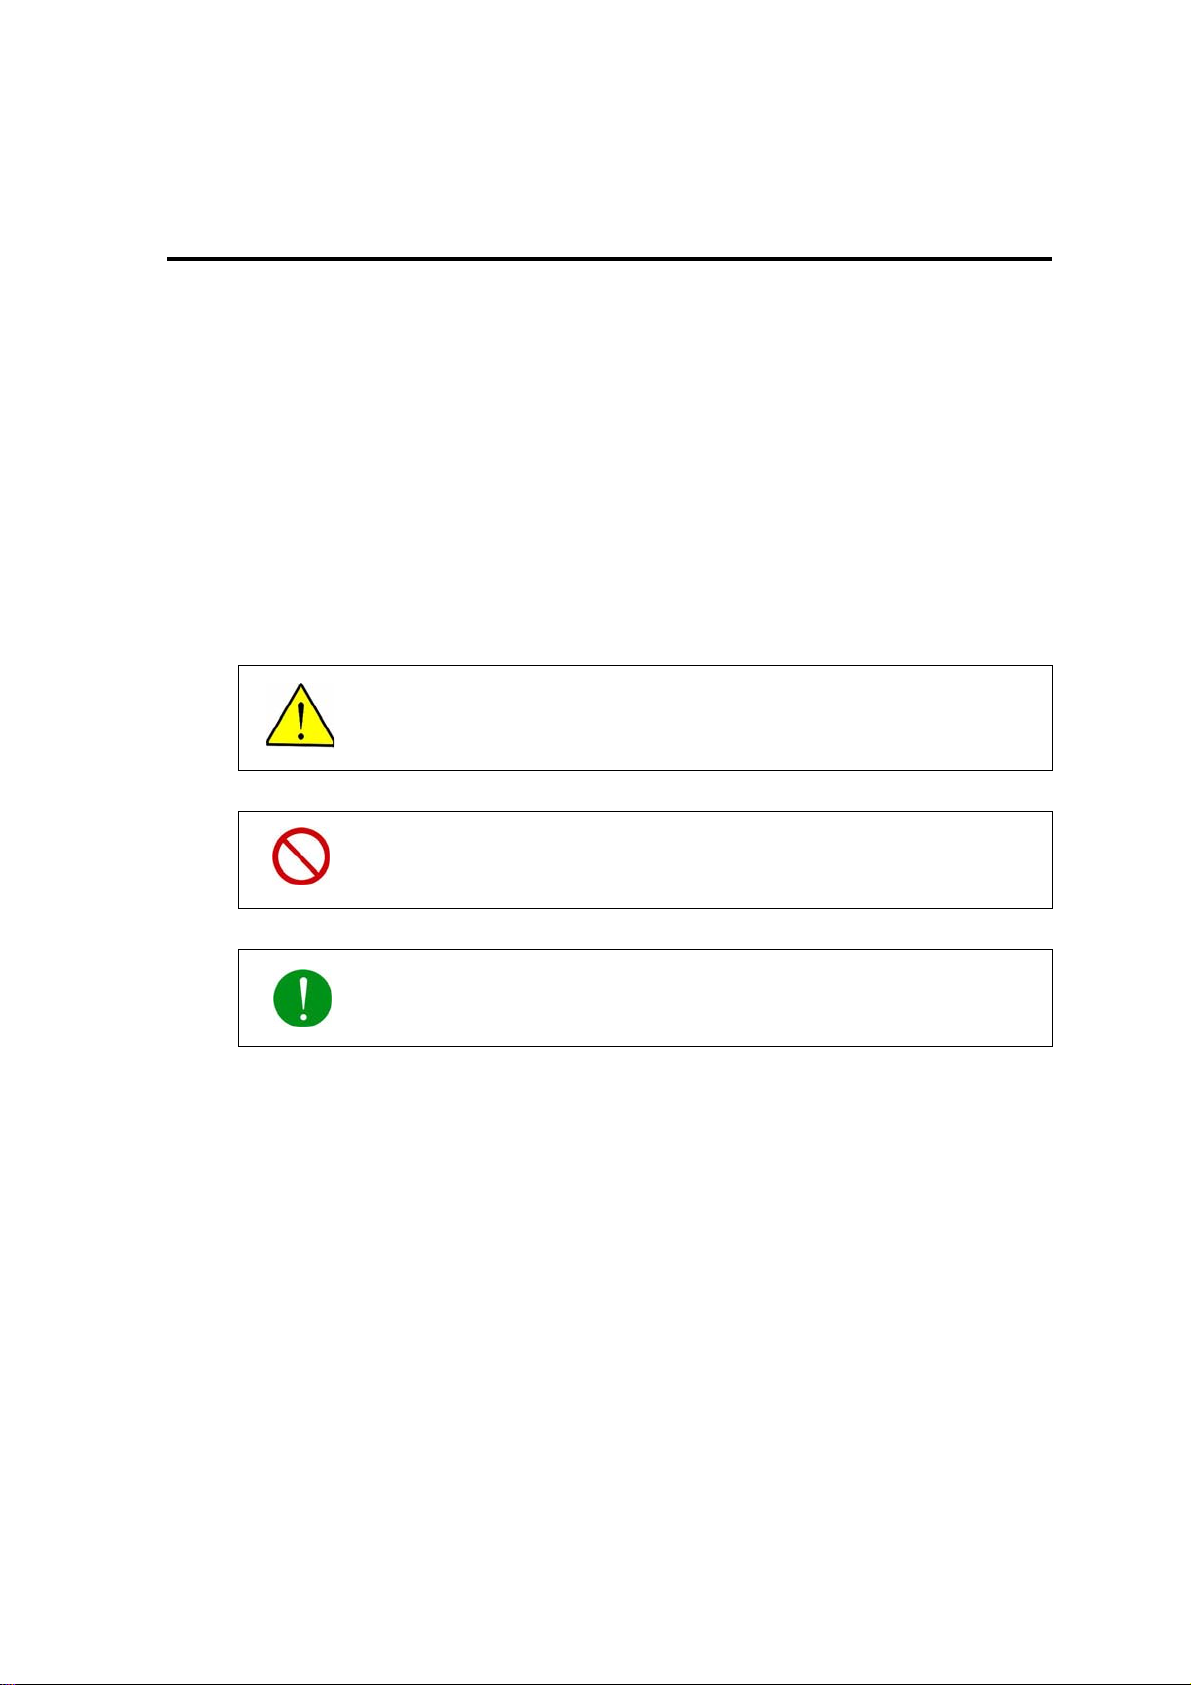
Caution
Indication of a general caution
Restriction
Indication for prohibiting an action for a product
Instruction
Indication for commanding a specifically required action
Safety Concerns OfficeServ 7200 Installation guide/Ed.00
Page VI © SAMSUNG Electronics Co., Ltd.
Warning
Cautions for grounding
- Do not connect the grounding wire of the OfficeServ 7200 system to a power
conduit of a building.
- The standards for power and grounding should comply with the country standard
and the pertinent work should be conducted according to the country standard.
- External grounding is required to prevent human injuries or system damages
caused by lightning, static electricity, or voltage surge.
- The separate protective earthing terminal should be permanently connected to
earth.
- Double-pole/neutral fusing
AC power connection inhibited
- OfficeServ 7200 system and each Module should be installed by service engineer.
- OfficeServ 7200 system should be connected to a grounded outlet..
Cautions for Power Selector Switch
Do not use the power selector switch.
AC power connection inhibited
Do not operate other devices with the AC power of the OfficeServ 7200 system or
with the DC power of external batteries.
Check the power when mounting or dismounting Modules
Check if the Chassis power is off when mounting Modules on slots. Inserting or
ejecting a Module while the power is on may damage the Module.
Cautions for connecting grounding wires
Disconnect the AC power before connecting grounding wires to prevent injuries.
WARNING

OfficeServ 7200 Installation guide/Ed.00 Safety Concerns
© SAMSUNG Electronics Co., Ltd. Page VII

Safety Concerns OfficeServ 7200 Installation guide/Ed.00
Page VIII © SAMSUNG Electronics Co., Ltd.
Caution
Check the power when mounting or dismounting Modules
Check if the Chassis power is off when mounting Modules on slots. Inserting or
ejecting a Module while the power is on may damage the Module.
Maximum number of DS-5012L phones connectable
Up to eight DS-5012L phones can be connected to each DLI Module (8DLI/16DLI)
of the OfficeServ 7200 system. If nine or more DS-5012L phones are connected to
the DLI Module, the power provided to all digital phones connected to the same
Module is turned off automatically. Up to 24 DS-5012L phones can be connected to
the basic Chassis or the expansion Chassis.
Metal Accessories Prohibited
Do not wear metal accessories such as rings and watches to prevent electrical
damages to the system.
Module Reset
New settings are applied only after the Module is reset. The system may
malfunction if the Module is not properly initialized.
CAUTION
Other manuals for OfficeServ 7200
13
Table of contents
Other Samsung Server manuals

Samsung
Samsung MIM-D00 User manual

Samsung
Samsung SNT-1010 User manual

Samsung
Samsung SmartServer 3840 User manual

Samsung
Samsung ML-2010 - B/W Laser Printer User manual

Samsung
Samsung MIM-D00 User manual

Samsung
Samsung IPX-S300B User guide

Samsung
Samsung Webthru SWC 306 User manual

Samsung
Samsung SNS-100/400 User manual

Samsung
Samsung SPE-400 User manual

Samsung
Samsung SBB-SNOWJAU User manual


