07 The ice cream strainer is used for making ice cream and sorbet from frozen fruit.It is most effective when using small amounts of diced frozen fruit. Do not overload it with large frozen pieces. Note that some juice may leak out the output spout if using fruit that is too defrosted. It is natural phenomenon and not a product failure. Do not use ice cubes in the ice cream strainer.Juice produce like pear, kiwi, cucumbers, etc. with the seeds and skin. However, apple seeds can be toxic in large amounts, so it is better to remove them.Separate each grape from the cluster. Peel the pomegranate and use the fleshy seeds only.
Remove the peels or rinds of watermelon, melon, orange, grapefruit, lemon and cut them to fit in the hopper.Fruits like mango, cherry, peach, lemon and plum have hard seeds/pits which are difficult to swallow. Those seeds can damage the auger, so they must be removed before using.Cut fibrous ingredients into small sizes (max. 4 cm.) Put a handful of wheatgrass or chives in at a time. Feed fibrous ingredients slowly.Wash, peel, and freeze fruit before using. Cut frozen fruit into 2cm cubes. Make sure to remove any pits or fruit stones before freezing. Please use seedless grapes. Excellent results can be obtained from a 50/50 mixture of frozen bananas and berries.When extracting juice from fibrous ingredients, including ginger, slice thinly and insert slowly. When extracting juice from root vegetables such as carrots and beets, non-food materials such as dirt on the surface may damage the parts. Scrub or peel these before juicing. When extracting a large amount of juice, disassemble and clean the juicer after every kilo of produce juiced.Strainer types► This is a general reference about how to prepare ingredients, so if you have an allergy please choose ingredients to which you are not allergic.► Please refer to the recipe book for more instructions regarding specific fruits.The fine strainer has tiny holes and makes very clear juice.Apple · Pear · Kiwi ·
CucumberWatermelon ·
Melon · Orange ·
Grapefruit · LemonMango · Cherry ·
Peach · Lemon
Wheatgrass · Water Parsley ·
Choves · Celery
·Kale Fine
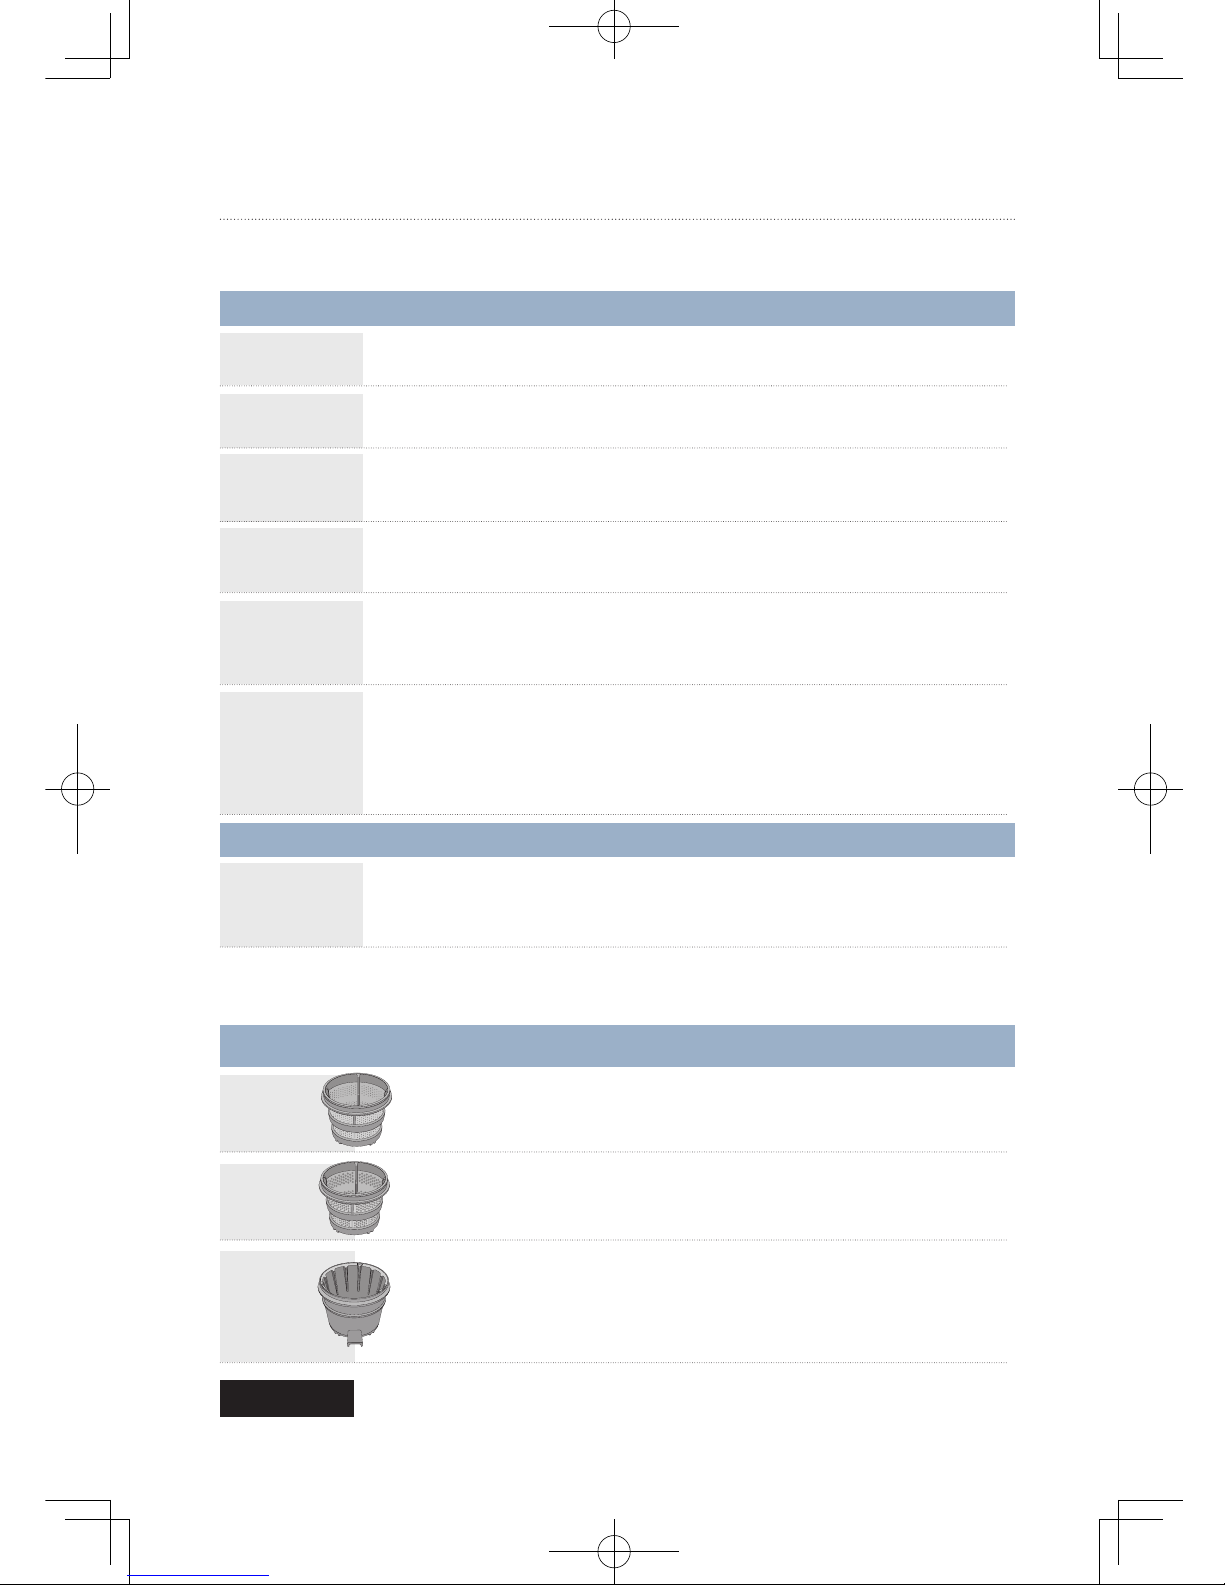
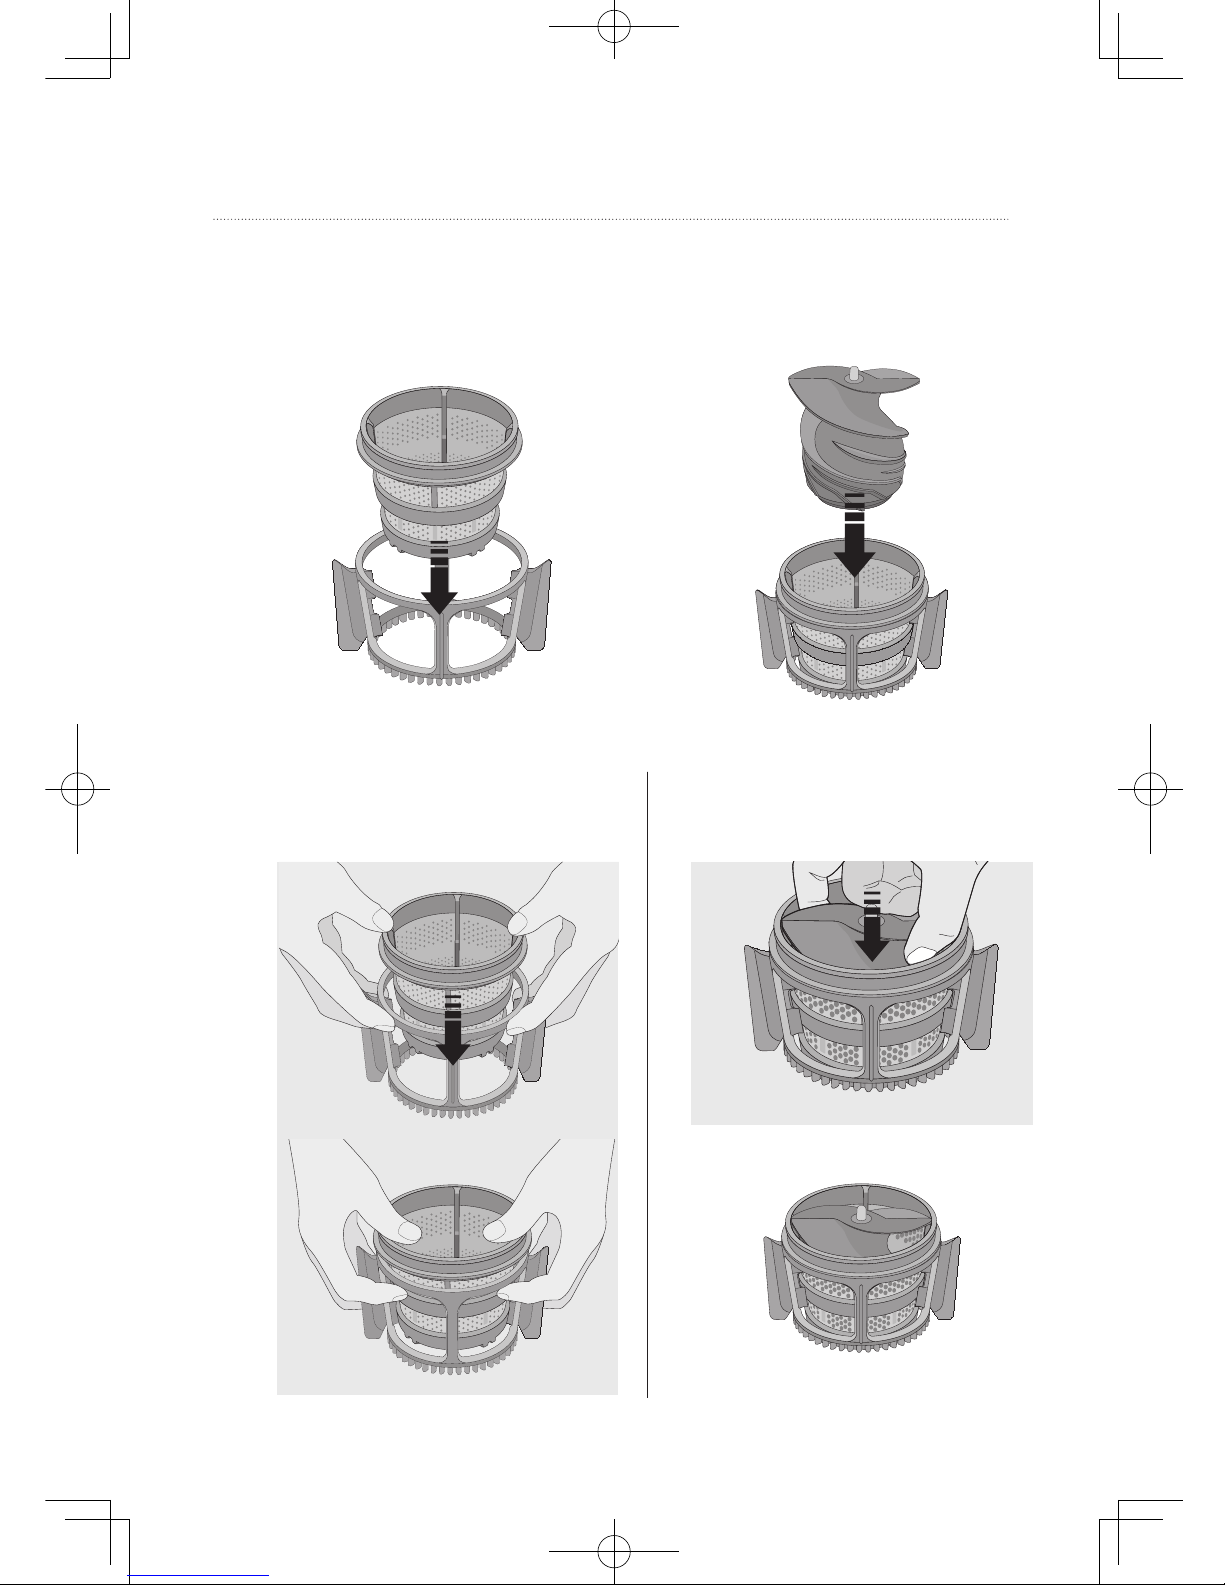
Strainer
Coarse
Strainer
Ice Cream
Strainer
FruitGinger · CarrotsPomegranate ·
Grapes How to prepare ingredients for juicingHow to prepare ingredients for making ice cream/sorbetThis ice cream strainer is only for frozen fruits.
Do not use for crushing ice orgrinding nuts.Note The coarse strainer has larger holes and makes thicker, pulpier juice. It is best for juicing softer fruits like berries. How to prepare produce / Strainer types