manuals.online logo
Brands
  1. Home
  2. •
  3. Brands
  4. •
  5. Sartorius
  6. •
  7. Scale
  8. •
  9. Sartorius 1802 User guide

Sartorius 1802 User guide

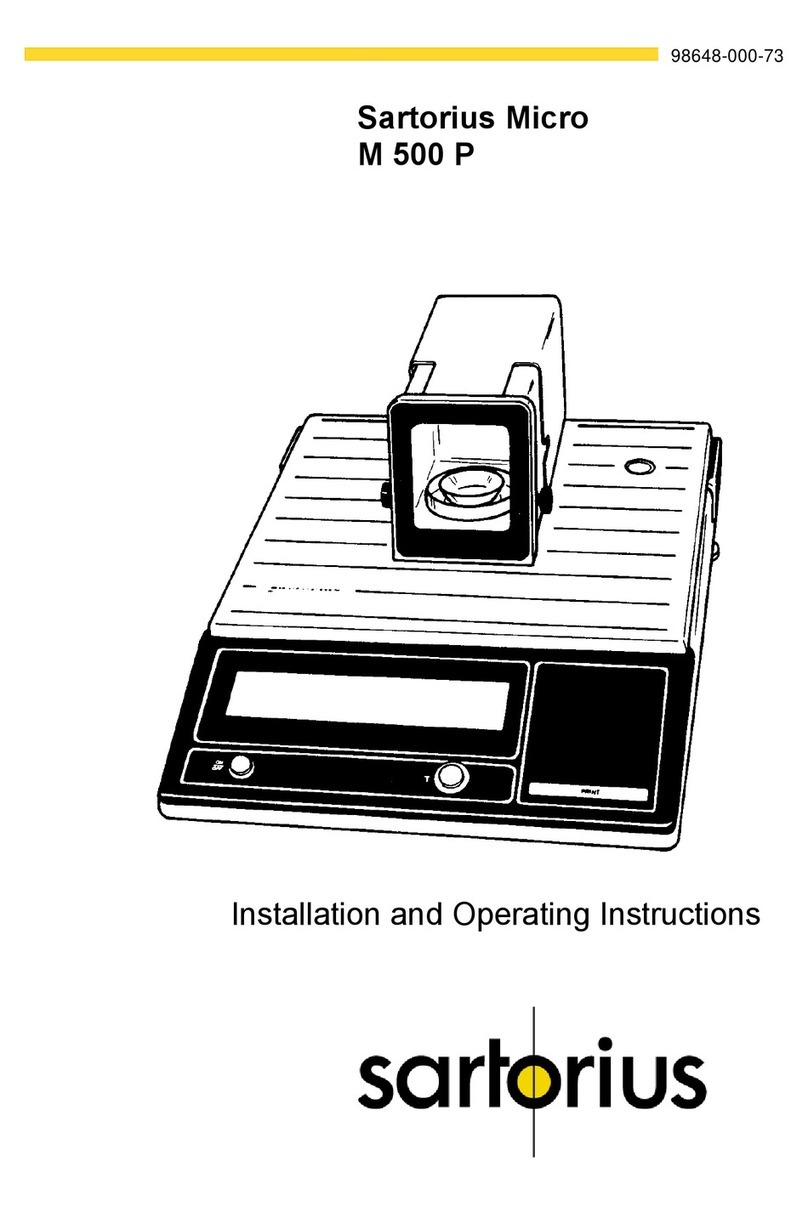
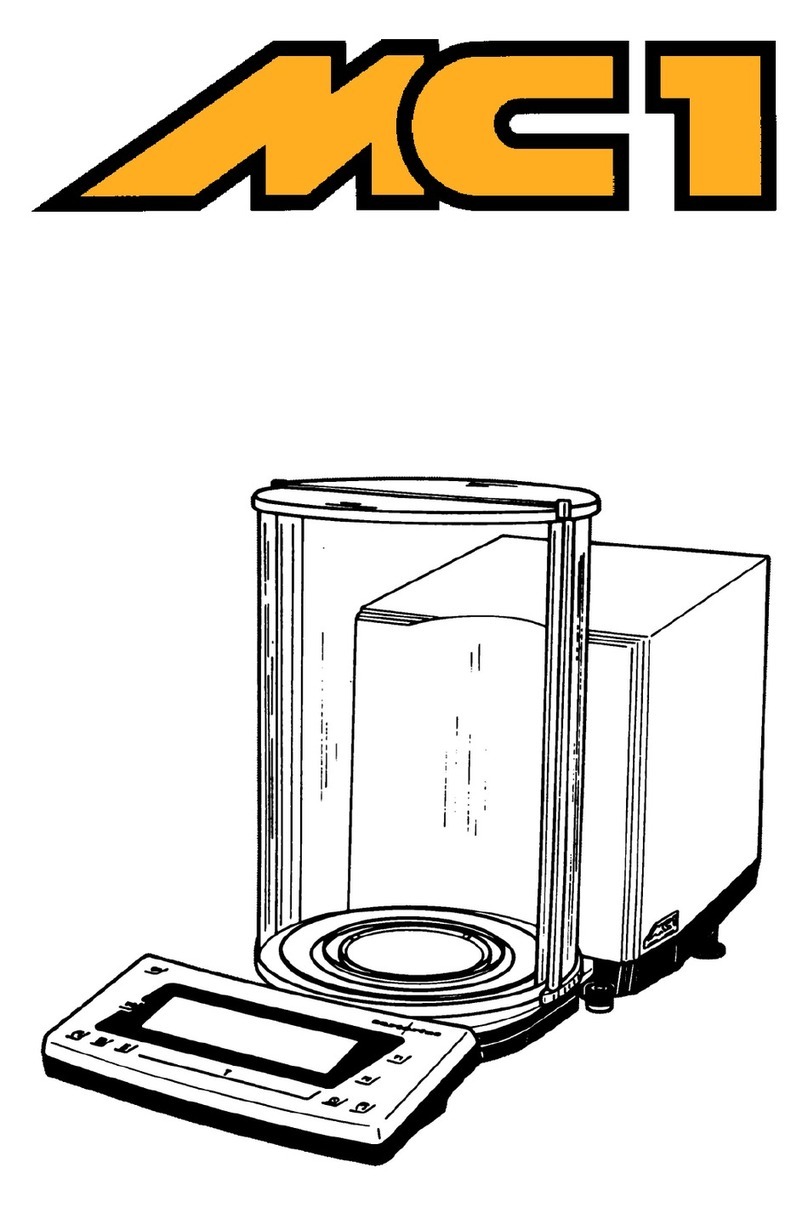
Mikrowaage
Micro Balance
1802
Aufstellungs- und Bedienungsanleitung
Instructions for Installation and Operation
- 2 -
Auspacken — Unpacking 3
Aufstellen — Assembling the balance 4
Kontrolle — Checking the balance 15
Bildschärfe einstellen — Focusing the image on the ground glass screen 17
Bildgröße einstellen — Adjustment the magnification of the screen image 18
Prüfen des Reitergewichtssatzes 19
Checking the built-in weights 20
Allgemeines 21
General Remarks 30
- 3 -
Auspacken
Waage aus der Verpackung nehmen.
Staubschutzhülle und Klebestreifen entfernen.
1
Zubehör aus dem Karton nehmen und soweit
auspacken, wie es die Abbildung zeigt.
Unpacking
Remove balance from carton. Take off plastic
cover and tapes.
Remove accessories from carton and unpack
as shown.
- 4 -
Aufstellen
2
Gehäusedeckel nach hinten herausziehen.
Zwischenscheibe nach oben herausnehmen.
3
Waage bis zur Tischkante vorziehen.
Schrauben links und rechts unter der Waage
lösen. Glasscheibe fassen, Halterung zur Seite
schwenken und Scheibe nach unten
herausnehmen.
Assembling the balance
First pull the top glass panel out towards the
rear and then take out the vertical dividing
panel.
Move the balance all the way to the edge of the
table (bench). Loosen the screws below the
balance (left and right). Grasp the glass panel,
swing the brackets aside and pull the front
panel out (downwards).
- 5 -
4
Schieber an der Rückwand herausziehen. Mit
einem kleinen Staubpinsel Staub und
Verpackungs-Rückstände durch die Öffnungen
in der Rückwand entfernen.
5
Schieber wieder einstecken. Lampengehäuse
auf das Kondensorrohr schieben. Anschlüsse
zum Schalter (1) und zum Transformator
herstellen (5 W Anschluss). Transformator an
das Wechselstromnetz anschließen.
6
Arretierungsknopf einstecken
Waage entarretieren
Waage arretieren
Pull out the slider in the rear panel. Clean the
inside which is accessible through the opening
with a small brush.
Return the slider. Slide the !amp housing over
the condenser tube. Establish connections to
switch (1) and transformer (5 watt). Connect
transformer to A.C. line.
Insert arrestment knob
release beam
arrest beam
- 6 -
7
Bildhelligkeit einstellen: Waage entarretieren.
Rändelschraube etwas lösen und
Lampenhalter verstellen, bis die Mattscheibe
optimal ausgeleuchtet ist. Rändelschraube
anziehen. Waage arretieren.
8
Balkenkarton öffnen. Zubehör vorsichtig
auspacken.
9
Unteren Knopf der Schaltgewichtsanzeige
drehen, bis „9" angezeigt wird.
Adjust intensity of the screen image: release
beam arrestment. Slightly loosen the knurled
screw and move lamp holder to and fro until the
screen is evenly and brightly illuminated.
Secure knurled screw. arrest beam release.
Open the box which contains the beam.
Unpack contents carefully.
Rotate lower weight knob to position „9".
- 7 -
10
Böden der Dämpfungstöpfe herausnehmen,
Schwingungstöpfe einsetzen.
• • = links
• = rechts
Kennzeichnung nach vorn. Böden der
Dämpfungstöpfe wieder einsetzen.
11
Arretierungspunkte und Lagerstein auf
Sauberkeit kontrollieren bzw. reinigen.
12
Waagebalken herausnehmen. Nicht an der
Zunge anfassen!
Pull off the bottoms of the damping pots and
introduce the damping bells.
• • = left
• = right
The marks must face forward. Return the
bottoms to the pots.
Check and, if necessary, clean the arrestment
points and center bearing.
Take the beam from the Container without
touching the pointer (wear a pair of light
cotton gloves or use chamois leather).
- 8 -
13
Schneiden und Arretierungspunkte auf
Sauberkeit kontrollieren.
14
Waagebalken von oben einführen. Waage
entarretieren, Mittelschneide über den
Lagerstein bringen. Waage arretieren und
Waagebalken auf die Arretierungspunkte
absetzen.
15
Gehänge auflegen: Unteren Gehängehaken in
die Öse des Dämpfungstopfes einführen.
Gehänge mit Dämpfungstopf anheben,
Gehänge auf die Arretierungspunkte absetzen.
Check knife edges and cups for cleanliness.
Introduce beam from above. Release beam
arrestment, move beam so that the center knife
edge is above the bearing. Arrest the beam
release and lower the beam until it sits firmly on
the respective pins.
Attach stirrups: introduce the lower hook into
the look on the damping pot, then lift stirrup and
pot slightly and set them down on the support
pins.
- 9 -
16
Gehängebügel einhängen.
• • = rechts
• = links
17
Anordnung der Gewichte auf dem Reiterlineal
am Gehänge:
8 1 mg 4 50 mg
7 1 mg 3 20 mg
6 2 mg 2 10 mg
5 5 mg 1 10 mg
Oberen Knopf der Gewichtsschaltung drehen,
bis 5 angezeigt wird.
Attach hanger.
• • = right-hand side
• = left-hand side
Arrangement of weights on the notched weight
bar:
8 1 mg 4 50 mg
7 1 mg 3 20 mg
6 2 mg 2 10 mg
5 5 mg 1 10 mg
Rotate upper weight knob to position „5".
- 10 -
18
5-mg-Gewicht mit Pinzette fassen, vorsichtig
über das Reiterlineal führen und in den Haken
hängen
19
Anzeige auf „0" stellen. 2-mg-Gewicht in die
Mitte zwischen Kerbe 6+7 des Reiterlineals
legen.
Anzeige auf „3" stellen und 2-mg-Gewicht in
den Haken hängen.
Take 5 mg weight with forceps, guide it across
the upper weight bar and place it into the
respective hook.
Return knob to position „0". Place 2 mg weight
Between notches 6 and 7.
Move knob to position „3" and drop 2 mg weight
into the respective hook on the upper bar.
- 11 -
20
Anzeige auf „0" stellen. 1-mg-Gewicht in die
Mitte zwischen Kerbe 7 + 8 legen.
Anzeige auf „2" stellen und 1-mg-Gewicht in
den Haken hängen.
21
Anzeige auf „1" stellen und zweites
1-mg-Gewicht einhängen.
Return knob to position „0"; place 1 mg weight
between notches 7 and 8.
Move knob to position „2" and drop 1 mg weight
into hook.
Move knob to „1" and attached second 1 mg
weight to hook.
- 12 -
Entsprechend Abb. 17 – 21 die Gewichte 50
mg. 20 mg und 2 x 10 mg einhängen.
22
Zwischenscheibe einstecken.
Deckel einschieben. Der Deckel muss beim
Einsetzen in der Nut geführt werden.
23
Befestigung des Reiterlineals im Schalenbügel
lösen.
Attach 50 mg, 20 mg, and two 10 mg weights
as per figs. 17 – 21.
Re-insert dividing panel.
Re-insert top panel which must be pressed
against one side while being pushed in until it is
far enough advanced to become engaged in
the opposite groove.
Loosen the lower weight bar (attached to the
hanger).
- 13 -
24
Reiterlineal herausnehmen, Gewichte der
Bezeichnungen entsprechend auflegen und
Reiterlineal wieder im Schalenbügel
befestigen.
25
Schalenbügel einhängen (Öffnung des Hakens
nach außen). Gewichte mit der Pinzette in die
entsprechenden Haken einhängen. Dazu ist
die Schaltgewichts-Anzeige auf „9" zu stellen.
26
Auflegehaken für Sorptionsröhrchen ausstellen
und festschrauben.
Remove this bar, attach the weights in
accordance with the markings and return it to
the hanger.
Attach pan hanger (opening of the hook facing
outwards). Move weight knob to position „9".
Move the weights into the corresponding hooks
(use forceps).
Swing out hooks for absorption tubes and
tighten screws.
- 14 -
27
Schalen-Abnahme:
ausschwenken
einschwenken
Schalenabnahme ausschwenken.
28
Schalenbügel einhängen. Waagschale
einlegen.
Schalenabnahme einschwenken.
Arretierungsknopf herausziehen.
Frontscheibe gemäß Abb. 3 in umgekehrter
Reihenfolge einsetzen und befestigen.
Arretierungsknopf einstecken.
29
Waage mit den hinteren Fußschrauben nach
der Libelle ausrichten.
External loader:
swing out
return
Swing out the pan removal arm.
Attach pan hanger (left). Place pan on loader
bracket and move it back into the housing. Pull
out arrestment knob.
Re-insert front panel (see Illustration 3) and
secure it. Introduce arrestment knob.
Level the balance housing by adjusting the rear
foot while observing the spirit level.
- 15 -
Kontrolle
30
Waage entarretieren. Nullpunkt einstellen.
Waage arretieren.
31
Reicht der Einstellungsbereich nicht aus: Nur
bei arretierter Waage Einstellvorrichtung
nach innen drücken und Nullpunkt korrigieren.
32
Drehrichtung im Falle einer Minus-Anzeige
Drehrichtung im Falle einer Plus-Anzeige
Checking the balance
Release the beam, adjust „0" setting and arrest
beam by means of the lever below the base
plate which moves the projection screen.
lf the range of this adjustment is insufficient,
push in the coarse zero adjustment shaft
(upper left side) and make the correction by
turning the knurled end of the shaft after the
inside fork has engaged the wing nut at the
left-hand end of the beam.
Direction of rotation:
if deflection is towards the minus side
if deflection is towards the plus side
- 16 -
33
Linke Waagschale mit einem 1-mg-Gewicht
belasten, Schaltgewichts-Anzeige ebenfalls auf
1 mg stellen. Waage entarretieren und
Nullpunkt einstellen.
34
Schaltgewichts-Anzeige auf „0" stellen. Die
Skale muss exakt „10" anzeigen.
35
Drehrichtung im Falle einer Minus-Anzeige
Drehrichtung im Falle einer Plus-Anzeige.
Place a 1 mg weight on the left-hand pan and
set upper weight knob to 1 mg. Release beam
and re-adjust zero setting, if necessary.
Move weight knob back to „0". Scale should
indicate exactly „10".
Turn in case of deflection:
towards the minus side
towards the plus side.
- 17 -
Bildschärfe einstellen
36
Rändelschraube lösen.
37
Objektiv verstellen, bis die Skale auf der
Mattscheibe scharf erscheint. Rändelschraube
wieder anziehen.
Focusing the Image on the Ground Glass
Screen
Loosen knurled screw.
Slide objective to and fro until the image on the
screen is as sharp as possible, then tighten
screw.
- 18 -
Bildgröße einstellen
38
Falls der Nonius mehr als 9 Skalenteile
überdeckt: Zwischenlinse etwas nach vorn
verstellen und Bildschärfe mit Objektiv
nachstellen.
39
Falls der Nonius weniger als 9 Skalenteile
überdeckt: Zwischenlinse etwas nach hinten
verstelle und Bildschärfe mit dem Objektiv
nachstellen.
Adjusting the Magnification of the Screen
Image
lf the magnification of the screen image is
incorrect, the vernier will either cover more or
less than 3 scale divisions.
In the first case, move intermediate lens slightly
towards the front of the balance and correct
image sharpness by re-focusing the objective.
In the second case, move intermediate lens
towards the rear and correct image sharpness
as before.
- 19 -
Prüfen des Reitergewichtssatzes
Es ist praktisch nicht möglich, die Reiter so genau zu justieren, dass die Fehler bei allen
vorkommenden Kombinationen unberücksichtigt bleiben können. Der Mikroanalytiker muss
deshalb den Reitersatz seiner Waage prüfen. Die Prüfung muss von Zeit zu Zeit wiederholt
werden, weil die Gewichte sich verändern können. Besonders wichtig ist die Prüfung der
Milligramm-Dekade, weil sie nicht zum Einwägen von Substanzen dient, und hierbei unterlaufende
Fehler sich meist stärker auf das Analysen-Ergebnis auswirken als Fehler in der Auswaage. Im
folgenden ist eine Stückelung eines Reitersatzes nach dem Schema 1 1 2 5 vorausgesetzt. Für
die Prüfung der Milligrammdekade ist ein 10-mg-Stück mitbekanntem Fehler A und ein
zusätzliches l-mg-Stück erforderlich. Es ist unten mit (l ) bezeichnet. Allgemein ist (x)
die Masse des Gewichtsstückes mit dein Nennwert x; das zweite Einer-Gewicht ist durch einen
darruntergesetzten Punkt vom ersten unterschieden. A ist der Fehler des 10-mg-Stückes, also
(10) = 10mg+A;
B bis F sind die durch folgende Wägungen bestimmten Abweichungen:
(10)+B=(5)+(2)+(l)+(1)+ (1)
( 5)+C=(2)+(l)+(1)+(1)
( 2)+D=(1)+(1)
( l)+E=(1)
( l)+F=(l)
Es ist am zweckmäßigsten, diese Wägungen als "Bordasche" Wägungen auszuführen, d.h. die
rechte Schale wird nur zum Austarieren benutzt und auf die linke Schale werden abwechselnd die
zu vergleichenden Stücke gelegt, wobei die Waage nicht geöffnet zu werden braucht.
Die Fehler der einzelnen Stücke sind dann:
f
10 = A
f
5= 0,5 (A + B - C)
f
2= 0,2 (A + B + C - 3D – E - F)
f
1= 0,1 (A +B + C + 2D – 6E + 4F)
f
I= 0,1 (A + B + C + 2D +4E – 6F)
f
I= 0,1 (A + B + C + 2D + 4E + 4F)
Zur Prüfung eines vollständigen Reitersatzes muss von einem l-g-Stück mit bekanntem Fehler
ausgegangen werden. Der Gang innerhalb der einzelnen Dekaden ist entsprechend dem oben
angegebenen.
- 20 -
Checking the Built-in Weights
lt is practically impossible to produce weights of such accuracy that errors, which can occur when
using certain combinations of these weights, can be disregarded. lt is, therefore, necessary that the
user of a micro balance checks his weights from time to time since they may change.
Of great importance is the checking of the milligram series of weights. The following procedure is
based on a 1 1 2 5 combination of weights. For the checking of the mg decade, one requires a
10 mg weight with known error A and an additional 1 mg weight, designated (1) below. „x" is the
mass of weight, marked „x"; the second 1 mg weight is identified by a point set below. „A" is the
error of the 10 mg fest weight.
(10) = 10mg+A;
(10)+B=(5)+(2)+(l)+(1)+ (1)
( 5)+C=(2)+(l)+(1)+(1)
( 2)+D=(1)+(1)
( l)+E=(1)
( l)+F=(l)
These weighings are best executed on the basis of the „Borda" principle. Herein the right-hand pan
is used for taring only and the weights to be compared are placed on the left-hand side. By using
the pan removal mechanism one need not open the weighing compartment when operating in this
manner.
The errors of the respective weight are as follows:
f
10 = A
f
5= 0,5 (A + B - C)
f
2= 0,2 (A + B + C - 3D – E - F)
f
1= 0,1 (A +B + C + 2D – 6E + 4F)
f
I= 0,1 (A + B + C + 2D +4E – 6F)
f
I= 0,1 (A + B + C + 2D + 4E + 4F)
A 1g weight with known error is required for testing a complete set of ring weights. The sequence
within the individual decades corresponds to the one above.

This manual suits for next models

1

Other Sartorius Scale manuals

Sartorius PMA.Evolution User manual

Sartorius

Sartorius PMA.Evolution User manual
Sartorius PMA.Evolution User manual

Sartorius

Sartorius PMA.Evolution User manual

Sartorius QC34EDE-S User manual

Sartorius

Sartorius QC34EDE-S User manual

Sartorius VIS1X User manual

Sartorius

Sartorius VIS1X User manual

Sartorius Talent Series User manual

Sartorius

Sartorius Talent Series User manual

Sartorius Cubis MCA125P Series User manual

Sartorius

Sartorius Cubis MCA125P Series User manual

Sartorius 1100 User guide

Sartorius

Sartorius 1100 User guide

Sartorius PMA.Power User manual

Sartorius

Sartorius PMA.Power User manual

Sartorius Basiclite User manual

Sartorius

Sartorius Basiclite User manual

Sartorius CUBIS MSU User manual

Sartorius

Sartorius CUBIS MSU User manual

Sartorius Secura User manual

Sartorius

Sartorius Secura User manual

Sartorius EA User manual

Sartorius

Sartorius EA User manual

Sartorius MC 210 S User manual

Sartorius

Sartorius MC 210 S User manual

Sartorius ME215 User manual

Sartorius

Sartorius ME215 User manual

Sartorius M3P User manual

Sartorius

Sartorius M3P User manual

Sartorius PMA 35D User manual

Sartorius

Sartorius PMA 35D User manual

Sartorius IB 31 User manual

Sartorius

Sartorius IB 31 User manual

Sartorius Master series User manual

Sartorius

Sartorius Master series User manual

Sartorius IS16EDE-H User manual

Sartorius

Sartorius IS16EDE-H User manual

Sartorius Secura User manual

Sartorius

Sartorius Secura User manual

Sartorius U 4100 User manual

Sartorius

Sartorius U 4100 User manual

Sartorius Cubis MCA Series User manual
Sartorius

Sartorius Cubis MCA Series User manual

Sartorius PMA600H User manual

Sartorius

Sartorius PMA600H User manual

Sartorius M-Power AZ214 User manual

Sartorius

Sartorius M-Power AZ214 User manual

Popular Scale manuals by other brands

ioLIVING WasteScale WSS manual

ioLIVING

ioLIVING WasteScale WSS manual

Detecto 8435 owner's manual

Detecto

Detecto 8435 owner's manual

ETEKCITY ESF38 user manual

ETEKCITY

ETEKCITY ESF38 user manual

Sunbeam EasyMeasure FS7600 Instruction booklet

Sunbeam

Sunbeam EasyMeasure FS7600 Instruction booklet

KERN FOB Series operating manual

KERN

KERN FOB Series operating manual

Hottek HT-962-021 user manual

Hottek

Hottek HT-962-021 user manual

OHAUS SD35 instruction manual

OHAUS

OHAUS SD35 instruction manual

BEL i-Thermo L Series quick guide

BEL

BEL i-Thermo L Series quick guide

Domo DO9096W Instruction booklet

Domo

Domo DO9096W Instruction booklet

A&D BA Series quick start guide

A&D

A&D BA Series quick start guide

Adler Europe AD 8180 user manual

Adler Europe

Adler Europe AD 8180 user manual

Beurer GS 200 Instructions for use

Beurer

Beurer GS 200 Instructions for use

Duronic KS4000 manual

Duronic

Duronic KS4000 manual

OHAUS RC31P1502-M instruction manual

OHAUS

OHAUS RC31P1502-M instruction manual

LW MEASUREMENTS TREE REMO Operation manual

LW MEASUREMENTS

LW MEASUREMENTS TREE REMO Operation manual

Beurer GS 490 Instructions for use

Beurer

Beurer GS 490 Instructions for use

Fisherbrand 15345103 instruction manual

Fisherbrand

Fisherbrand 15345103 instruction manual

Vitek VT- 1980 G Manual instruction

Vitek

Vitek VT- 1980 G Manual instruction

manuals.online logo
manuals.online logoBrands
  • About & Mission
  • Contact us
  • Privacy Policy
  • Terms and Conditions

Copyright 2025 Manuals.Online. All Rights Reserved.