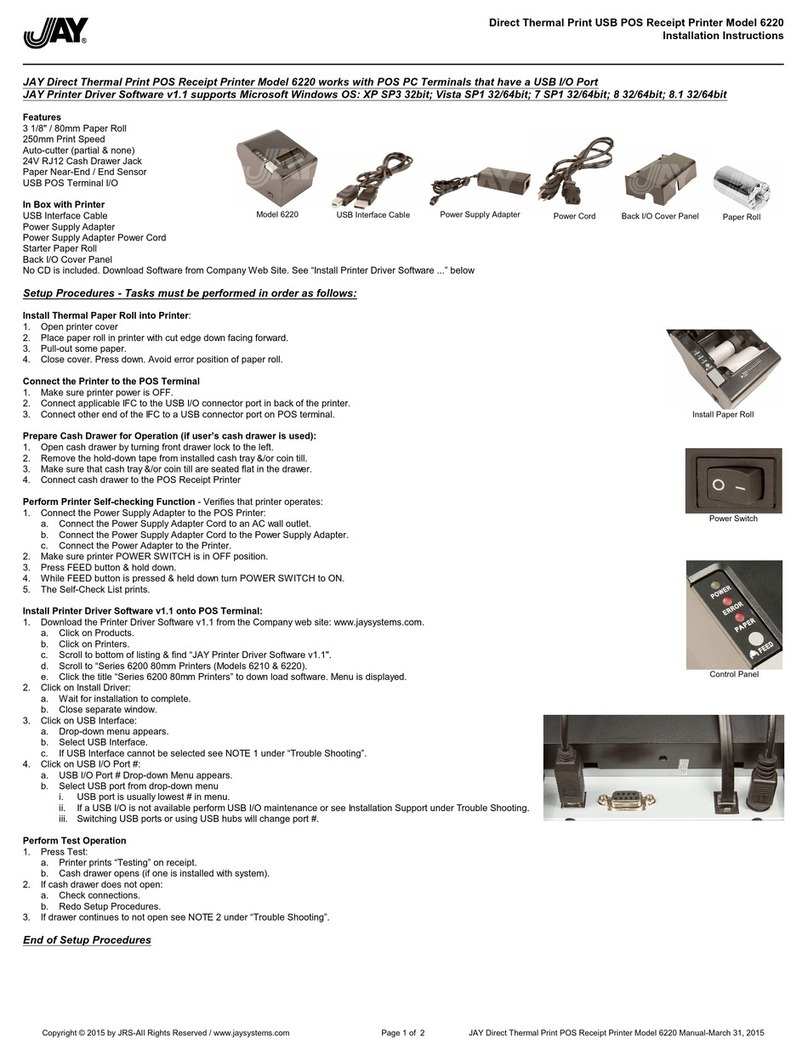
7. Select “IP Address” and press “ENTER”. Press
“ENTER” two more times to start configuring
the first set of numbers for your IP address. Use
the up and down arrows to select your numbers.
After the first set of numbers are configured, use “ENTER” to continue to the
next set of numbers and repeat the process until your IP address is set. Press the
“CANCEL” key 2 times to return to your “ETHERNET ADDRESS” settings.
8. Repeat the above process for your subnet mask and default gateway.
9. When you are finished configuring your IP
Address, Subnet Mask, and Default Gateway,
press the “FUNCTION” key and go back to
“INTERFACES” again.
10. Scroll to “WLAN SETTING” and press the
“ENTER” key. Once in the WLAN SETTING
menu, select “SSID Name” and press “ENTER”
11. Your SSID will be your wireless network name.
The network name can only be entered 15
characters at a time. Select “SSID Name(01-
15)” and press the “ENTER” key. Enter your
SSID name by using the up and down arrows to select your characters to input
and use the right arrow to advance to the next character. If your network name is
more than 15 characters long, you will need to select “SSID Name(16-30)” to
continue with setting up your SSID.
12. If you are NOT using wireless security on your network skip to step 13. If you
are using wireless security, press the “FUNCTION” key to return to the main
menu, scroll to “INTERFACES” and press the “ENTER” key. Scroll down to
“WLAN Setting” and press the “ENTER” key. You now need to find out if your
network is using WEP security or WPA security and if the connection is a shared
or open connection. For “Open” or “Shared”
security, scroll to “Auth Method” and select the
appropriate setting for your network.
