manuals.online logo
Brands
  1. Home
  2. •
  3. Brands
  4. •
  5. Saxby Lighting
  6. •
  7. Spotlight
  8. •
  9. Saxby Lighting 72643 Manual

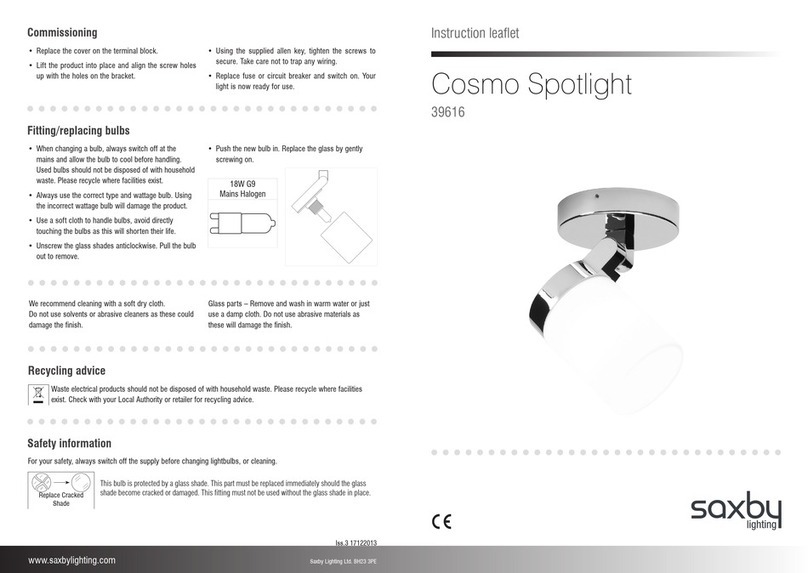
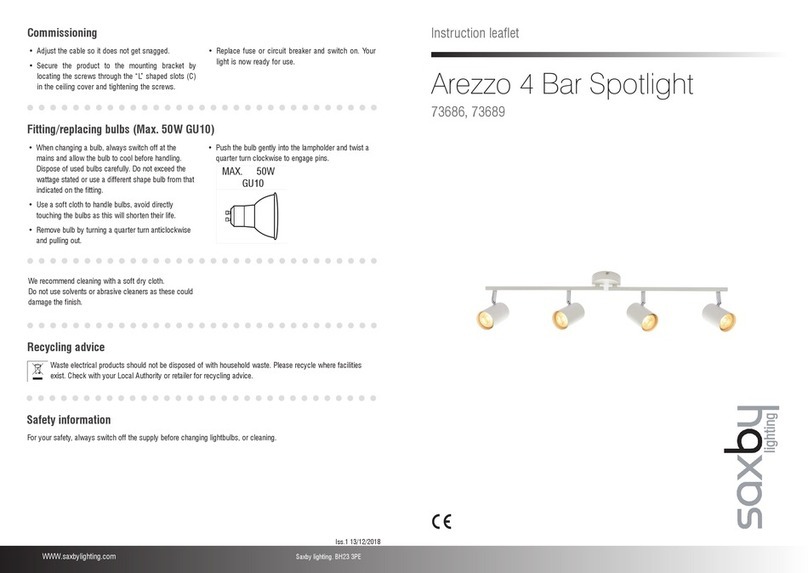
Saxby Lighting 72643 Manual

Instruction leaflet
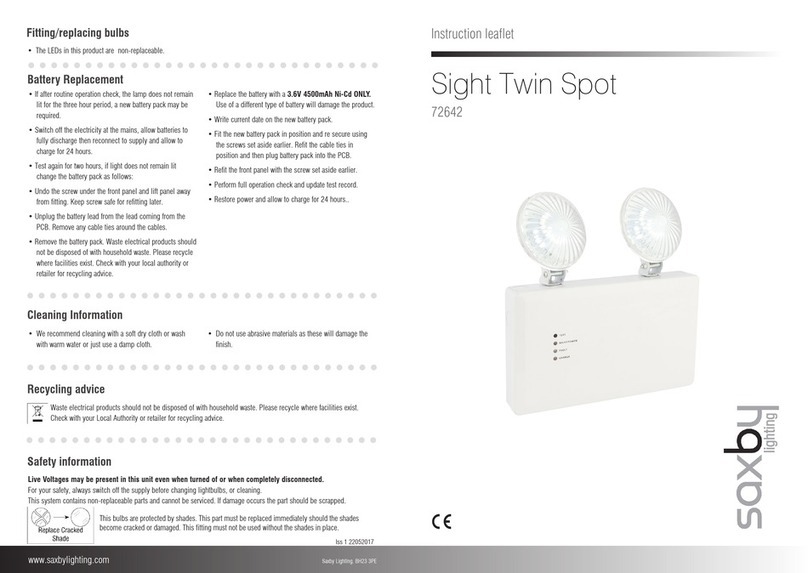
Sight Twin Spot
72643
www.saxbylighting.com
Live Voltages may be present in this unit even when turned of or when completely disconnected.
For your safety, always switch off the supply before changing lightbulbs, or cleaning.
This system contains non-replaceable parts and cannot be serviced. If damage occurs the part should be scrapped.
Safety information
Cleaning Information
Saxby Lighting. BH23 3PE
• Werecommendcleaningwithasoftdryclothorwash
with warm water or just use a damp cloth.
• Donotuseabrasivematerialsasthesewilldamagethe
finish.
Wasteelectricalproductsshouldnotbedisposedofwithhouseholdwaste.Pleaserecyclewherefacilitiesexist.
Check with your Local Authority or retailer for recycling advice.
Recycling advice
This bulbs are protected by shades. This part must be replaced immediately should the shades
become cracked or damaged. This fitting must not be used without the shades in place.
Iss 1 22052017
•Ifafterroutineoperationcheck,thelampdoesnotremain
lit for the three hour period, a new battery pack may be
required.
•Switchofftheelectricityatthemains,allowbatteriesto
fully discharge then reconnect to supply and allow to
charge for 24 hours.
•Testagainfortwohours,iflightdoesnotremainlit
change the battery pack as follows:
•Undothefourscrewsatthecornersofthefrontpaneland
lift panel away from fitting. Keep screws safe for refitting
later.
•Unplugthebatteryleadfromtheleadcomingfromthe
PCB. Remove any cable ties around the cables.
•Unscrewthebatteryretainingbar(keepthe2screws
safe for refitting later) and remove the battery pack.
Wasteelectricalproductsshouldnotbedisposedofwith
household waste. Please recycle where facilities exist.
Check with your local authority or retailer for recycling
advice.
•Replacethebatterywitha3.6V 6000mAh Ni-Cd ONLY.
Useofadifferenttypeofbatterywilldamagetheproduct.
•Writecurrentdateonthenewbatterypack.
•Fitthenewbatterypackinpositionandfixinposition
by refitting the retaining bar with the 2 screws set aside
earlier.
•Replacecabletiesovercables.
•Refitthefrontpanelwiththe4screwssetasideearlier.
•Performfulloperationcheckandupdatetestrecord.
•Restorepowerandallowtochargefor24hours.
Battery Replacement
•TheLEDsinthisproductarenon-replaceable.
Fitting/replacing bulbs
Thank you for purchasing this light fitting. Please read the instructions carefully before use to ensure safe and satisfactory
operation of this product. Please retain these instructions for future reference.
Warning
This product is Double Insulated and
does not require connection to an Earth circuit.
Please read these instructions carefully before
commencing any work.
This unit must be fitted by a competent and qualified
electrician.
InstallinaccordancewithIEEWiringregulationsand
current Building Regulations.
To prevent electrocution switch off at mains supply
before installing or maintaining this fitting. Ensure other
persons cannot restore the electrical supply without your
knowledge.
This light fitting should be connected to a fused circuit.
If replacing an existing fitting, make a careful note of the
connections.
This product is not suitable for dimming.
Wasteelectricalproductsshouldnotbedisposedofwith
household waste. Please recycle where facilities exist.
Check with your local authority or retailer for recycling
advice.
These products should not be fitted to PIR circuits or short
duration timed switches.
This product is IP65 rated
Specification
Layout
• Themainssupplycablemusthaveaminimumcrosssectionalareaof1.0mm²
• Thisproductmustbemountedoutofarmsreach
Wiring - Non-Maintained
Check that...
•Youhavecorrectlyidentifiedthewires
•Theconnectionsaretight
•Thecableclampissecure.
•Noloosestrandshavebeenleftoutoftheconnection
block.
Voltage: 240V ~ 50Hz
Lamp:2x3WLEDHiPower-6000K/570lm
IP rating: 65
Duration:3hours(180minutes)
Operating Temperature : -5˚C to 50˚C
Maximum Operating Humidity : 10-90%
Change over Time: Approximately 1s
BatterySpecification:3.6V6000mAhNi-Cad
Battery Charge Time: 24 hours
Having correctly identified the wiring from your existing light fitting, pull the wire through the hole, undo the cable clamp, and
connect to the quick-fit connection block inside the product in the following way:
• Thisunitworksinnon-maintainedmode.Thelightwill
normally be off and charging. In the event of a power
failure, the light will switch on automatically.
• Theproducthasthefollowingindicatorlights:-
-TOP:GREENLIGHT-NormalMainsSupply
 -MIDDLE:GREENLIGHT-Charging
 -BOTTOM:YELLOWLIGHT-Fault
• Theproductcarriesoutthefollowingautotests
- Initial: 30s function test is automatically run 20 hours
after mains power supplied to fitting. 3hr duration test
is automatically run after a further 4 hours
- Monthly: 30s test - power failure simulation: -
Green power indicator blinks.
 -Half-Yearly:1hourdurationtest-powerfailure
simulation: - Green power indicator flashes.
-Yearly:3hourdurationtest-powerfailuresimulation:-
Green power indicator flashes.
• Thisproductisfittedwithafaultalarm.Ifthebatteryfails,
thealarmwillsoundeveryminuteandtheYellowlight
willflash.IftheLEDfails,thealarmwillsoundevery30s
and the yellow light will flash.
• Itispossibletotesttheproductmanually,byfollowing
these steps:-
1. Press the "Test" button for 1s. Green light will be off and
Emergency mode will run for 1s. Test button is located
on the PCB.
2. Press the test button for 3s. Green light will be blinking
and Function Test run for 30s.
3. Press the test button for 5s. Green light will be flashing
and run duration test.
4. Press the test button again for 5s to interrupt duration
test.
5.Pressthetestbuttonfor10s.All3LEDlightswillflash3
times and the fitting will be reset.
Operation & Testing
Existing fittings must be completely removed before
installation of a new product. Before removing the existing
fitting, carefully note the position of each set of wires.
•Undothe4screwsatthecornersofthefittingand
detach the front panel. Keep screws safe for refitting
later.
•Usingthewallbackasatemplate,marktheposition
of and drill out the fixing holes. Take care to avoid
damaging any concealed wiring and pipes. Attach the
fitting to the wall. The correct fixings should be used,
depending upon the surface to be mounted.
•Knockoutcableentrypoint.Fitagrommettothehole
to prevent cable damage. If using outside, an outdoor
rated grommet must be used.
•Pullthecablethroughthecableentryholeandwireas
detailed overleaf.
Installation
•PlugthebatteryconnectorintothePCB.
•Refitthefrontpanelwith4screwssetasideearlier.
•Adjustthedirectionoftheheadstoilluminatethedesired
area.
•Replacefuseorcircuitbreakerandswitchon.Yourlight
is now ready for use.
Commissioning
SWITCHED LIVE
INSERT CABLE
NEUTRAL

Other Saxby Lighting Spotlight manuals

Saxby Lighting Arezzo 4 Manual

Saxby Lighting

Saxby Lighting Arezzo 4 Manual

Saxby Lighting Cosmo Manual

Saxby Lighting

Saxby Lighting Cosmo Manual

Saxby Lighting 72642 Manual

Saxby Lighting

Saxby Lighting 72642 Manual

Saxby Lighting EL-10047 Manual

Saxby Lighting

Saxby Lighting EL-10047 Manual

Popular Spotlight manuals by other brands

thomann STAIRVILLE Wild Wash Pro 648 RGBW user manual

thomann

thomann STAIRVILLE Wild Wash Pro 648 RGBW user manual

Conrad 11 03 89 operating instructions

Conrad

Conrad 11 03 89 operating instructions

Alpan SmartYard 2 SMART FOCUS Assembly and care instructions

Alpan

Alpan SmartYard 2 SMART FOCUS Assembly and care instructions

Urrea 8LR quick start guide

Urrea

Urrea 8LR quick start guide

Laserworld Garden Star Series manual

Laserworld

Laserworld Garden Star Series manual

MIIDEX LIGHTING Vision-EL 80100 Notice Instructions

MIIDEX LIGHTING

MIIDEX LIGHTING Vision-EL 80100 Notice Instructions

Stanley SL3HS instruction manual

Stanley

Stanley SL3HS instruction manual

Black & Decker Ultrabright LED Spotlight instruction manual

Black & Decker

Black & Decker Ultrabright LED Spotlight instruction manual

Sealey AK437.V2 instructions

Sealey

Sealey AK437.V2 instructions

Larson Electronics MUL-30-LED instruction manual

Larson Electronics

Larson Electronics MUL-30-LED instruction manual

Vector Sportspot 90519935 instruction manual

Vector

Vector Sportspot 90519935 instruction manual

Elation Platinum Beam 5R Extreme user manual

Elation

Elation Platinum Beam 5R Extreme user manual

durabuild Vector VEC157SDB User's manual & warranty information

durabuild

durabuild Vector VEC157SDB User's manual & warranty information

Dorcy 41-1097 User instructions

Dorcy

Dorcy 41-1097 User instructions

Stocker Solarjet Superspotlight 0612 manual

Stocker

Stocker Solarjet Superspotlight 0612 manual

nocturn 250 Watt Spot Operation manual

nocturn

nocturn 250 Watt Spot Operation manual

Original BTC DAVEY LIGHTING 0755 instruction manual

Original BTC

Original BTC DAVEY LIGHTING 0755 instruction manual

thomann Stairville Wild Wash Pro 648 LED White DMX user manual

thomann

thomann Stairville Wild Wash Pro 648 LED White DMX user manual

manuals.online logo
manuals.online logoBrands
  • About & Mission
  • Contact us
  • Privacy Policy
  • Terms and Conditions

Copyright 2025 Manuals.Online. All Rights Reserved.