manuals.online logo
Brands
  1. Home
  2. •
  3. Brands
  4. •
  5. Saxby Lighting
  6. •
  7. Spotlight
  8. •
  9. Saxby Lighting Arezzo 4 Manual

Saxby Lighting Arezzo 4 Manual

• Adjust the cable so it does not get snagged.
• Secure the product to the mounting bracket by
locating the screws through the “L” shaped slots (C)
in the ceiling cover and tightening the screws.
• Replace fuse or circuit breaker and switch on. Your
light is now ready for use.
• When changing a bulb, always switch off at the
mains and allow the bulb to cool before handling.
Dispose of used bulbs carefully. Do not exceed the
wattage stated or use a different shape bulb from that
indicated on the fitting.
• Use a soft cloth to handle bulbs, avoid directly
touching the bulbs as this will shorten their life.
• Remove bulb by turning a quarter turn anticlockwise
and pulling out.
• Push the bulb gently into the lampholder and twist a
quarter turn clockwise to engage pins.
Commissioning
Fitting/replacing bulbs (Max. 50W GU10)
Instruction leaflet
Arezzo 4 Bar Spotlight
73686, 73689
For your safety, always switch off the supply before changing lightbulbs, or cleaning.
Waste electrical products should not be disposed of with household waste. Please recycle where facilities
exist. Check with your Local Authority or retailer for recycling advice.
Recycling advice
Safety information
We recommend cleaning with a soft dry cloth.
Do not use solvents or abrasive cleaners as these could
damage the finish.
Iss.1 13/12/2018
MAX. 50W
GU10
WWW.saxbylighting.com Saxby lighting. BH23 3PE
Thank you for purchasing this light fitting. Please read the instructions carefully before use to ensure safe and
satisfactory operation of this product. Please retain these instructions for future reference.
Warning
This is a Class 1 product and must be earthed.
Please read these instructions carefully before
commencing any work.
This unit must be fitted by a competent and qualified
electrician.
Install in accordance with IEE Wiring regulations and
current Building Regulations.
To prevent electrocution switch off at mains supply
before installing or maintaining this fitting. Ensure
other persons cannot restore the electrical supply
without your knowledge.
This light fitting should be connected to a fused circuit.
If replacing an existing fitting, make a careful note of
the connections.
Always use the correct type and wattage bulb.
Exceeding the bulb wattage will damage the product.
When changing a bulb, always switch off at the mains
and allow the old bulb to cool down before handling.
Dispose of used bulbs carefully and responsibly.
This product is suitable for dimming when used in
conjunction with a dimmable lamp. Please ensure
verification of dimming abilities with the lamp
manufacture prior to use.
Waste electrical products should not be disposed of
with household waste. Please recycle where facilities
exist. Check with your local authority or retailer for
recycling advice.
Specification
Voltage: 240V 50Hz a.c.
Lamp: 4 x Max. 50W GU10
IP rating: 20
Layout
Existing fittings must be completely removed before
installation of a new product. Before removing the
existing fitting, carefully note the position of each set
of wires.
• Undo the screws (C) holding the fixing bracket in
place and set aside.
• Hold the bracket (A) in place and mark the position
of the holes. Ensure that the product is level.
• Ensure the ceiling is capable of holding the weight
of the product. Take care to avoid damaging any
concealed wiring and pipes. Ensure there is a joist
at the point of fixing to support the weight of the
product.
If the single spot is to be fitted to a wall then the
correct fixings should be used for brick, cavity walls
or plasterboard.
• Fix bracket into position.
Installation
Wiring
Having correctly identified the wiring from your existing light fitting, pull the wire through the hole and connect to the
connection block inside the product in the following way:
Check that...
• You have correctly identified the wires.
• The connections are tight.
• No loose strands have been left out of the connection
block.
• When completed, ensure that there are no bare or
loose strands of wire exposed, and cover all exposed
areas of the connection block with 2 layers of
insulation tape.
• Plan the desired layout of this fitting carefully,
ensuring the cables will reach the distance between
the junction box and the light fitting.
• Avoid locating any cables in positions that would
cause a hazard. Position cables and junction boxes
(not supplied) away from areas where they may be
at risk from being cut, trapped or damaged.
• The mains supply cable must have a minimum cross
sectional area of 1.0mm².
• This product must be mounted out of arms reach.
B
C
A
Spotlights give a concentrated beam of light and must not be positioned any closer than 0.5M
(50cm) to the illuminated surface.

This manual suits for next models

2

Other Saxby Lighting Spotlight manuals

Saxby Lighting 72643 Manual

Saxby Lighting

Saxby Lighting 72643 Manual

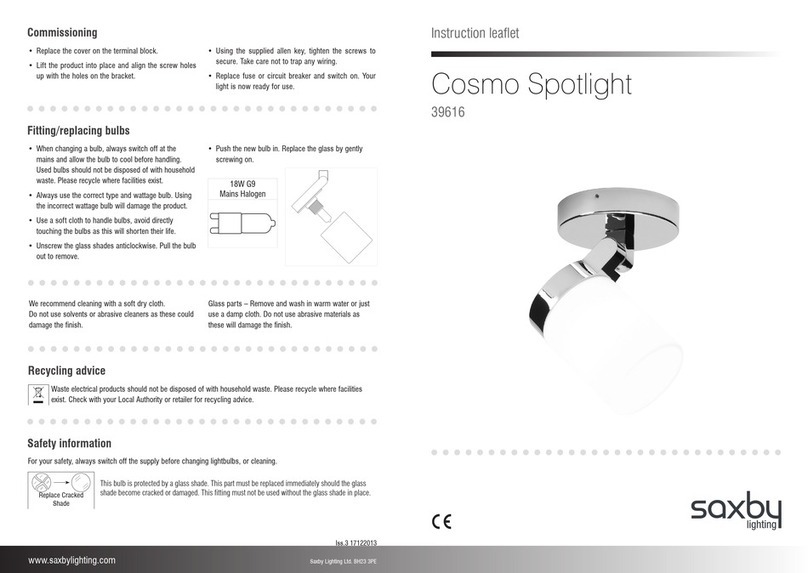
Saxby Lighting Cosmo Manual

Saxby Lighting

Saxby Lighting Cosmo Manual

Saxby Lighting EL-10047 Manual

Saxby Lighting

Saxby Lighting EL-10047 Manual

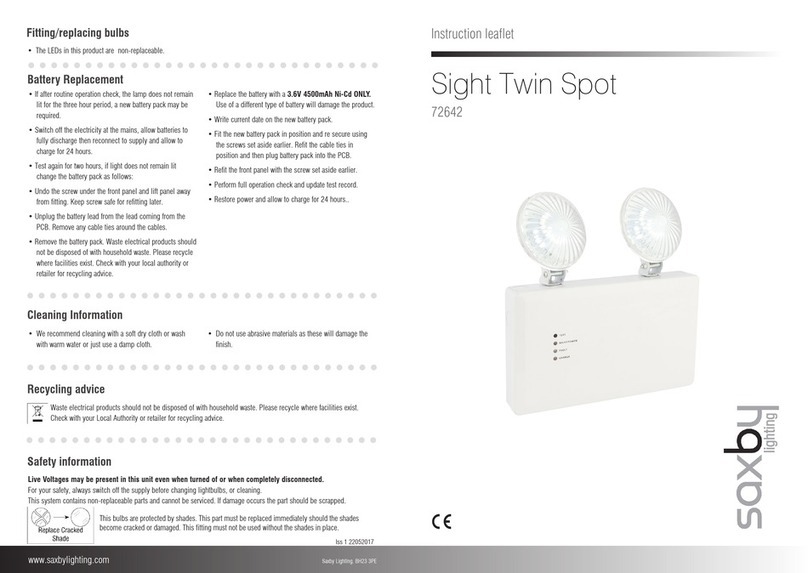
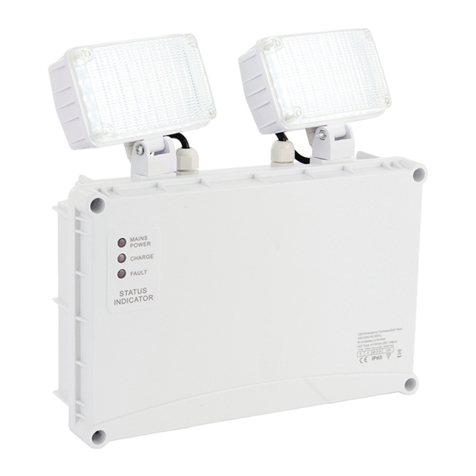
Saxby Lighting 72642 Manual

Saxby Lighting

Saxby Lighting 72642 Manual

Popular Spotlight manuals by other brands

VIPOW URZ0912 owner's manual

VIPOW

VIPOW URZ0912 owner's manual

Occhio Piu piano LED instructions

Occhio

Occhio Piu piano LED instructions

Conrad 11 03 89 operating instructions

Conrad

Conrad 11 03 89 operating instructions

Somogyi Elektronic home SLL 600 quick start guide

Somogyi Elektronic

Somogyi Elektronic home SLL 600 quick start guide

LEXMAN ST3421CR-5W-S Assembly, Use, Maintenance Manual

LEXMAN

LEXMAN ST3421CR-5W-S Assembly, Use, Maintenance Manual

Gordon 46103 Assembly & operating instructions

Gordon

Gordon 46103 Assembly & operating instructions

Martin Professional MAC 2000 Wash user manual

Martin Professional

Martin Professional MAC 2000 Wash user manual

Francis Searchlights A7145 User instruction & installation manual

Francis Searchlights

Francis Searchlights A7145 User instruction & installation manual

Ingo Maurer Use Me C instructions

Ingo Maurer

Ingo Maurer Use Me C instructions

Mr. Beams MB370 installation instructions

Mr. Beams

Mr. Beams MB370 installation instructions

Larson Electronics GL-52893 Instruction guide

Larson Electronics

Larson Electronics GL-52893 Instruction guide

Ovation X40C user manual

Ovation

Ovation X40C user manual

DTS 03.P16.02.01.01 user manual

DTS

DTS 03.P16.02.01.01 user manual

Black & Decker BSL100 instruction manual

Black & Decker

Black & Decker BSL100 instruction manual

Elation OPTI QA PAR user manual

Elation

Elation OPTI QA PAR user manual

Havis CD-MAGNUM CD-CL-12 user manual

Havis

Havis CD-MAGNUM CD-CL-12 user manual

Clas Ohlson SW12270 manual

Clas Ohlson

Clas Ohlson SW12270 manual

Dorcy 41-1097 User instructions

Dorcy

Dorcy 41-1097 User instructions

manuals.online logo
manuals.online logoBrands
  • About & Mission
  • Contact us
  • Privacy Policy
  • Terms and Conditions

Copyright 2025 Manuals.Online. All Rights Reserved.