manuals.online logo
Brands
  1. Home
  2. •
  3. Brands
  4. •
  5. Schier
  6. •
  7. Plumbing Product
  8. •
  9. Schier PP3 User manual

Schier PP3 User manual

Notes
1. Additional plumbing fitting(s) required to complete kit installation.
Fitting(s) determined by unit outlet configuration.
2. Unit weight: 8 lbs.
Engineer Specification Guide:
Pumpout port kit to consist of internal PVC 3" piping, injection molded PVC
internal fitting adapter, injection molded polypropylene retaining nut,
injection molded polypropylene 4" MPT x 3" plain end fitting and standard 3"
cam and groove fitting (for pumper hook-up).
Installation Notes
1. Maximum vertical distance from static water line of
grease interceptor to pumpout port hook-up shall
not exceed 21 feet.
2. Maximum horizontal distance from grease
interceptor to pumpout truck (including pumper
hose) shall not exceed 100 feet.
3. Plumbing from interceptor to hook-up to have a
maximum quantity of 6 elbow fittings.
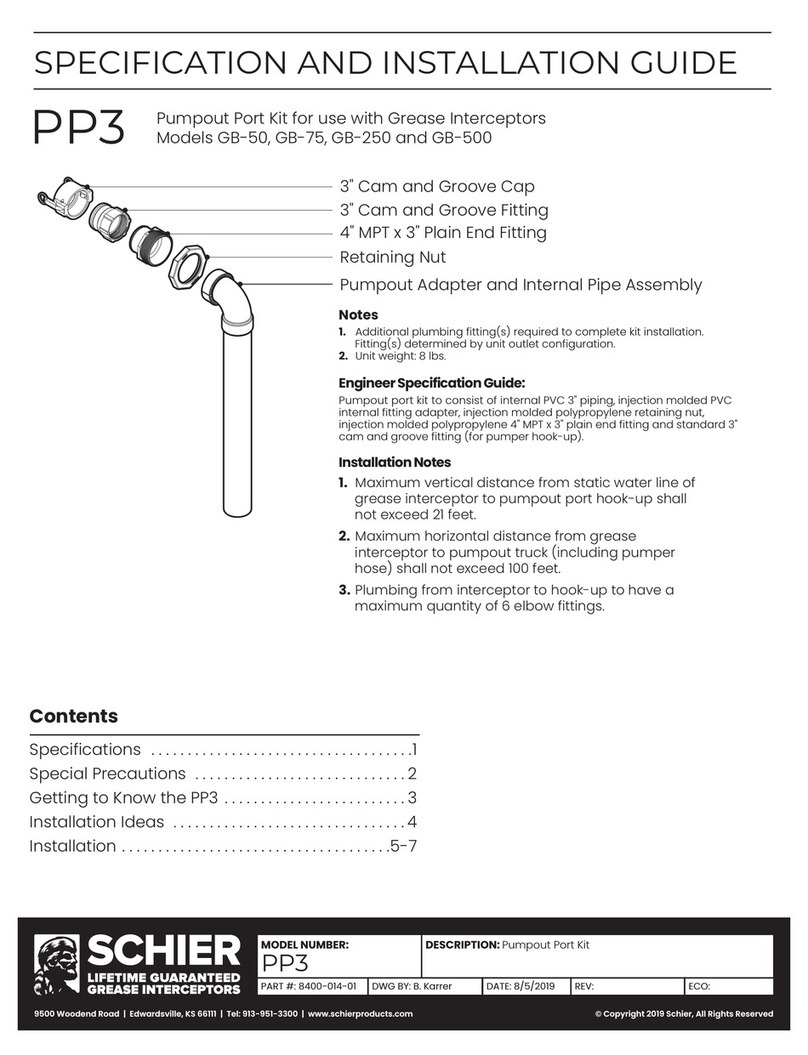
Pumpout Adapter and Internal Pipe Assembly
3" Cam and Groove Fitting
3" Cam and Groove Cap
Retaining Nut
4" MPT x 3" Plain End Fitting
Contents
Specifications . . . . . . . . . . . . . . . . . . . . . . . . . . . . . . . . . . . .1
Special Precautions . . . . . . . . . . . . . . . . . . . . . . . . . . . . . 2
Getting to Know the PP3 . . . . . . . . . . . . . . . . . . . . . . . . . 3
Installation Ideas . . . . . . . . . . . . . . . . . . . . . . . . . . . . . . . . 4
Installation . . . . . . . . . . . . . . . . . . . . . . . . . . . . . . . . . . . . .5-7
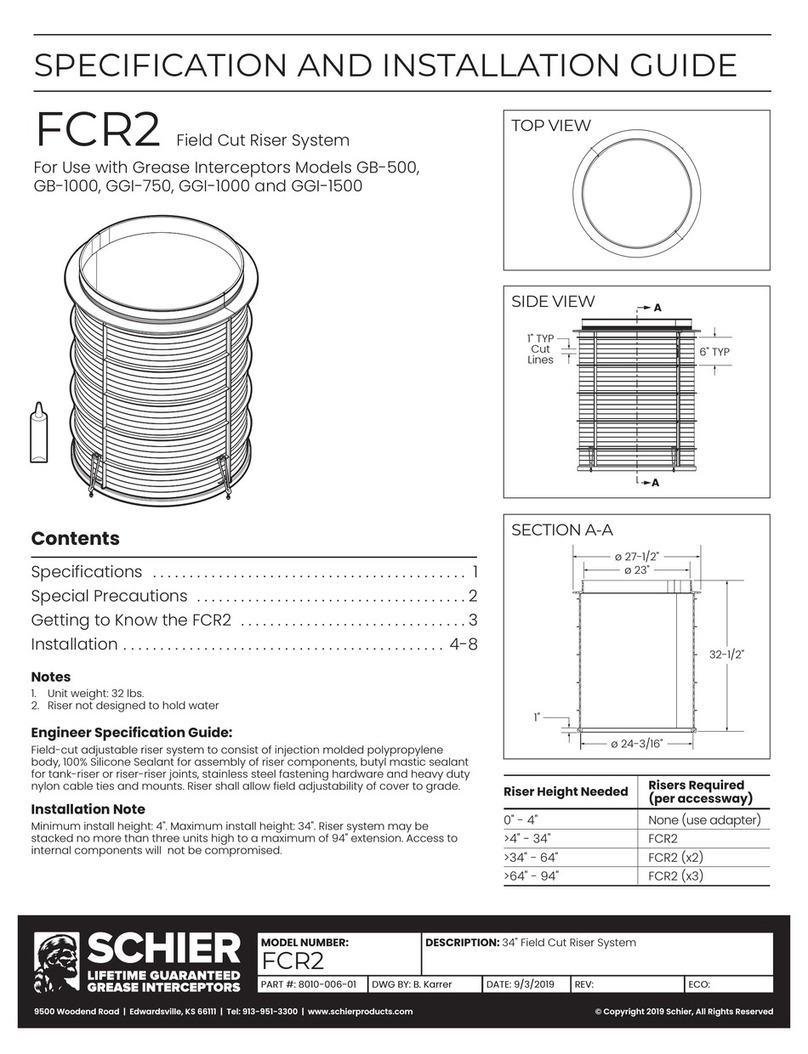
SPECIFICATION AND INSTALLATION GUIDE
PP3 Pumpout Port Kit for use with Grease Interceptors Models GB-50, GB-75,
GB-250 and GB-500 and Legacy Models GB-50, GB-75 and GB-250
9500 Woodend Road | Edwardsville, KS 66111 | 913-951-3300 | schierproducts.com © Copyright 2020 Schier, All Rights Reserved
MODEL NUMBER:
PP3
DESCRIPTION: Pumpout Port Kit
PART #: 8400-014-01 DWG BY: B. Karrer DATE: 6/25/2020 REV: ECO:
SPECIAL PRECAUTIONS
For Schier Pumpout Port Installations - Failure to follow this guidance voids your warranty
Do not install this unit in any manner
except as described in these instructions.
Doing so may result in property damage, personal injury or death.
DO NOT AIR TEST UNIT OR RISER SYSTEM!
Schier | PP3 Installation Guide
page 2 of 9
Install interceptor as close as possible
to fixtures being served
Installation Instructions
Installation instructions and additional
components are included with the
interceptor. Read all instructions prior to
installation. This pumpout port is intended
to be installed by a licensed plumber in
conformance with all local codes.
ODOR ALERT!
Interceptor is not a
sewer gas trap.
All upstream fixtures
must be trapped
ODOR ALERT!
Do not install air
gap on outlet side
of interceptor.
High Temperature Kitchen Water
cold water supply line
high temperature
effluent ( > 150º F)
approved backflow
prevention assembly
DTV (drain water
tempering valve)
directly connected indirectly connected
If water is entering the interceptor at excessive temperature (over
150º F), a drain water tempering valve (DTV) and approved backflow
prevention assembly must be installed. Most state and local
plumbing codes prohibit water above 150º F being discharged into
the sanitary sewer. Water above 150º F will weaken or deform PVC
Schedule 40 pipe, poly drainage fixtures like interceptors and erode
the coating of cast iron (leading to eventual failure).
1/2"
Maximum horizontal distance from grease
interceptor to pumpout truck (including pumper
hose) shall not exceed 100 feet.
Plumbing from
interceptor to
hook-up to have a
maximum quantity
of 6 elbow fittings.
Minimum 1/2"
clearance at
interceptor floor
Maximum vertical distance from static water
line of grease interceptor to pumpout port
hook-up shall not exceed 21 feet.
100 ft.
max.
21 ft.
max.
Schier | PP3 Installation Guide page 3 of 9
SPECIAL PRECAUTIONS
For Schier Pumpout Port Installations - Failure to follow this guidance voids your warranty
DO NOT USE CAST IRON
COVERS IN ABOVE GRADE OR
INDOOR INSTALLATIONS
Below Grade Installation Slab Requirements
A concrete slab to finished grade with rebar is required when installing
interceptor below grade.
Pedestrian Traffic or
Greenspace Areas Vehicular Traffic Areas
4" min.
slab 8" min.
slab
DO NOT
COMPACT
BACKFILL
Suspended Installations
Design trapeze to support the wet
weight of the unit. Do not partially
support unit or suspend unit using
metal U-channel to create a trapeze.
concrete floor
Support Inlet and Outlet Piping
For above grade installations ensure
heavy inlet and outlet piping (such as
cast iron or long runs) is properly
supported or suspended during the
entire installation process to prevent
connection failure or damage to
bulkhead fittings.
pipe supports
Fully Support Base of Unit
Install unit on solid, level surface in
contact with the entire footprint of
unit base
Hydrostatic/
Pressure Slabs
When installed under a
hydrostatic slab (slab
designed to withstand
upward lift, usually caused
by hydrostatic pressure)
interceptor must be
enclosed in a watertight
concrete vault.
concrete slab subject to hydrostatic pressure
watertight
concrete
vault
High Water Table
Installations
Interceptors and risers are not
designed to withstand water table
height in excess of the top of the
unit when buried (see figure). If it is
possible for this to occur, install the
interceptor and risers in a
water-tight concrete vault or
backfill with concrete or flowable fill
(wet concrete and flowable backfill
should be poured in stages to
avoid crushing the interceptor). At
risk areas include but are not limited to tidal surge areas, floodplains
and areas that receive storm water. Great Basin™ models that are direct
buried in high water table scenarios must be installed with an anchor kit.
Model GB-75 uses model AK1 anchor kit.
max water table height
for direct burial
model AK1
anchor kit
RebarRebar
Max Water Level
Risers are not designed
to retain water
Installations with Risers
Corrugated Riser Pipe
Requirements
Riser adapter model CA2 must be
used when installing interceptors
using 24" diameter corrugated
pipe as a riser. This will adequately
embed the cover adapter in the
concrete slab, preventing
cover/cover adapture failure
under traffic rated loads.
CA2
3 FCR2 Risers Max
94"
94"
94"
6 - 94"
6 - 94"
6 - 94"
Schier | PP3 Installation Guide
page 4 of 9
GETTING TO KNOW THE PP3
1. 3" cam and groove cap
2. 3" cam and groove fitting
3. 4" MPT x 3" plain end fitting
4. 4" x 3" PVC pumpout adapter
5. Bulkhead connection retaining nut
6. 3" PVC elbow fitting
7. Internal 3" PVC pipe
1
2
3
4
5
6
7
Schier | PP3 Installation Guide page 5 of 9
Use the following illustrations for guidance to plan your pumpout port piping layout.
Below Grade Installation with
Outdoor Remote Pumpout Hook-up
At Grade Basement Installation with
Outdoor Remote Pumpout Hook-up
At Grade Floor Below Installation with
Indoor Remote Pumpout Hook-up
Below Grade Installation with
Indoor Remote Pumpout Hook-up
Outdoor Below Grade Installation with
Outdoor Remote Pumpout Hook-up
Recessed and Suspended Installation with
Outdoor Remote Pumpout Hook-up
INSTALLATION IDEAS
Schier | PP3 Installation Guide
page 6 of 9
INSTALLATION
1 Plan pumpout plumbing
See "INSTALLATION IDEAS" for guidance. Choose an unused outlet on the interceptor to
convert into a pumpout port and choose a location for the pumpout hook-up. NOTE: This kit
does not include the plumbing from the interceptor to the hook-up location. You will need to
plan out the pumpout plumbing based on site conditions and local codes and provide all
additional piping, valves, connections and hardware needed to complete this installation.
2 Prepare interceptor for pumpout port installation
Remove cover bolts (if applicable), then remove cover. Remove safety star insert, leave tethered to unit.
Remove preinstalled cleanout plug from outlet chosen to become a pumpout port.
Schier | PP3 Installation Guide page 7 of 9
INSTALLATION
3 Assemble and Install Internal Pipe Assembly
Place the bulkhead
connection retaining
nut into position
against the rim of the
adapter, starting at the
bottom of the vertical
pipe and sliding it up
and over the elbow.
3c
Place internal pipe assembly onto desired
internal connection stub. Ensure piping assembly
is pointed down (as shown) and there is at least
1/2" of clearance between the pipe and floor of
unit. Securely tighten hand tighten retaining nut.
3d
3b
Use PVC primer/
cement to assemble
internal vertical pipe to
pre-glued elbow and
pumpout adapter.
NEW
MODELS LEGACY
MODELS
3a
For new or legacy GB-50, GB-75 or GB-250, cut internal
pipe at pre-labeled location and keep the top section.
For GB-500 use entire length of supplied pipe.
GB-50
Schier | PP3 Installation Guide
page 8 of 9
5a
At the end of the pumpout plumbing line, install a 3" MPT pipe
nipple (Not included with this kit) using a coupling of your choice.
5b
Securely attach supplied 3" Cam and
Groove Fitting to pipe nipple using pipe
thread sealant or tape.
5 Connect Pumpout Hook-up
End of Line
Coupling
3" MPT
Pipe Nipple
INSTALLATION IDEAS
4 Connect External Piping
Install 3" or 2" PVC piping, connections, valves and/or
hardware from the interceptor pumpout port to pumpout
hook-up location (Not included with this kit). Maximum
quantity of 6 elbow fittings. Max. height from static water
line of interceptor to hook-up is 21 feet. Max horizontal
distance from interceptor to pumper truck (including
hose) is 100 feet.
Schier | PP3 Installation Guide page 9 of 9
Run sinks to ensure
interceptor is full of
water. Attach
pumper hose to 3"
cam and groove
fitting. Turn on
pump, make sure
interceptor is
pumped out and
inspect pumpout
plumbing for leaks.
6 Test Pumpout Port
7 Cap off hookup and re-assemble interceptor
Install cam and groove cap at hookup
7a 7b
Replace safety star insert and cover, tightening
cover bolts securely (if applicable).
INSTALLATION

Other manuals for PP3

1

Other Schier Plumbing Product manuals

Schier GB3 User manual

Schier

Schier GB3 User manual

Schier SI-50 User manual

Schier

Schier SI-50 User manual

Schier GB-50 User manual

Schier

Schier GB-50 User manual

Schier FCR10 User manual

Schier

Schier FCR10 User manual

Schier GB-1000-L User manual

Schier

Schier GB-1000-L User manual

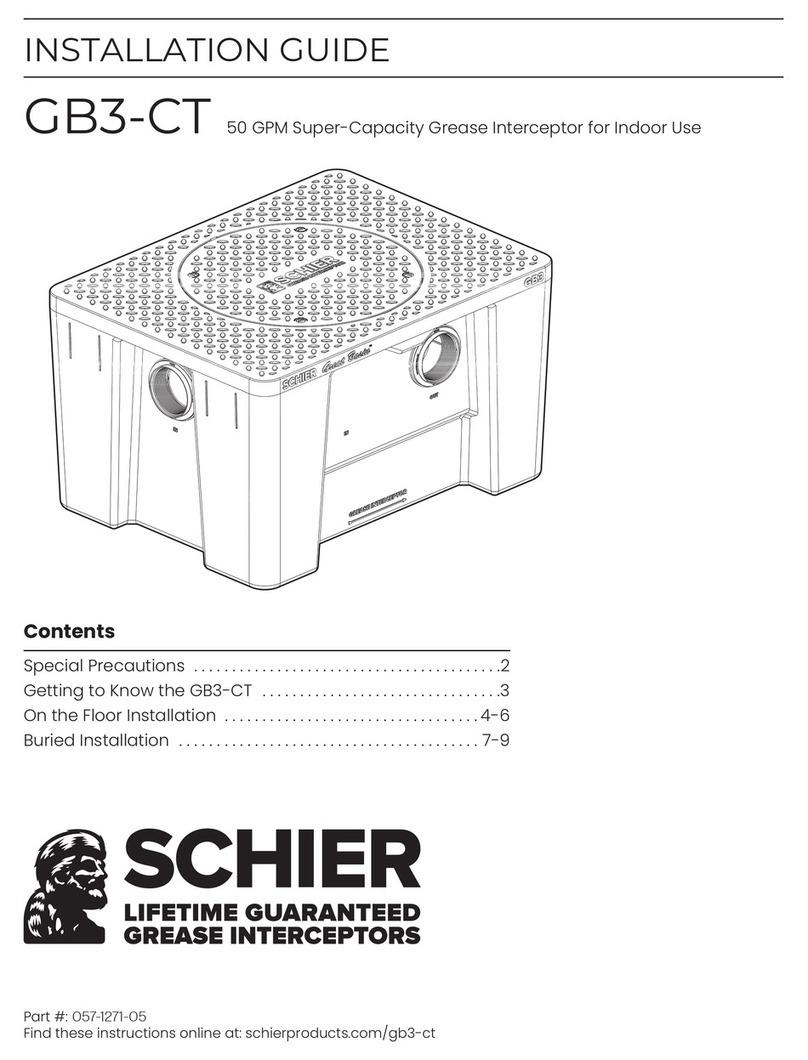
Schier GB3-CT User manual

Schier

Schier GB3-CT User manual

Schier GB2-CT User manual

Schier

Schier GB2-CT User manual

Schier GB-500-500HF User manual

Schier

Schier GB-500-500HF User manual
Schier GB-500-500HF User manual

Schier

Schier GB-500-500HF User manual

Schier GB1-CT User manual

Schier

Schier GB1-CT User manual

Schier GB-500 User manual

Schier

Schier GB-500 User manual

Schier GB-50 User manual

Schier

Schier GB-50 User manual

Schier SI-75 User manual

Schier

Schier SI-75 User manual

Schier GB-75 User manual

Schier

Schier GB-75 User manual

Schier GB-500-B User manual

Schier

Schier GB-500-B User manual

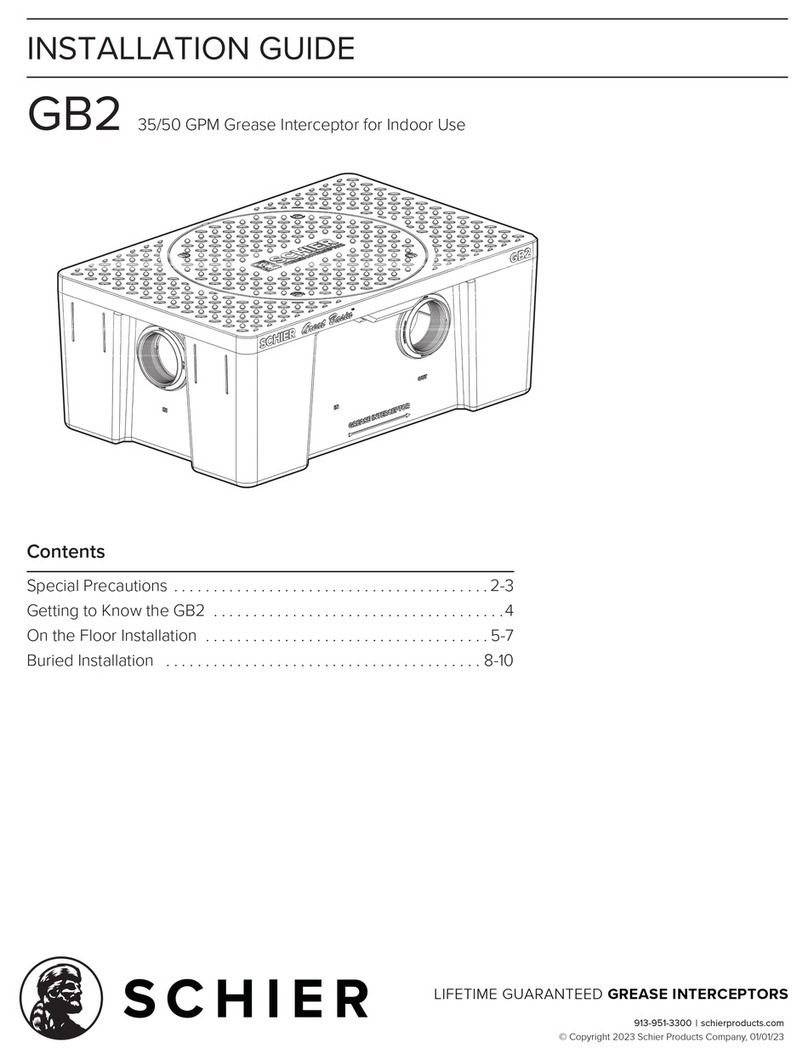
Schier GB2 User manual

Schier

Schier GB2 User manual
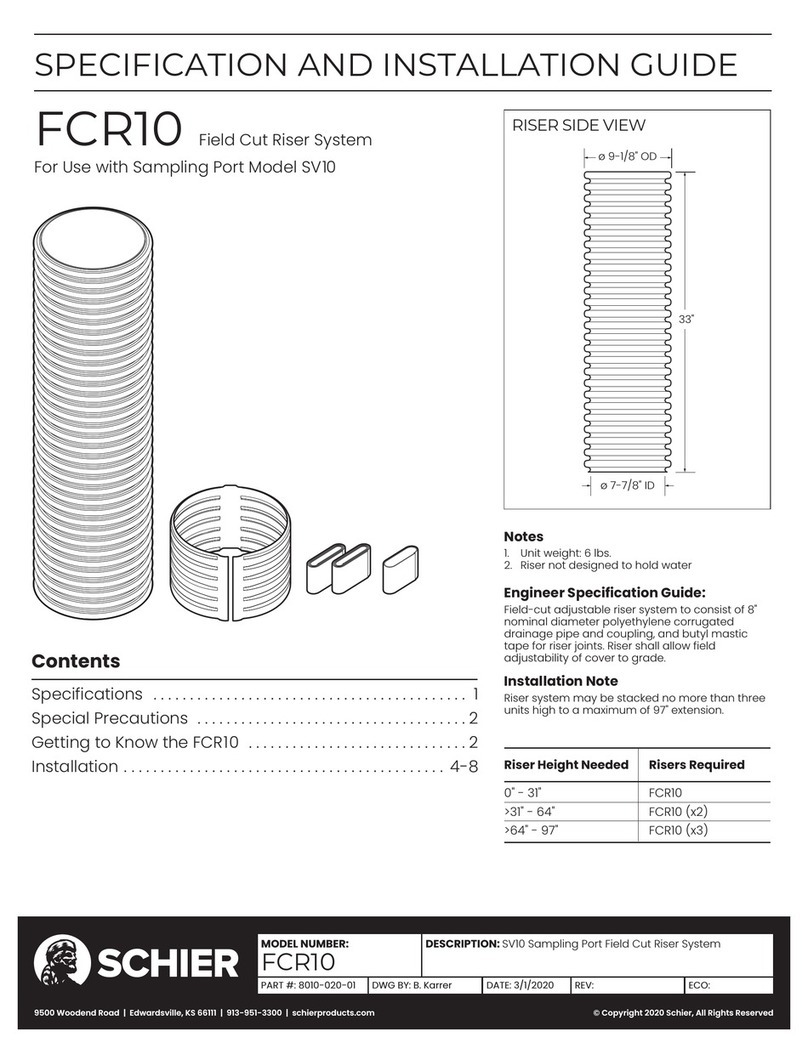
Schier SV10 User manual

Schier

Schier SV10 User manual
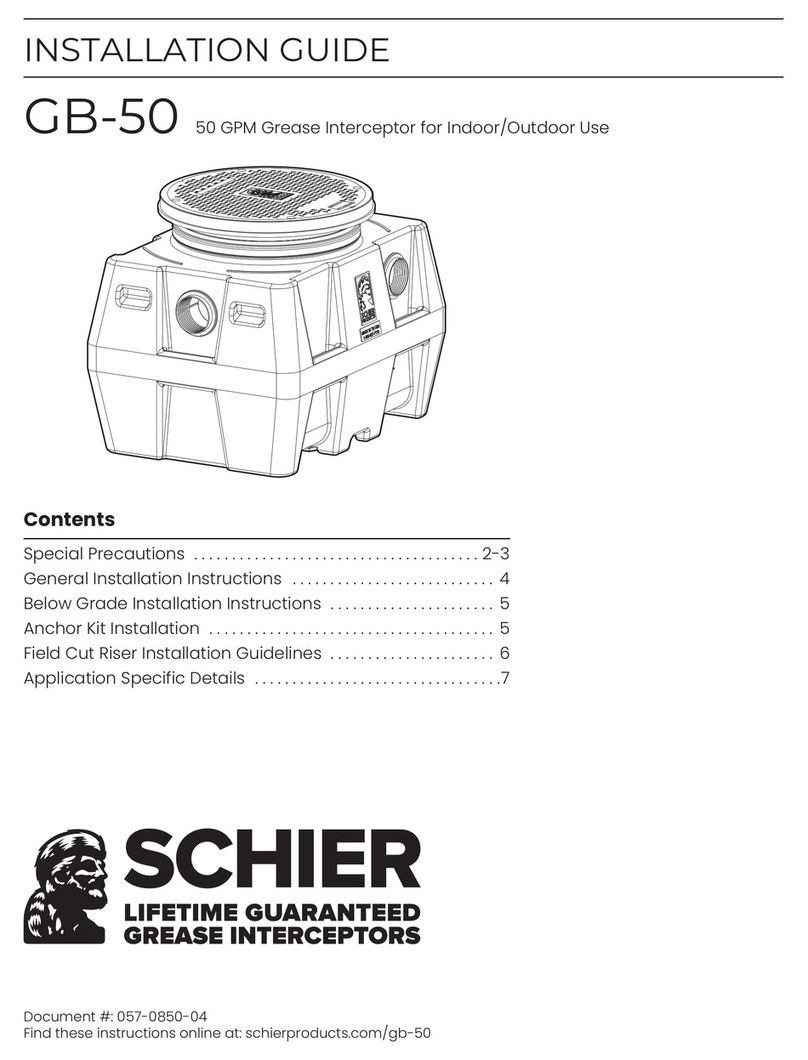
Schier FCR2 User manual

Schier

Schier FCR2 User manual

Schier GB2 User manual

Schier

Schier GB2 User manual

Schier GB-250-B User manual

Schier

Schier GB-250-B User manual

Schier SI-250 User manual

Schier

Schier SI-250 User manual

Schier GB-250 User manual

Schier

Schier GB-250 User manual
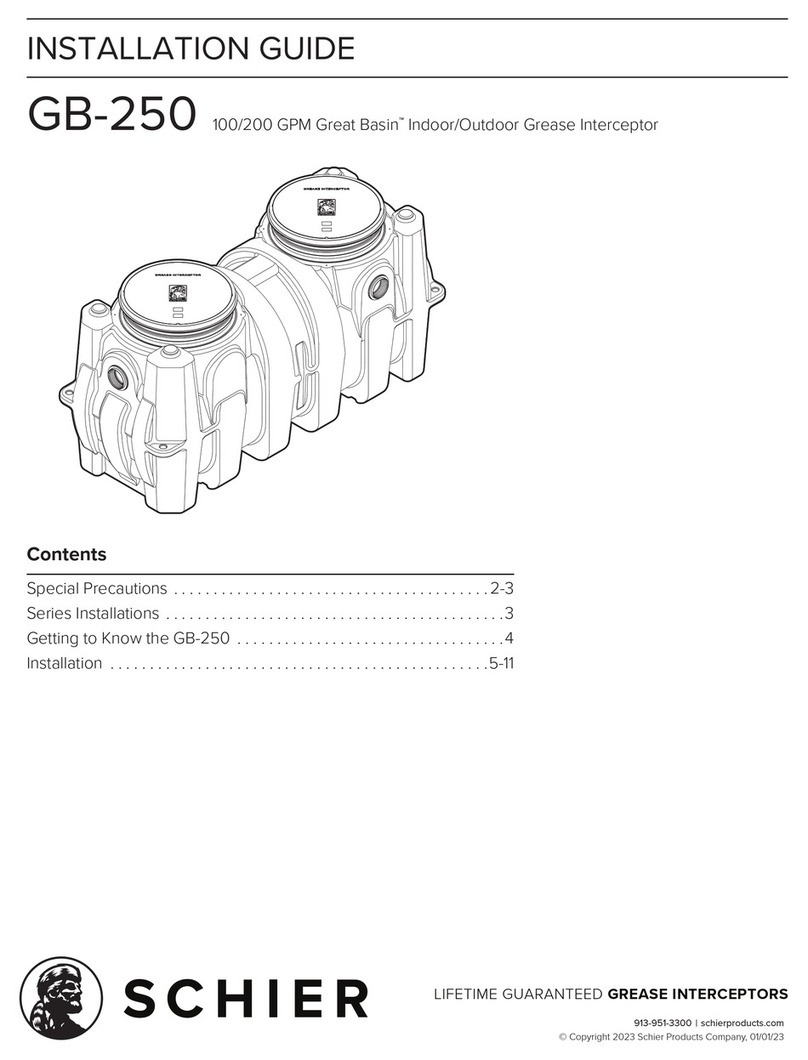
Schier GB-250 User manual

Schier

Schier GB-250 User manual

Schier PP3 User manual

Schier

Schier PP3 User manual

Popular Plumbing Product manuals by other brands

Delta 3538 Series manual

Delta

Delta 3538 Series manual

AM.PM LIKE F8002100 Instructions for installation

AM.PM

AM.PM LIKE F8002100 Instructions for installation

Hawle 986-01 Operating and maintenance instructions

Hawle

Hawle 986-01 Operating and maintenance instructions

newform X-STEEL 67671EX instructions

newform

newform X-STEEL 67671EX instructions

Central Brass 1555 Series manual

Central Brass

Central Brass 1555 Series manual

Kohler K-8207 installation guide

Kohler

Kohler K-8207 installation guide

Mora MMIX MA 73 01 00 Series Installation and maintenance  instruction

Mora

Mora MMIX MA 73 01 00 Series Installation and maintenance instruction

Hans Grohe Swing C 04053 0 Series Installation instructions / warranty

Hans Grohe

Hans Grohe Swing C 04053 0 Series Installation instructions / warranty

Mira Vie Installation and user guide

Mira

Mira Vie Installation and user guide

BELLOSTA beethoven 7701/4A/E installation instructions

BELLOSTA

BELLOSTA beethoven 7701/4A/E installation instructions

Hansgrohe Axor Starck Series Instructions for use/assembly instructions

Hansgrohe Axor

Hansgrohe Axor Starck Series Instructions for use/assembly instructions

Tylo Space Vision 250 Assembly instructions

Tylo

Tylo Space Vision 250 Assembly instructions

ZUCCHETTI ISY ZD2699 installation instructions

ZUCCHETTI

ZUCCHETTI ISY ZD2699 installation instructions

BELLOSTA ELITE 9021 Installation instruction

BELLOSTA

BELLOSTA ELITE 9021 Installation instruction

Nuie WIN321 Fittings guide

Nuie

Nuie WIN321 Fittings guide

SUMS uridan COMPASS GY-W installation instructions

SUMS

SUMS uridan COMPASS GY-W installation instructions

SUMERAIN S1371CW-LH installation guide

SUMERAIN

SUMERAIN S1371CW-LH installation guide

newform LINFA 67028E Instructions and guarantee

newform

newform LINFA 67028E Instructions and guarantee

manuals.online logo
manuals.online logoBrands
  • About & Mission
  • Contact us
  • Privacy Policy
  • Terms and Conditions

Copyright 2025 Manuals.Online. All Rights Reserved.