manuals.online logo
Brands
  1. Home
  2. •
  3. Brands
  4. •
  5. SCHURTER
  6. •
  7. Cables And Connectors
  8. •
  9. SCHURTER 0104U Series User manual

SCHURTER 0104U Series User manual

1. Wiring for 0104U
30
7
7
30
7
30
IN OUT
LL’
PE PE’
NN’
Cable Clamp
(turn for Ø < 6.85 mm)
Torque Value
0.5Nm
Cable guard
Cable end sleeves
(Optional, not enclosed)
Torque Value
0.8Nm
Torque Value
0.4Nm
N blue
L brown
Yellow / green
0104U-X1XX-XX:
cut for cables
over Ø 8.5 mm
Applicable Cable Types
IEC
Type
Cable Type1)
Wire Size
Cable Ø
min.2)
max.4)
max.
0104U
H05VV-F 3G
3x 1.00mm2
3x 1.50mm2
10.5mm
H05RR-F 3G
3x 1.00mm2
3x 1.50mm2
10.4mm
UL
Type
Cable Type3)
Wire Size
Cable Ø
min.
max.4)
max.
0104U
SV…
3x AWG18
3x AWG16
10.5mm
SJ…
3x AWG18
3x AWG14
10.5mm
1) Harmonized wire coding in accordance with IEC60227-5 respectively IEC60245-4.
2) If cord has a length exceeding 2m, nominal cross-sectional areas shall be 1.5mm2or more.
3) Types according to UL 62 which begins with the given letters (i.e. SV… includes SV, SVT, SVE etc.).
4) The maximum wire size depends on the maximum cable diameter and on the standard of the cable type used.
owner
vettersa creation date
06.12.2017 release date
30.04.2018 released by
vettersa change order no
2015283 rev
Bpage
1 of 2 0115.0071
Engineering Documentation Mounting Instruction for 0104U
2. . Assembly Instruction
Disconnect power before wiring.
Keep removed piece parts at a safe place to have them ready for reassembling.
1. Loosen cover screw and remove cover.
2. Loosen cable clamp screws and remove cable guard.
3. Insert cord into PVC-cable guard.
4. Remove outer jacket on cord 30 mm. Make sure not to hurt insulation of single conductors.
5. Strip bare each copper conductor 7 mm and crimp on multicore cable ends. Do not strip more than 7 mm.
6. Loosen terminal screws but do not remove screws.
For connecting wires to terminals insert bare ends of conductors according to figure below. Make sure that no
copper strands splice off when connecting conductors to clamps.
terminal L and PE terminal N
7. Connect green or green/yellow (ground) wire to center clamp marked with ground symbol.
8. Connect blue (white or light grey) wire to clamp marked „N“ (neutral).
9. Connect brown (black / “hot”) wire to clamp marked „L“ (line).
10. Tighten all wire clamp screws with a torque of 0,8 Nm.
11. Insert shoulder of PVC-cable guard into cutout of base unit.
12. Assemble cable clamp over cut-off end of outer jacket of the cord and tighten cable clamp screws with a
torque of 0,4 Nm.
13. Assemble cover unit and tighten cover screw with a torque of 0,5 Nm.
Warning: Failure to wire as instructed may cause personal injury or damage to device or equipment.
To be installed or checked by an qualified person only.
For factory assembly only.
owner
vettersa creation date
06.12.2017 release date
30.04.2018 released by
vettersa change order no
2015283 rev
Bpage
2 of 2 0115.0071
Engineering Documentation Mounting Instruction for 0104U
Other SCHURTER Cables And Connectors manuals

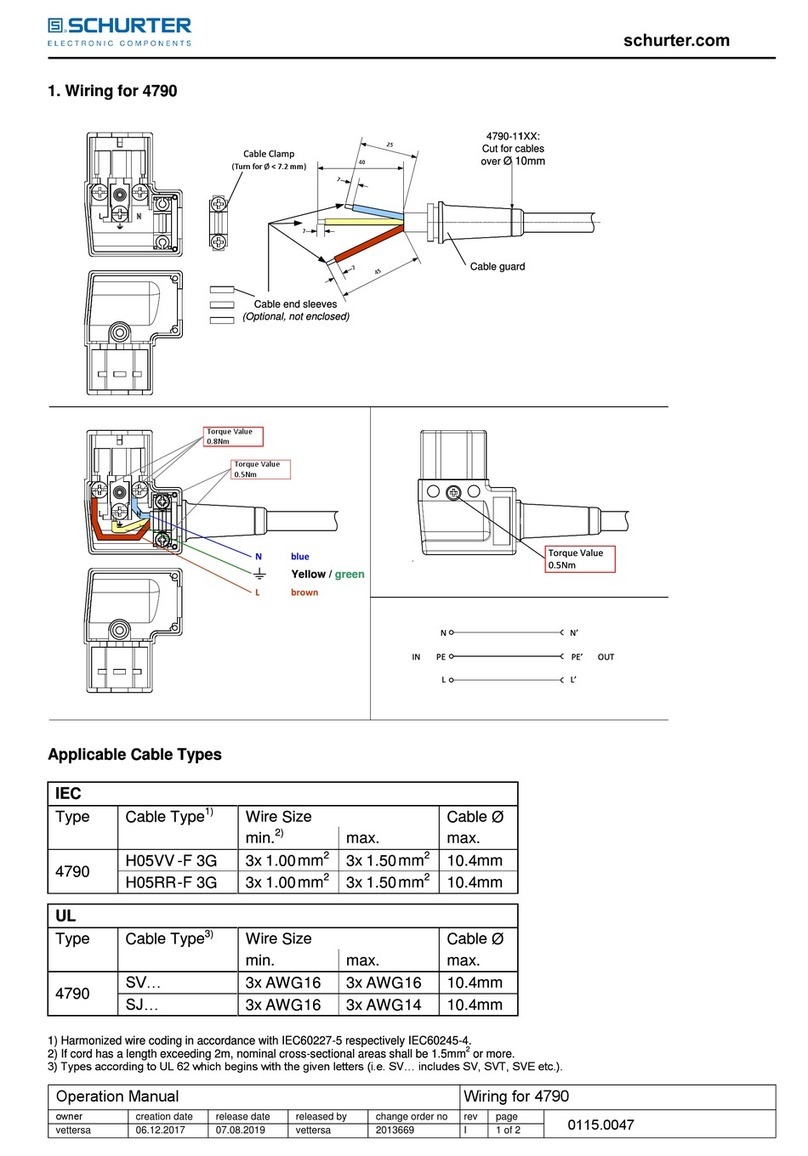
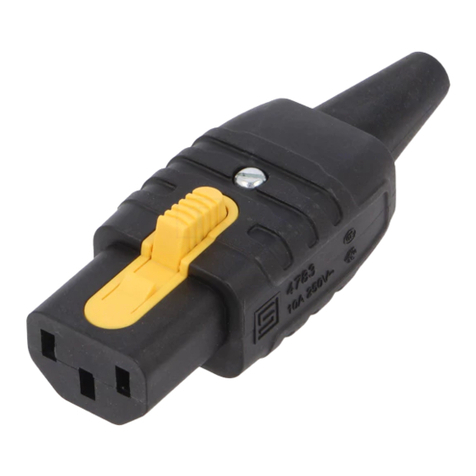
SCHURTER 4790 Series User manual

SCHURTER

SCHURTER 4790 Series User manual

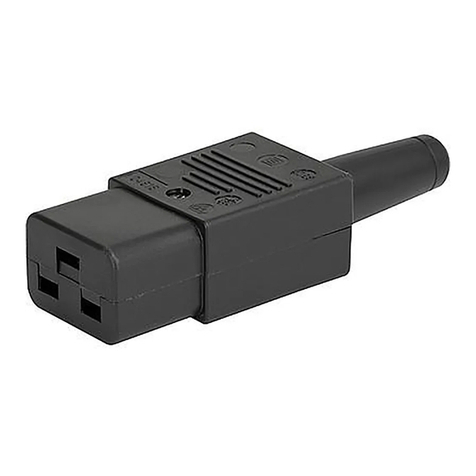
SCHURTER 4796 Series User manual

SCHURTER

SCHURTER 4796 Series User manual

SCHURTER 4710-5 User guide

SCHURTER

SCHURTER 4710-5 User guide

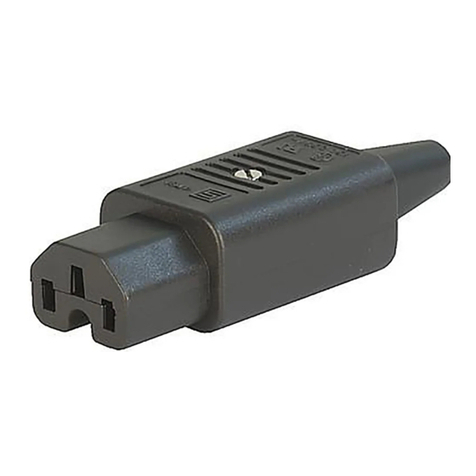
SCHURTER 4795 Series User manual

SCHURTER

SCHURTER 4795 Series User manual

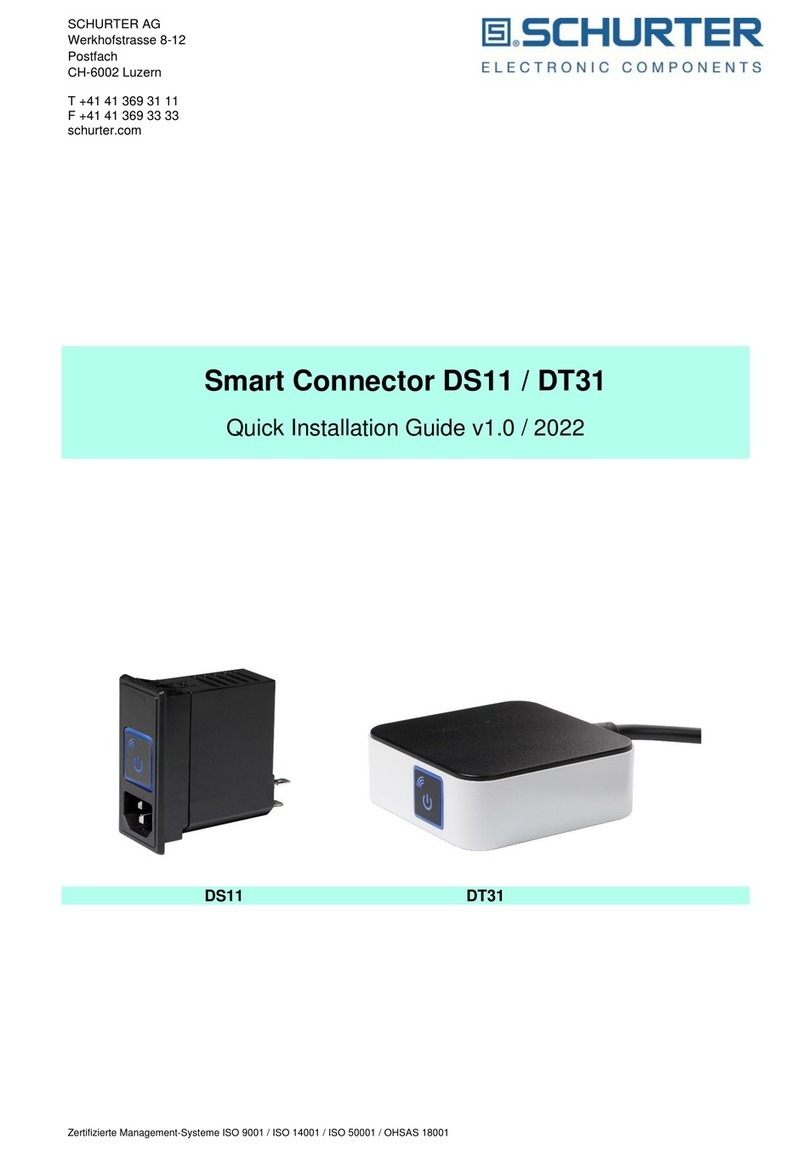
SCHURTER DS11 User manual

SCHURTER

SCHURTER DS11 User manual

SCHURTER 9009 User manual

SCHURTER

SCHURTER 9009 User manual

SCHURTER 4762 Series User manual

SCHURTER

SCHURTER 4762 Series User manual

SCHURTER 4783 Series User manual

SCHURTER

SCHURTER 4783 Series User manual

SCHURTER 4781 User manual

SCHURTER

SCHURTER 4781 User manual

Popular Cables And Connectors manuals by other brands

Vanco Evolution EVSP1017 manual

Vanco

Vanco Evolution EVSP1017 manual

DVIGear HyperLight DVI-23 AOC Series quick start guide

DVIGear

DVIGear HyperLight DVI-23 AOC Series quick start guide

NORAUTO NO6773 manual

NORAUTO

NORAUTO NO6773 manual

Chamberlain 6610CD manual

Chamberlain

Chamberlain 6610CD manual

Digitus DS-45326 Quick installation guide

Digitus

Digitus DS-45326 Quick installation guide

Maxon SD170EX Series quick start guide

Maxon

Maxon SD170EX Series quick start guide

Altronix Trove T2RM7F8SQ installation guide

Altronix

Altronix Trove T2RM7F8SQ installation guide

Philips SWV3506 Specifications

Philips

Philips SWV3506 Specifications

SOMFY 9015577 manual

SOMFY

SOMFY 9015577 manual

Philips SWV3432W Specifications

Philips

Philips SWV3432W Specifications

WISKA ESKE-L 12 Series operating instructions

WISKA

WISKA ESKE-L 12 Series operating instructions

Fisher 75396 operating instructions

Fisher

Fisher 75396 operating instructions

Be Cool 75100 installation instructions

Be Cool

Be Cool 75100 installation instructions

SY Electronics HS12E-18G user manual

SY Electronics

SY Electronics HS12E-18G user manual

FasTest TWISTMATE Series operating instructions

FasTest

FasTest TWISTMATE Series operating instructions

Richards Cold Shrink R-800 installation instructions

Richards

Richards Cold Shrink R-800 installation instructions

PEERLESS Armor Lock Plus ACC 020 Installation and assembly

PEERLESS

PEERLESS Armor Lock Plus ACC 020 Installation and assembly

Staubli CombiTac Assembly instructions

Staubli

Staubli CombiTac Assembly instructions

manuals.online logo
manuals.online logoBrands
  • About & Mission
  • Contact us
  • Privacy Policy
  • Terms and Conditions

Copyright 2025 Manuals.Online. All Rights Reserved.