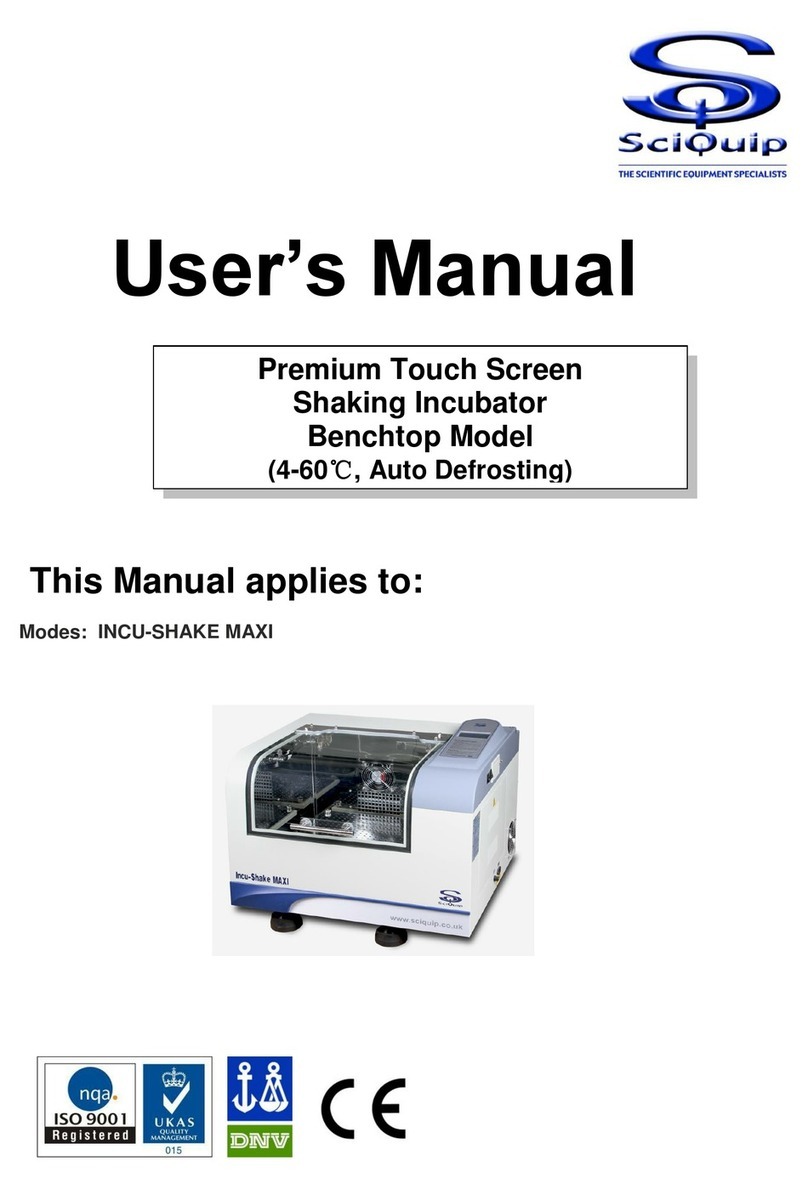
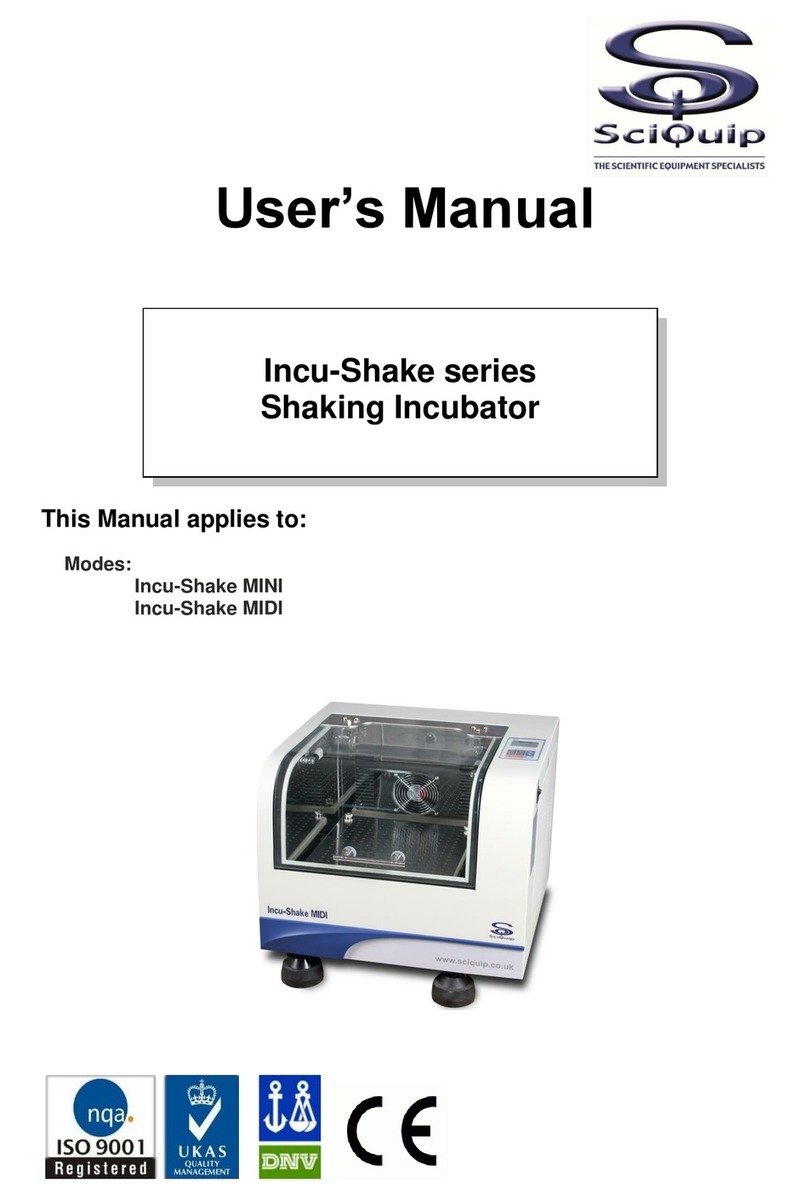
SciQuip Incu-Shake Compact User manual

User’s Manual
This Manual applies to:
Modes: Incu-Shake Compact
Premium Compact
Stackable Shaking Incubator
Orbital Model
Incu-Shake Compact

INCU-SHAKE Compact Stackable shaking Incubator Manual V2023.1
1
TABLE OF CONTENTS
1. INTRODUCTION 3
2. SAFETY PRECAUTIONS 4
3. ENVIRONMENTAL REQUIREMENTS 6
4. TECHNICAL DATA 7
4.1 Dimensions 7
4.2 Standard Functions 8
4.2.1 Main Unit 8
4.2.2 Door 8
4.2.3 Inner Working Chamber 8
4.2.4 Shaking Control 9
4.2.5 Temperature Control 9
4.2.6 Control Electronics 9
4.2.7 Shaking Tray Operation 9
4.2.8 Specifications 10
5. Preparation and Start-up 11
5.1 Unpacking 11
5.2 Lifting / Handling 11
5.3 Leveling the Units 11
5.4 Preliminary Cleaning 12
5.5 Electrical 12
5.6 Connect the Power Supply 12
5.7 Installation of Flask Clamps (Applies P6040 predrilled tray) 12
5.8 Installation of Sticky Mat (Applies P6041 plain tray) 13
5.9 Operation of Shaking Diameter Adjustment 13
5.10Extra For Refrigerated Units 15
5.11Modbus TCP/IP Protocol (Option) 15
6. OPERATING THE UNIT 17
6.1 Home Page Summary 18
6.2 Set Menu Page Summary 20
6.3 FUNC Page Settings 21
6.3.1 Switch of Control Mode - Temperature & Speed 22
6.3.2 Switch of Keep Function-Temperature Holding Function 22
6.3.3 Switch of Control Mode- Photosynthetic Light (Option) 22
6.3.4 Switch of Photosynthetic Lighting Control Function (Option) 23
6.4 Operating Temperature and Speed System 23
6.4.1 Operating Under Fixed Value Control Mode 23
6.4.2 Operating Under Programmable Control Mode 25

INCU-SHAKE Compact Stackable shaking Incubator Manual V2023.1
2
6.5 Operating Photosynthetic Lighting System 28
6.5.1 Operating Under Fixed Value Control Mode 28
6.5.2 Operating Under Programmable Control Mode 29
6.6 Setting Defrosting Cycle 31
6.7 Setting Clock Time 33
6.8 Password Management Setting 34
6.8.1 Operator Password (OP PW) 34
6.8.2 Administrator Password (ADM PW) 34
6.8.3 Set Operator Password (OP PW) 34
6.8.4 Set Administrator Password (ADM PW) 34
6.9 Setting Communication Address (Option) 35
6.10Using USB Data Logging System 36
6.11Using Illumination & UV Light 37
6.12Using Sticky Mat 37
6.12.1Loading/Unloading the Sticky Mat 37
6.12.2Uninstalling the Sticky Mat 38
6.12.3Adhesive Strength 38
6.12.4Safety 38
7. ALARMS 39
8. MAINTAINING THE UNIT 41
8.1 Recommended Daily Maintenance Checks 41
8.2 Recommended Annual Maintenance Checks 41
8.3 Recommended as Required 41
8.4 Replacing the Fuse 41
8.5 Cleaning Cooling Condensers 42
8.6 Cleaning and Replacing the Sticky Mat 42
9. ELECTRONIC CONTROL SYSTEM 43
10.TROUBLE SHOOTINGS 44
11.AFTER-SALE SERVICE 46

INCU-SHAKE Compact Stackable shaking Incubator Manual V2023.1
3
1. INTRODUCTION
SciQuip shaking incubators have achieved a good reputation and trust among various clients
for its advanced temperature controlling technology, sound framework design, excellent
molded exterior and outstanding professional workmanship. These products have been
exported through most leading companies into European, American and East Asian markets.
The spaces in the labs are spacious and expensive. The Incu-Shake Compact is ideal for
benchtop and under-bench use, but still up to two units can be stacked for maximized shaking
capacity with minimized floor space. Stacking also can be easily managed at a later time.
Each compartment unit operates independently with cooling, large 7 inch TFT touch screen
control panel, intelligent precise control of temperature and shaking speed with "ramp and
soak" programs and solid operating safety features with as standard, and can be upgraded
with more optional choices, such as LED photosynthetic light panel, RS-485, TCP/IP, etc.
This equipment is specially designed for the research experiment that involves microbiology,
pharmacy and agriculture. It is widely used for cell culturing, hybridization, cell aeration, and
solubility studies, etc.
Since the date of your purchase of this product, after-sale service will always be close to you
through your local dealer and/ or the importing company of your region.
Anyhow, no matter what questions you have using our equipment; please do not hesitate to
contact us.
SciQuip thanks you for your trust in this product!
Safety instruction!
Plea Safety instruction!
Please be sure to follow the instructions, which are really important for your safety.
se be sure to follow the instructions, which are really important for your safety
Prior to operation, this manual should be read thoroughly and completely understood-
as it might be helpful to master the operation techniques of this unit. SciQuip shall have
no obligation and responsibility for any damage on the instrument caused by users for
failing to comply with the operation instruction and the environmental requirements
stated in this specification.
SciQuip is entitled to modify the content of the specification at any time without
appropriate notification.

INCU-SHAKE Compact Stackable shaking Incubator Manual V2023.1
4
2. SAFETY PRECAUTIONS
⚫The machine can be only operated by the trained and authorized person.
⚫The maintenance can be only conducted by trained person, SciQuip or its authorized
agency.
⚫The maintenance spare parts shall be provided by the manufacturer and SciQuip, and
users are not allowed to replace them without authorization.
⚫It’s prohibited to use any materials that may cause overpressure, combustion or
explosion in the equipment. Any uncontrolled cultivation of toxic or pathogenic
organisms is not recommended for this equipment.
⚫The loading volume must not exceed 1/3 of the total volume of the flask.
⚫Reduce the loading or the shaking speed until the equipment runs smoothly, if loud
noises or strong vibrations occur.
⚫Do not expose equipment to inappropriate ambient conditions, such as temperature,
or humidity outside the stated operating range.
⚫The power supply of the incubator shall be well grounded so as to prevent operators
from electric striking.
⚫The electrical supply circuit to the incubator must confirm to all national and local
electric codes. Check the serial-data plate for voltage, cycle, phase and amperage
requirements before you connect the unit.
⚫Do not pull out the plug when the unit is in use. Never drag on the wire to unplug the
unit.
⚫A separate branch circuit is recommended to prevent loss of samples due to
overloading or failure of other equipment on the same circuit.
⚫A surge protector is recommended to avoid power-related faults.
⚫In case of malfunction or burning smell, the unit must be unplugged immediately .Use
a circuit breaker to cut off the power supply. Continuance of abnormal state will end up
with fire as a result of overheating.
⚫The electric power supply must be cut off in following situations:
◼When the insulation is damaged.
◼When opening the door of electrical power box. Opening the top/back cover
without cutting off power supply might result in electric shock.
◼When replacing the fuse. Replacing the fuse without cutting off the power supply
will probably result in electric shock.
◼When a malfunction occurs, mishandling will result in the further damage of the
equipment or accidental injury.
◼If you do not use the unit for a long period of time.
WARNING!
The section outlines the important safety precautions for both
personnel protection and operation of the equipment.
Negligence of the following instructions may lead to serious
hazards and injury.

INCU-SHAKE Compact Stackable shaking Incubator Manual V2023.1
5
⚫Wear personal safety kits, such as safety glasses, safety gloves, when operating
temperature is above 50°C。
⚫Always keep the work place clean and tidy to avoid possible health hazards.

INCU-SHAKE Compact Stackable shaking Incubator Manual V2023.1
6
3. ENVIRONMENTAL REQUIREMENTS
⚫Best working temperature shall be 18°C--30°C, and humidity no more than 80%RH.
⚫In consideration of ventilation, heat dissipation and other factors, a minimum of 20 cm
space shall be reserved in the surrounding of the equipment during installation to
facilitate adequate convection of air around the unit.
⚫Indoor use only. Do not locate the unit exposed to direct sunlight or near heating
/cooling ducts.
⚫The incubator shall be placed on a flat, solid and fire-retardant platform which can
support its weight.
⚫The unit must be kept away from electromagnetic interference sources.
⚫There shall be no inflammable, explosive, corrosive, toxic or harmful gas that may
cause sharp temperature change in the vicinity of the equipment.
⚫SciQuip only commits that the incubator can operate normally in the place where the
elevation is less than 2000m.
⚫The power supply voltage of this equipment shall be allowed to change within ±10% of
the rated working voltage.
⚫The transient over-voltage of the power supply shall be Class II.
⚫The pollution degree is Class II. Please keep the chamber clean. Regular cleaning is
required.

INCU-SHAKE Compact Stackable shaking Incubator Manual V2023.1
7
4. TECHNICAL DATA
4.1 Dimensions:
⚫Front and side view of 2 units stacked with doors closed
⚫Side view of 2 units stacked with doors open

INCU-SHAKE Compact Stackable shaking Incubator Manual V2023.1
8
4.2 Standard Functions
4.2.1 Main Unit
1 2 3 4 16
1 Foot Block 9 Glass Window
2 UV Light Switch 10 Door Handle
3 Illumination Light Switch 11 USB Interface
4 Main Trip Switch 12 TCP/IP Interface (option)
5 Access Port Door 13 Fuse
6 Drain Outlet 14 Main Power Socket
7 Door Lock 15 Stacking Port
8 Touch Screen Control Panel 16 Caster Wheels
4.2.2 Door
The elements on the door include
➢Observation Glass Window
➢Door Handle
➢Door Lock
4.2.3 Inner Working Chamber
The elements inside the inner working chamber
➢Illumination Light
➢Stainless Steel Chamber Wall
➢Shaking Mechanism
➢Static Shelf
➢Ventilation Grilles (with cross flow fans behind the back wall)
➢PT100 Temperature Sensor (behind the back wall)
➢UV Sterilization Light (behind the back wall)
5
6
7
8
9
10
12
14
15
11
13

INCU-SHAKE Compact Stackable shaking Incubator Manual V2023.1
9
4.2.4 Shaking Control
The direct beltless driving shaking system ensures smooth and reliable orbital
shaking movement with a speed range between 30-300rpm. The orbital diameter is
adjustable from 1mm to 50mm continuously. The loading weights must be below the
maximum rated, otherwise, it will prevent the shaking tray from smooth movement,
and eventually increase the wear out the bearings and joints.
4.2.5 Temperature Control
The heaters are behind the back wall. The temperature is controlled with a PT100
temperature sensor. The heat generated is distributed via cross flow fan evenly
across the inner working chamber.
4.2.6 Control Electronics
The microprocessor controller at the front panel is designed to service the precise
control requirements of the working chamber environment, providing optimum
programmable conditions for culture growth. The microcomputer is with 7’’ large touch
screen to permit efficient operator entry and settings of data.
Each stack of unit is operated independently with its own controller.
4.2.7 Shaking Tray Operation
The shaking movement of the tray is interrupted as soon as the door is opened by
more than 20° of angle. In the same time, both the circulating fan and heater stops
working at the same time when door is opened.
To unlock, turn the handle of the locking device to the left.
To lock, turn the handle of the locking device as far as possible to the right.
Shaking movement, circulating fan, and heating controlling resumes once the door is
closed.

INCU-SHAKE Compact Stackable shaking Incubator Manual V2023.1
10
4.2.8 Specifications
Machine
Shaking Unit
Outside (WxDxH)
840x764x625mm
Drive Type
Direct Beltless Driving System
Inside (WxDxH)
570*505*418mm
Tray Size (WxD)
500x400mm
Volume
120L
Maximum Load
15kg
Net / Gross Weight
120kg/165kg
Speed Range
30-300 rpm
Control Panel
TFT Touch Screen
Speed Accuracy
±1 rpm
Illumination
LED
Timer
0-9999 mins
Language
English
Shaking Mode
Orbital
Ambient TEMP.
5-35°C
Shaking Diameter
1-50mm Stepless Adjustment
UV Light
254nm, 11W
Temperature
Noise Level
<55 dB (1m above floor)
Control Mode
Fixed Value & Program
Power
765W
TEMP. Range
Ambient-15 to 60°C (Min. 4°C)#
Electricity
AC 220-240 Volt, 50/60Hz
TEMP Accuracy
0.1°C
Data logging
USB port
TEMP. Uniformity
±0.5°C @37°C
Static Shelf
Standard, 1 piece
Principle of Sensor
PT100
Base Stand
Standard: H 15cm
Options: H 35cm or H 50cm
Air Circulation
360m3/Hour
Key Lock
Yes, standard
Recovery (@37°C)
8 mins (30 Seconds Door Opening)
Photosynthetic Lighting
Part NO.
P5031RB
P5031WW
Light Type
LED, 50% Red, 50% Blue
LED, 100% Warm White
Spectrum
Red: 640-660nm, Blue: 430-450nm
4000k:400-700nm
Light Intensity
Up to 350 μmol/(m2*s)
Up to 220 μmol/(m2*s)
Control
Yes, Individually, from 0-100% output
Yes, from 0-100% output
Power
120W
60W
Control Mode
Fixed Value & Programmable
Dimensions (WxDxH)
550x430x10mm
# Min. 15°C when Photosynthetic Lighting option is applied.

INCU-SHAKE Compact Stackable shaking Incubator Manual V2023.1
11
5. PREPARATION AND START-UP
5.1 Unpacking
At delivery, examine the exterior for physical damage while the carrier’s representative is
present. If exterior damage is present, carefully unpack and inspect the equipment and all
accessories for damage. If there is no exterior damage, unpack and inspect the equipment
within five days of delivery. If you find any damage, keep the packing materials and
immediately report the damage to the carrier. Donot return goods to the manufacturer without
written authorization. When submitting a claim for shipping damage, request that the carrier
inspect the shipping container and equipment.
5.2 Lifting / Handling
The heavy and care should be taken to use appropriate lifting devices that are sufficiently
rated for these loads. Units should only be lifted from their bottom surfaces. Doors, handles
and knobs are not adequate for lifting or stabilization. The units should be completely
restrained from tipping during lifting and transport to prevent shifting and damage.
The depth of the incubator is 764mm, the door handle can be removed, so that the depth
reduces to 710mm.
5.3 Leveling the Units
5.3.1Before starting your equipment, the unit must be placed horizontally on a solid,
flat floor, and elevated and leveled with three foot blocks and one flexible block
(with adjustable bolt). The foot blocks are provided to level as well as “fix”the
unit firmly on the floor. To allocate the blocks in position, please do strictly follow
the below procedures:
5.3.2Unscrew the safety nut on the flexible block first, screw down the adjusting bolt
of the flexible block, so that it will leave some gap when it fits underneath the
hole on the base.
5.3.3There is one hole on each corner of base of the unit, locate each of them.
5.3.4Use lifting tools (pallet jack, scissor jack, etc) to elevate the unit, and place the
four foot blocks right underneath the holes on each corner.
Safety instruction!
Please be sure to follow the instructions, which are really
important for your safety.

INCU-SHAKE Compact Stackable shaking Incubator Manual V2023.1
12
5.3.5Lay down the unit, check and adjust the potions of the foot blocks and make
sure the tips of the blocks sits firmly in the holes. Make sure hands off the unit
before the unit is laid down! Do be careful of your hand!
5.3.6Use a spanner to unscrew the adjusting bolt, raising the height of the flexible
block, until feeling some strength, and the tip of the bolt sits firmly in the hole.
5.3.7Make sure the unit is elevated leveled and sits firmly on the four blocks. Try
setting the unit at its medium speed, e.g. 150rpm, slowly increase the speed
and adjust the adjusting bolt until no vibration is detected.
5.3.8Finally screw the safety nut of the flexible block, lock up the adjusting bolt.
5.4 Preliminary Cleaning
Each new equipment was thoroughly cleaned prior to leaving the factory. It is recommended;
however, before installation, SciQuip recommends decontaminate all surfaces within the
interior chamber, outer door and gasket. They can be wiped down with a disinfectant of 70
percent alcohol or similar non-corrosive antimicrobial agent. After cleaning, dry all interior
components with a sterile cloth as necessary. Absolutely no chlorinated or halogen
materials are to be used in the chamber.
5.5 Electrical
Each unit is equipped with a trip switch to avoid power-related faults. Whereas, the electrical
supply circuit to the incubator must conform to all national and local electrical codes. Plug the
power plug securely into a grounded power source. VOLTAGE SHOULD NOT VARY MORE
THAN 10% FROM SERIAL PLATE RATINGS. A separate branch circuit is recommended to
prevent possible loss due to overloading or failure of other equipment on the same circuit.
5.6 Connect the Power Supply
Connect AC power via power wire, turn on the trip switch to start up the equipment after the
connected power supply meets the above stipulated requirements.
5.7 Installation of Flask Clamps (Applies P6040 predrilled tray)
The tray is predrilled with threaded holes for different sizes of Erlenmeyer flask clamps*. To
install the clamps onto the platform tray, please follow the instructions below,
⚫Stop the unit from shaking and pull out the platform tray
⚫Use the screw driver to fix the O clamps with screws onto the platform. (Flask
Clamp≥1000ml, 4 screws at corners, Flask Clamp<1000ml, 1 screw in the center)
⚫Please make sure all screws are securely fastened before turning the unit back on.
* Only use SciQuip "O Clamps" for this tray.
⚫Maximum loading capacity with P6040 predrilled tray
Flask (Pcs)
50ml
100ml
250ml
500ml
1000ml
2000ml
3000ml
5000ml
Max Loading
33
33
23
14
9
6
4
2
For Erlenmeyer Flasks only. Flask dimensions may reduce max. capacity.

INCU-SHAKE Compact Stackable shaking Incubator Manual V2023.1
13
5.8 Installation of Sticky Mat (Applies P6041 plain tray)
The tray is specially designed for use with SciQuip Sticky Mats. The Sticky Mat is used for
attaching vessels, such as flasks, bottles, dishes etc onto the shaking platforms for all shaking
equipment, for example, shakers, rockers as well as shaking incubators. It is as standard 20
x 20 cm in size and 4 pcs as maximum, can be used to cover the shaking platforms replacing
the traditional flask clamps. The Sticky Mats can be easily removed and repositioned by
simply peeling off the shaking tray surface. With proper care, the Sticky Mat can be used for
several years.
⚫Before installing the Sticky Mat, clean the surface of the platform tray, making sure the
platform is completely undamaged, clean and oil-free.
⚫Moisturize the platform tray by spray bottle or wet towel.
⚫Remove one of the two plastic sheet covers of the Sticky Mat. Dip the sticky mat with
water.
⚫Install the Sticky Mat onto the platform tray. Use the ruler or hard card to scrape and
squeeze out all the water and bubbles.
⚫Wait for 12 hours and peel off the top sheet cover.
⚫The Sticky Mat is now ready for loading.
⚫Maximum loading capacity with P6041 plain tray with Sticky Mats
Flask (Pcs)
50ml
100ml
250ml
500ml
1000ml
2000ml
3000ml
5000ml
Max Loading
53
42
23
14
9
6
4
2
For Erlenmeyer Flasks only. Flask dimensions may reduce max. capacity
5.9 Operation of Shaking Diameter Adjustment
The incubator has an adjustable shaking diameter of Ø1-50mm. To adjust it, follow the
instructions below,
5.9.1 Tools needed: 17*19 spanner, 8*10 spanner, Allen key 6mm, Allen key 8mm
5.9.2 Turn off the unit, open the glass door, pull out and remove the shaking tray,
5.9.3 Use the 8mm Allen key to loosen the (A) central Allen screw.
Attention:
Power supply must be disconnected before performing the following
operations!
.

INCU-SHAKE Compact Stackable shaking Incubator Manual V2023.1
14
5.9.4 Loosen the (C) safety nut with 17*19 spanner
5.9.5 Use the 8*10 spanner to rotate the (B) adjusting bolt clockwise to decrease
the shaking diameter, but anti-clockwise to increase.
5.9.6 When adjustment is done, tighten the (B) adjusting bolt and (A) central Allen
screw.
5.9.7 Install the base tray and shaking tray back in place.
Chart of Ratio Between Speed and Shaking Diameter
Attention:
The maximum shaking speed should decrease when the shaking
diameter is increased. Please see the chart below for the chart of ratio
between speed and shaking diameter.
.

INCU-SHAKE Compact Stackable shaking Incubator Manual V2023.1
15
5.10 Extra For Refrigerated Units
After transport or moving –DO NOT USE this unit for at least 24 Hours, unless you are a
100% sure that the unit has been moved in an upright position only.
If the equipment is continuously used at low temperatures, condensate can occur inside of
the incubator. It is recommended that you wipe condensations out, or-if possible-heat up the
incubator to evaporate this small amount of condensation once every 10 days of operations.
To extend the compressors life and to maintain an excellentperformance of your refrigeration
system, the condenser of the unit should be cleaned every month.
5.11 Modbus TCP/IP Protocol (Option)
The unit communicates with PC through TCP/IP Interface with Modbus protocol. The software
saves duplex communication, operating status, date.
•Physical Layer: TCP/IP
•IP Address (Default): 192.168.0.7
•Port: 502
•Connection: Connect the ethernet cable to the TCP/IP interface on the
right side, and the other end to the PC terminal or other
transmission device.
•Log In: To access the admin page, type 192.168.0.7 into your web
browser's address bar, and press enter.
Authentication Log in:
Username: admin
Password: admin
ATTENTION:
The nominal cooling capacity can only be reached if the ambient
temperature at the cooling aggregate is below 30 °C.
Clean the shaking incubator before you put it into use and on a regular base.
The interior should be wiped down with an appropriate disinfectant, such
as 70 % ISOPROPYL ALCOHOL or equivalent.
DO NOT USE ANY CHLORINATED OR HALOGEN MATERIAL-
AS THIS IS HARMFUL TO THE POLISHED STAINLESS STEEL!!!

INCU-SHAKE Compact Stackable shaking Incubator Manual V2023.1
16
•Change IP Address: Click “Local IP Config” in the sidebar;
Type in the new IP address in “Static IP”, and click “Save” to
save and exit.
Data format and meaning of each register (reading multiple input registers)

INCU-SHAKE Compact Stackable shaking Incubator Manual V2023.1
17
6. OPERATING THE UNIT
Once the equipment is properly installed with all utilities connected, turn on the power switch
on the left of the equipment.
When power is applied, the incubator will first display the "welcome page" and then LCD will
display the "home page" when the system is under working conditions.
Afterwards, user can set parameters via setting menus. After users confirm the setting of
parameters, the incubator can start controlling the general parameters, such as temperature,
speed at the value set by the user.
Welcome Page

INCU-SHAKE Compact Stackable shaking Incubator Manual V2023.1
18
6.1 Home Page Summary
“Stop” button:
Press this to stop the operation. When the incubator is in operation, press
this button to pause. Press it again, to stop the current operation.
“Run” button:
Press this button to start the operation. When the unit is paused, this will
twinkle; press it again to resume the operation.
“Set” Button:
Press it to enter the Set Menu page Settings.
“Clock Time”Display:
It displays the actual clock time.
“Alarm” Status:
Once the conditions of alarms are fulfilled, the alarm is declared, and
indicator will be lighted.
“Door”Status:
This indicator will be lighted if door is opened or closed improperly.
"Address" Status:
This indicates the current serial address when the incubator is connected
to any communication protocols, e.g. RS-485.
“Shaking Flask”Status:
The illustration of “flask”indicates the status of the unit; the flask remains
still when unit is stopped; or keeps swinging when it’s shaking.
Photosynthetic Lighting Switch:
P01/L00

INCU-SHAKE Compact Stackable shaking Incubator Manual V2023.1
19
Press it to enable or disable the photosynthetic LED lighting function.
Red Light Indicator:
The indicator lights up when the red light is on, with display of current
lighting output value in percentage.
Blue Light Indicator:
The indicator lights up when the blue light is on, with display of current
lighting output value in percentage.
“Control Mode”Status:
This box indicates the status of the current control mode, fixed value
mode or programmable mode.
If it is controlled under Fixed Value mode, no display.
If it is controlled under Programmable mode, it displays the current
segment number and remaining cycle times.
“Speed”Display:
It displays the current operating speed in rpm.
“Temperature” Display:
It displays the current operating temperature in °C.
“Time”Display:
It displays current accumulative running time in minutes.
“SV” Column Display:
It displays the current set points of operating parameters, Temperature,
Speed, and Timer.
Special Remind!
Under programmable mode, the “SEG”box shows as followings,
P”m”/L’’n”,
m: Current segment No.
n: Remaining cycle times.
Special Remind!
Under Fixed Value mode, the “Time”box in the “SV” column shows the
“Timer” setpoint;
Under programmable mode, the “Time”box in the “SV” column shows
the total time of “Ramp Time” + “Hold Time” of the current segment.
Other manuals for Incu-Shake Compact
1
Table of contents
Other SciQuip Laboratory Equipment manuals
Popular Laboratory Equipment manuals by other brands

Labconco
Labconco Protector Premier 10040 Series user manual

Thermo Scientific
Thermo Scientific mySPIN 6 instruction manual

Mizar
Mizar Tilt user guide

Dionex
Dionex TCC-100 Quick installation guide

Bibby Sterilin
Bibby Sterilin Techne No ICE Operator's manual

Steris
Steris Amsco 600 ALUS Quick reference guide

Altronix
Altronix NetWay1DWP installation guide

Thermo Scientific
Thermo Scientific BF51842C Installation and operation manual

MELAG
MELAG Vacuklab 41-B user manual

Thermo Scientific
Thermo Scientific Heraeus MULTIFUGE 3S+ instruction manual

MRC
MRC WBH-060N manual

Cardinal Health
Cardinal Health CHH05RESA manual